Deploying eERC Contracts
This tutorial guides you through deploying eERC (Encrypted ERC) contracts on an Avalanche L1 via the AvaCloud portal.
Prerequisites
- Ensure your Avalanche L1 is already created (creation guide).
- The Core Extension should be connected to the AvaCloud portal and the correct wallet account selected.
Deployment Steps
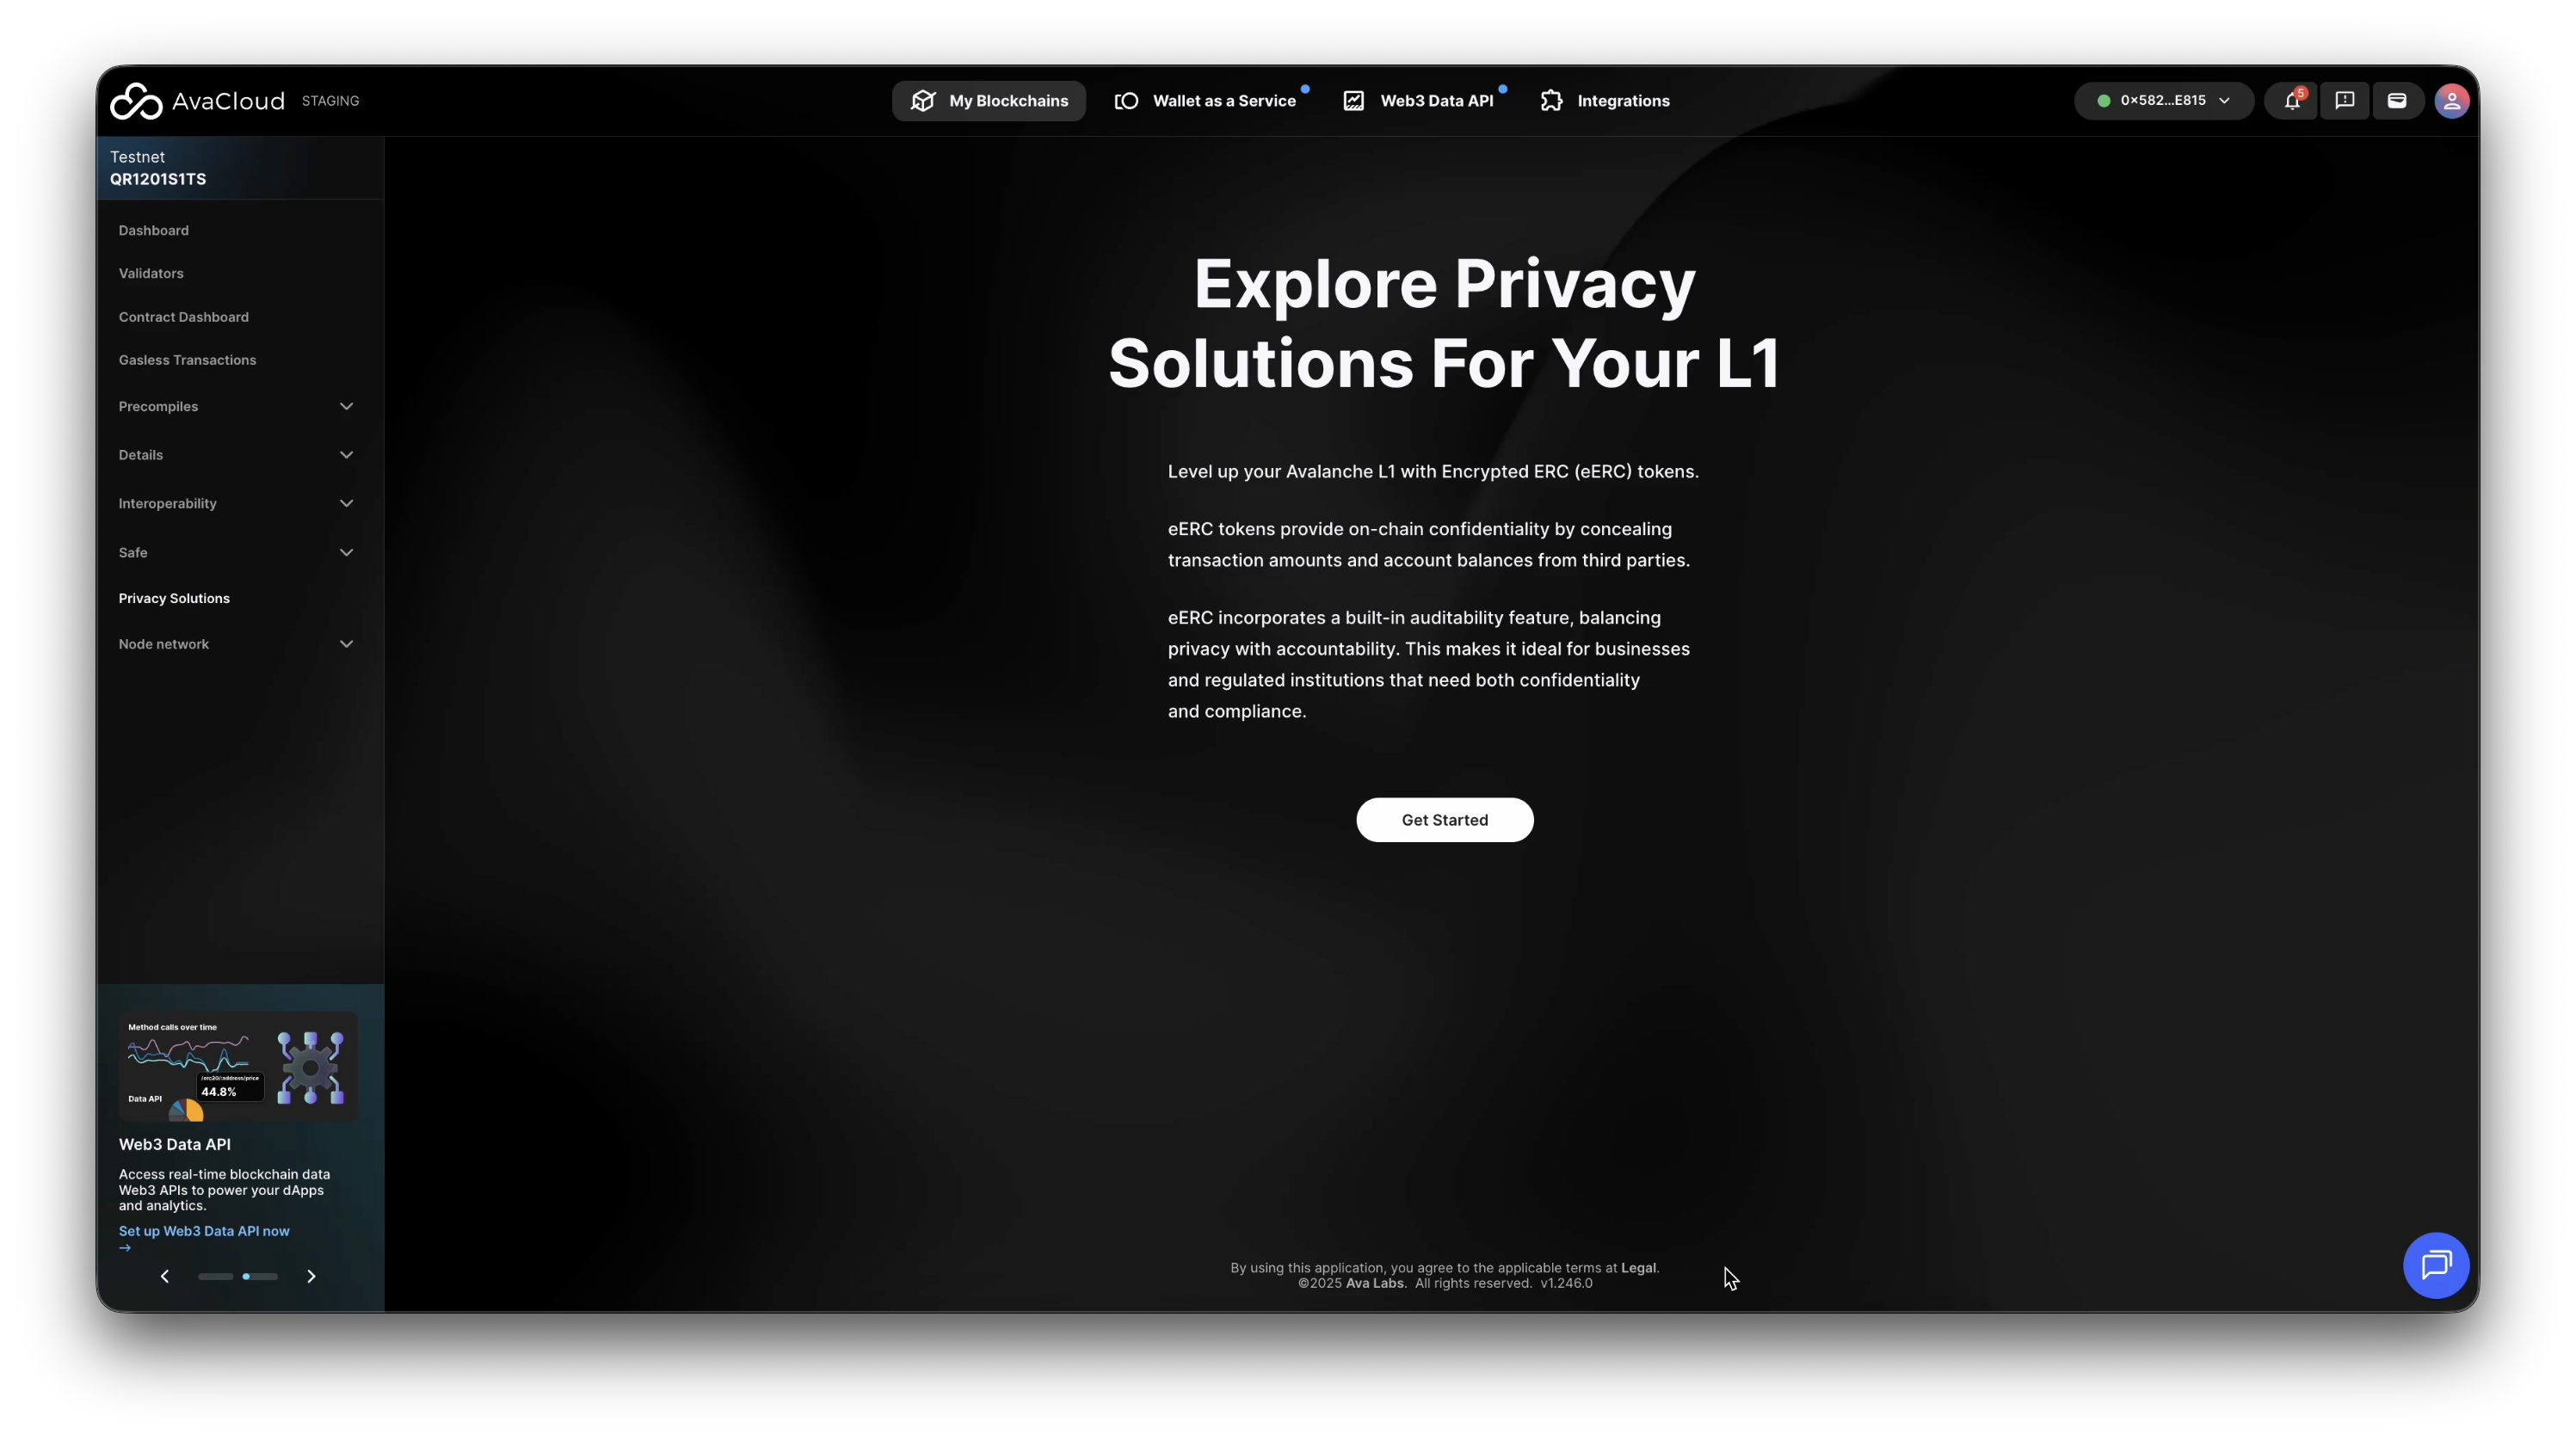
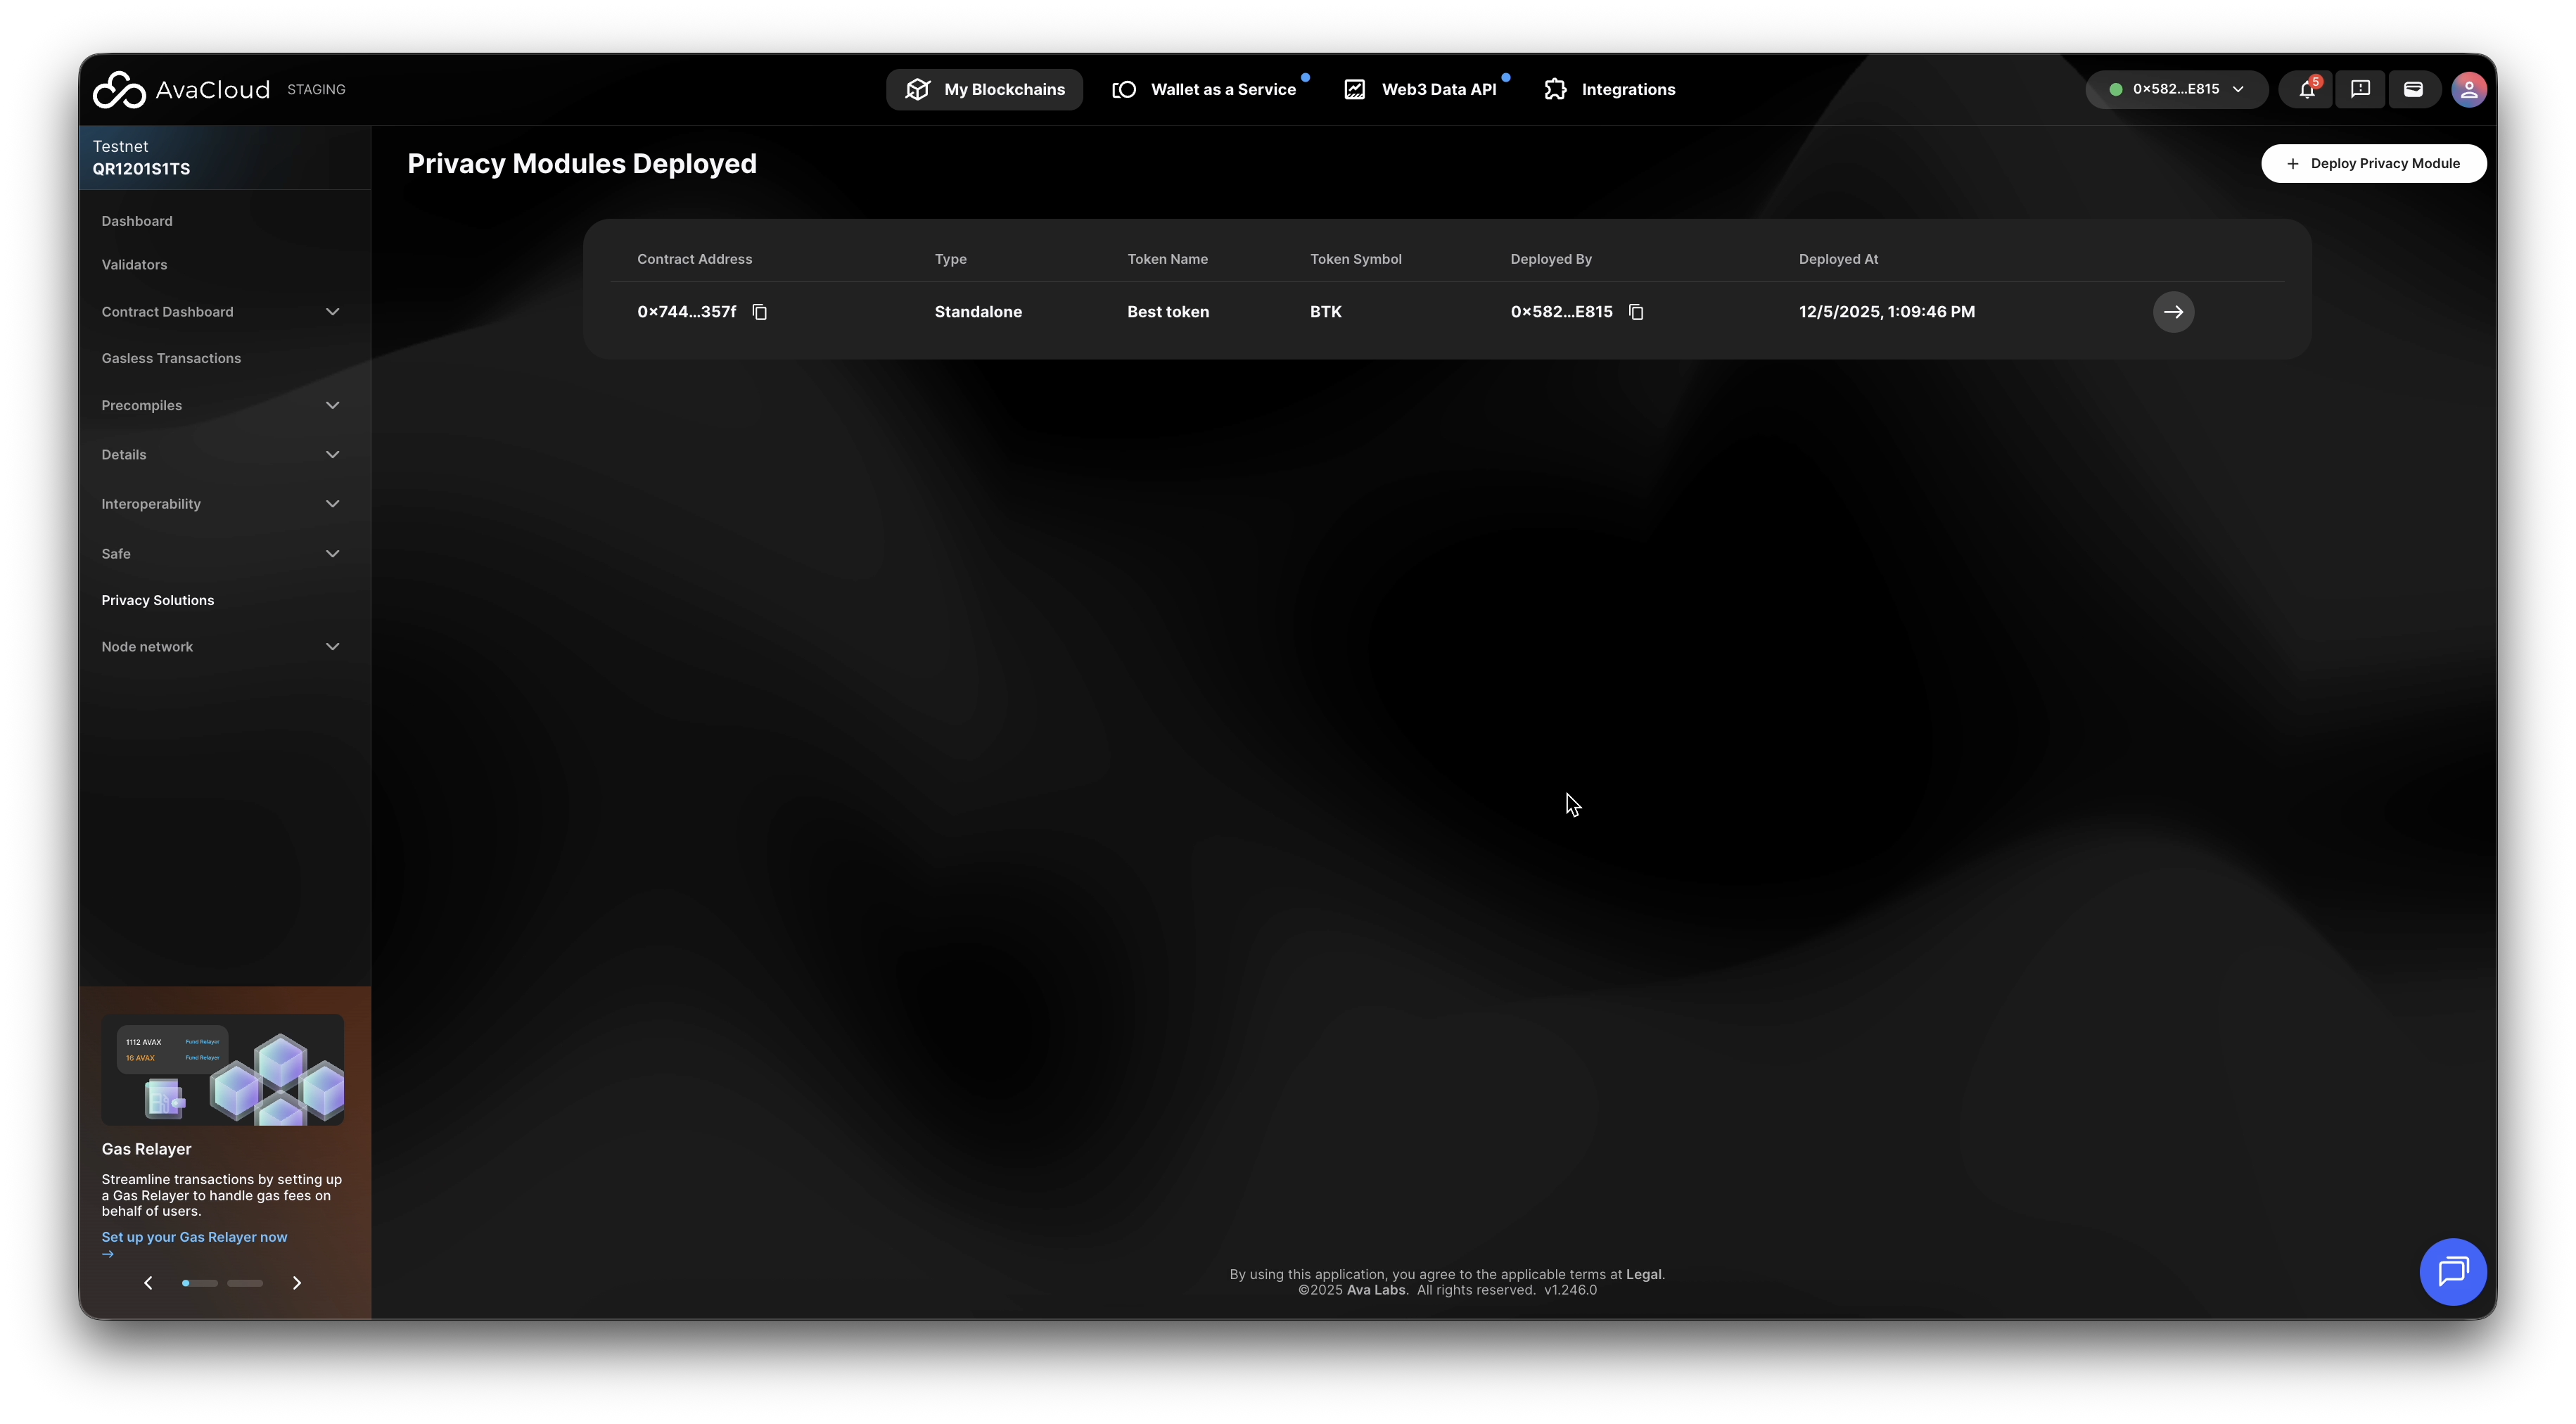
1. Access Privacy Solutions
-
In the AvaCloud portal, navigate to your L1’s Privacy Solutions tab and click Get Started.
-
If your Core Wallet isn’t connected, you’ll be prompted to connect and select the right L1.
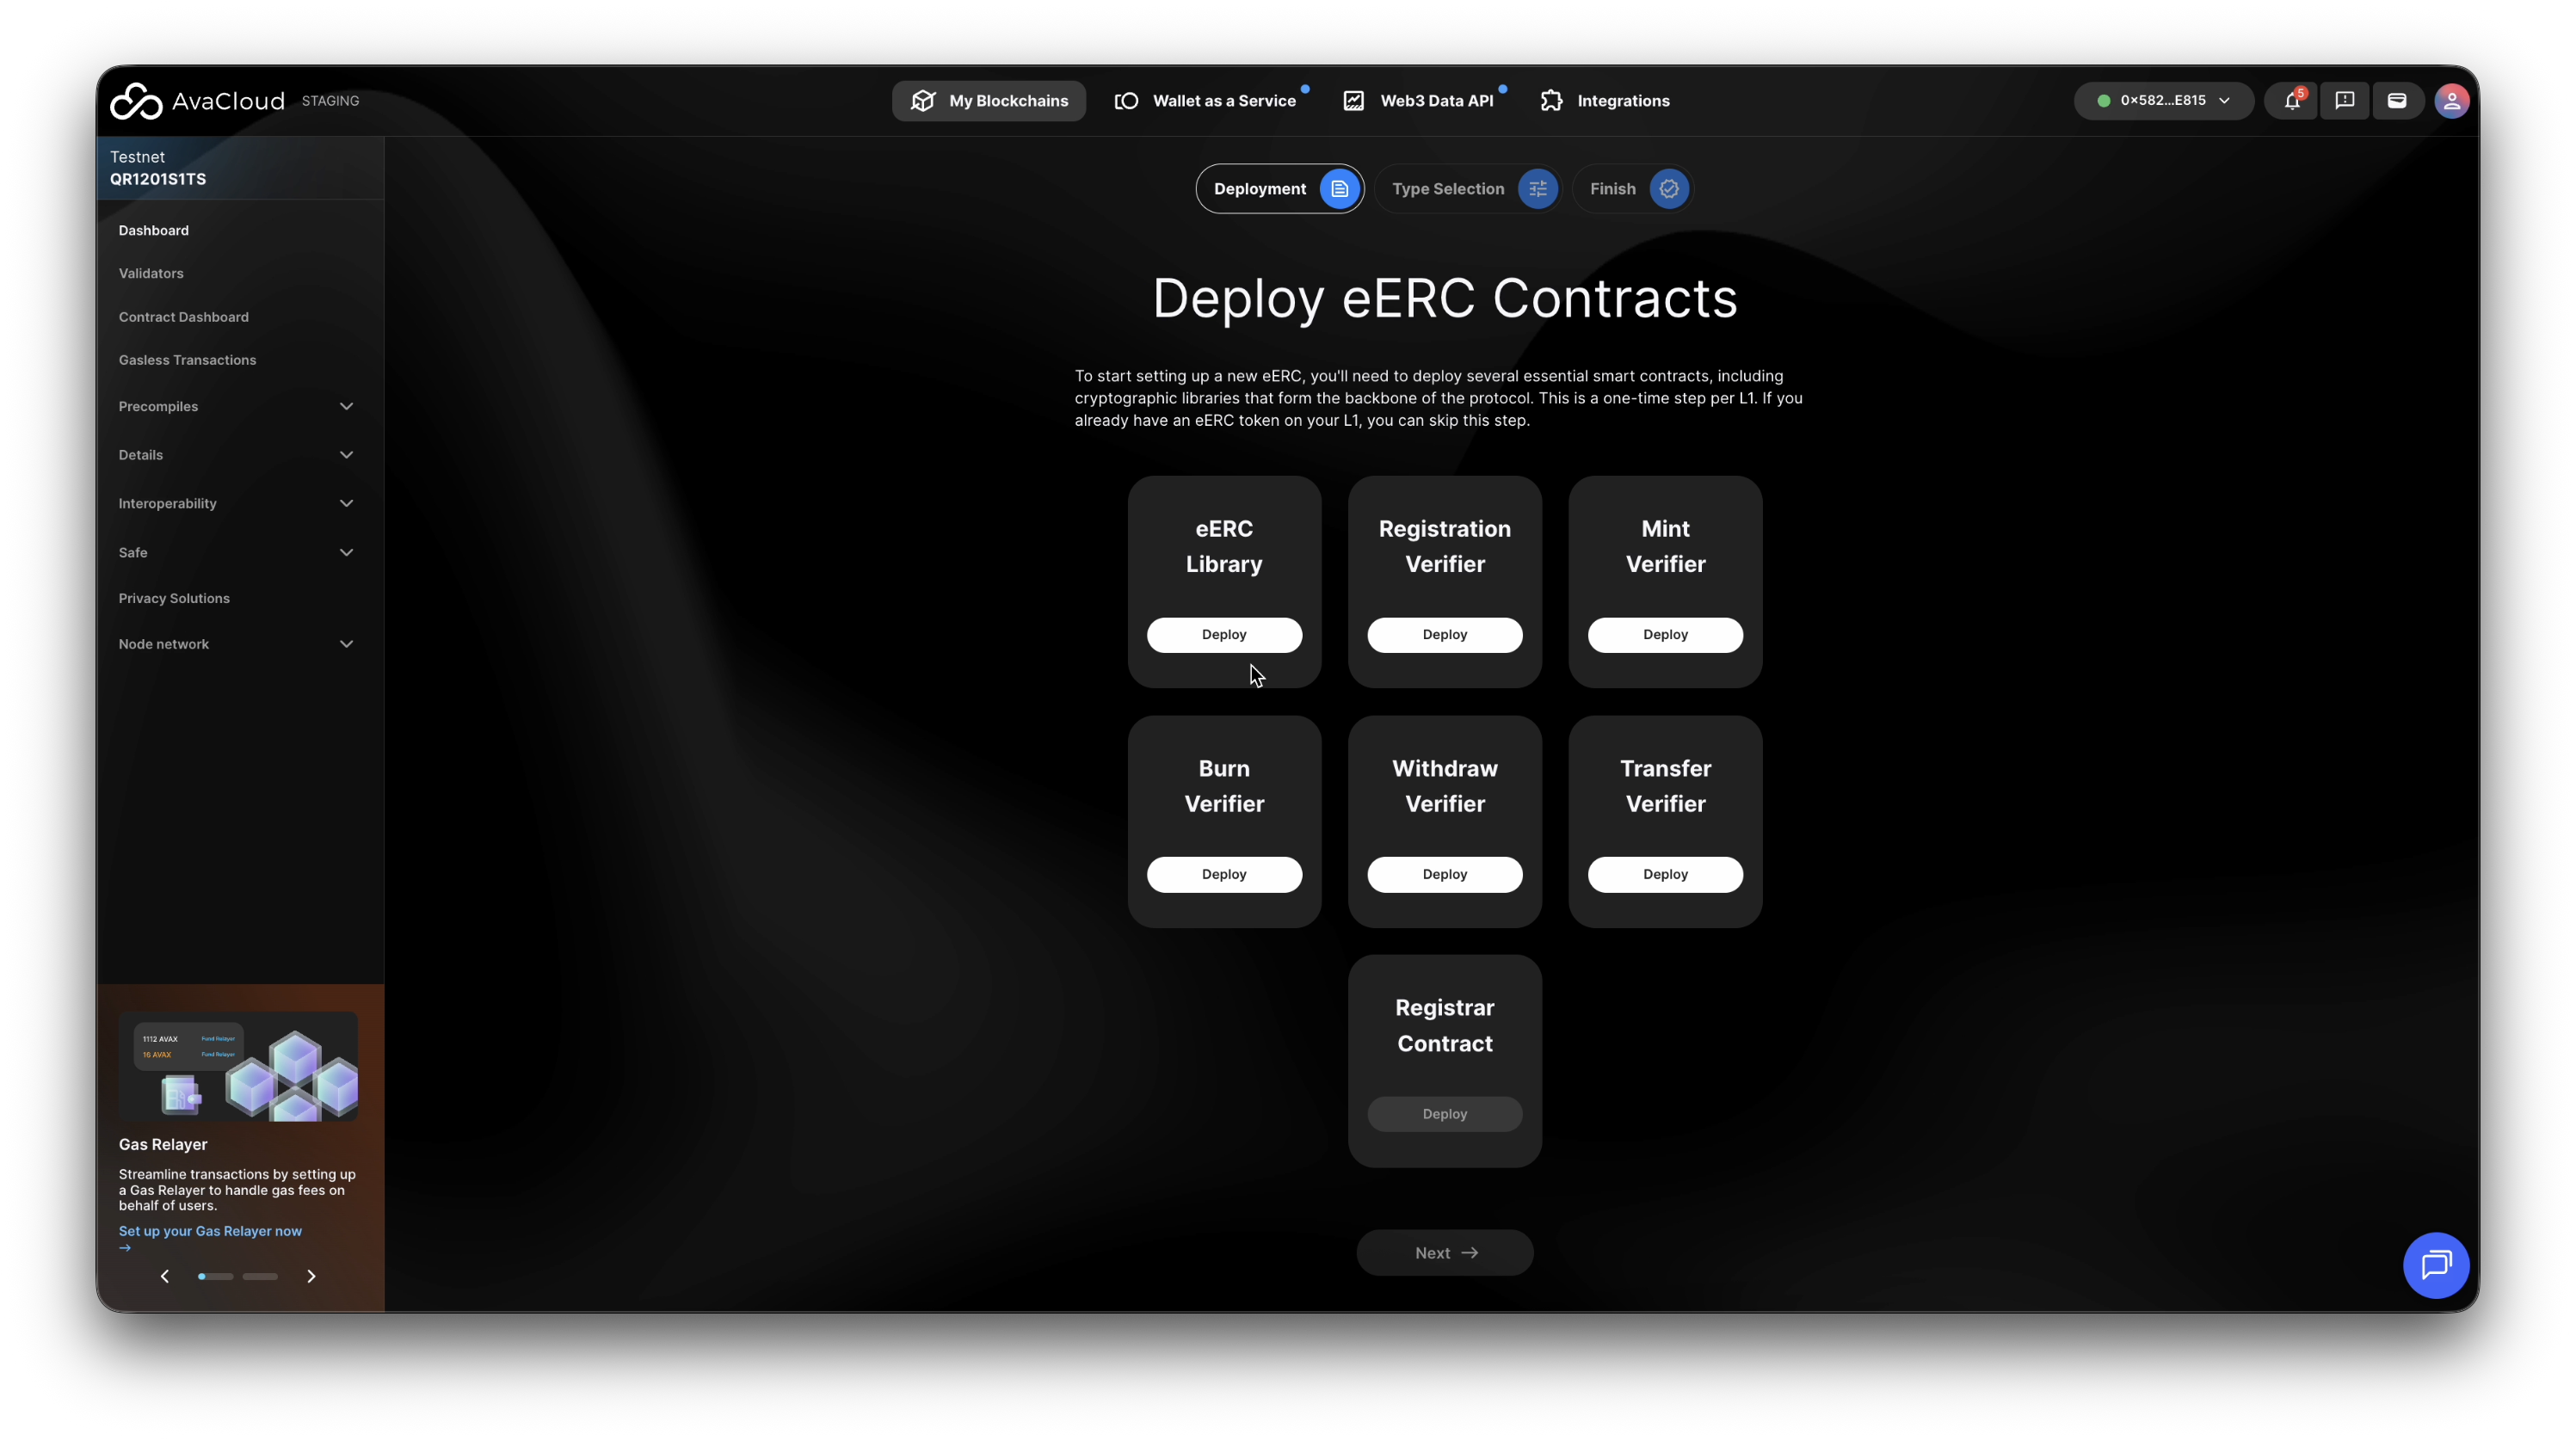
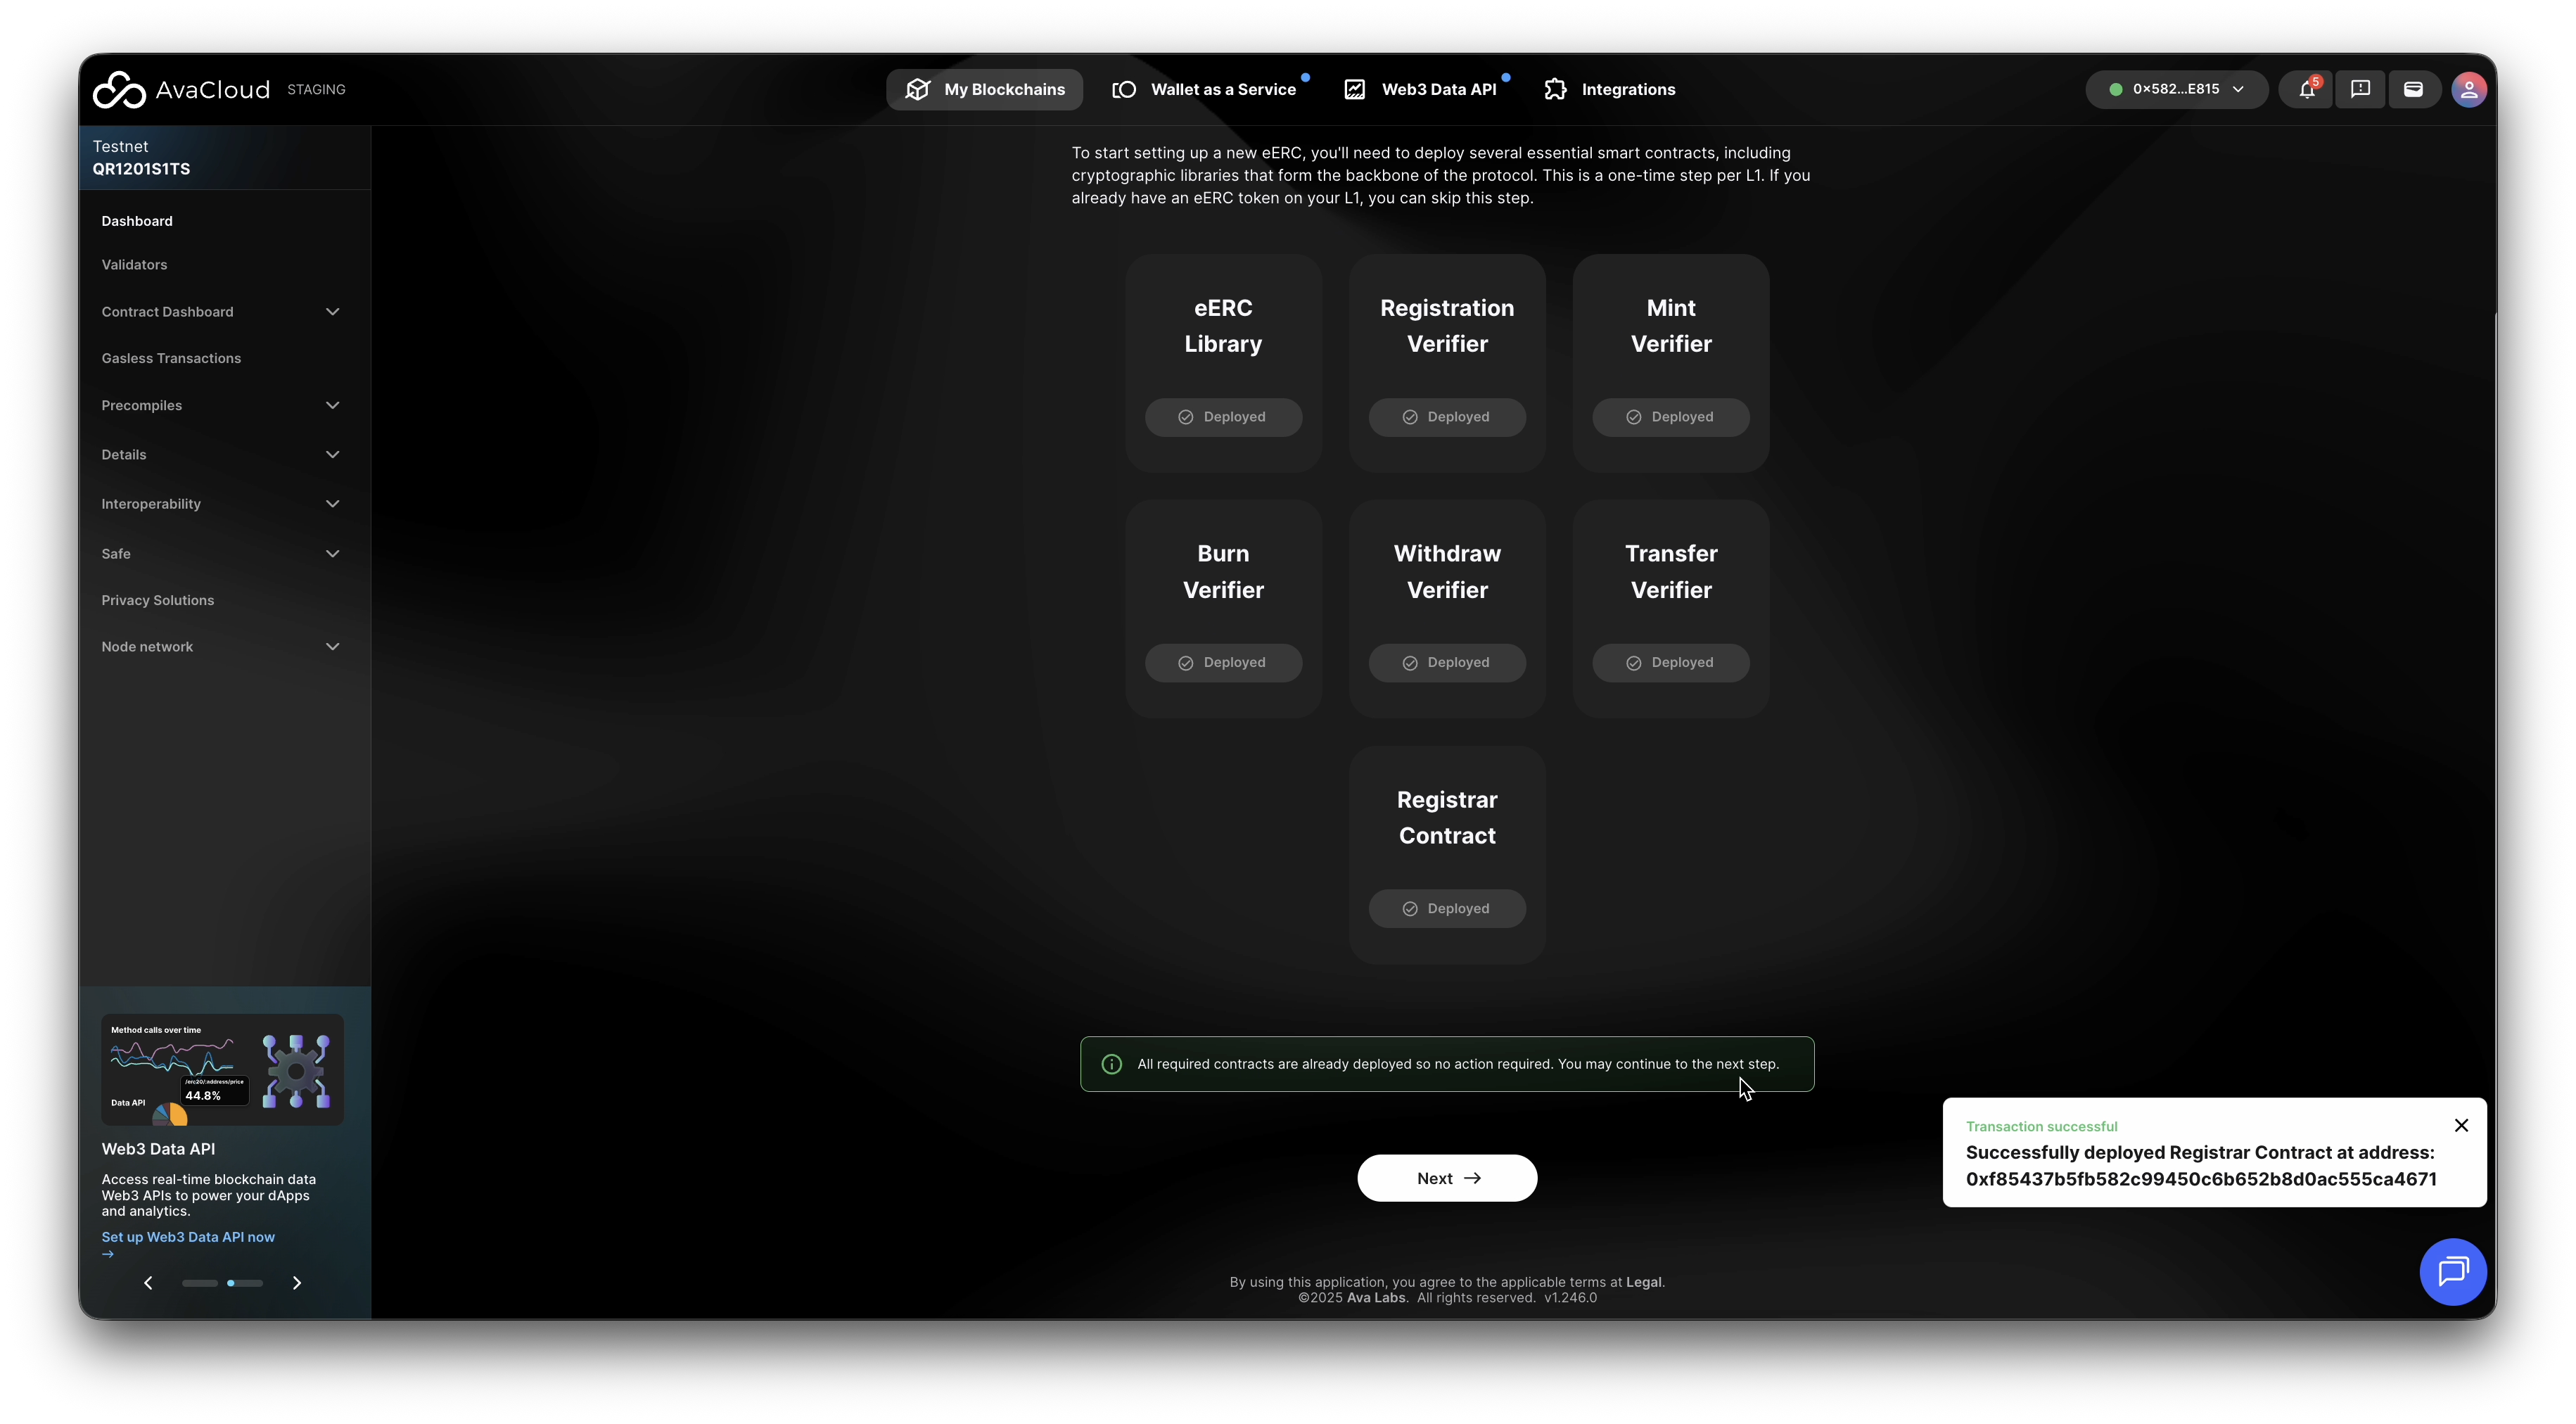
2. Deploy Core Smart Contracts
-
To start a new eERC deployment, you’ll need to deploy several required smart contracts. These provide the cryptographic and protocol foundations for eERC. Each L1 only needs these deployed once.
- eERC Library
- Registration Verifier
- Mint Verifier
- Burn Verifier
- Withdraw Verifier
- Transfer Verifier
And finally, the Registrar Contract.
-
Once all contracts are deployed, click Next.
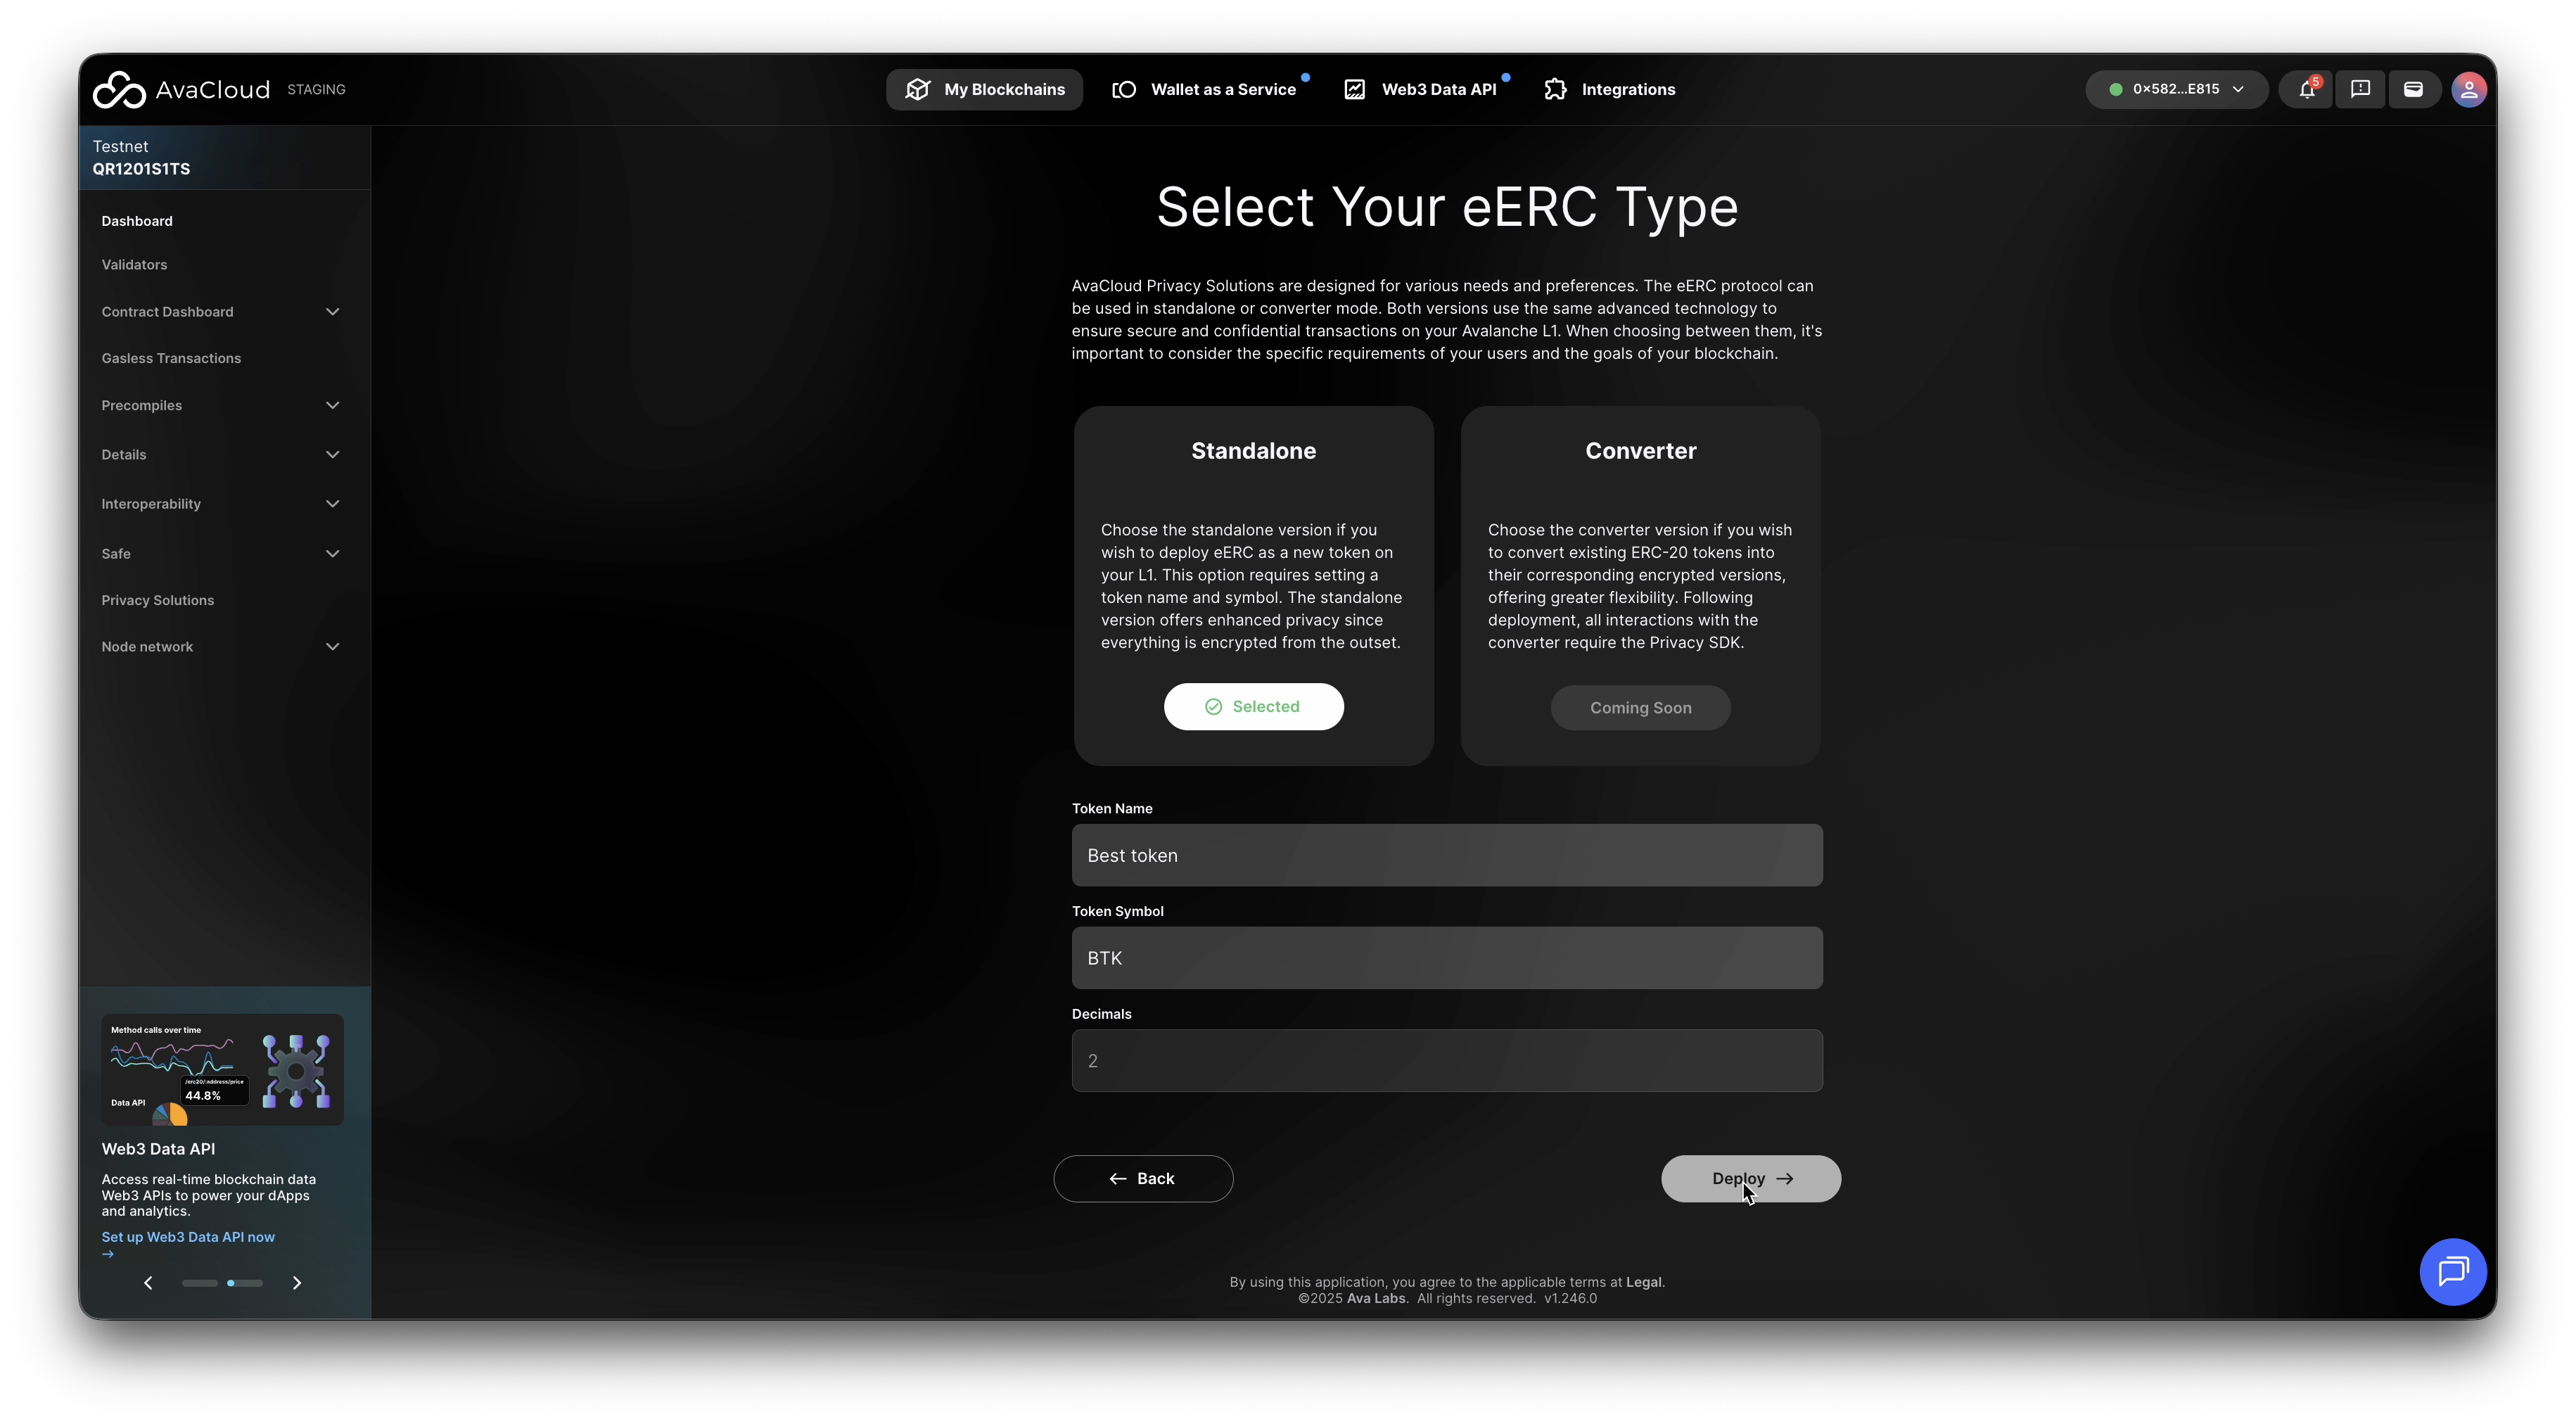
3. Choose eERC Deployment Type
AvaCloud Privacy Solutions are designed for various needs and preferences. The eERC protocol can be used in standalone or converter mode. Both versions use the same advanced technology to ensure secure and confidential transactions on the Avalanche L1. When choosing between them, it’s important to consider the specific requirements of the users and the goals of the blockchain.
-
Choose the standalone version if you wish to deploy eERC as a new token on the L1. This option requires setting a token name and symbol. The standalone version offers enhanced privacy since everything is encrypted from the outset.
-
Choose the converter version if you wish to convert existing ERC-20 tokens into their corresponding encrypted versions, offering greater flexibility. Following deployment, all interactions with the converter require the Privacy SDK. (coming soon)
For Standalone, fill in the Token Name and Token Symbol fields as prompted, then click Deploy.
4. Finish Deployment & Go to Dashboard
-
After deployment succeeds, you’ll see a Privacy Setup Completed confirmation message.
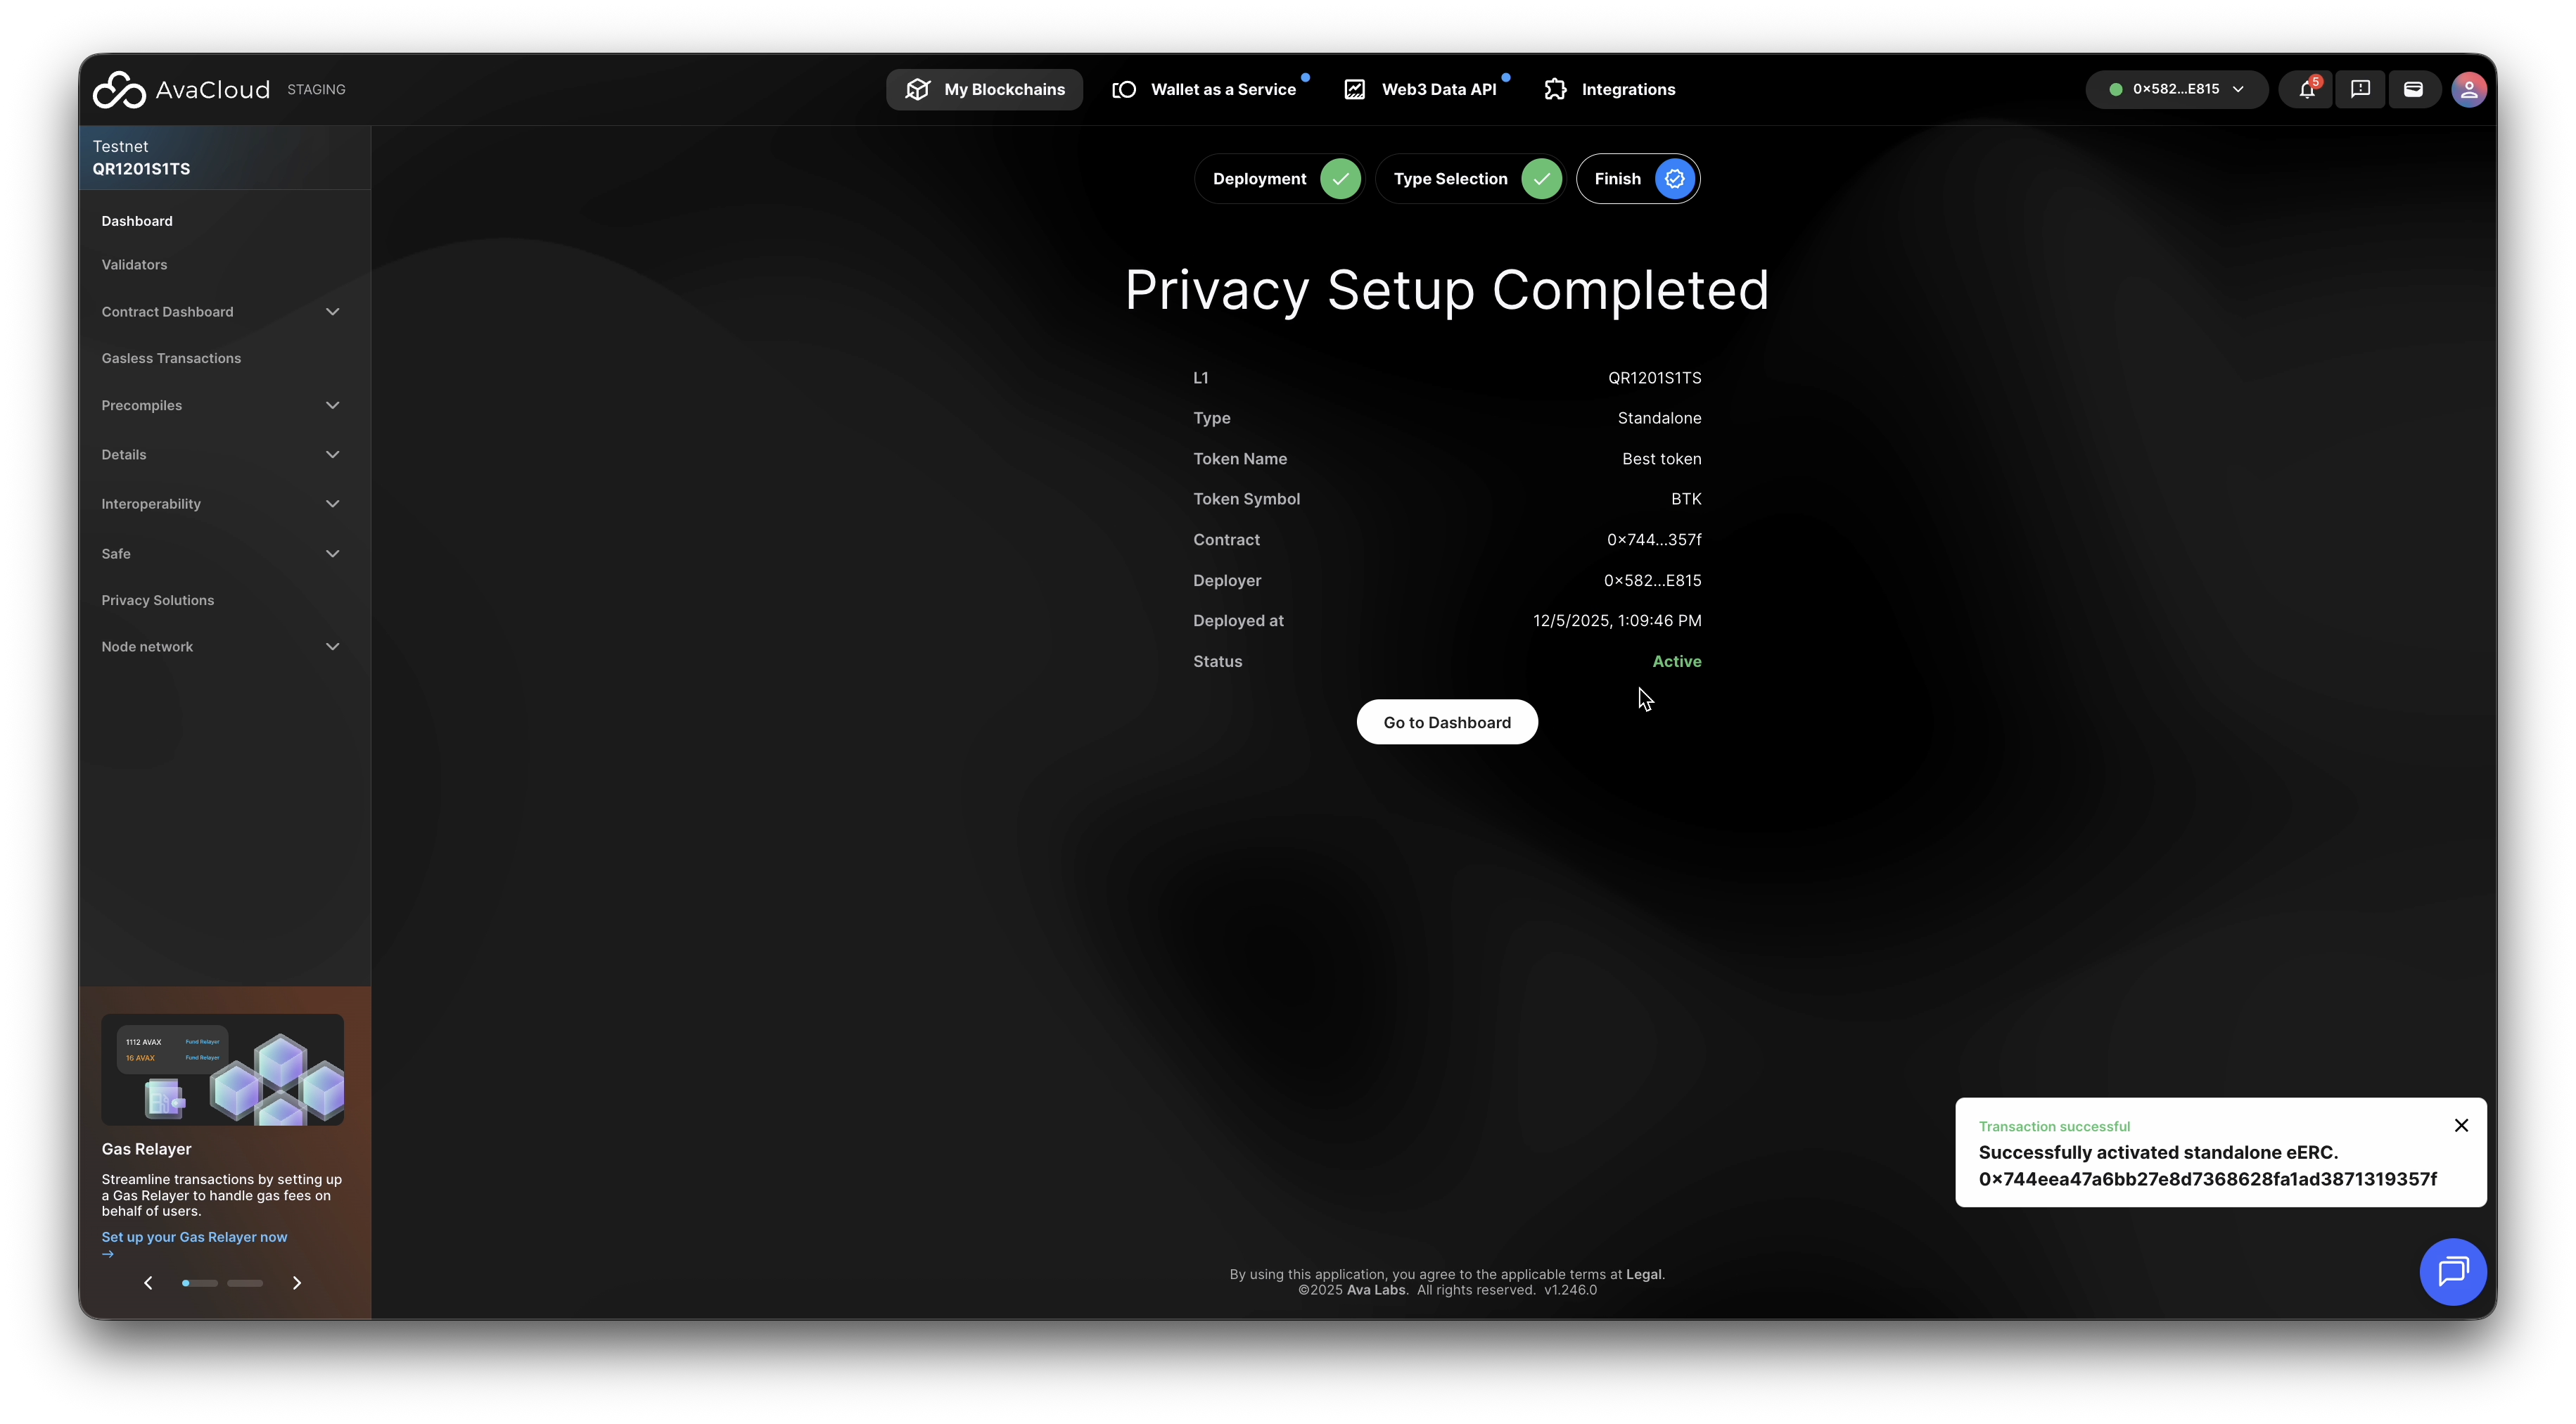
-
Click Go to Dashboard to proceed with configuring and managing your eERC token.
Video Walkthrough
If you need more help, explore our other articles or reach out to our support team via chat or email [email protected]. All examples provided are for demonstration purposes only.
Learn More About AvaCloud | Download Case Studies | Schedule an AvaCloud Demo