How to Add/Remove a Validator?
This guide walks you through managing validators for your Avalanche L1—specifically, how to add or remove validators using AvaCloud Portal.
Prerequisites
- Make sure you have already created your Avalanche L1 (see the creation guide).
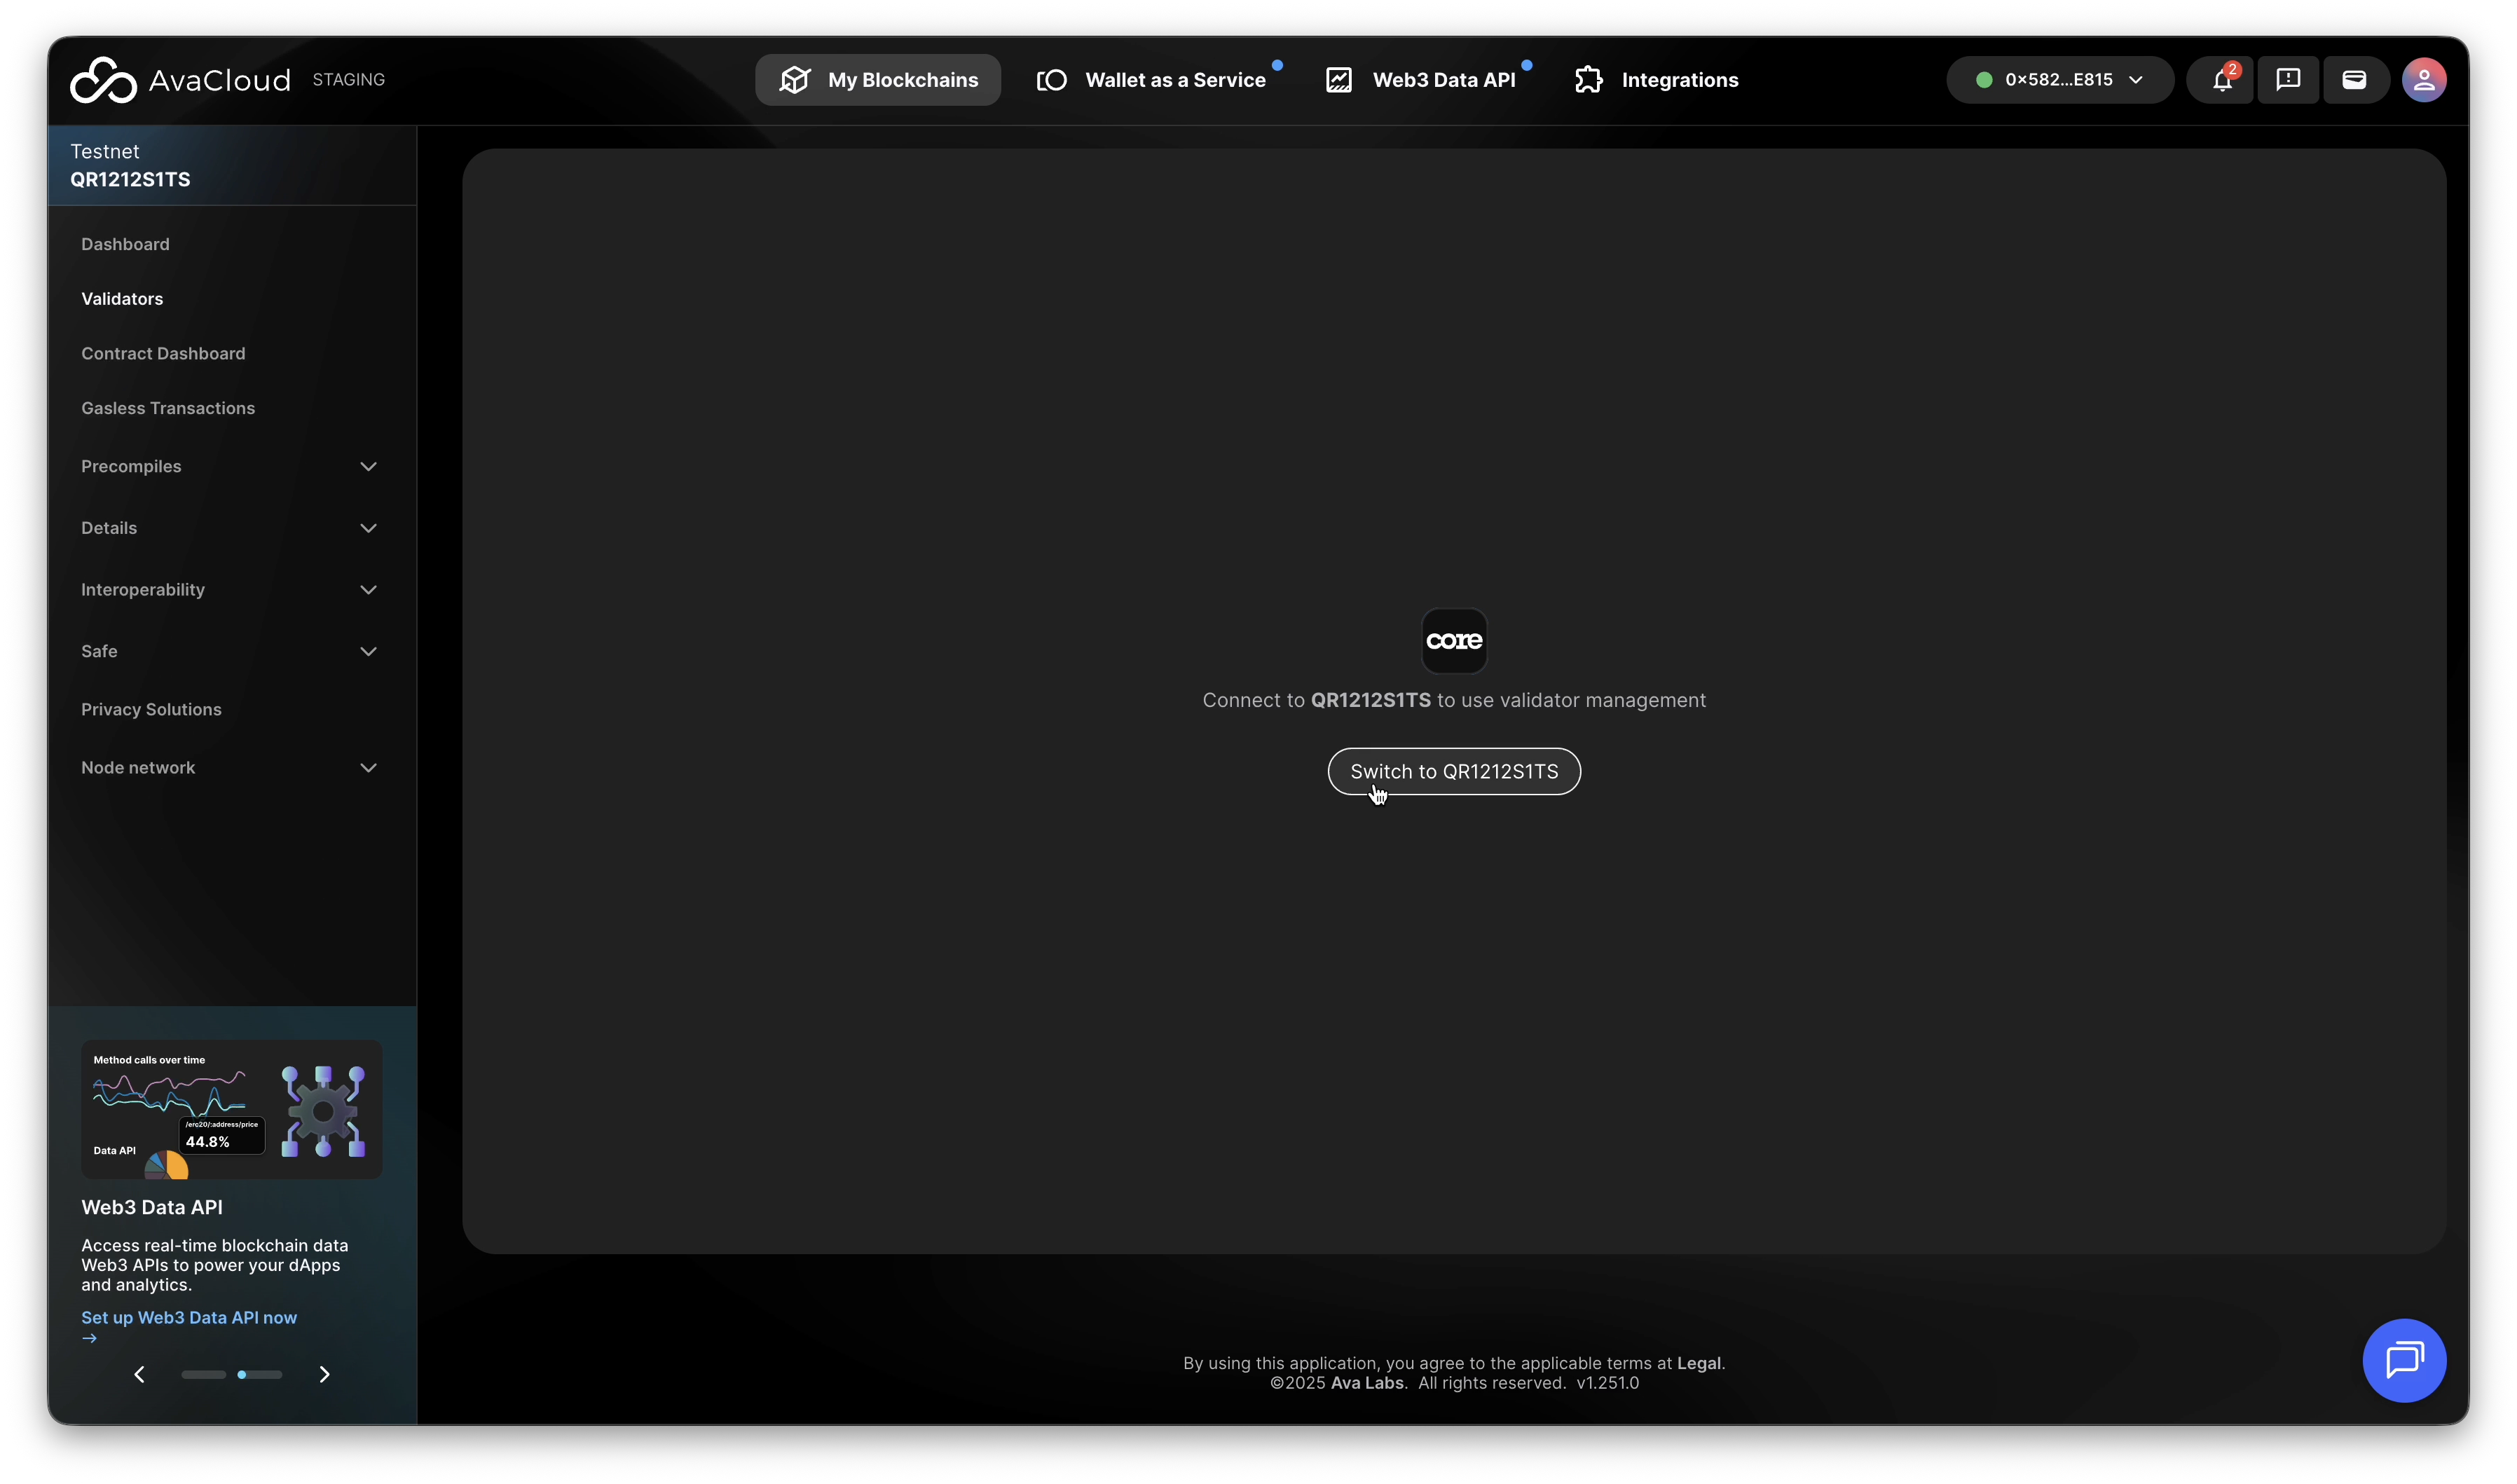
- Connect the Core Extension to the AvaCloud portal and select the wallet account which is the validator manager owner.
Add a Validator
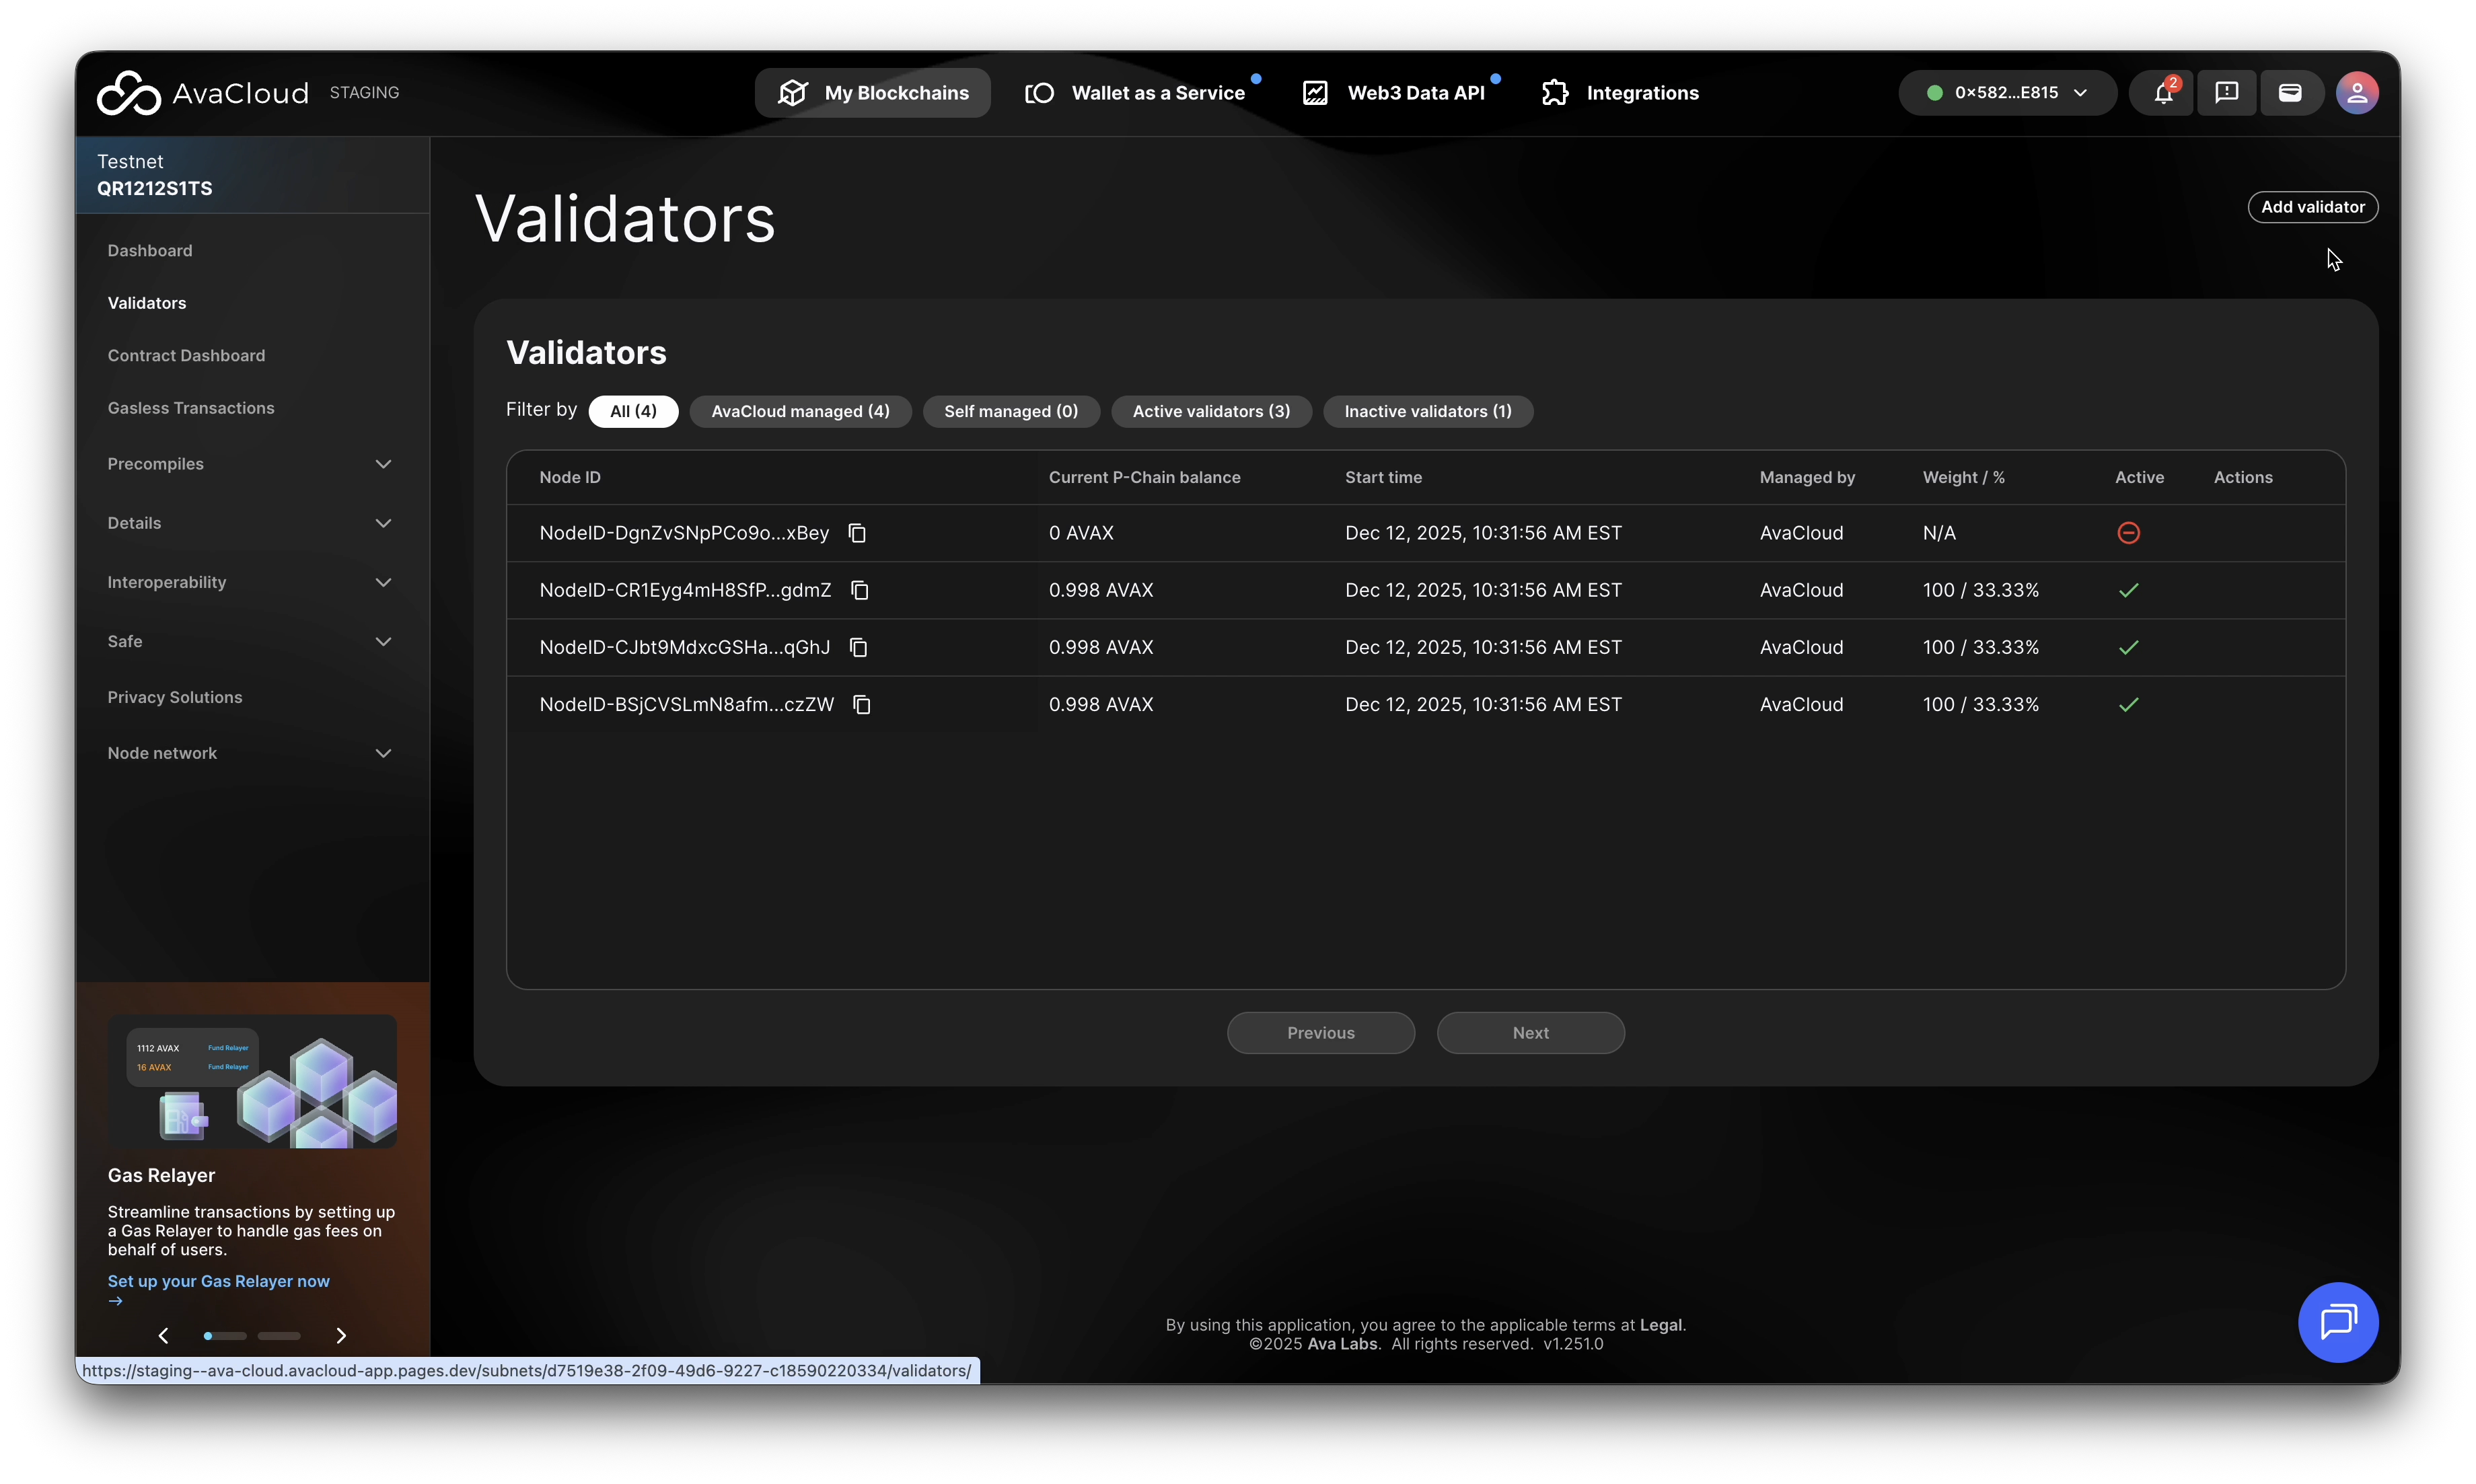
1. Locate Validators Tab
-
In AvaCloud Portal, go to your L1’s Validators tab.
-
Click Add validator.
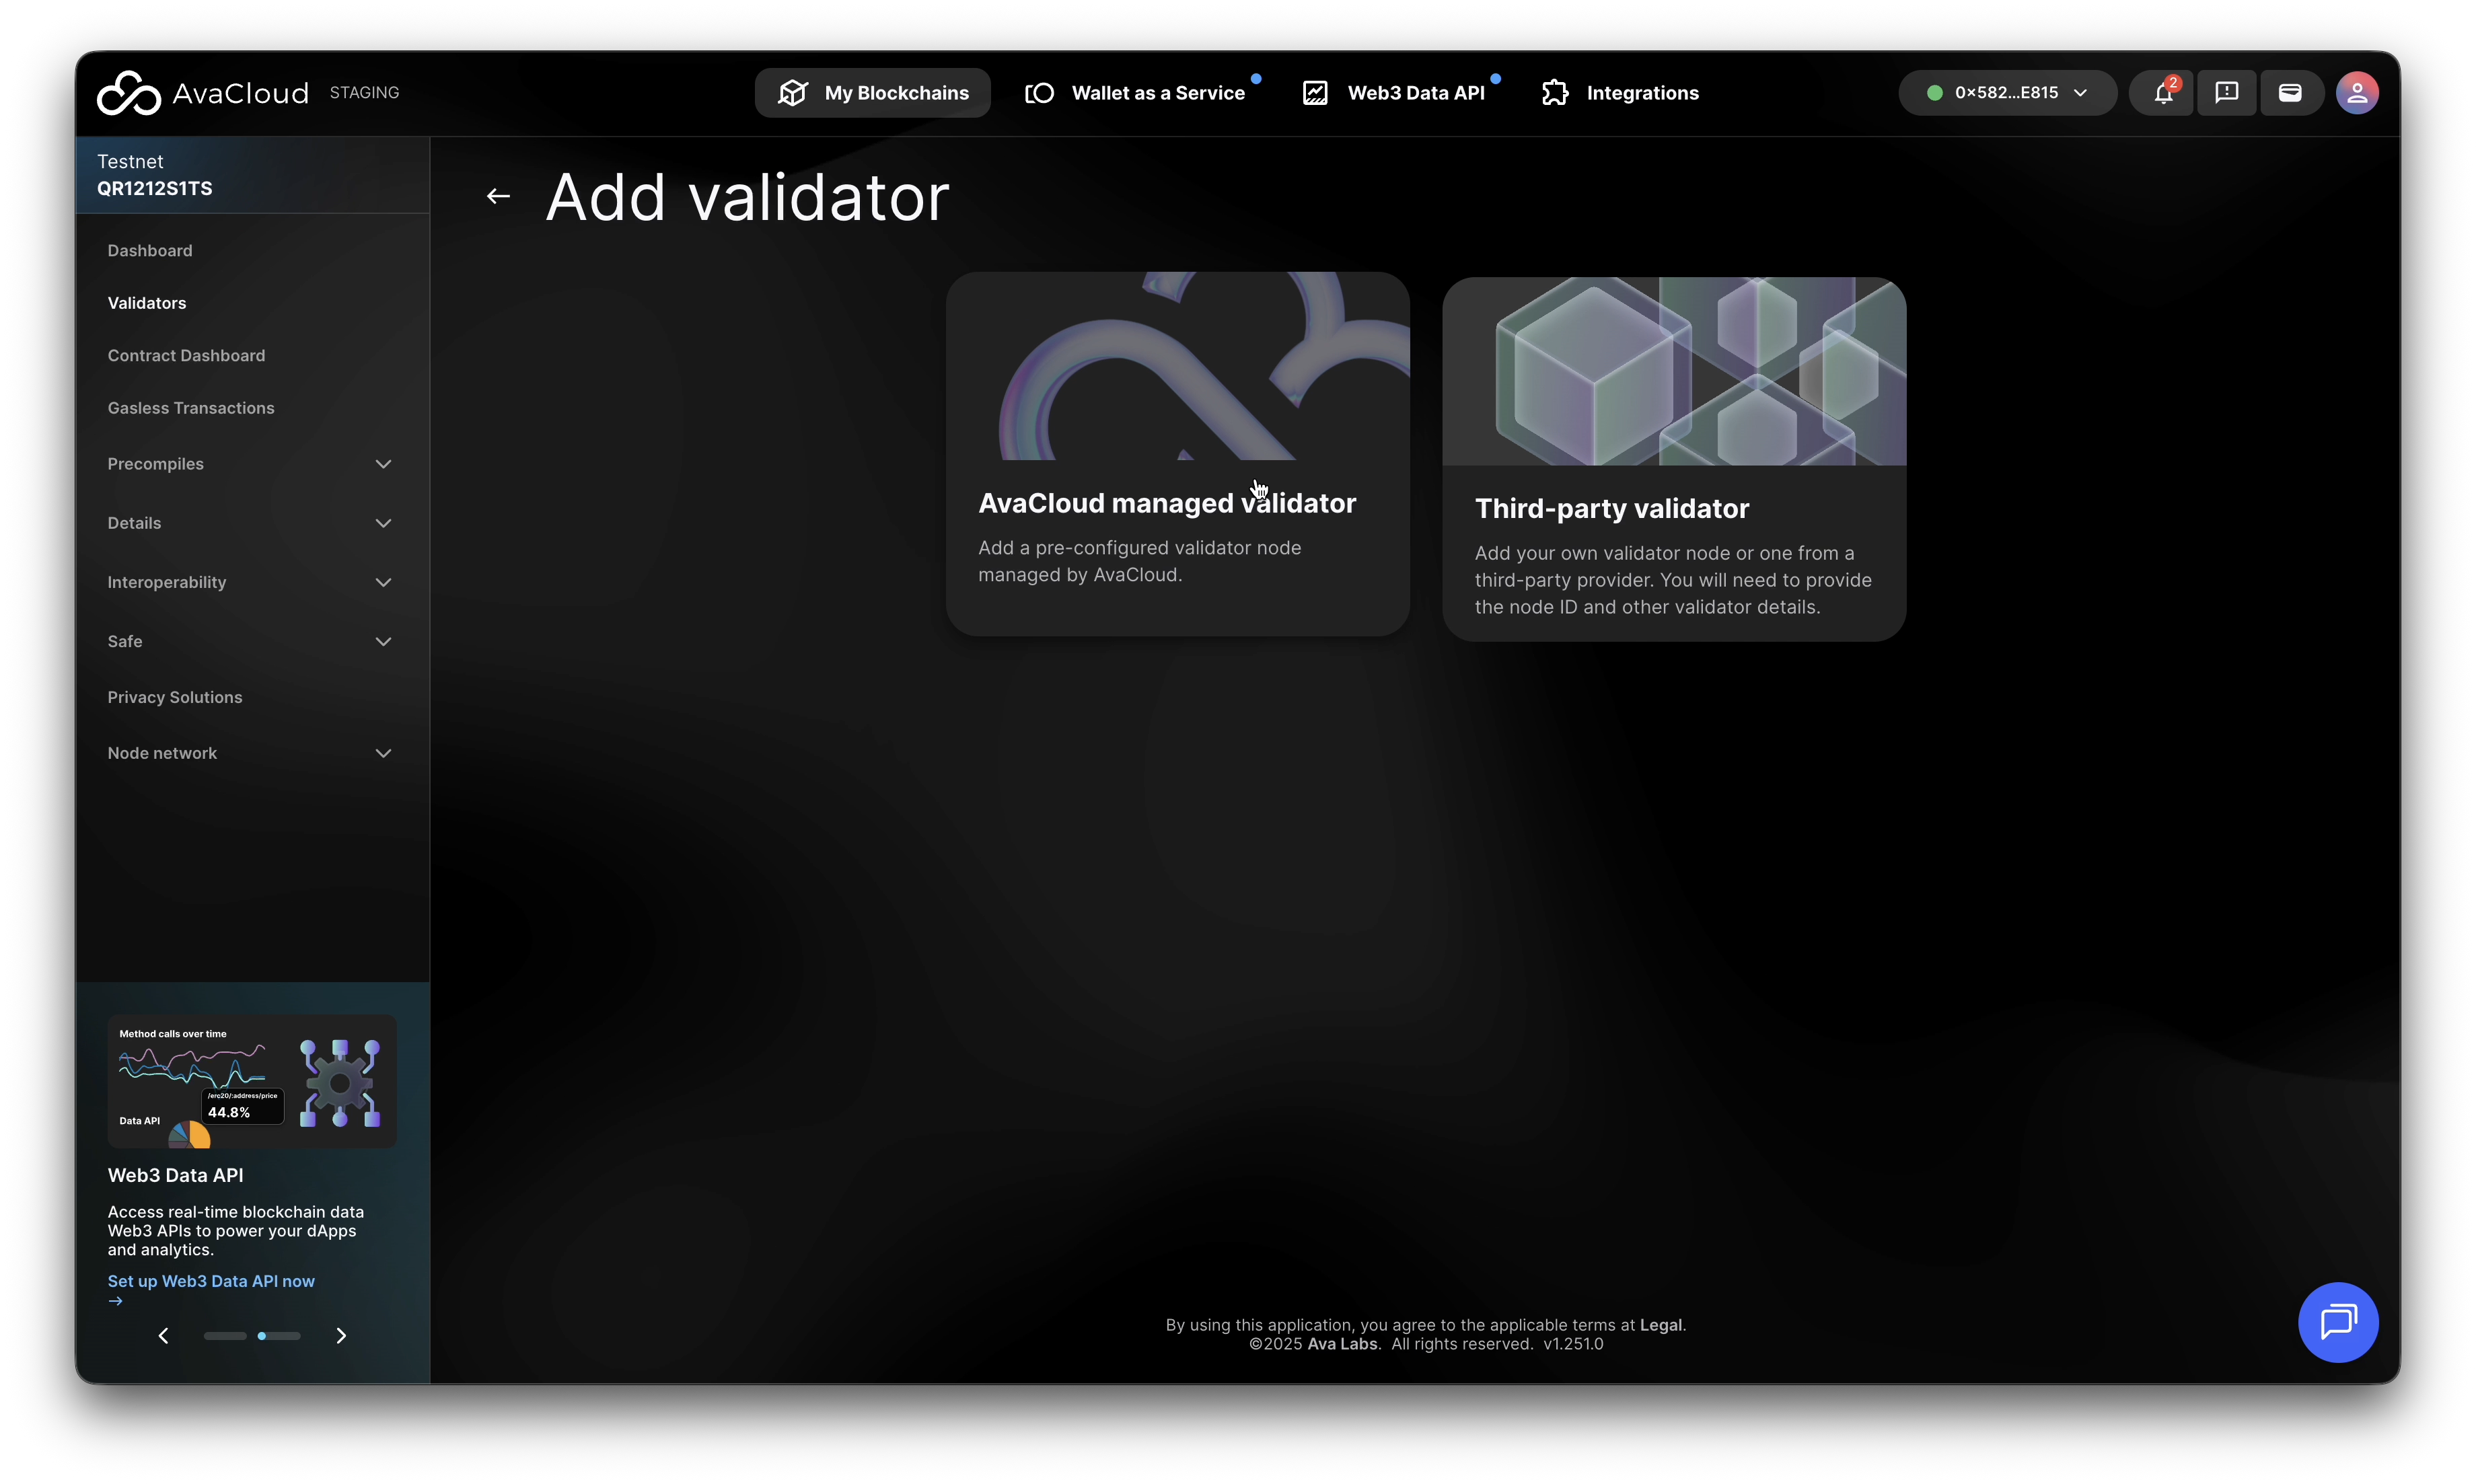
2. Choose Validator Type
-
AvaCloud Managed Validator: This tutorial focuses on this one.
-
Third-Party Validator: You provide the Node ID and validator details. The overall process is similar to managed validators.
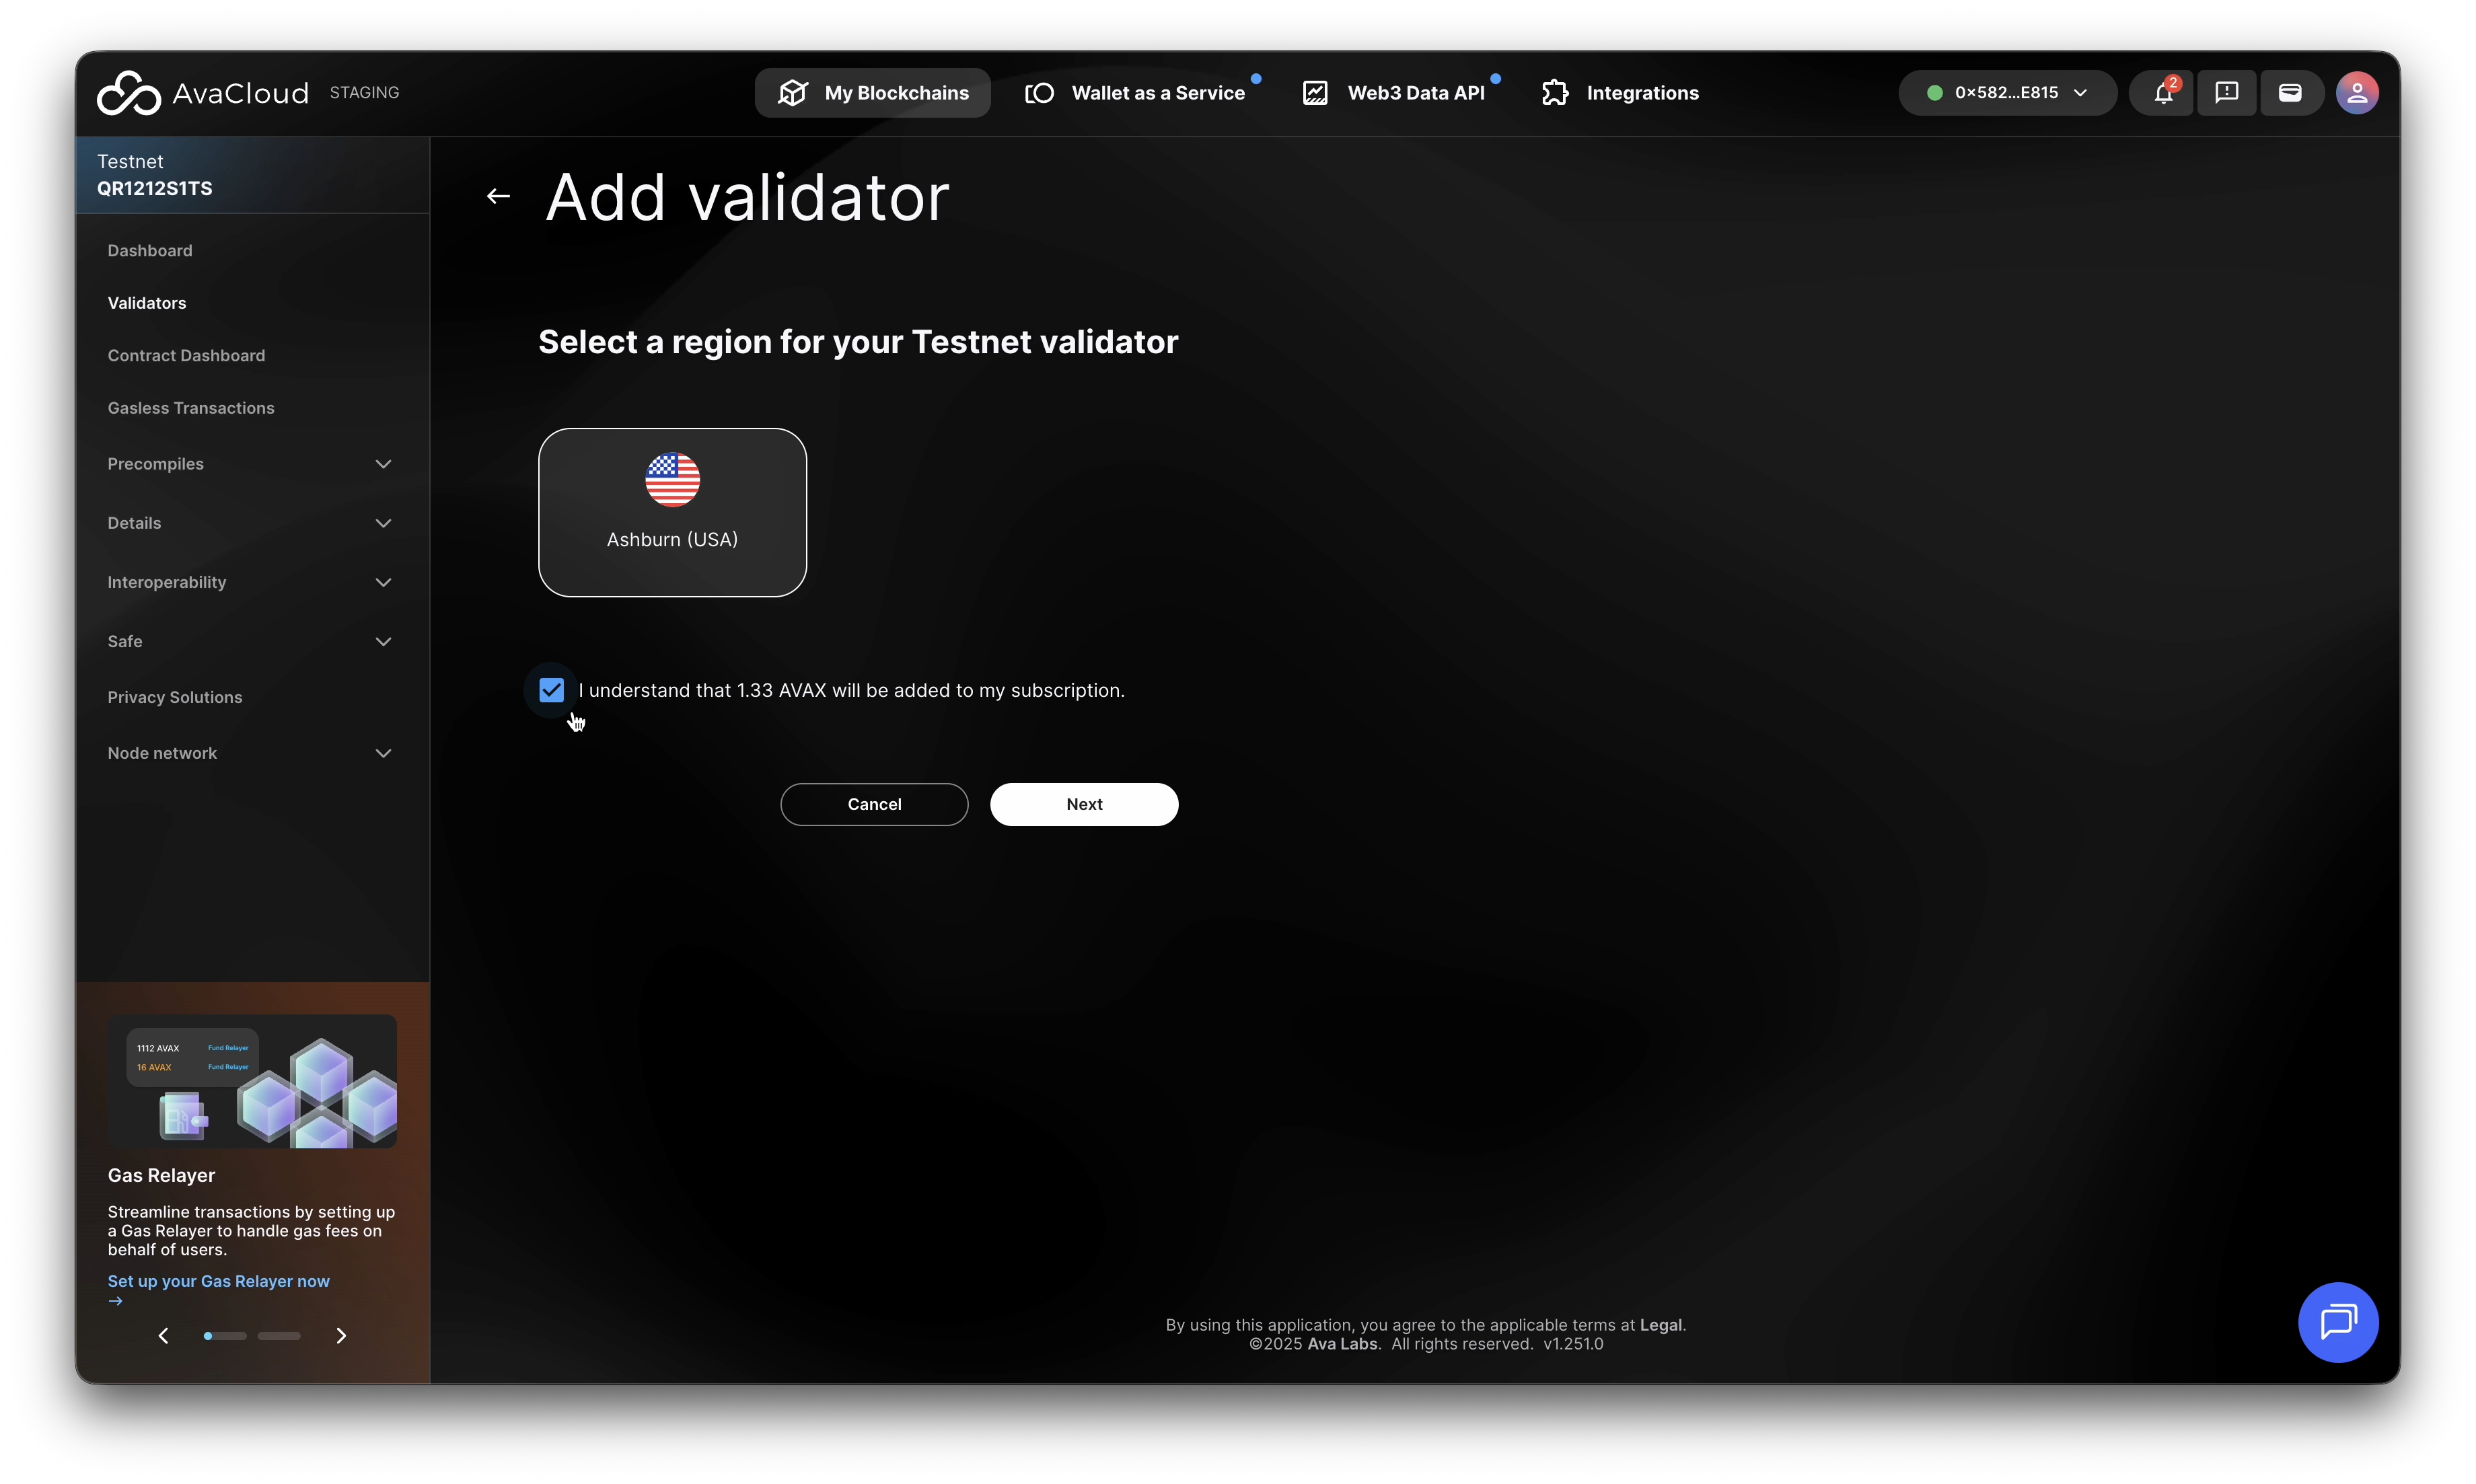
3. Select Region
-
Choose the region where your validator will be hosted.
-
Confirm that 1.33 AVAX is automatically added to your monthly subscription, this is only for Mainnet, as Testnet AVAX does not have real dollar value.
-
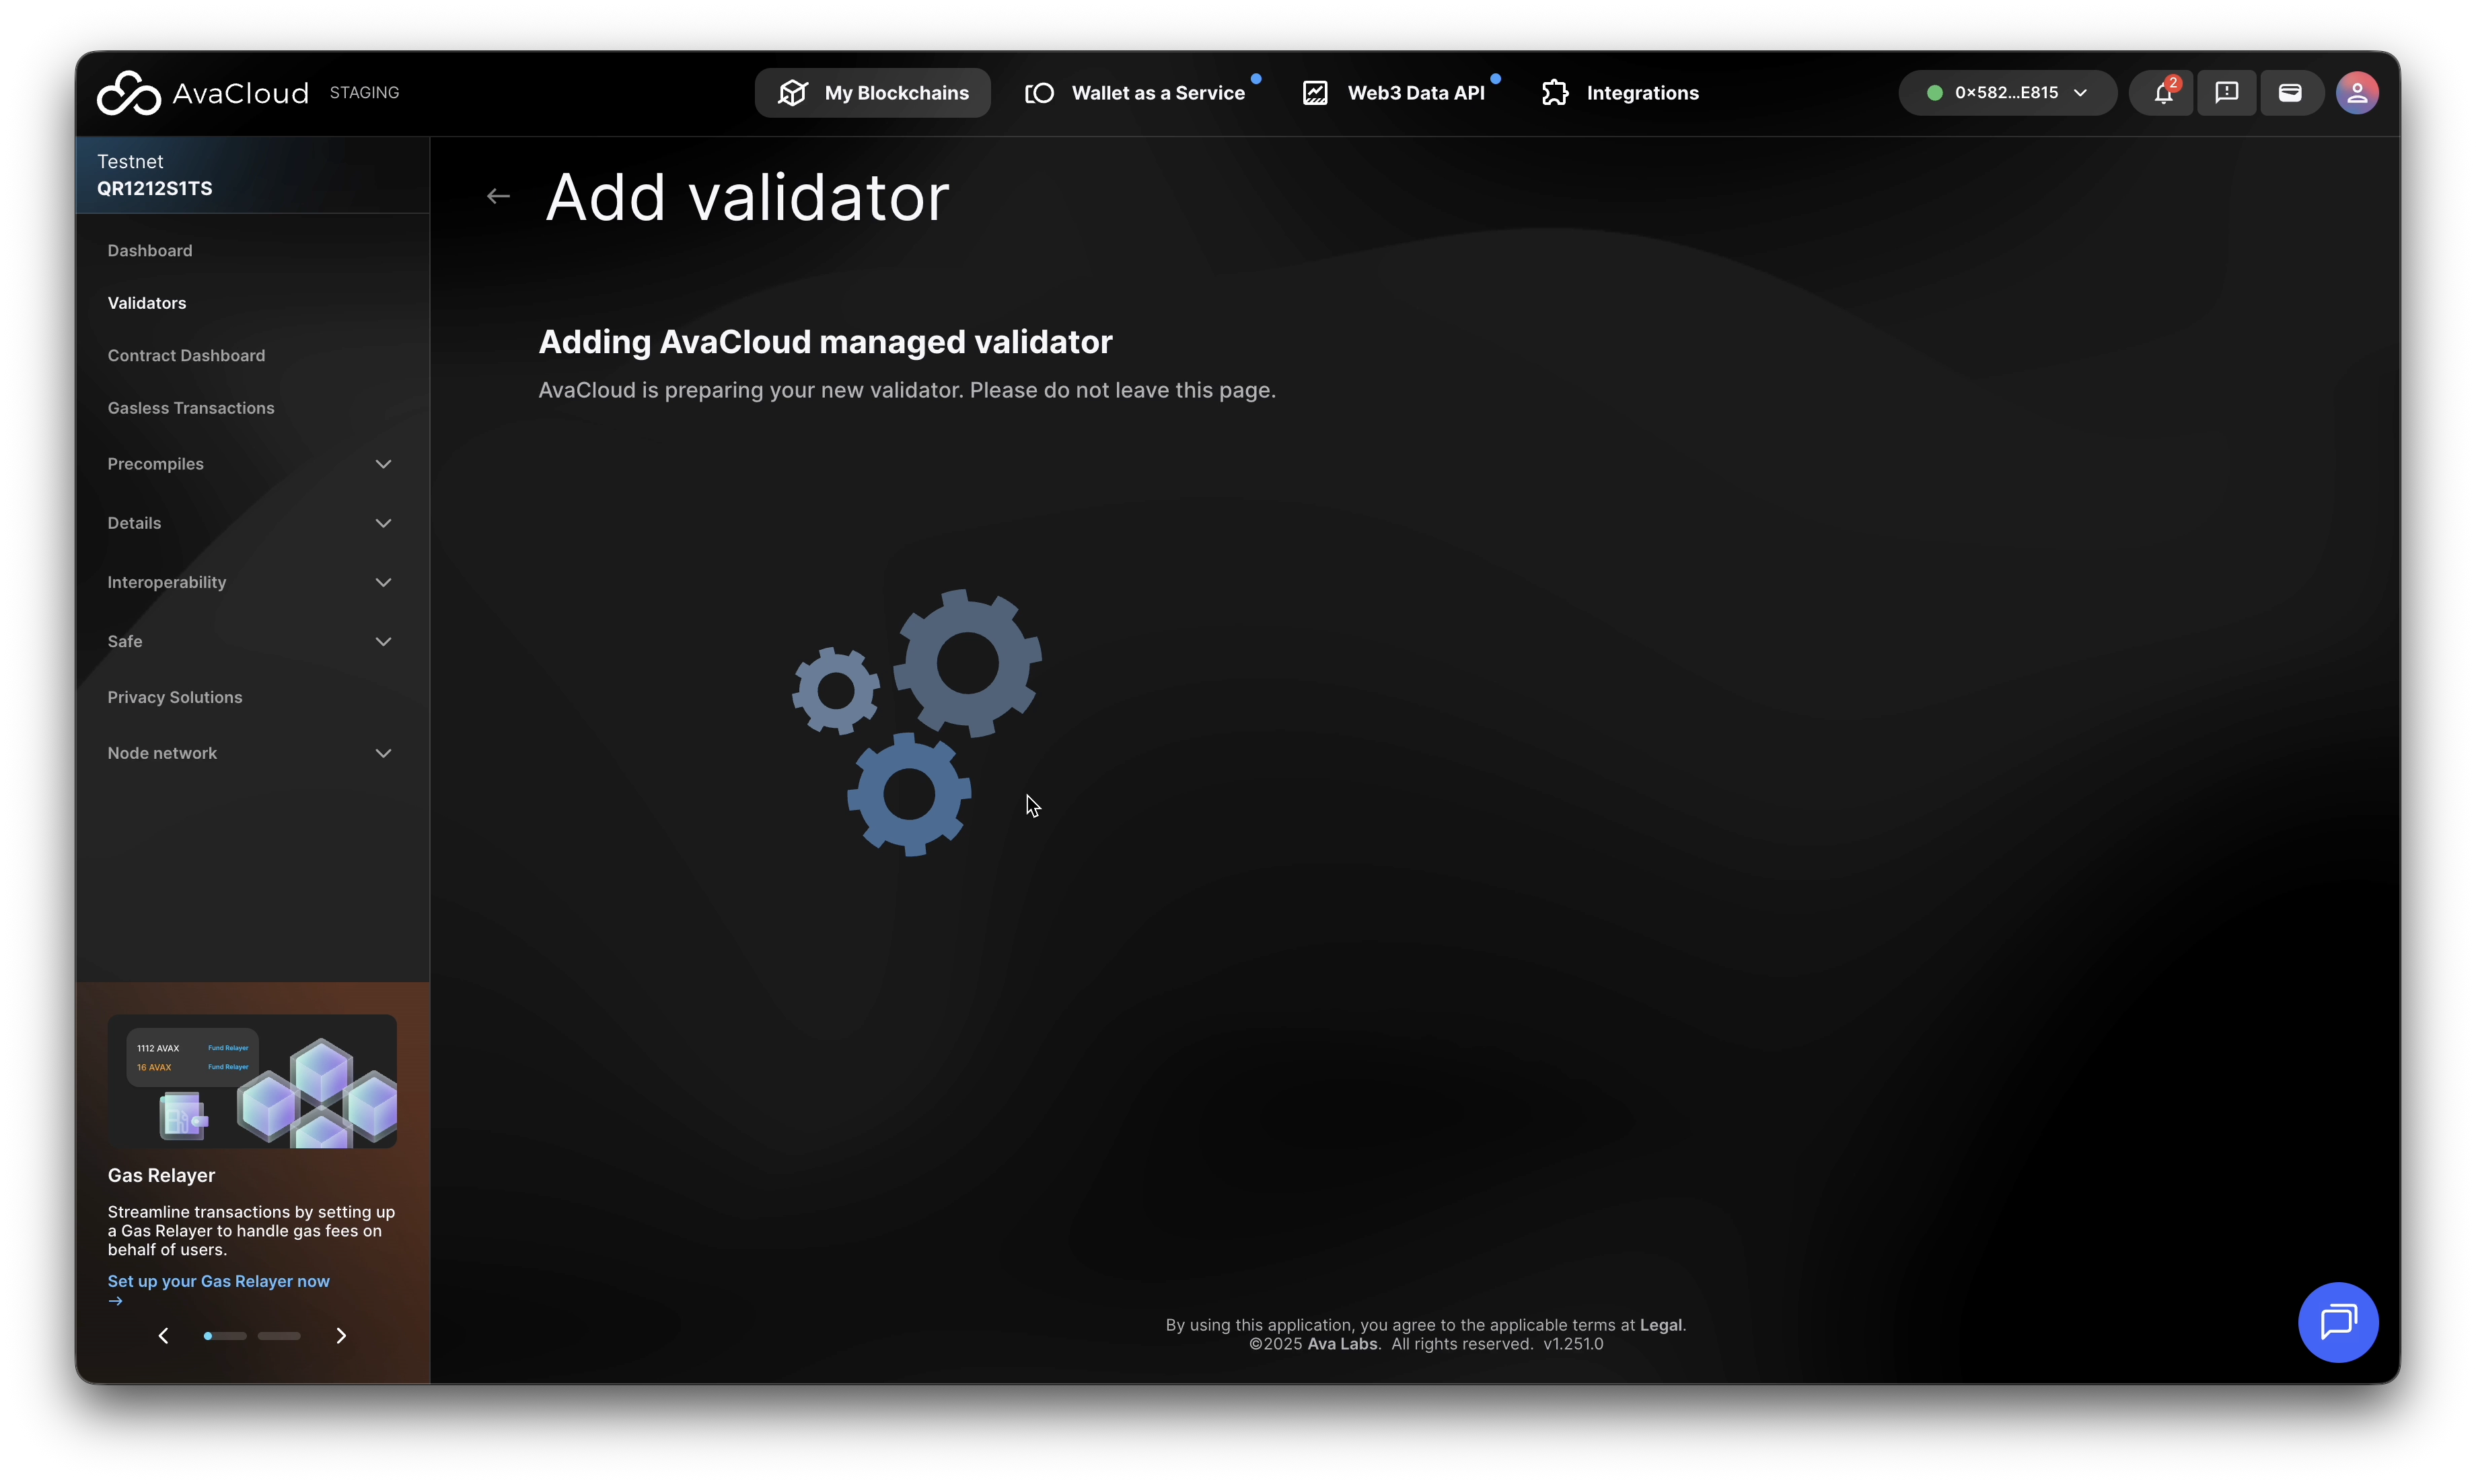
Click Next. A loading spinner will indicate progress.
4. Set Validator Weight
-
Enter the desired staking weight for this validator.
-
You may allocate up to 20% of the total validator weight per addition.

-
If your Core wallet is not already switched to the correct L1, the Portal will prompt you to do so.
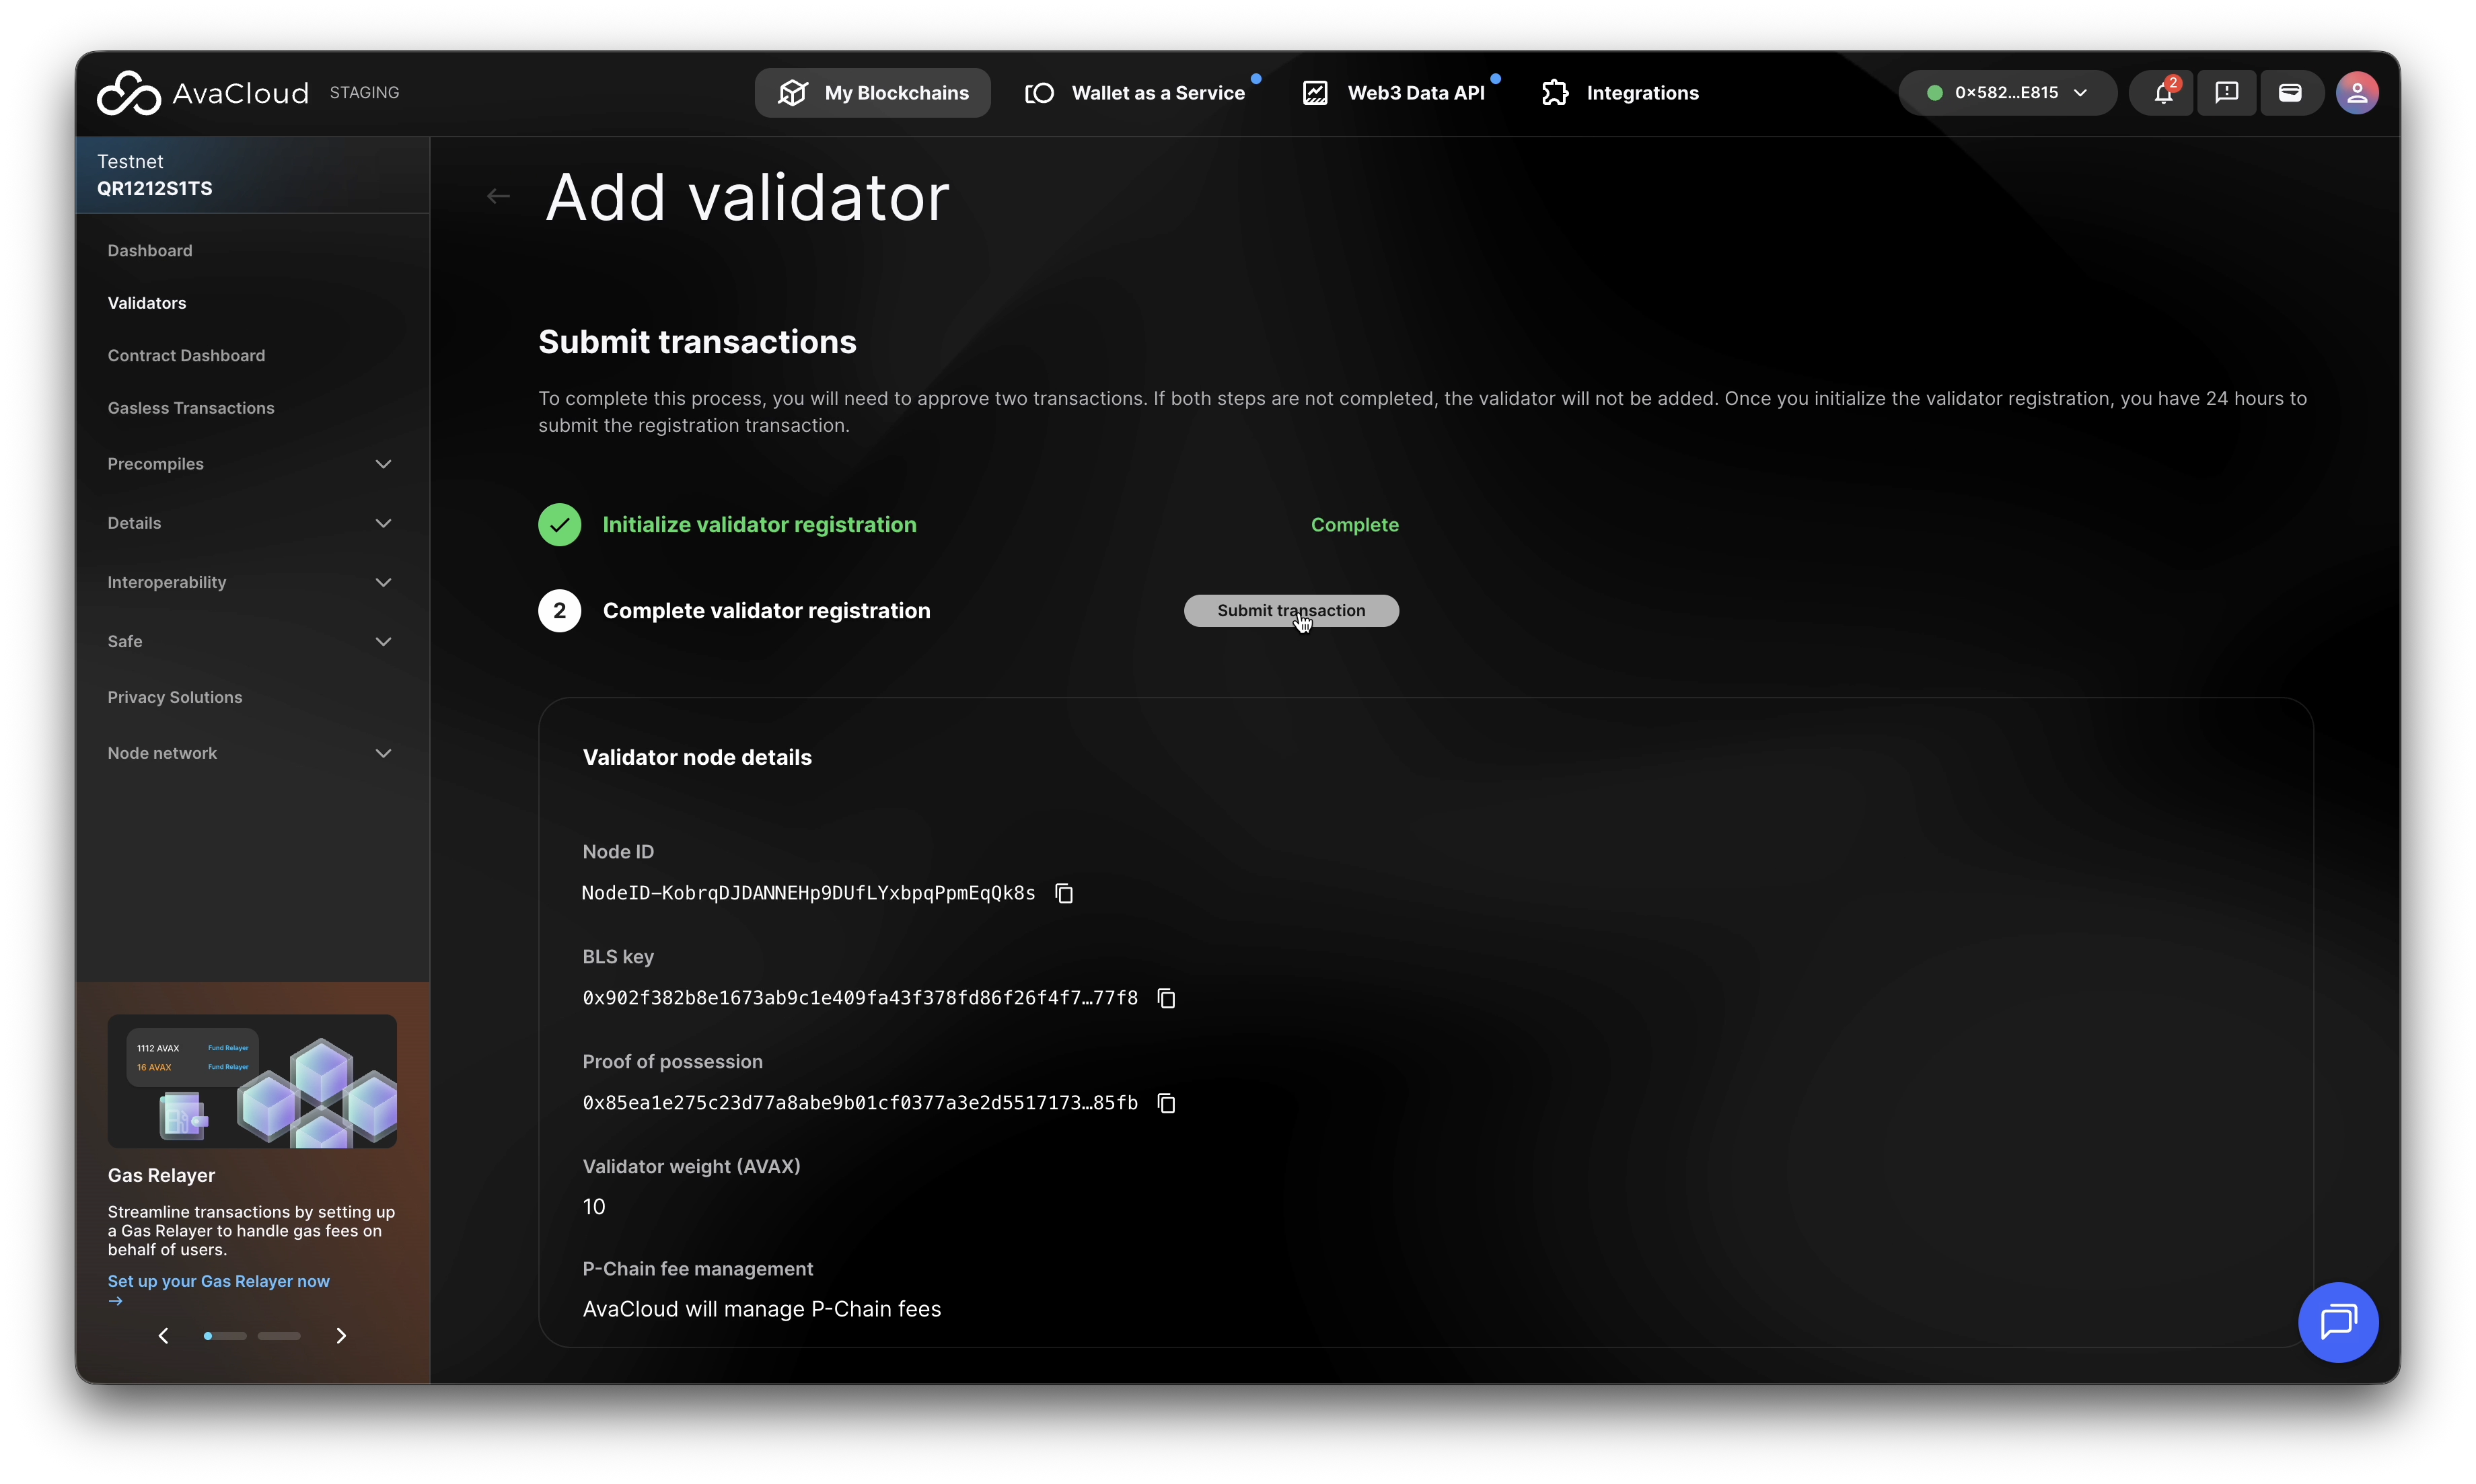
5. Submit the Transaction Request
-
Initialize validator registration.
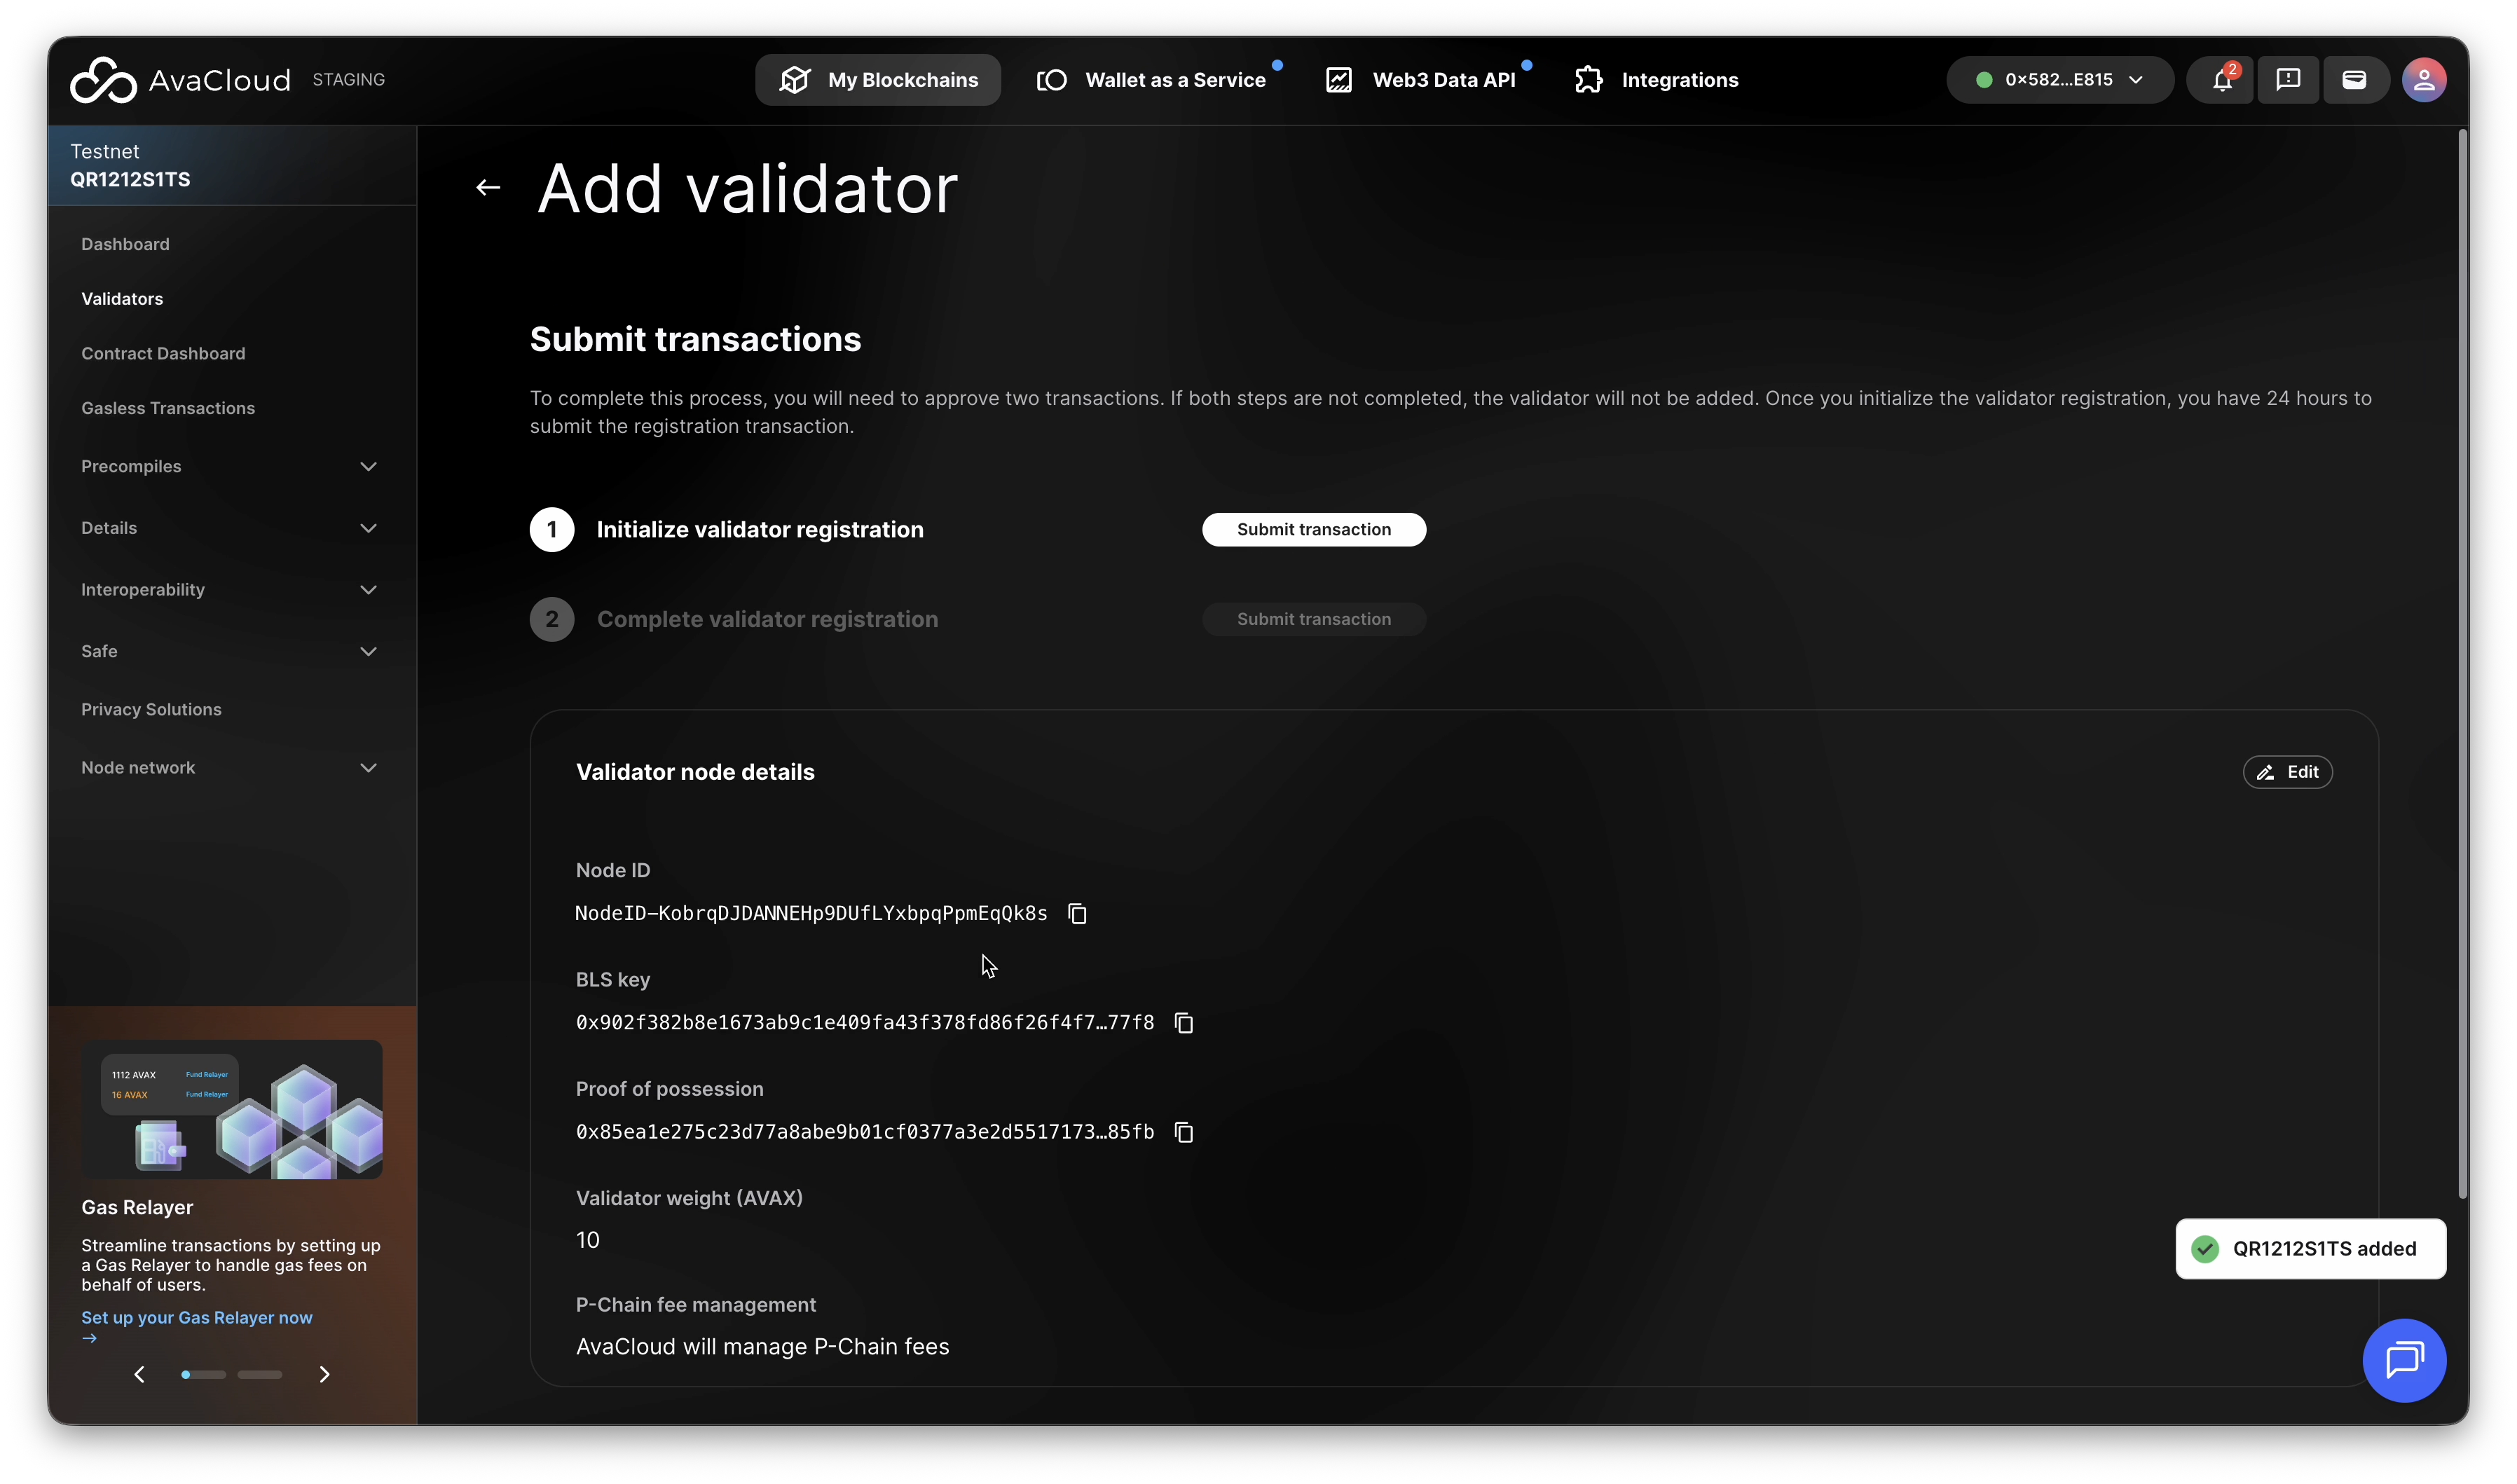
-
Complete registration process.
6. Confirm Addition
-
You’ll see a success screen when the process completes.
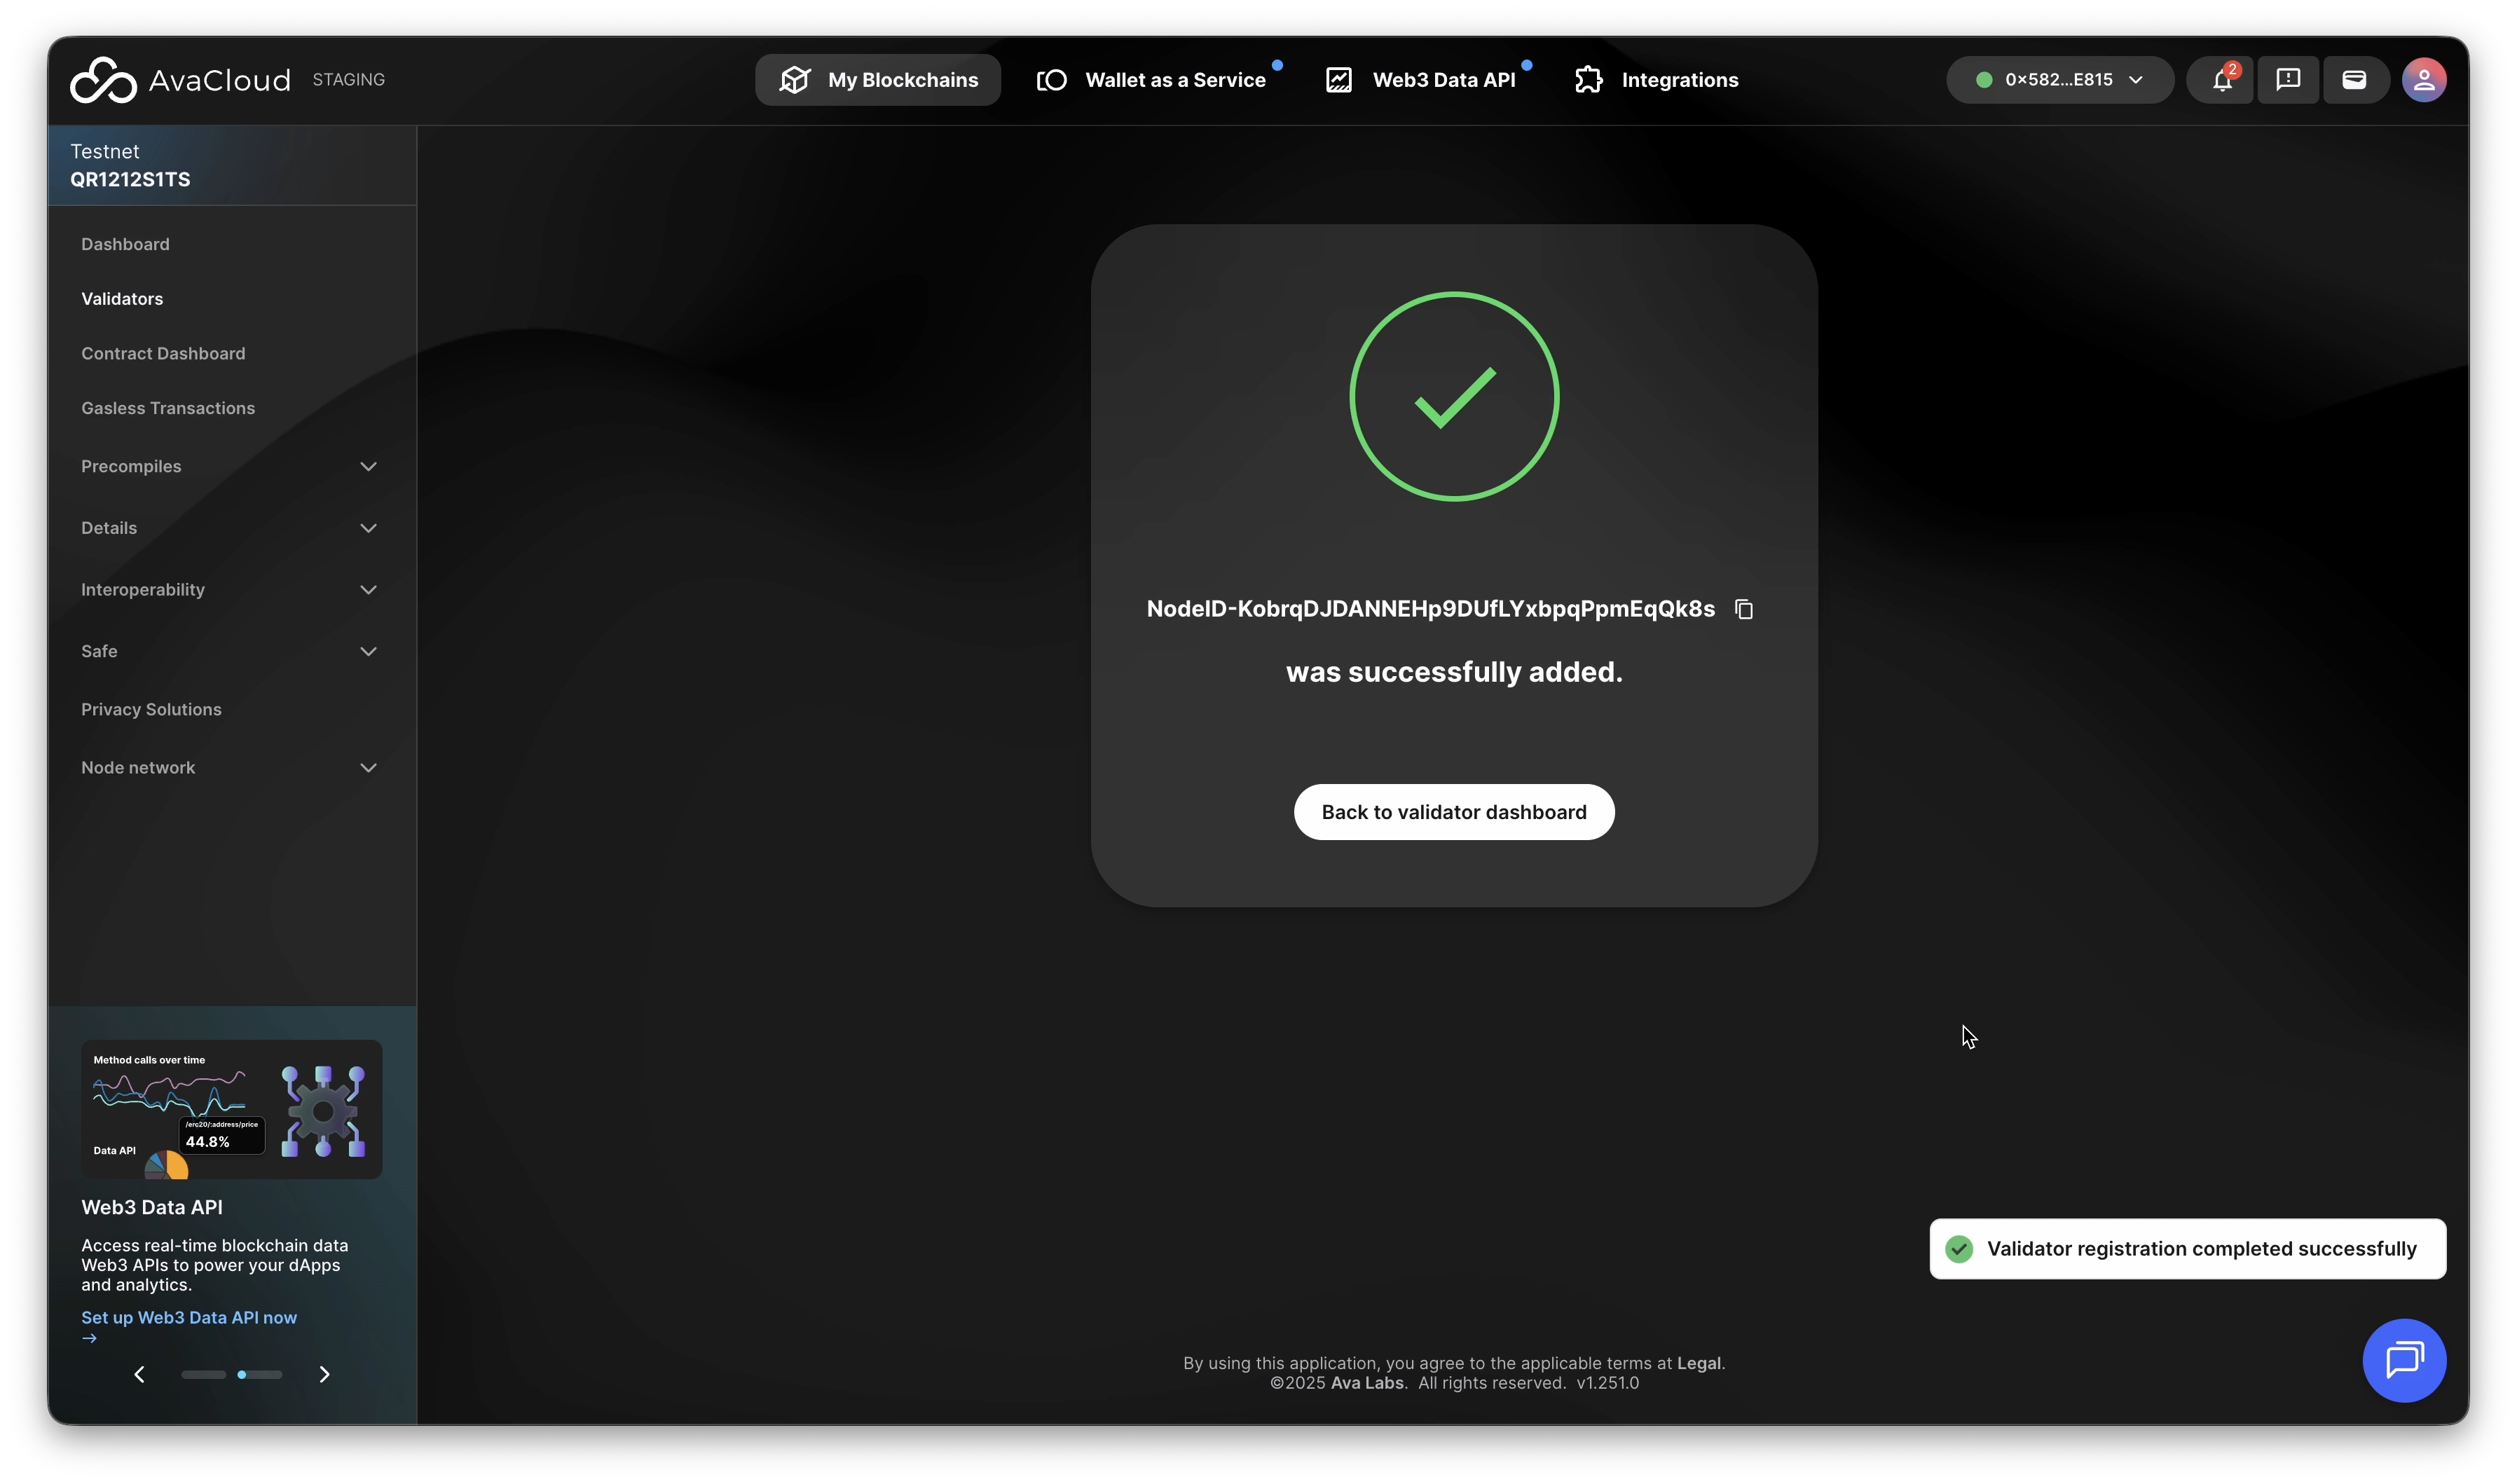
-
The new validator will now appear in your validator list.
Video Walkthrough
Remove a Validator
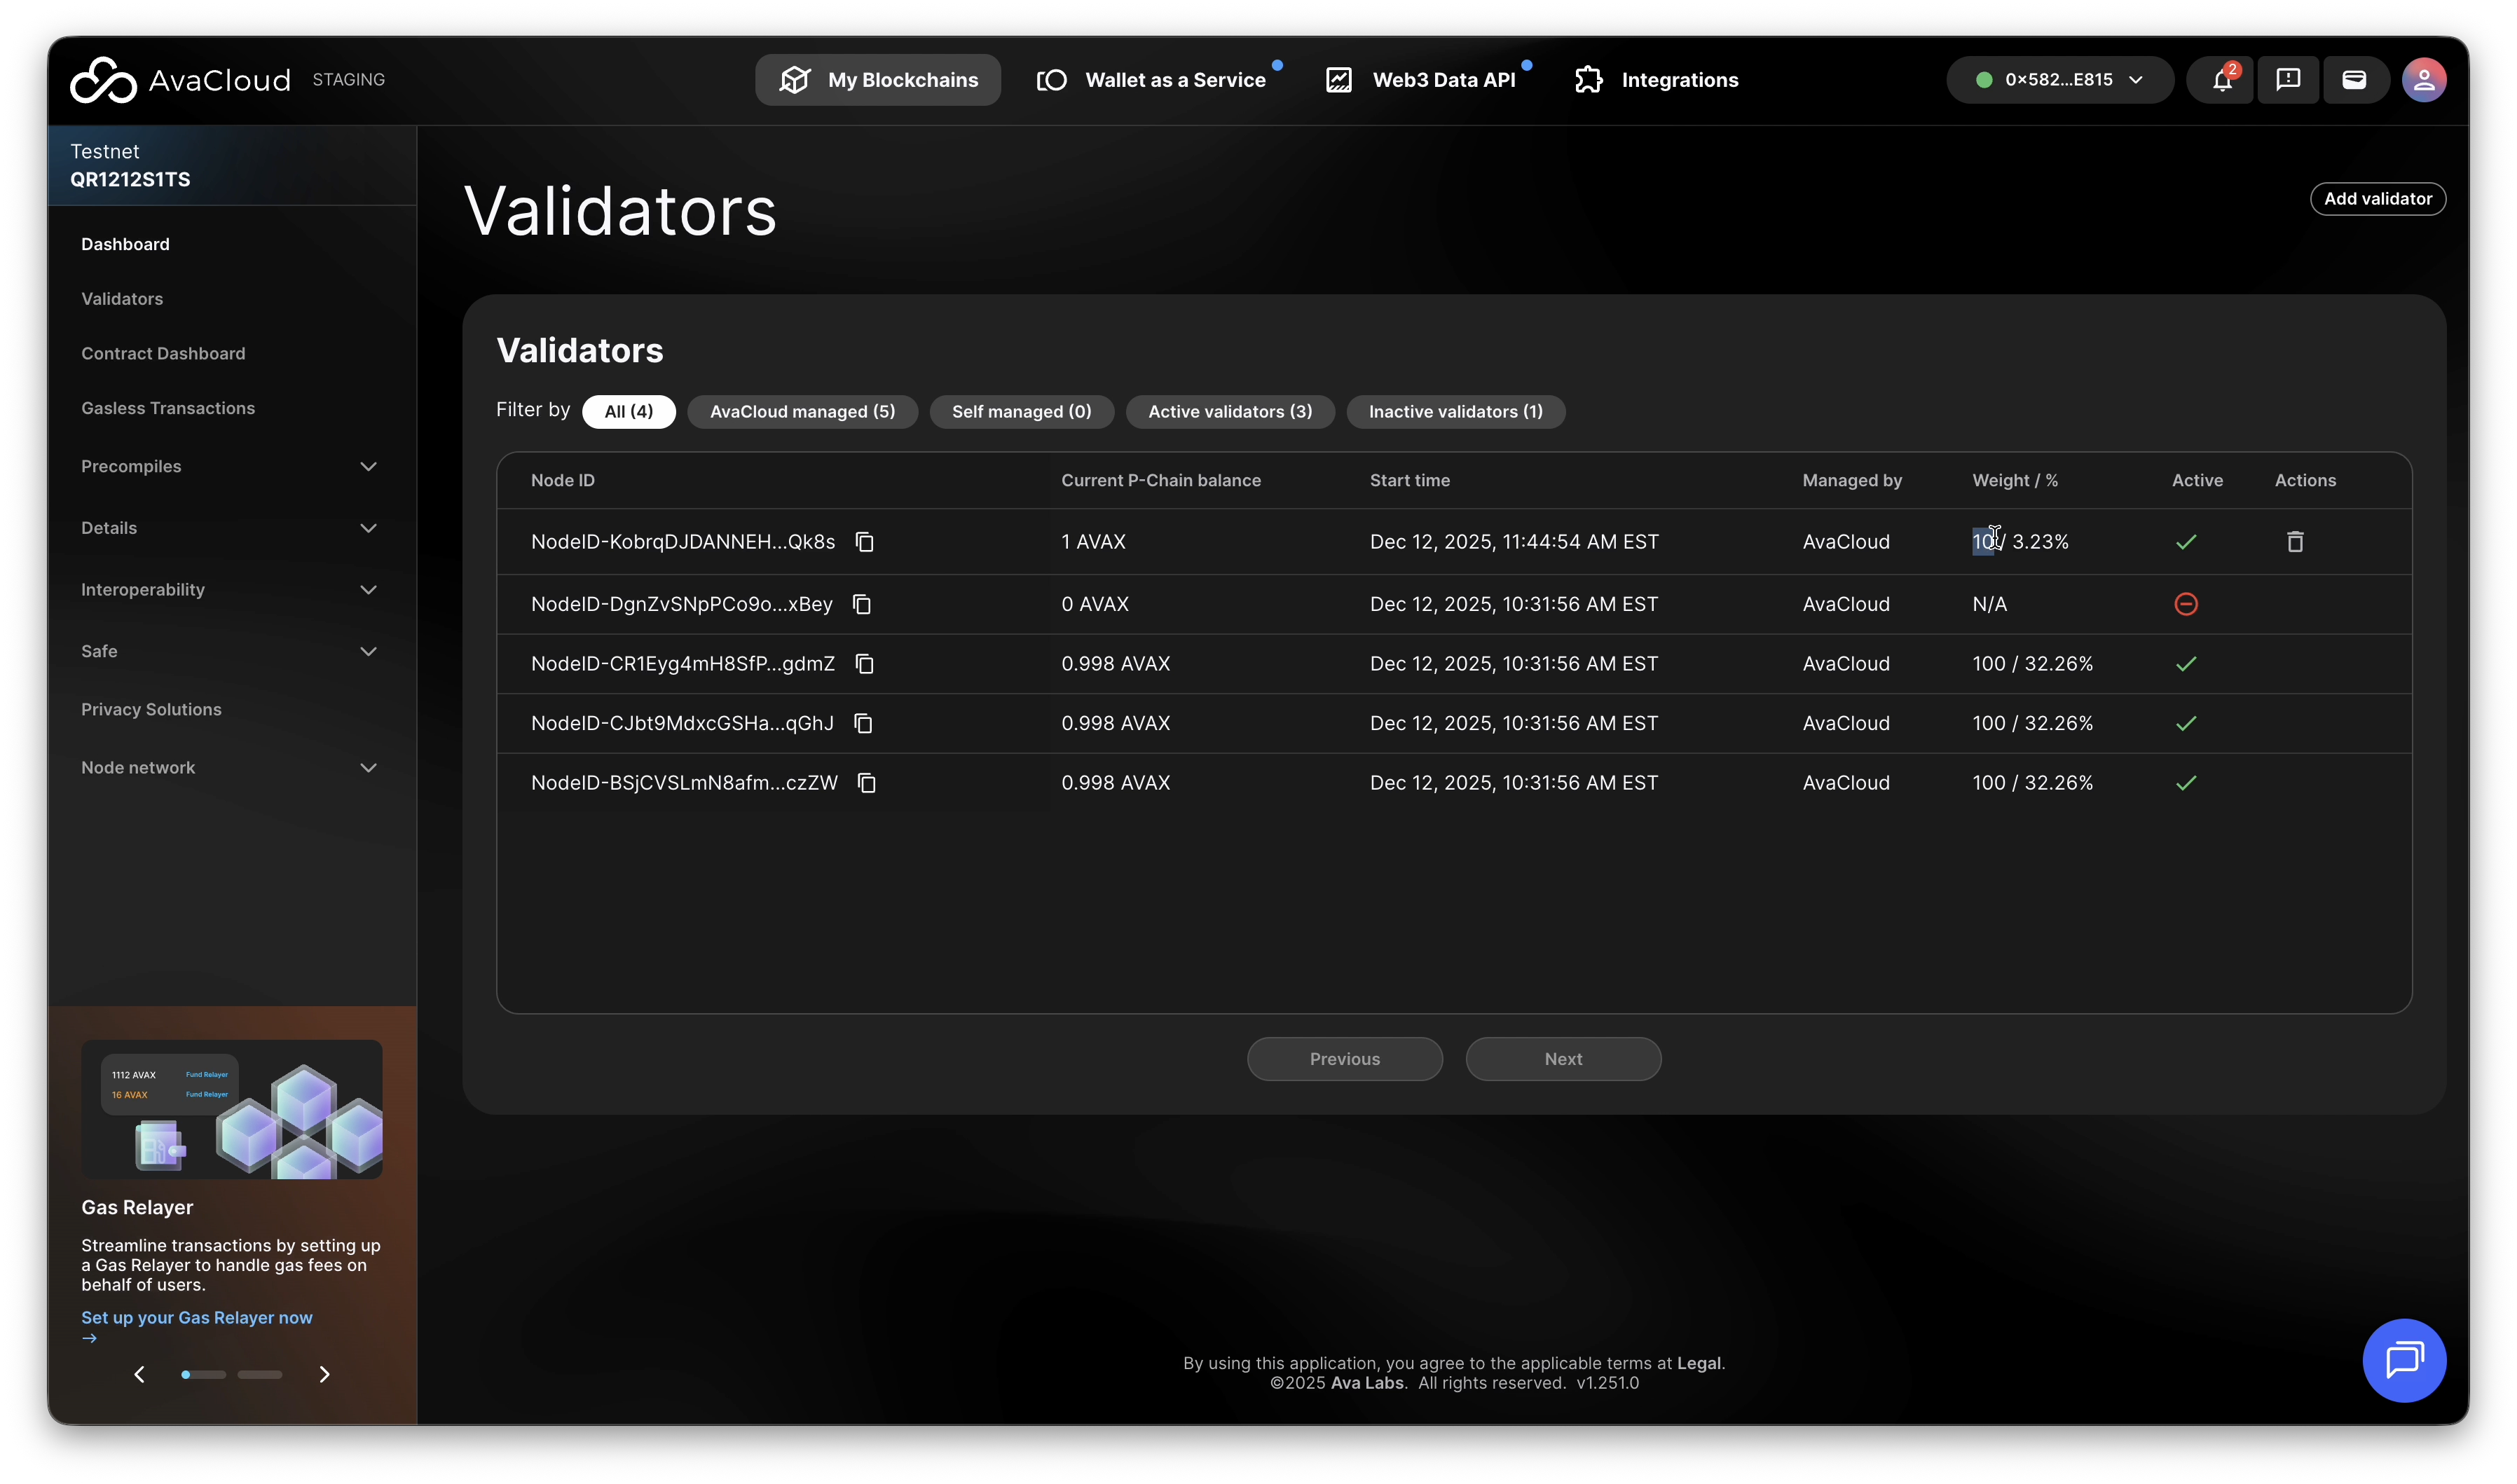
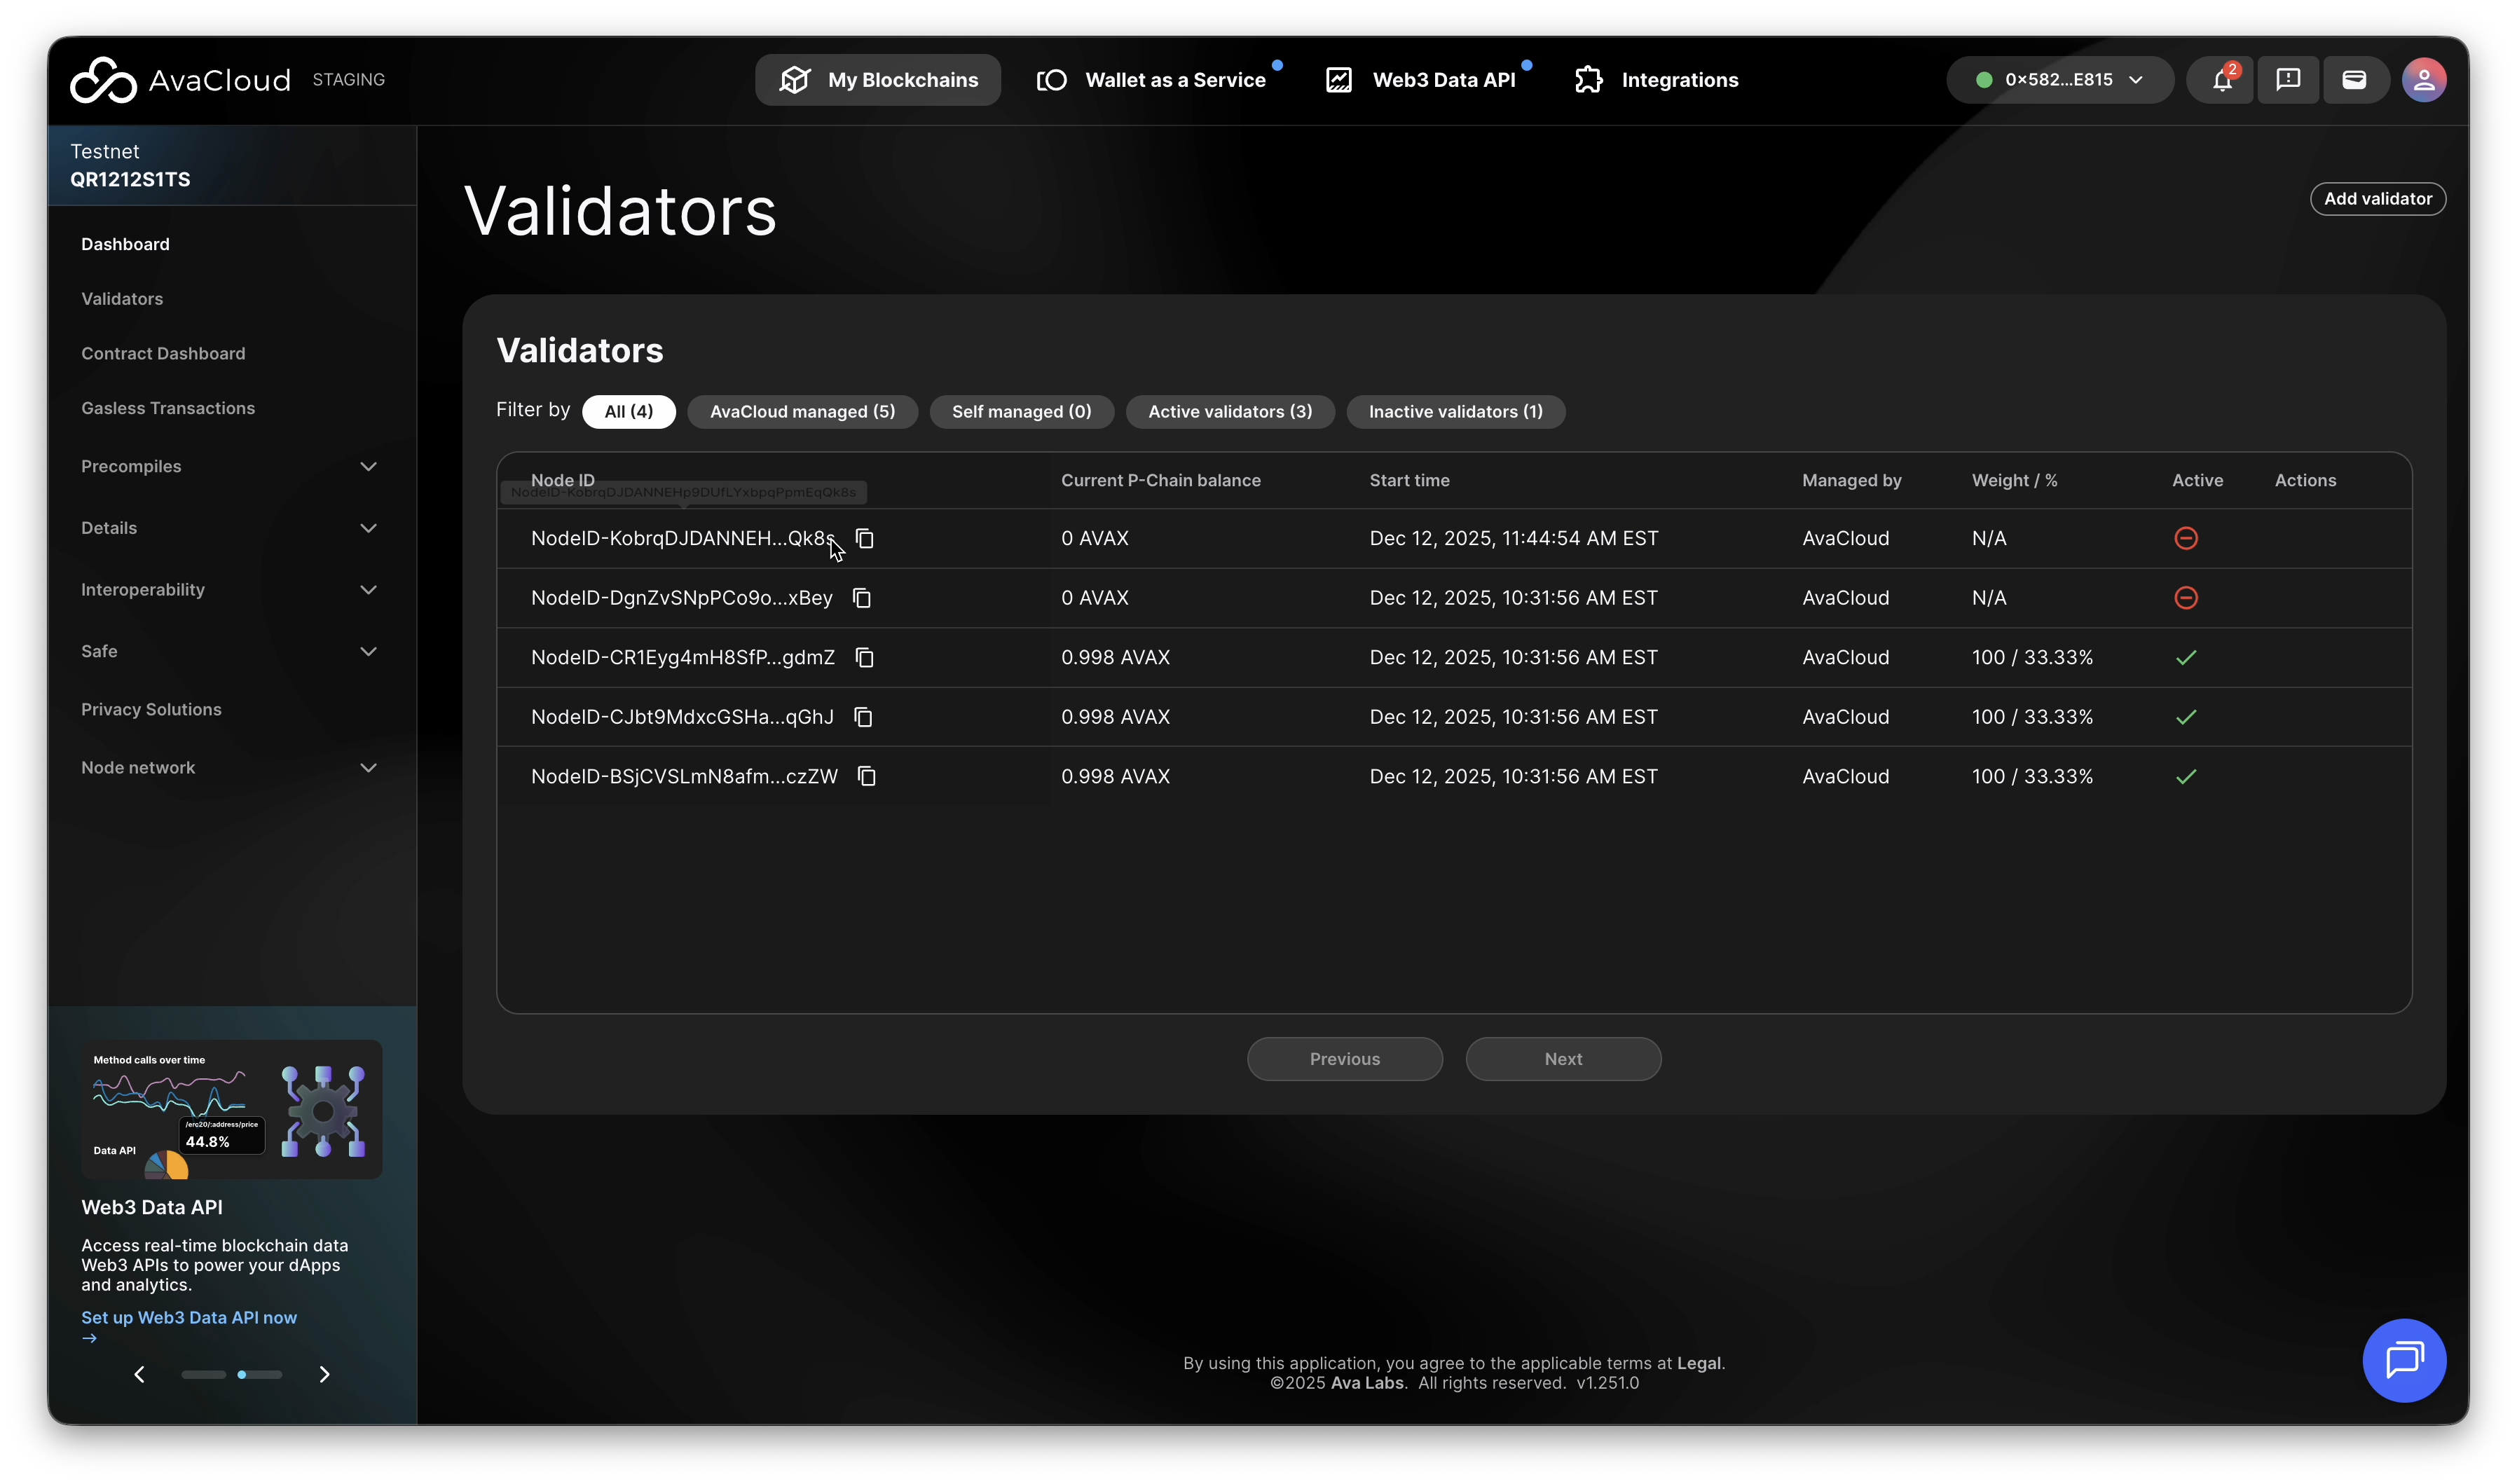
1. Locate Validators Tab
- In AvaCloud Portal, go to your L1’s Validators tab.
- Locate the remove icon next to a validator
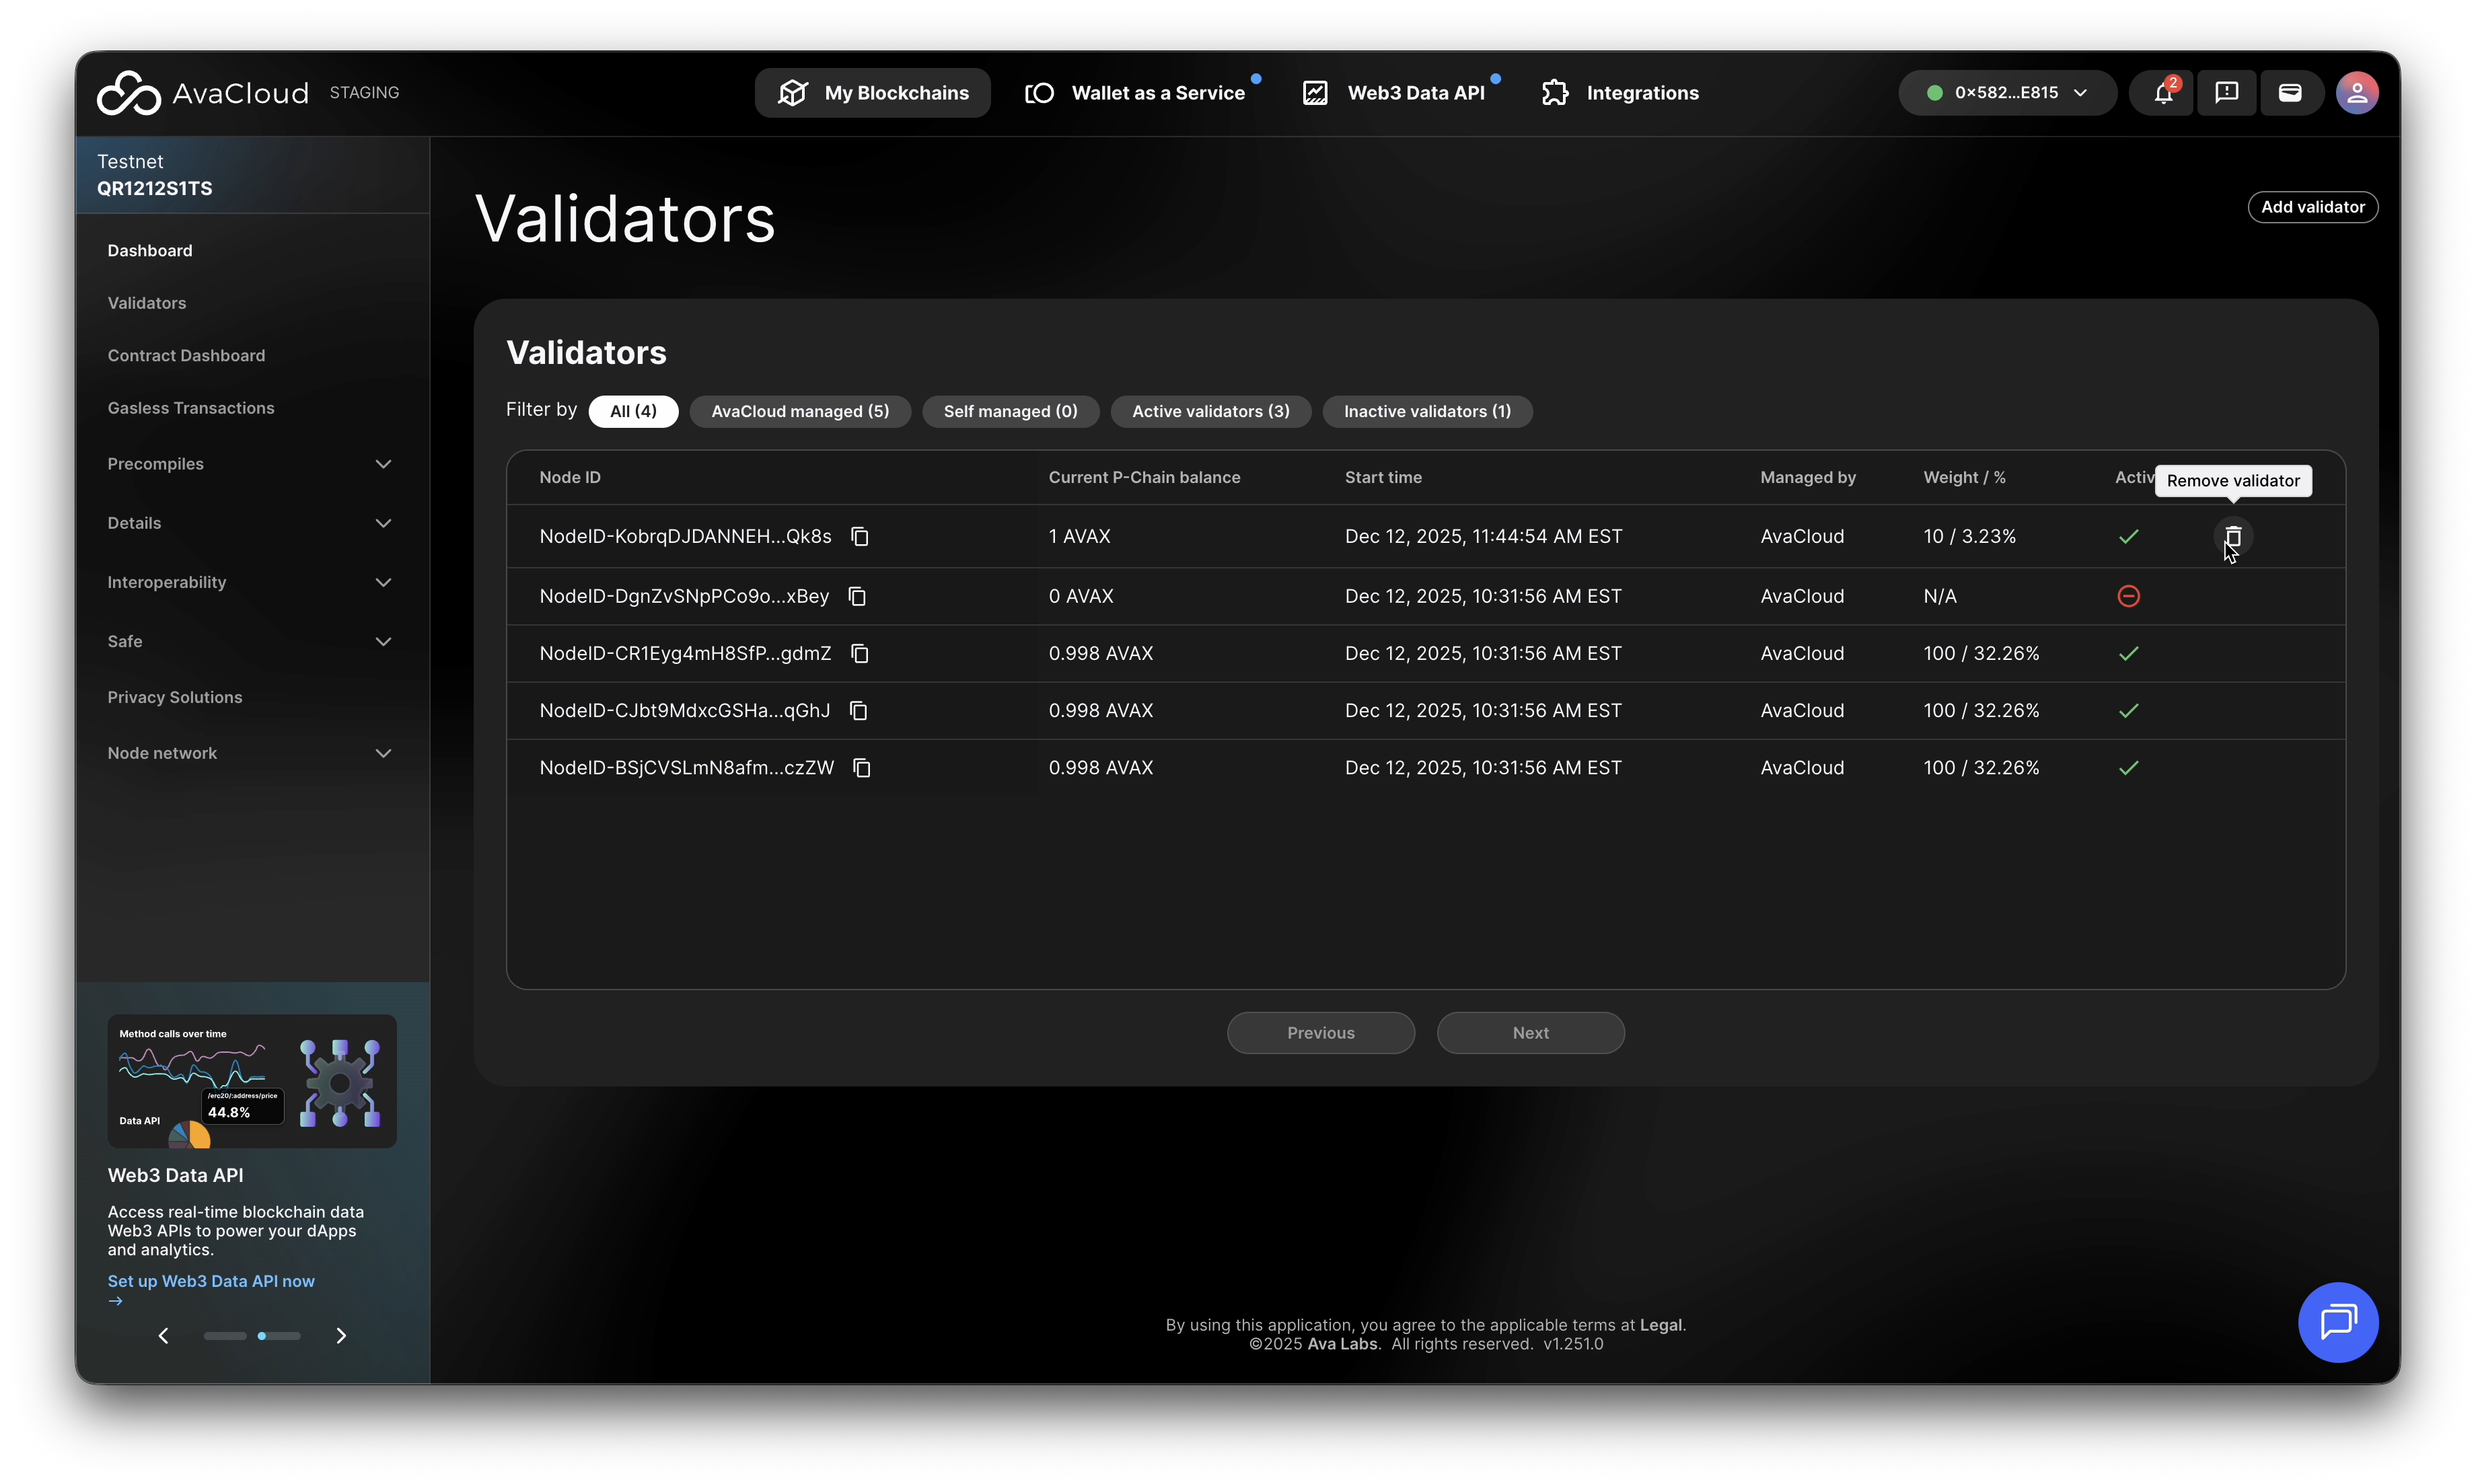
AvaCloud Portal provides feature to remove validators not in the original validator set. To remove a validator in the validator set, please reach out to AvaCloud by the chatbox or email [email protected].
2. Locate Validators Tab
Confirm the impact of weight of the validator to be removed.

3. Submit the Transaction Request
-
Initialize validator removal.
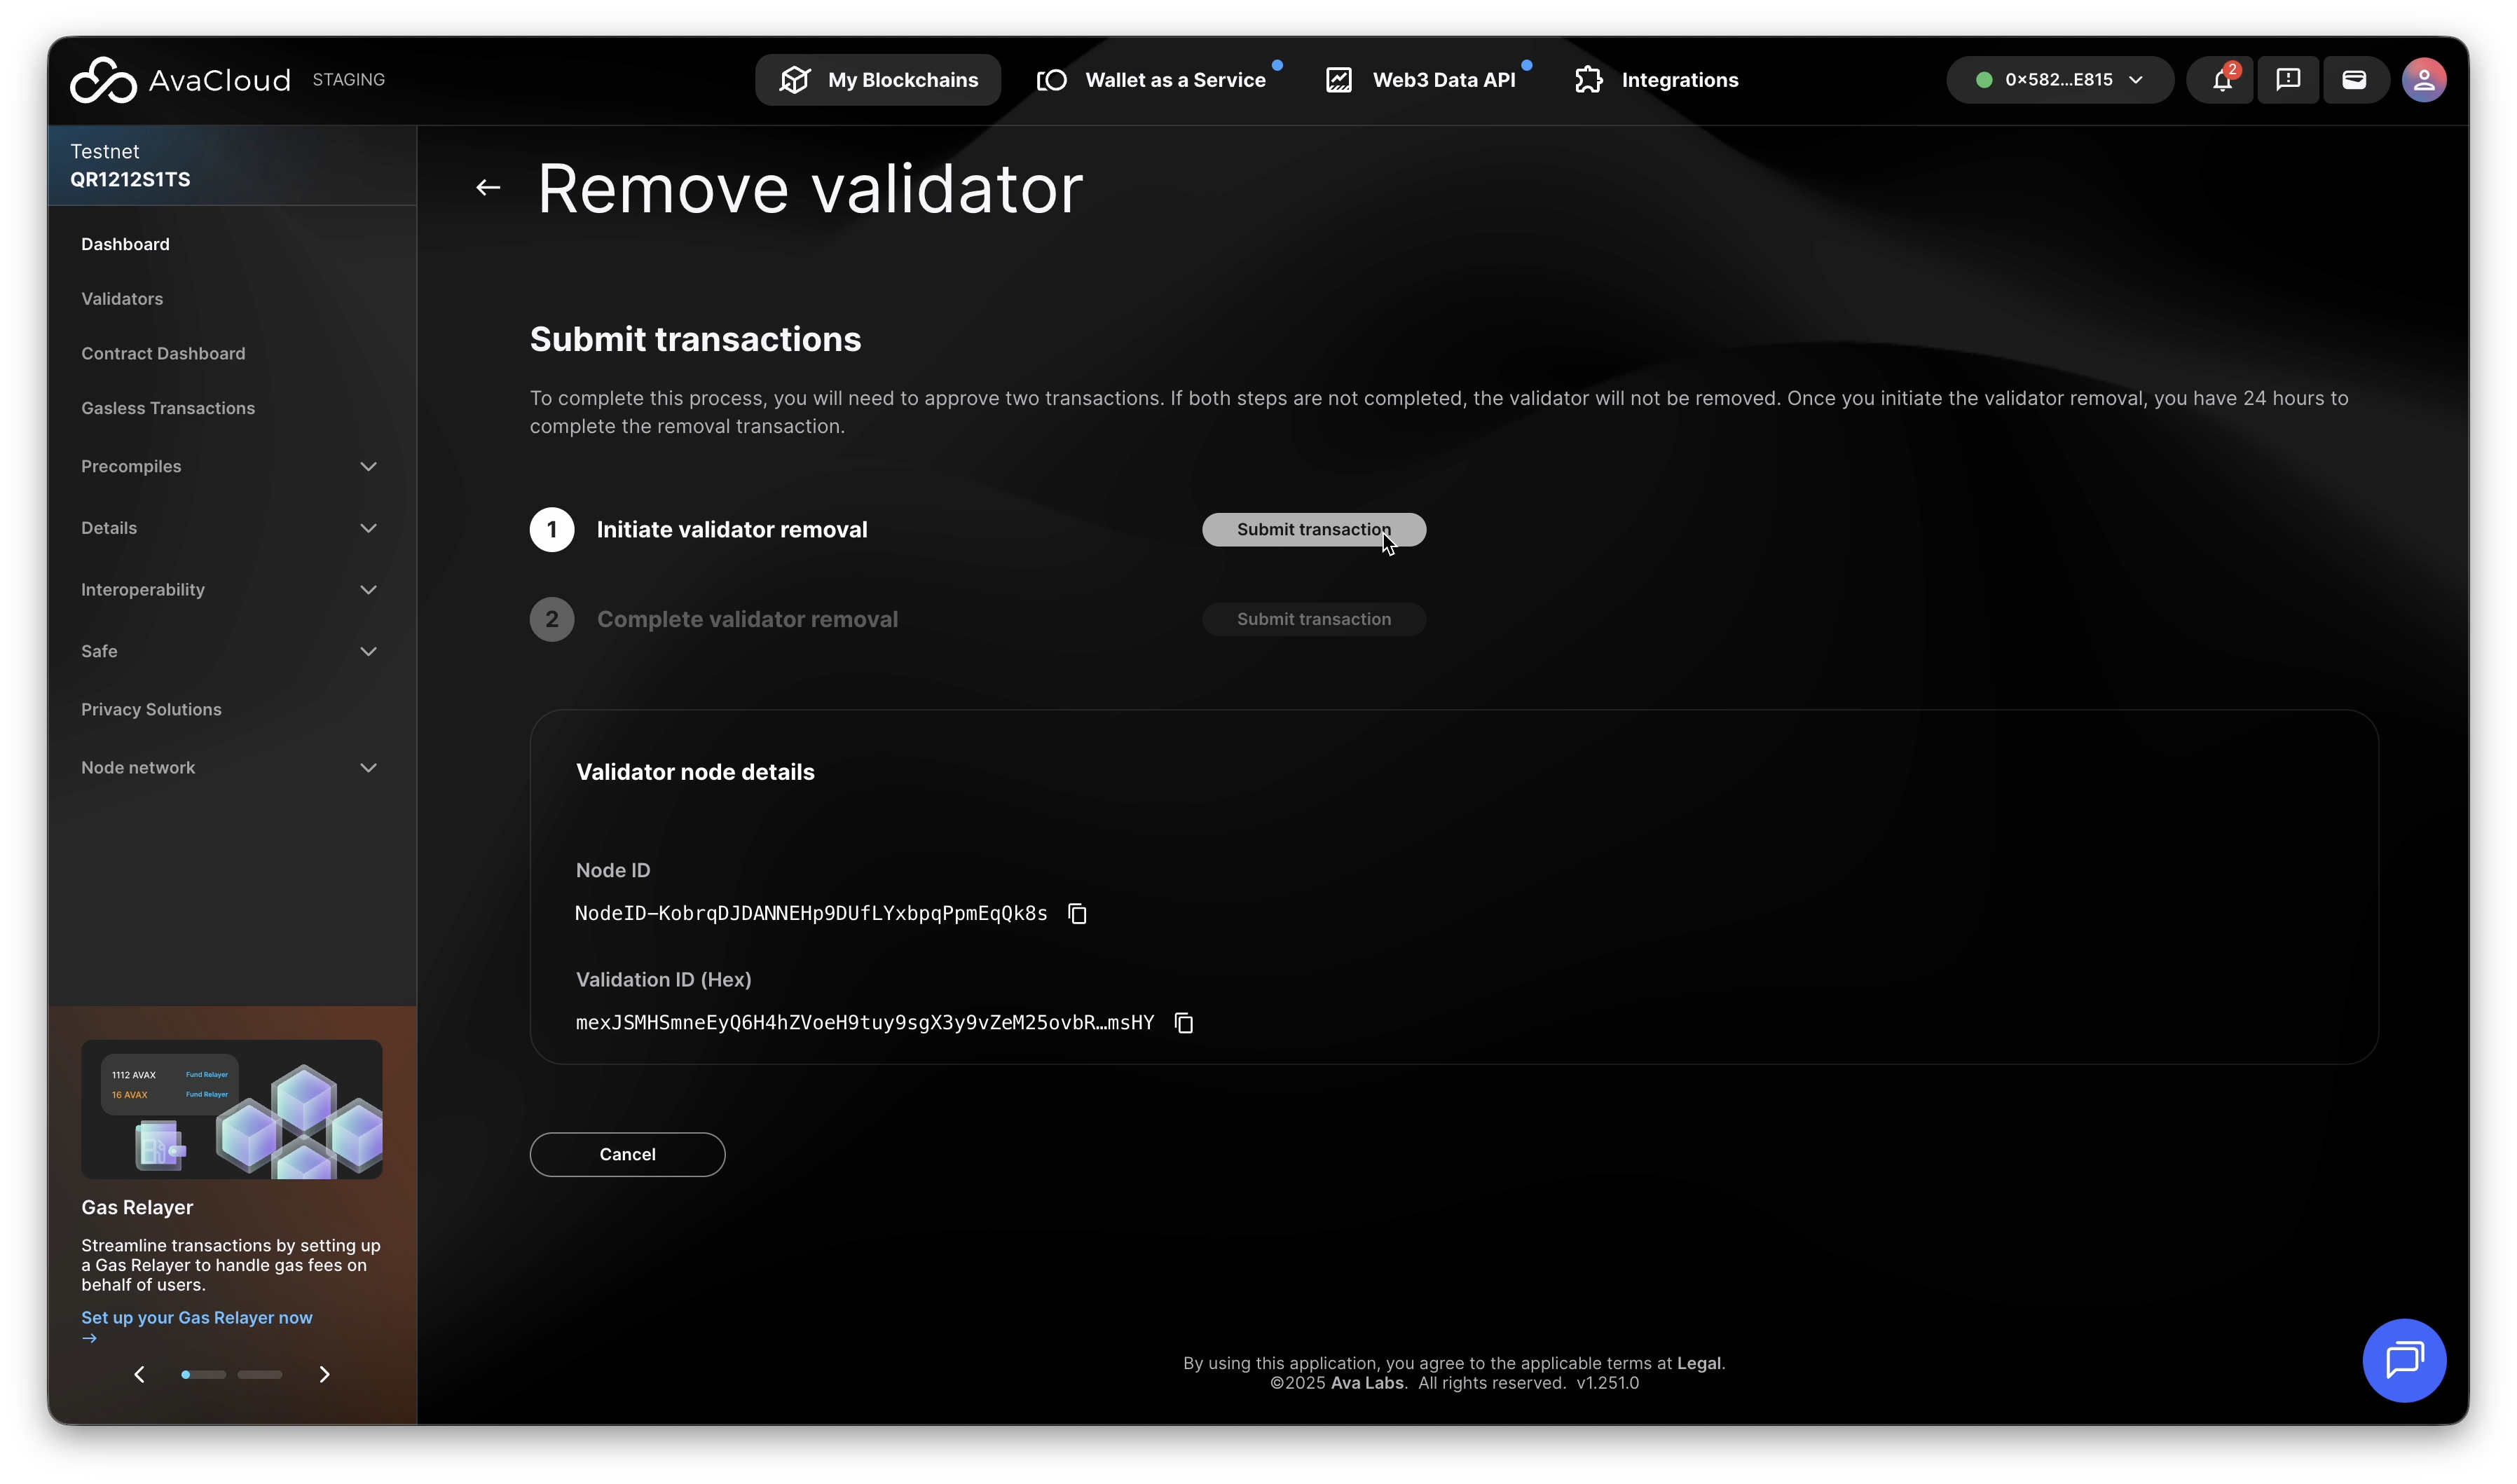
-
Complete validator removal process.
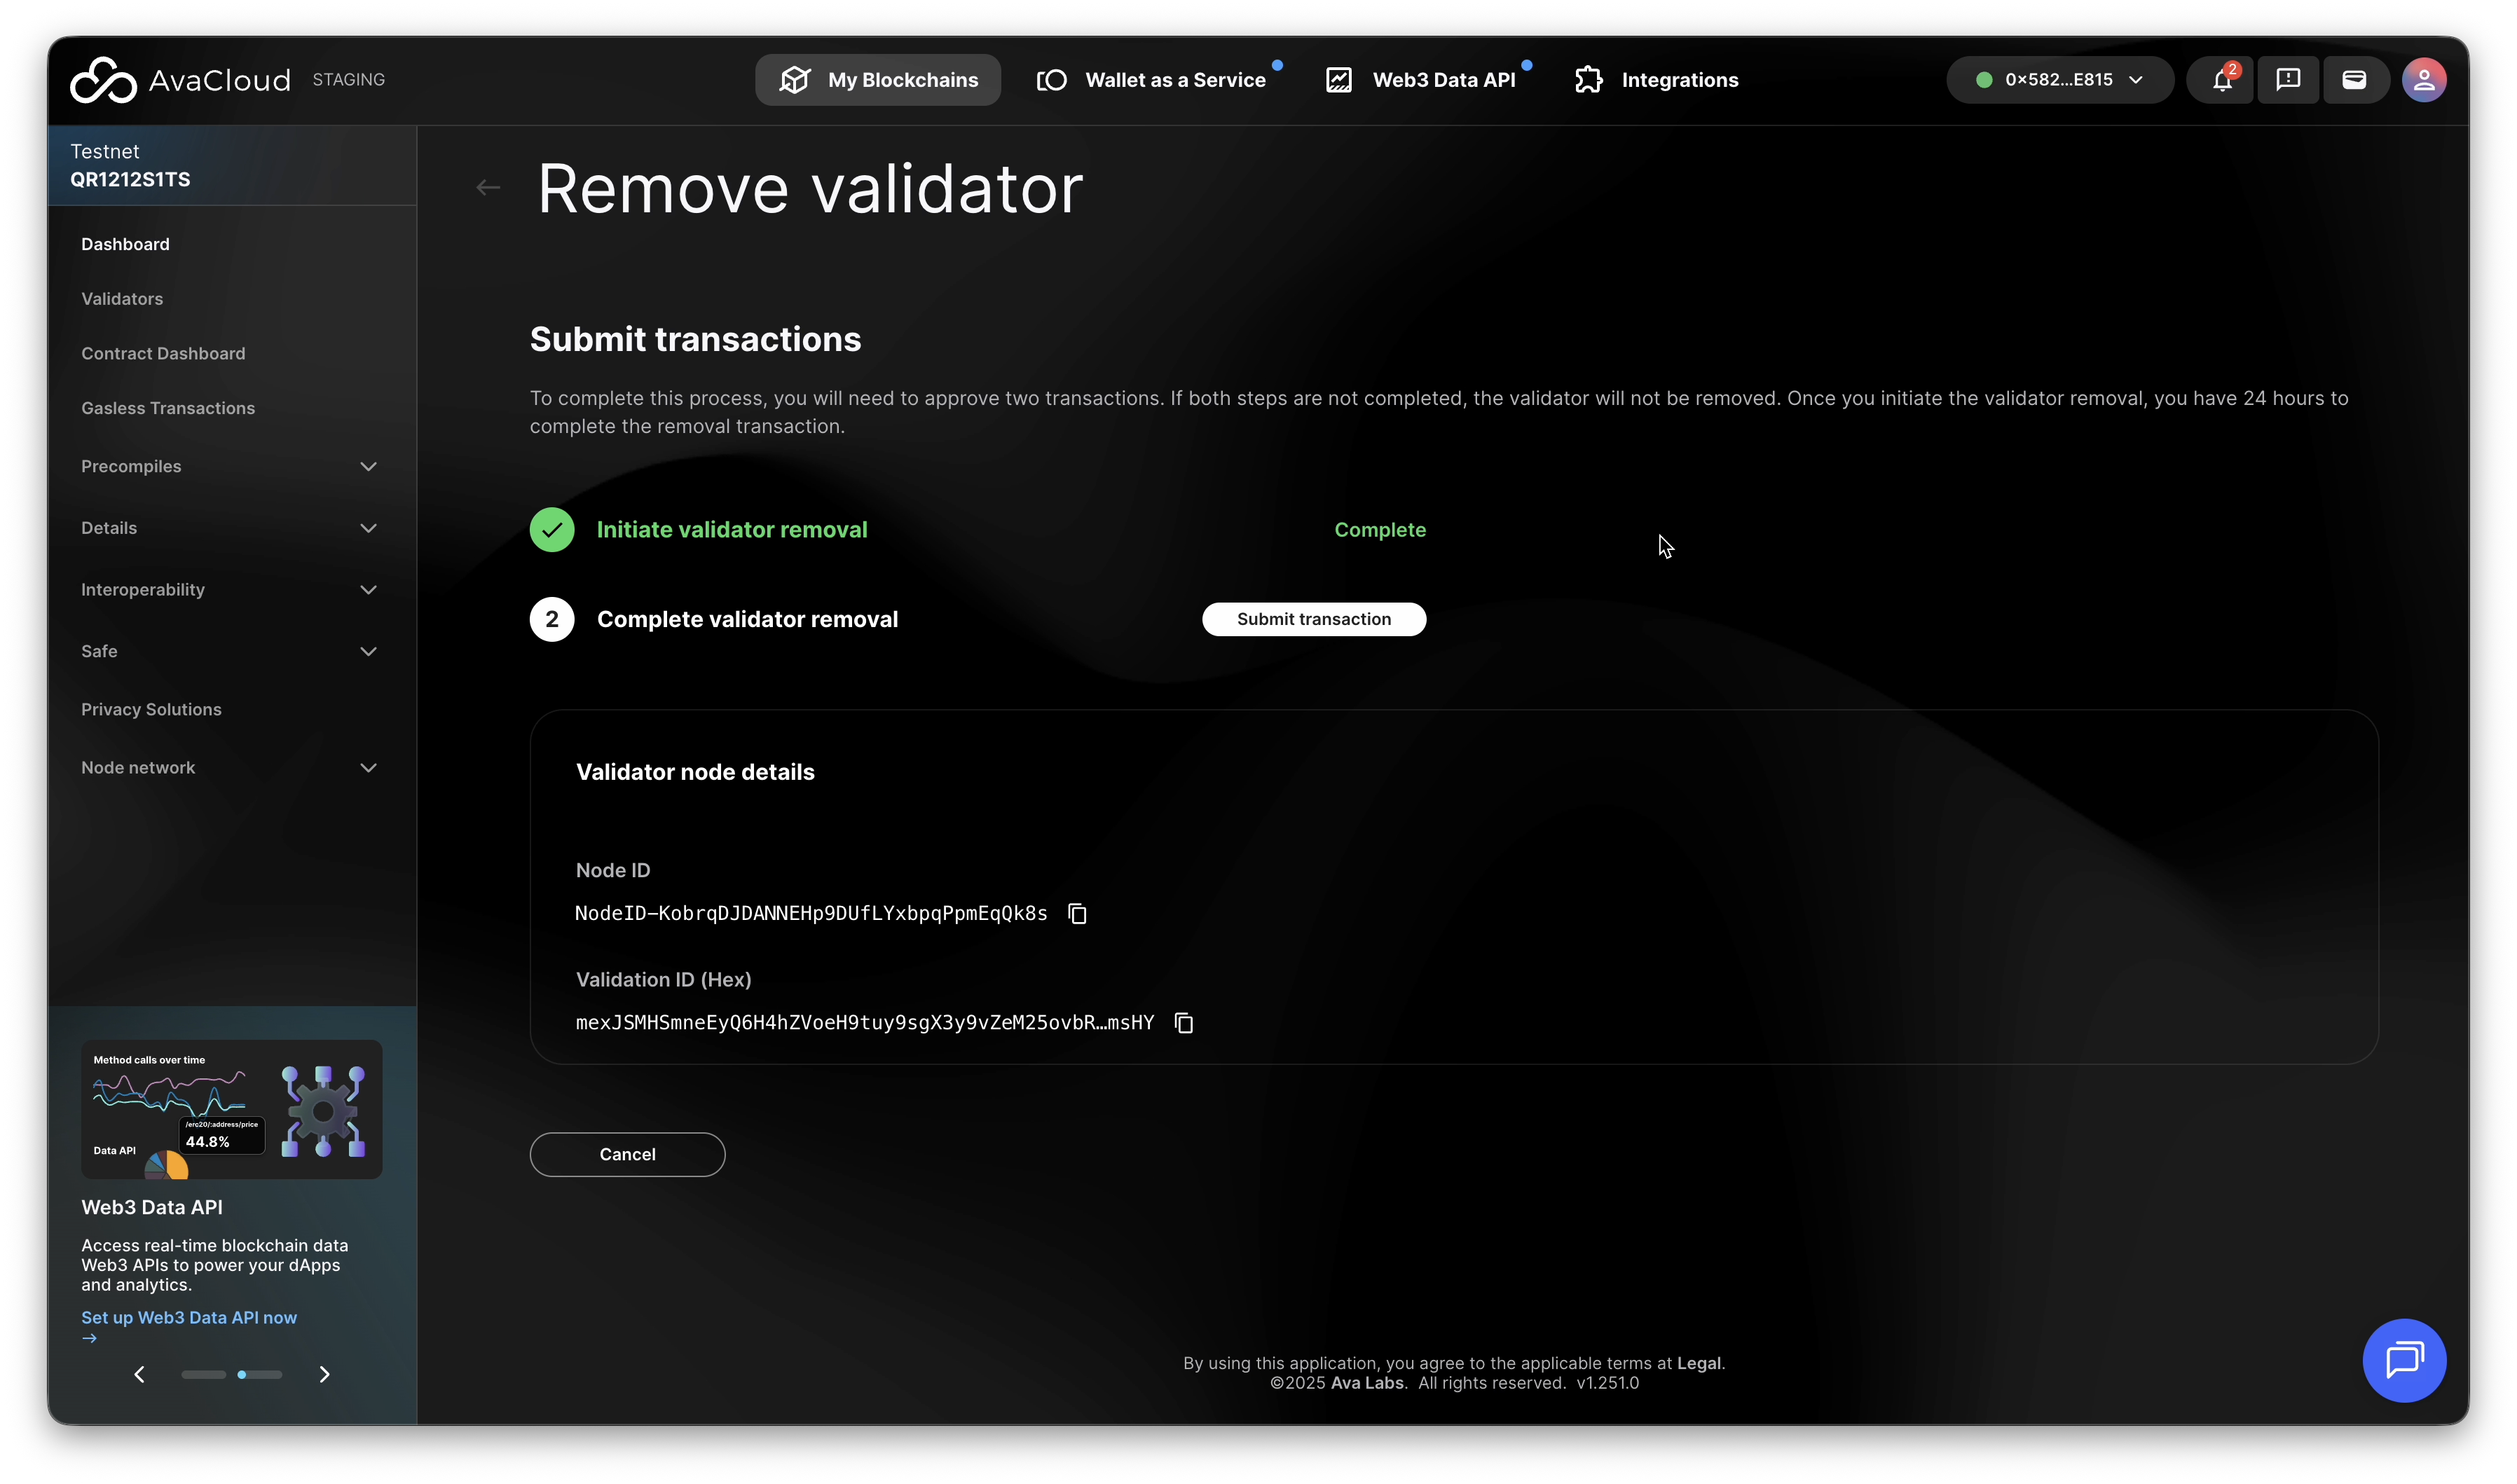
4. Confirm Removal
- You’ll see a success screen when the process completes.
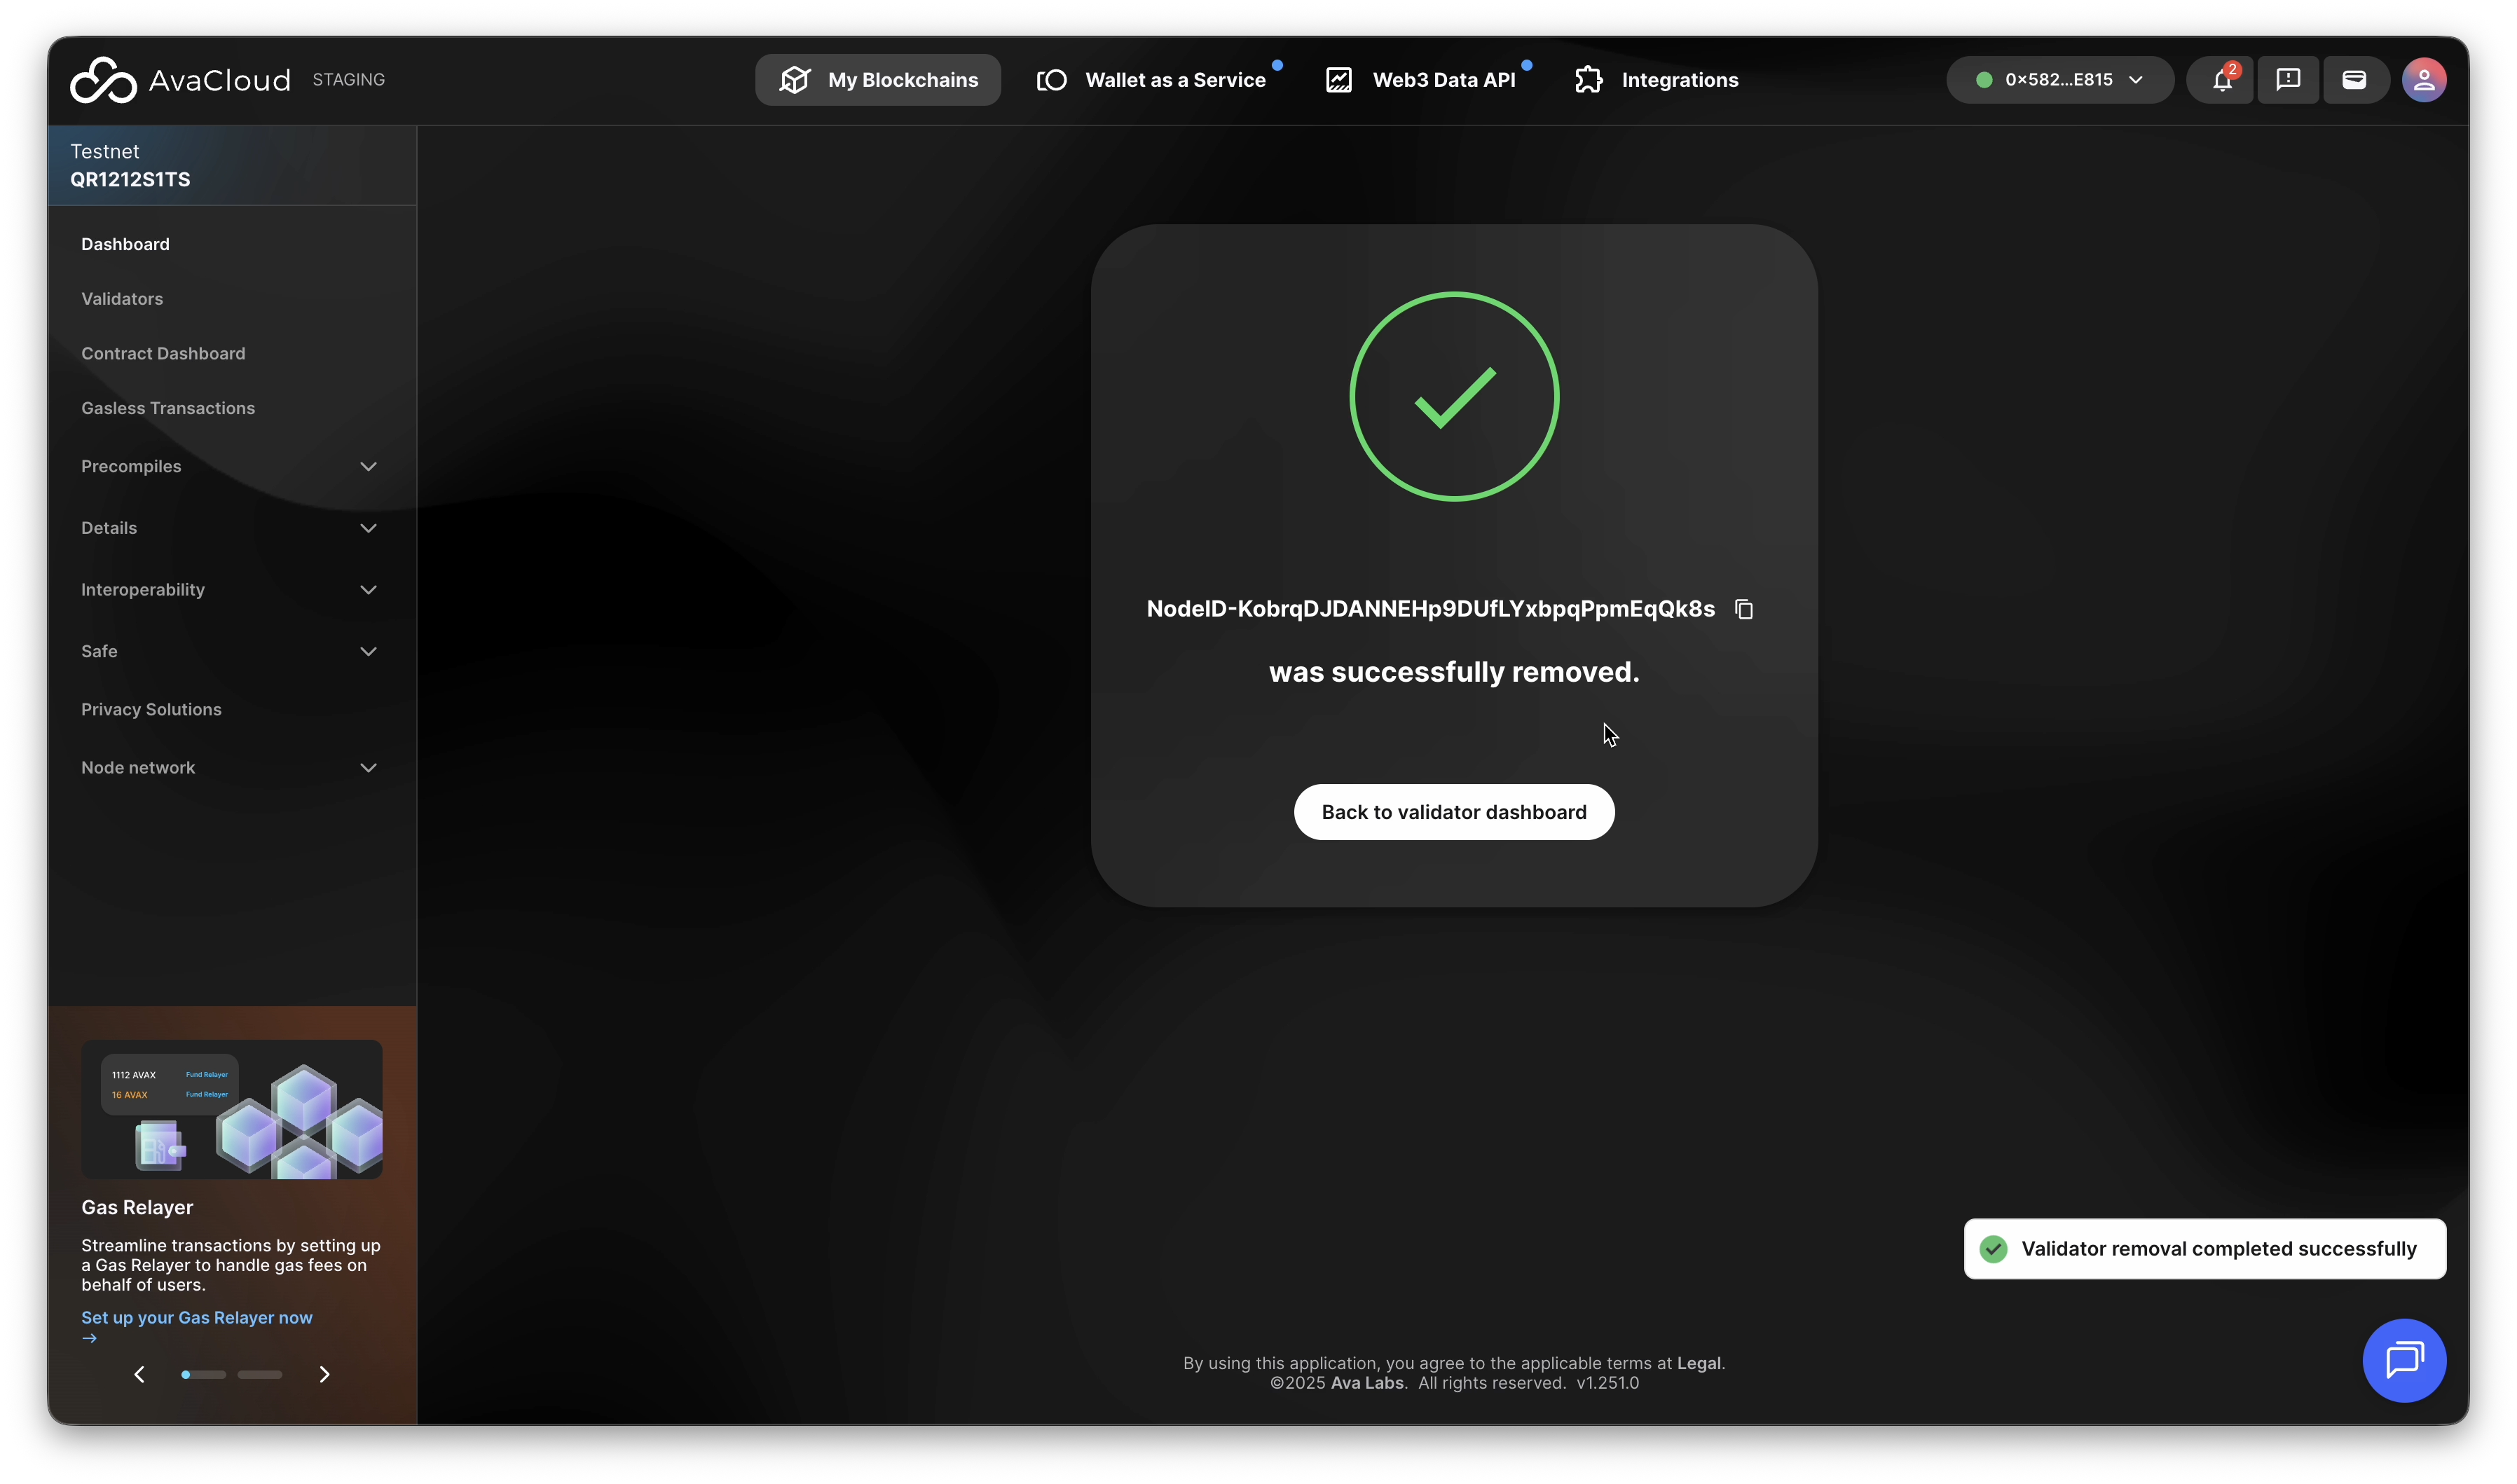
-
The validator will now be marked as removed in the validator list.
Video Walkthrough
If you need more help, explore our other articles or reach out to our support team via chat or email [email protected]. All examples provided are for demonstration purposes only.
Learn More About AvaCloud | Download Case Studies | Schedule an AvaCloud Demo