How to Manage a Gasless Transactions Relayer?
Prerequisite
Before getting started, please ensure you’ve already set up your Gasless Transactions Relayer by following this guide.
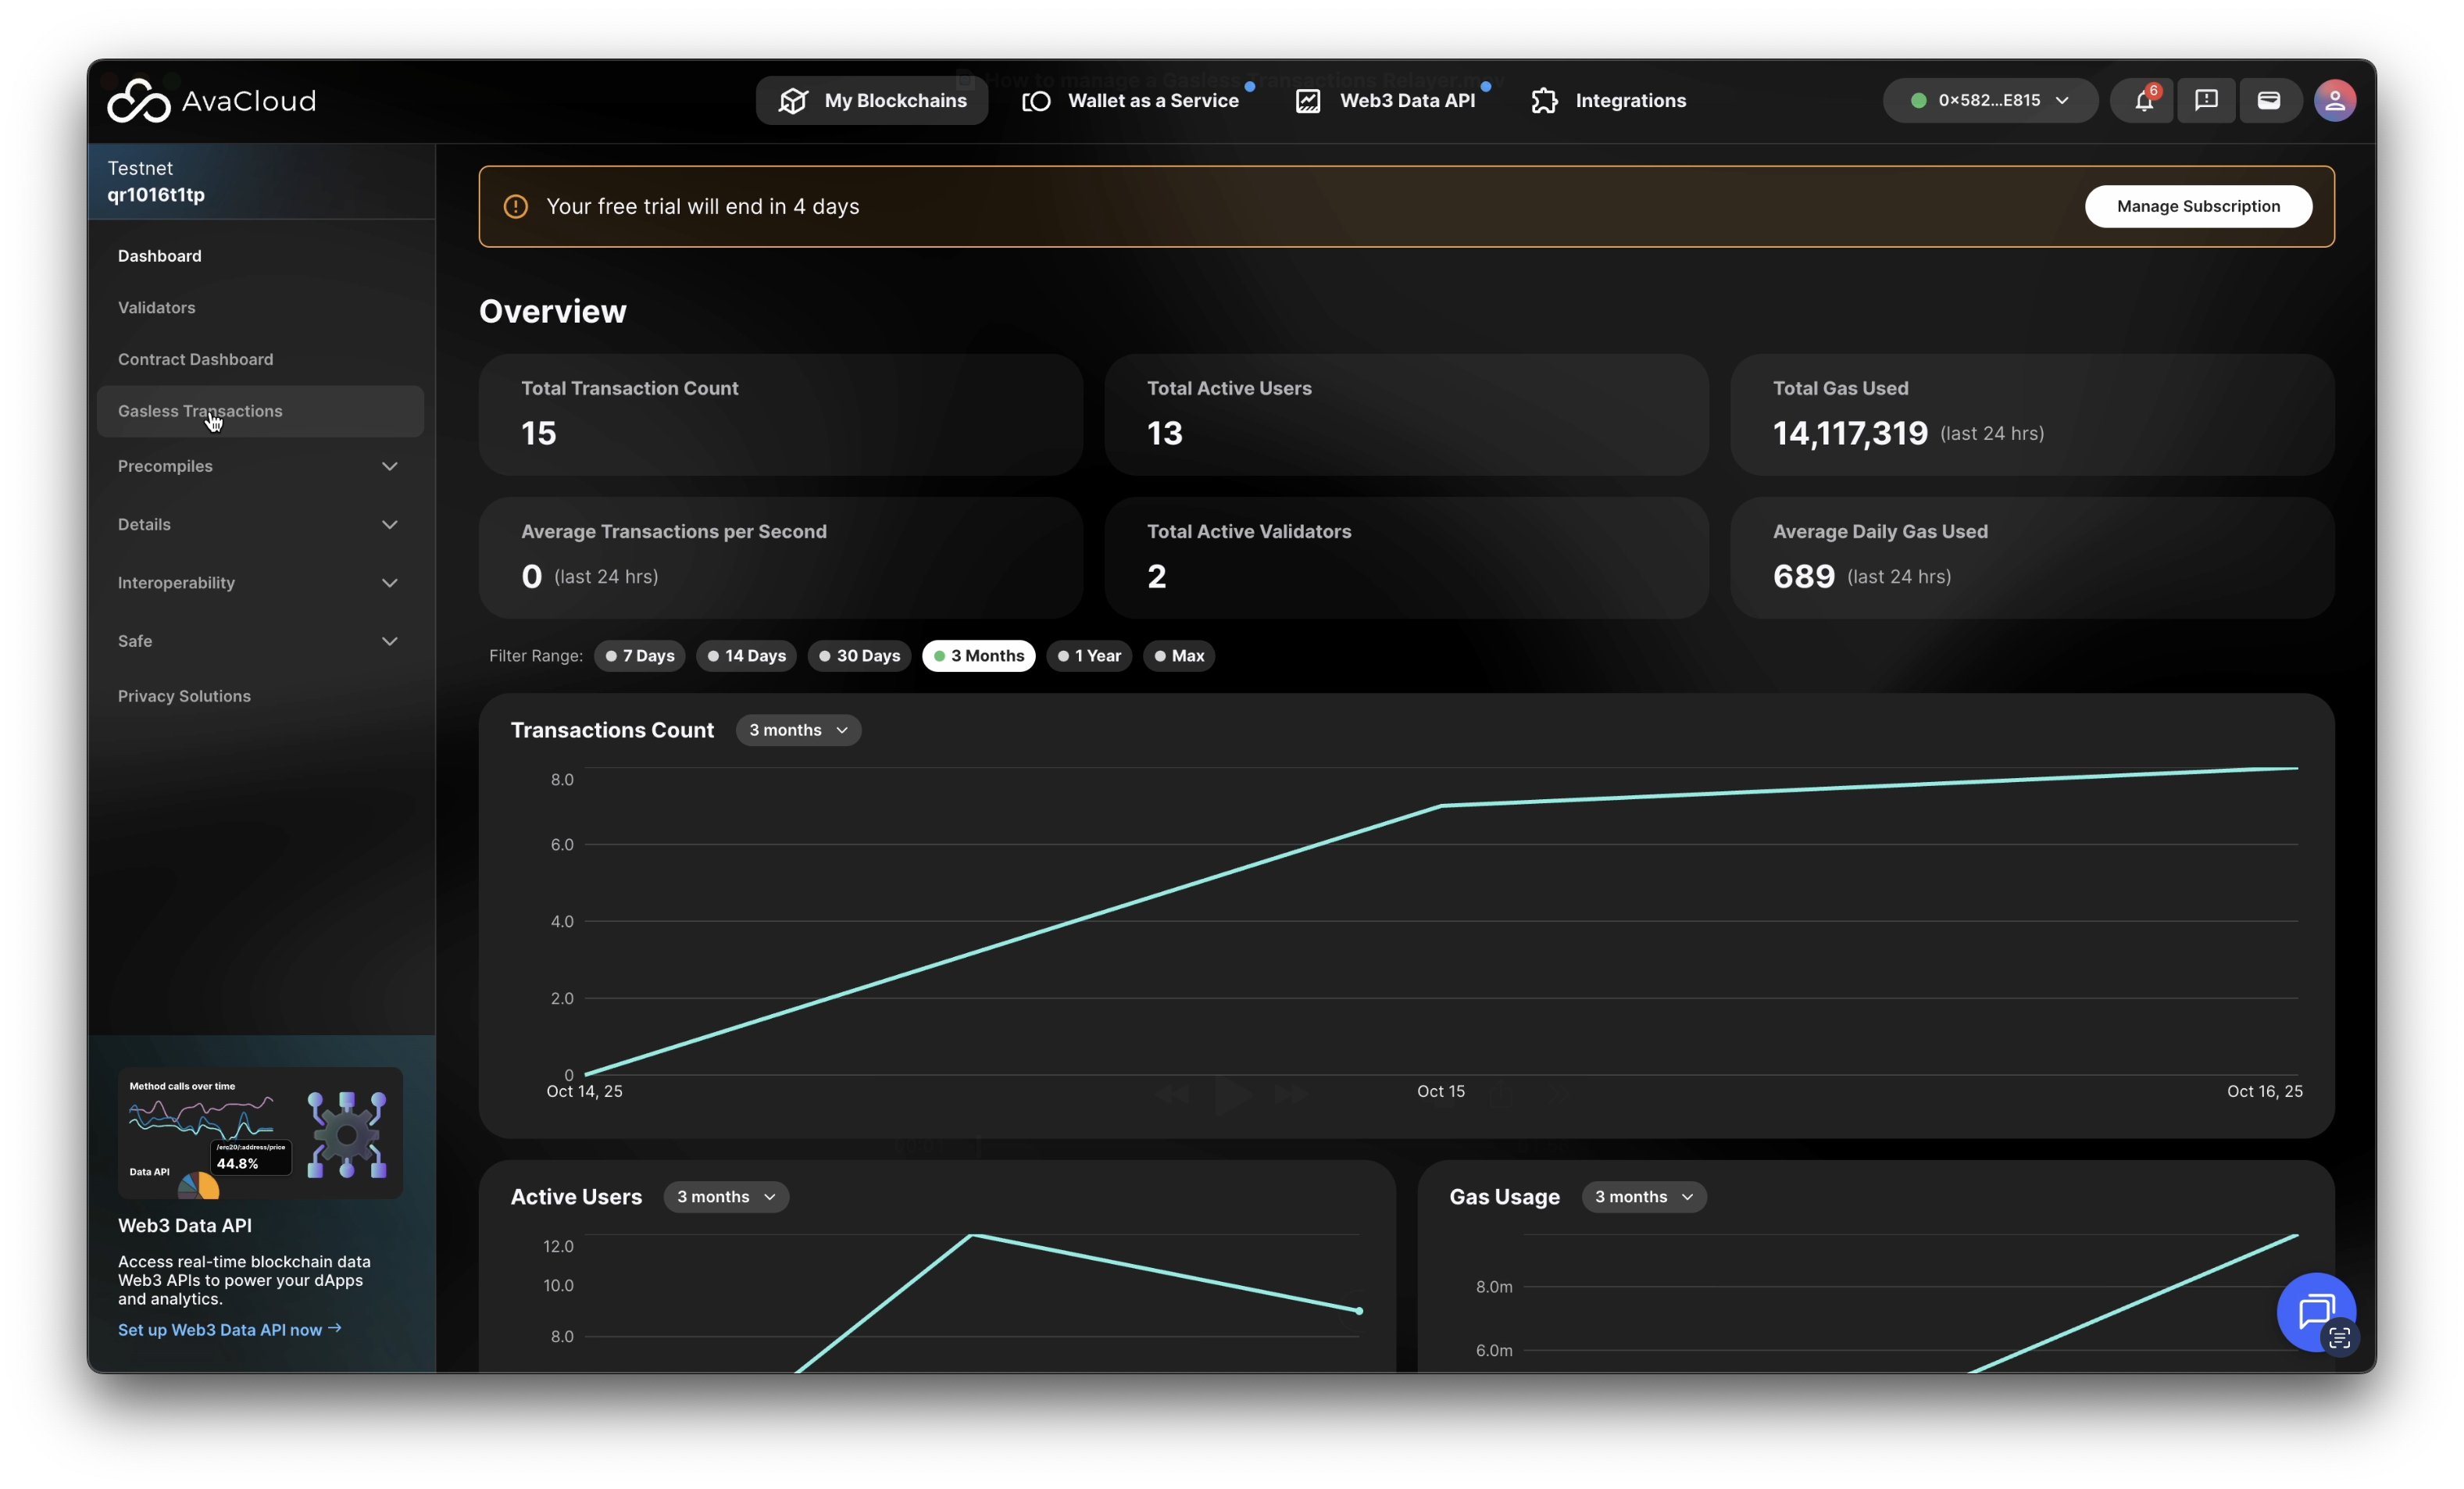
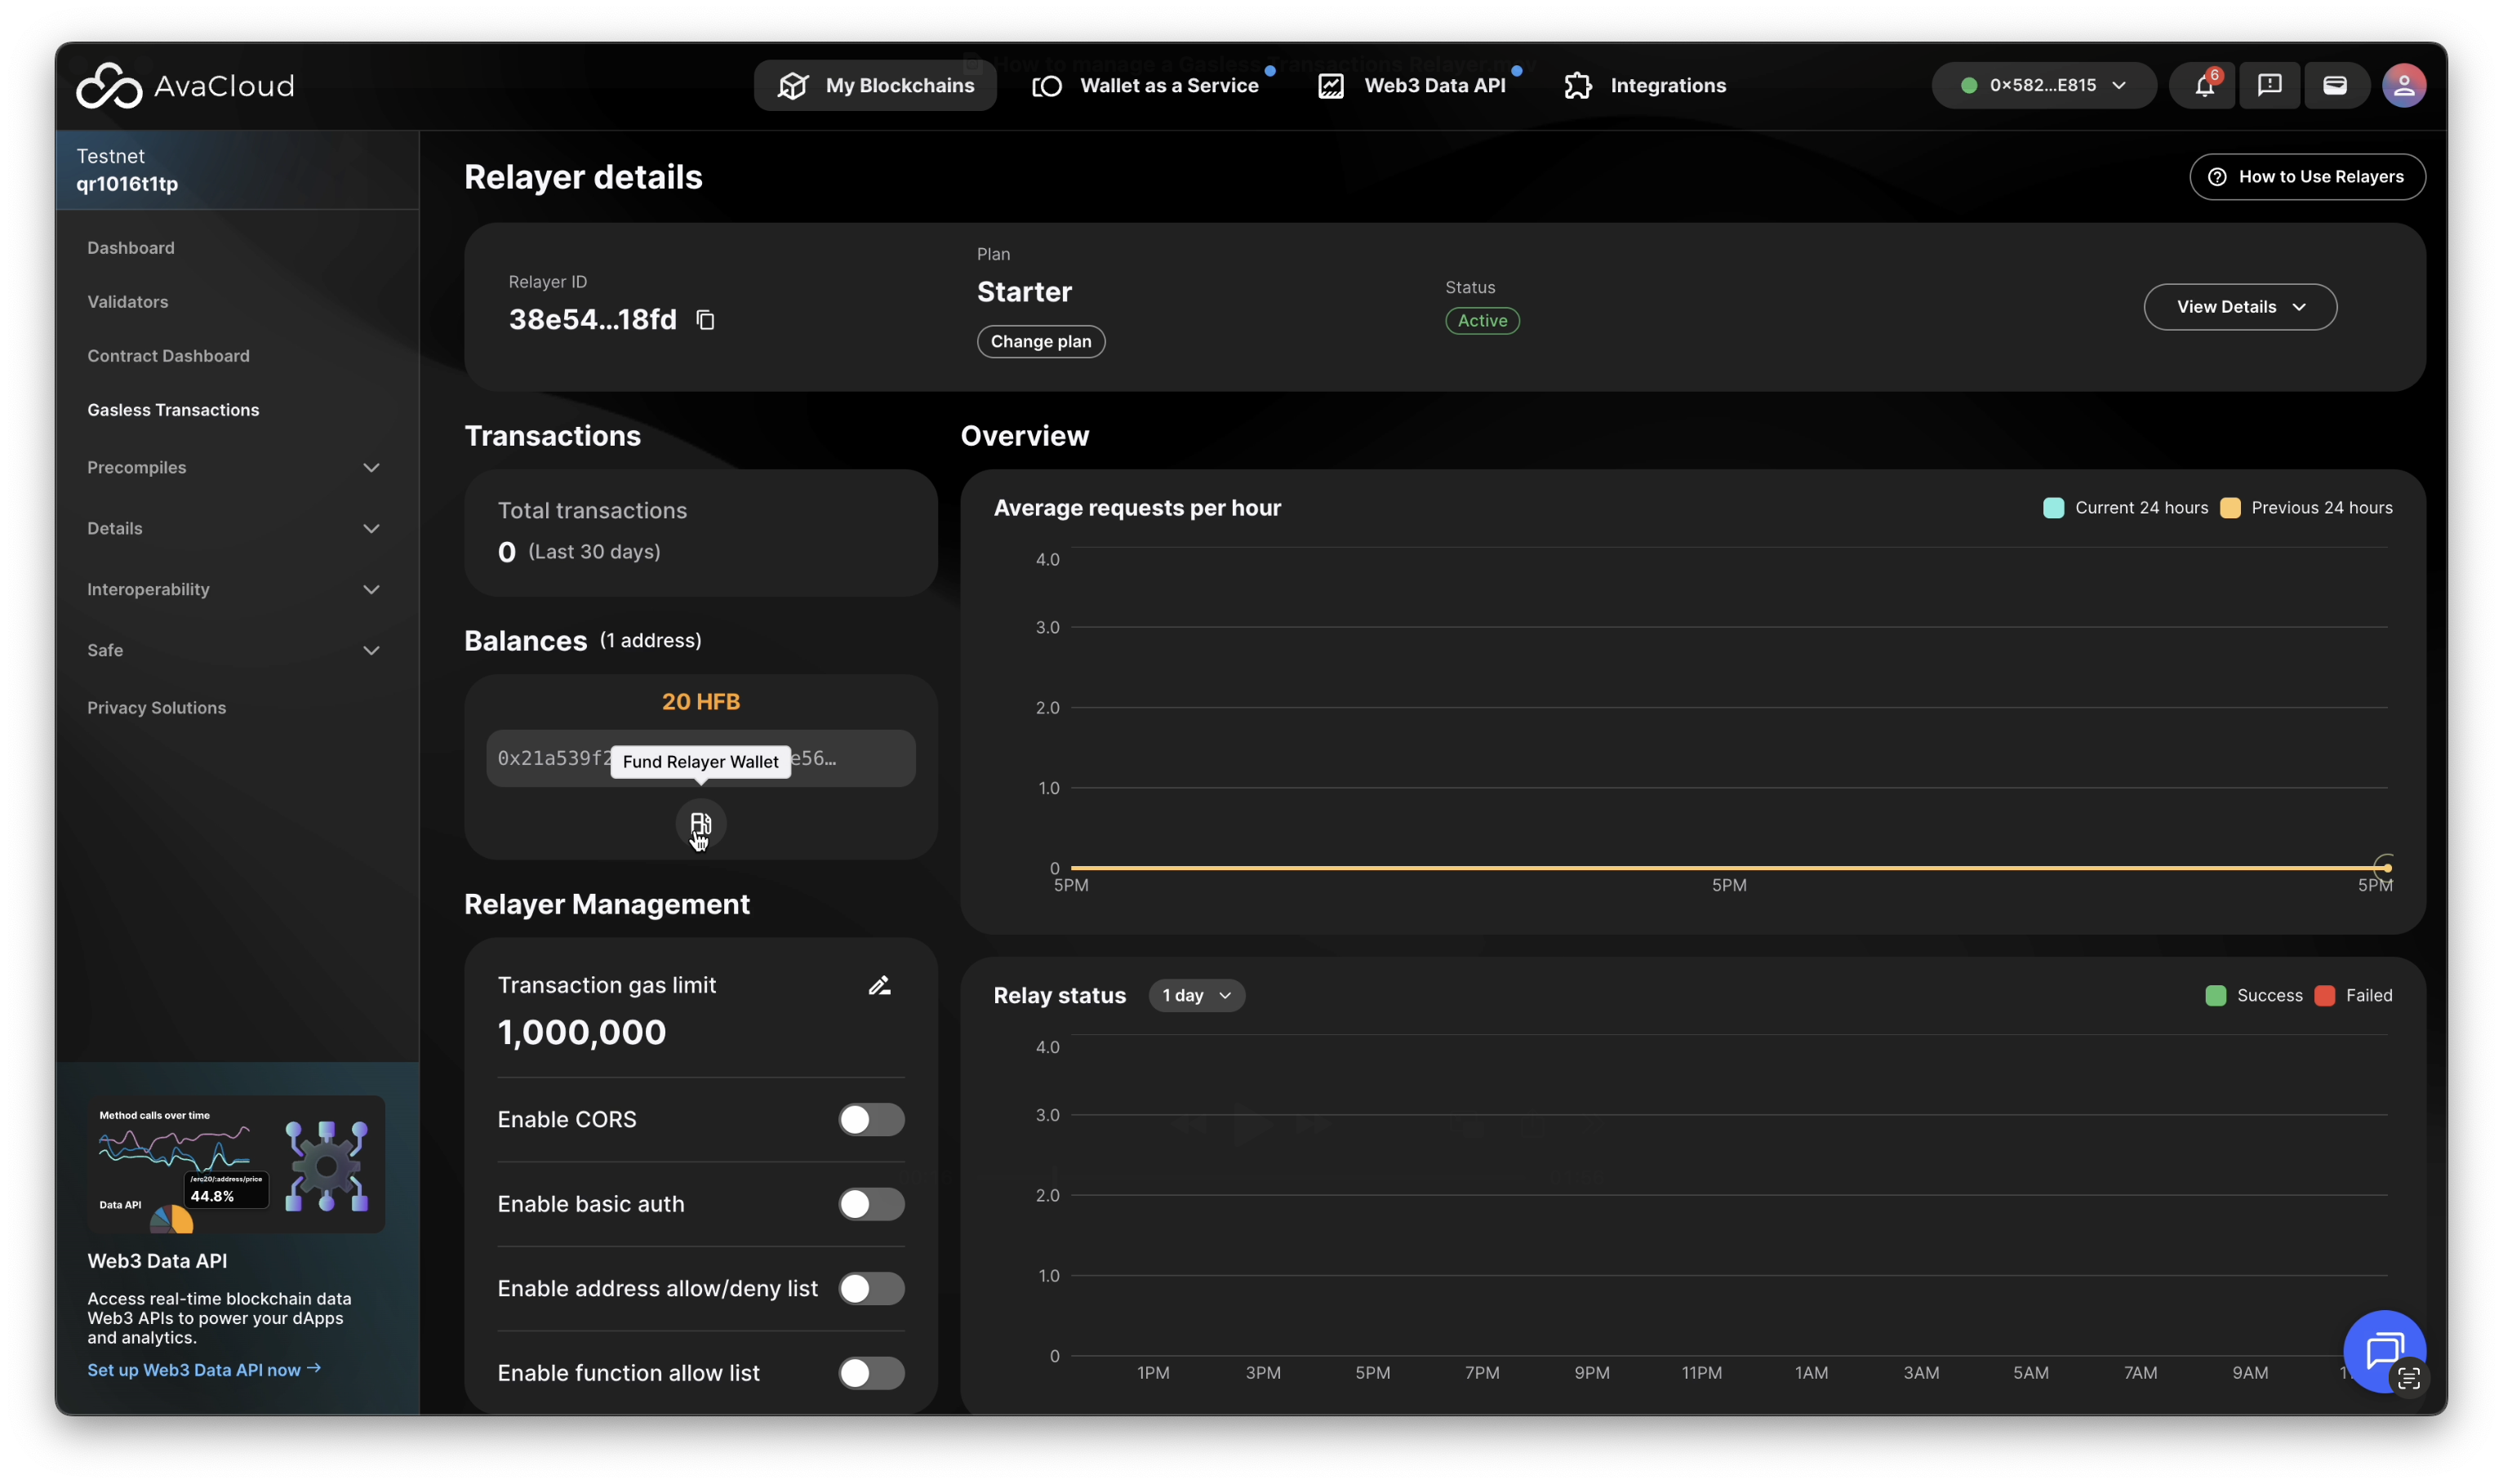
Once your Gasless Transactions Relayer is set up, you can manage and monitor it from the AvaCloud Portal. Open the Gasless Transactions tab under your desired L1 to access your relayer dashboard.
Viewing Relayer Details
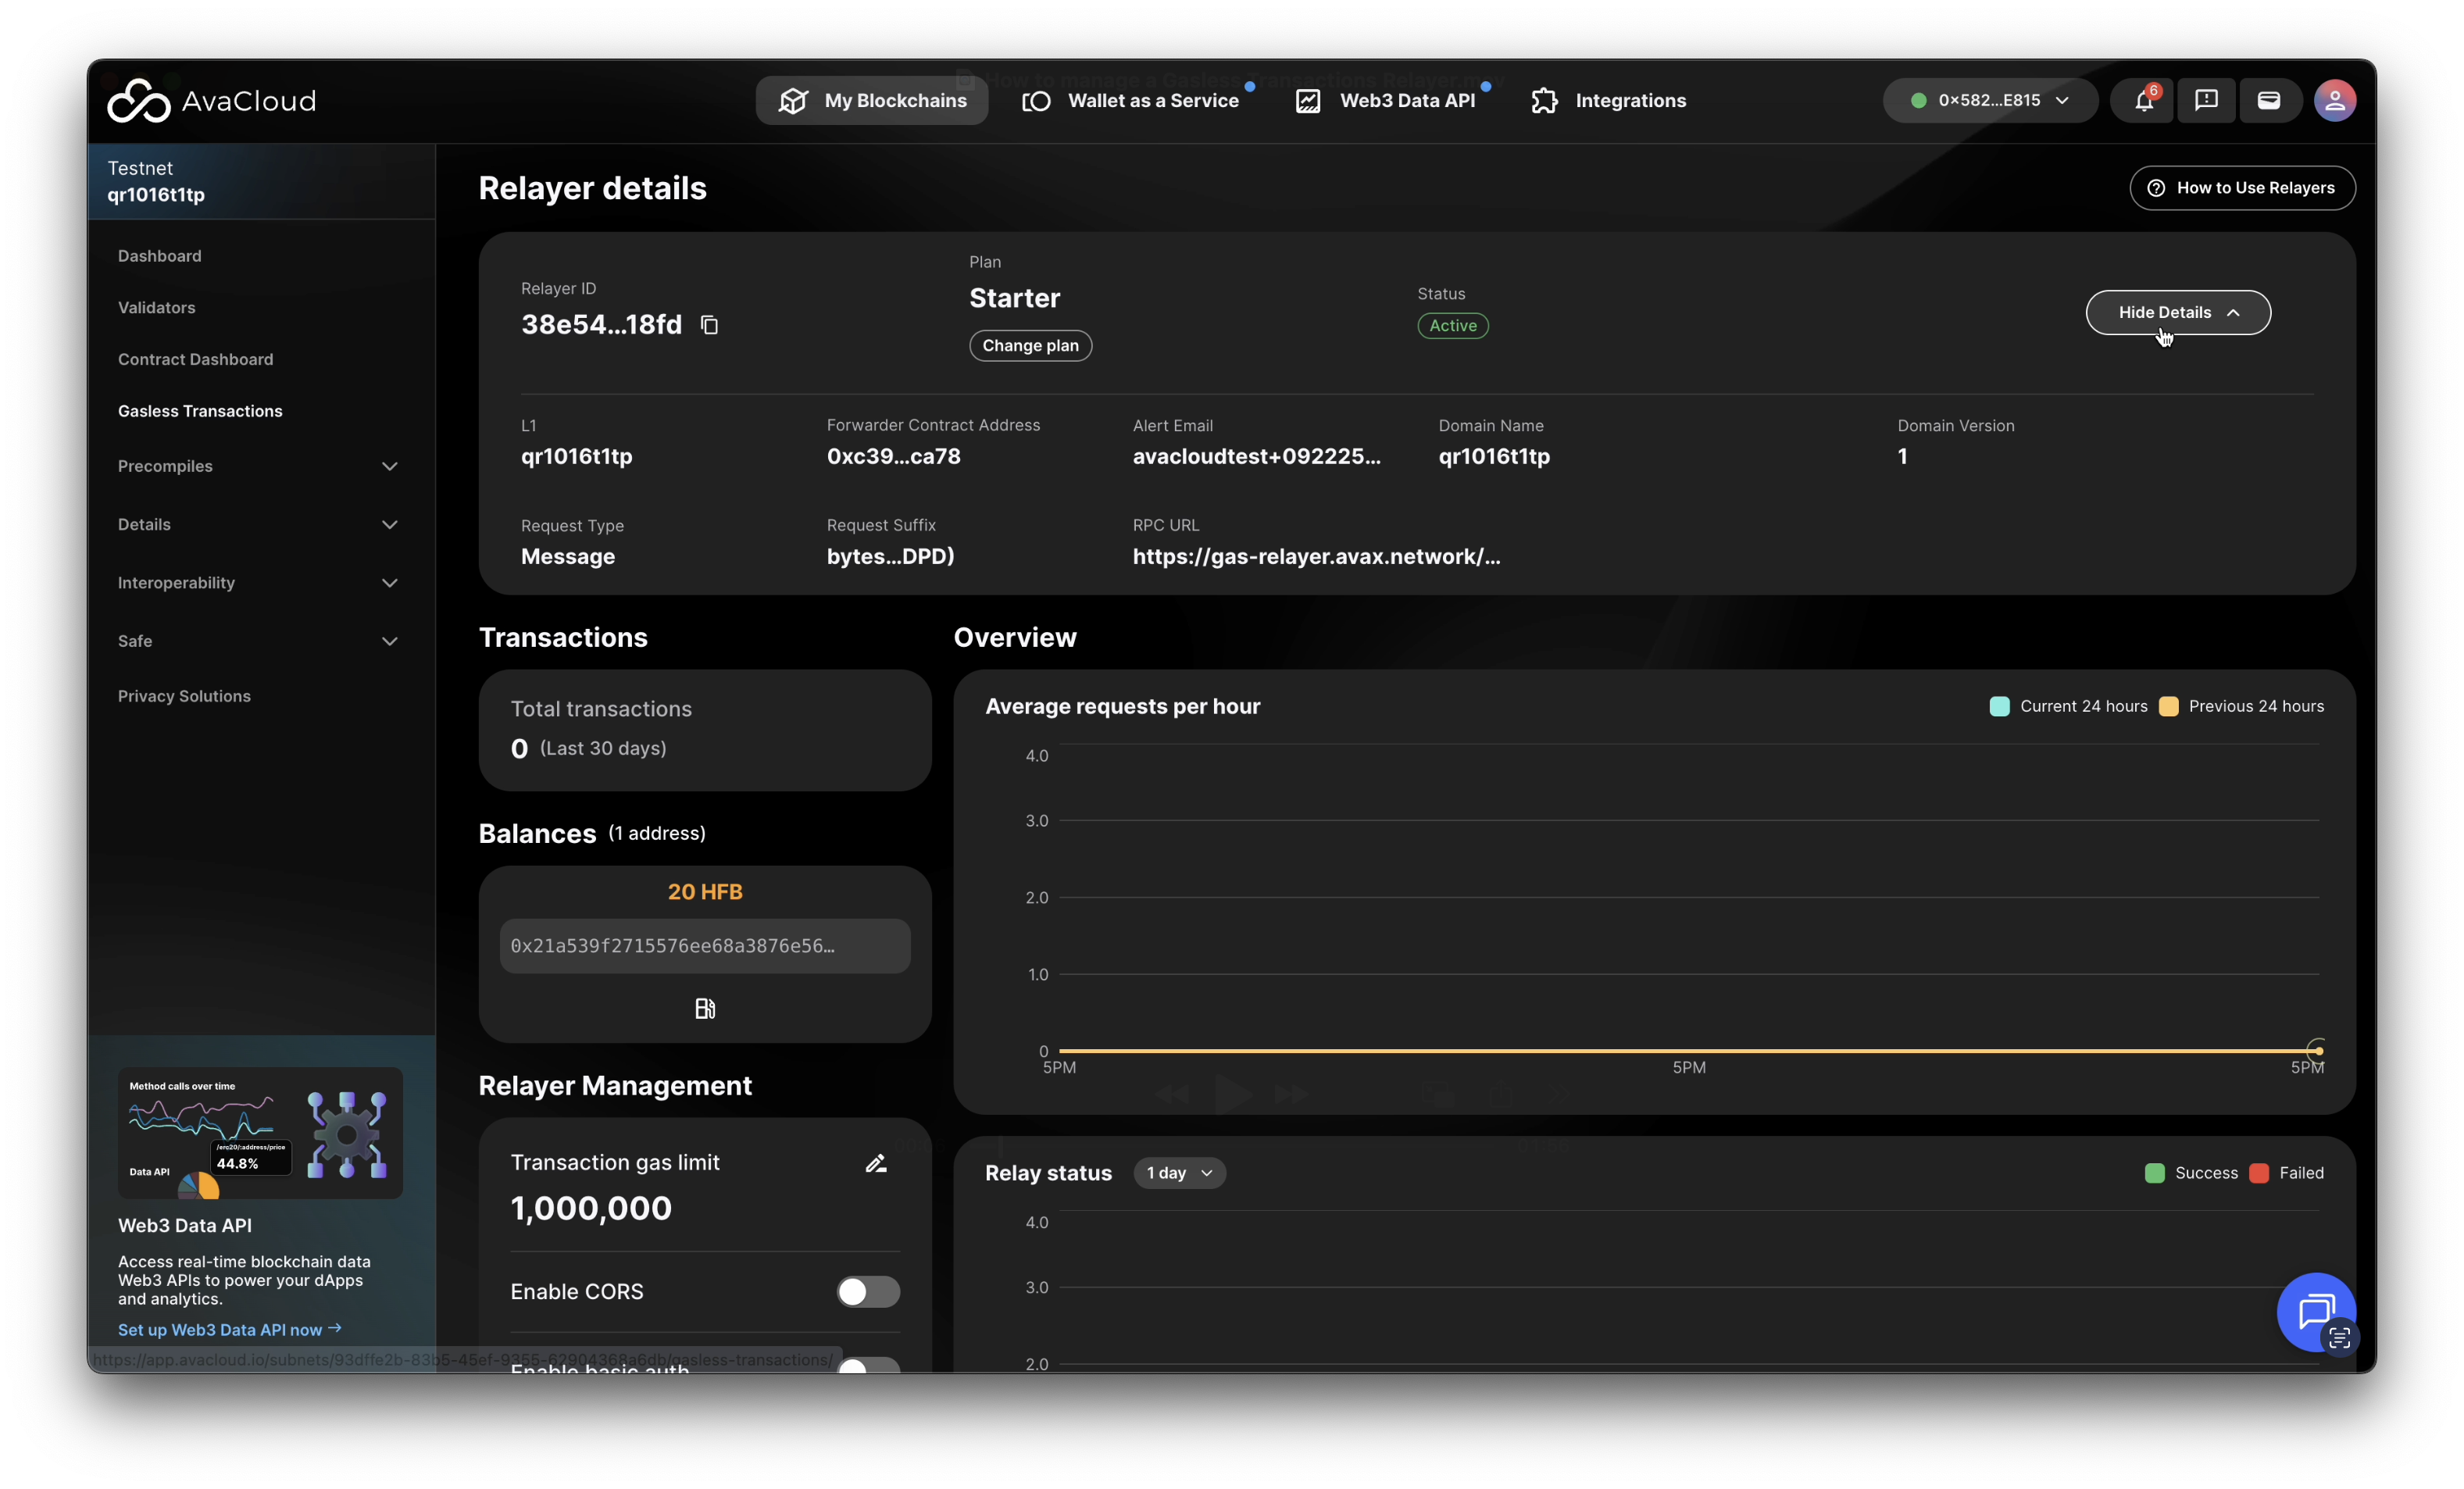
Click the View Details button to see more information about your relayer, including its configuration and activity overview.
Managing Your Relayer
Within the Relayer Management section, you’ll find all the controls to fine-tune your relayer’s settings:
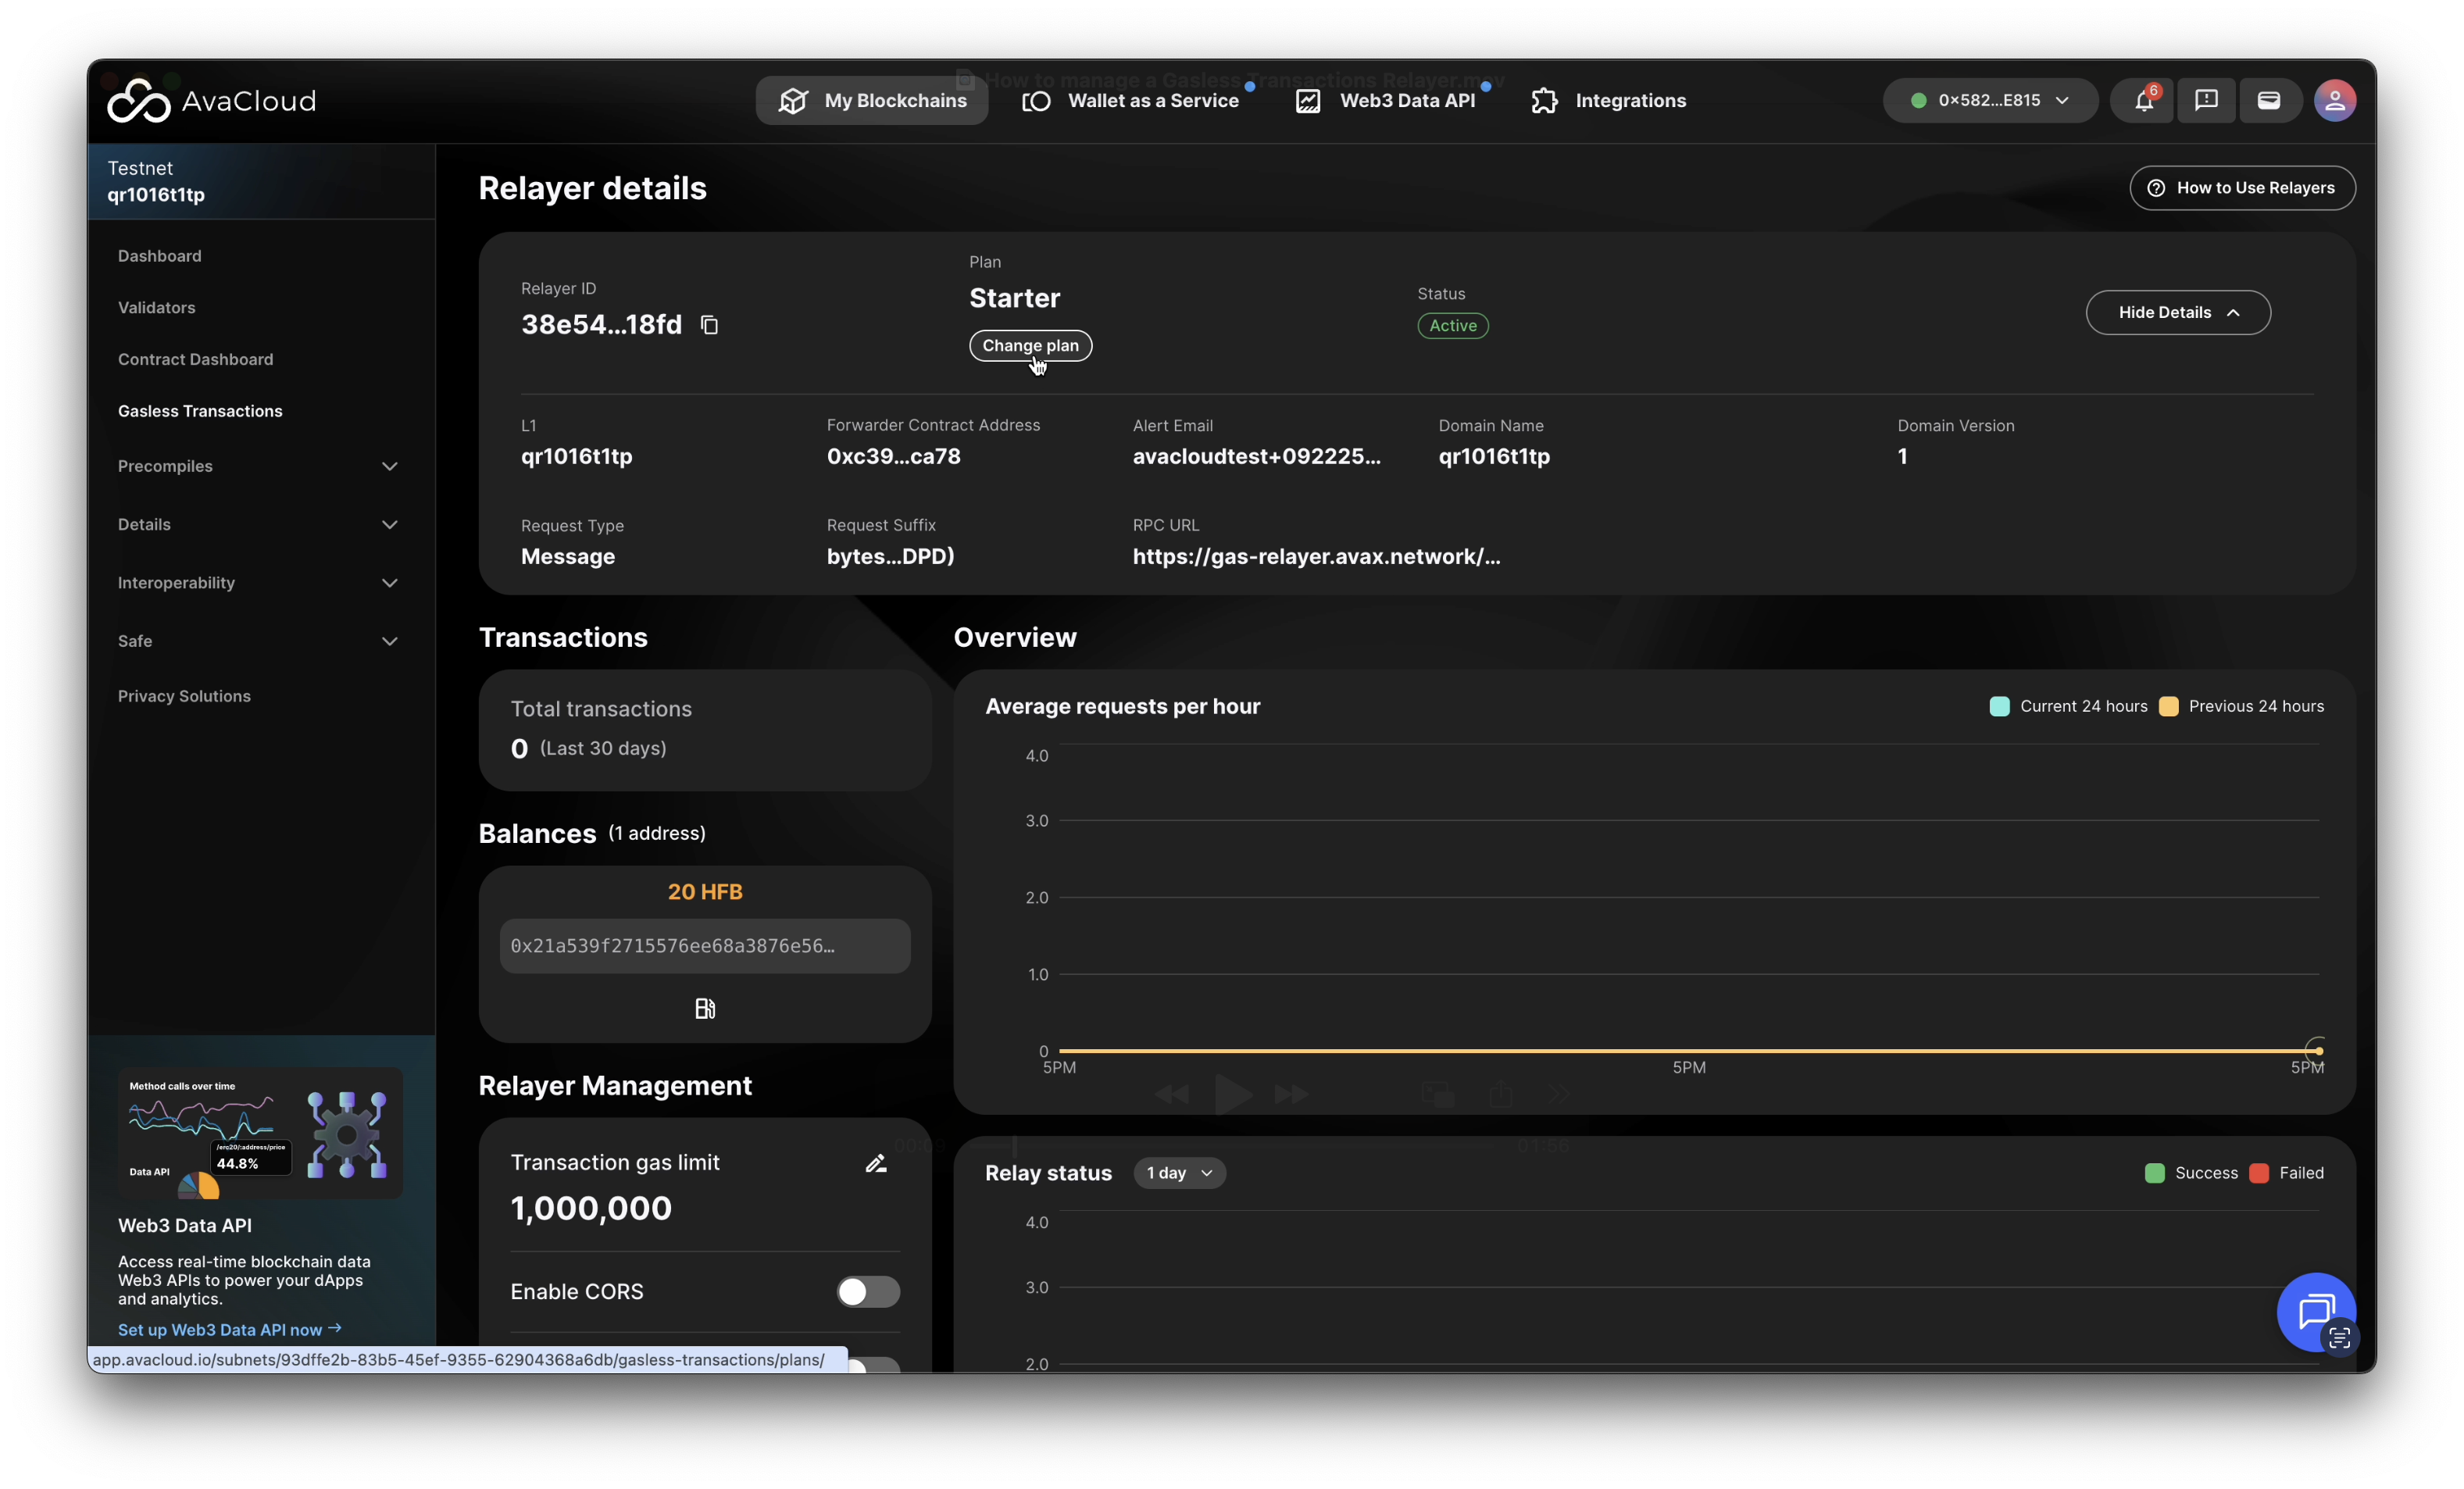
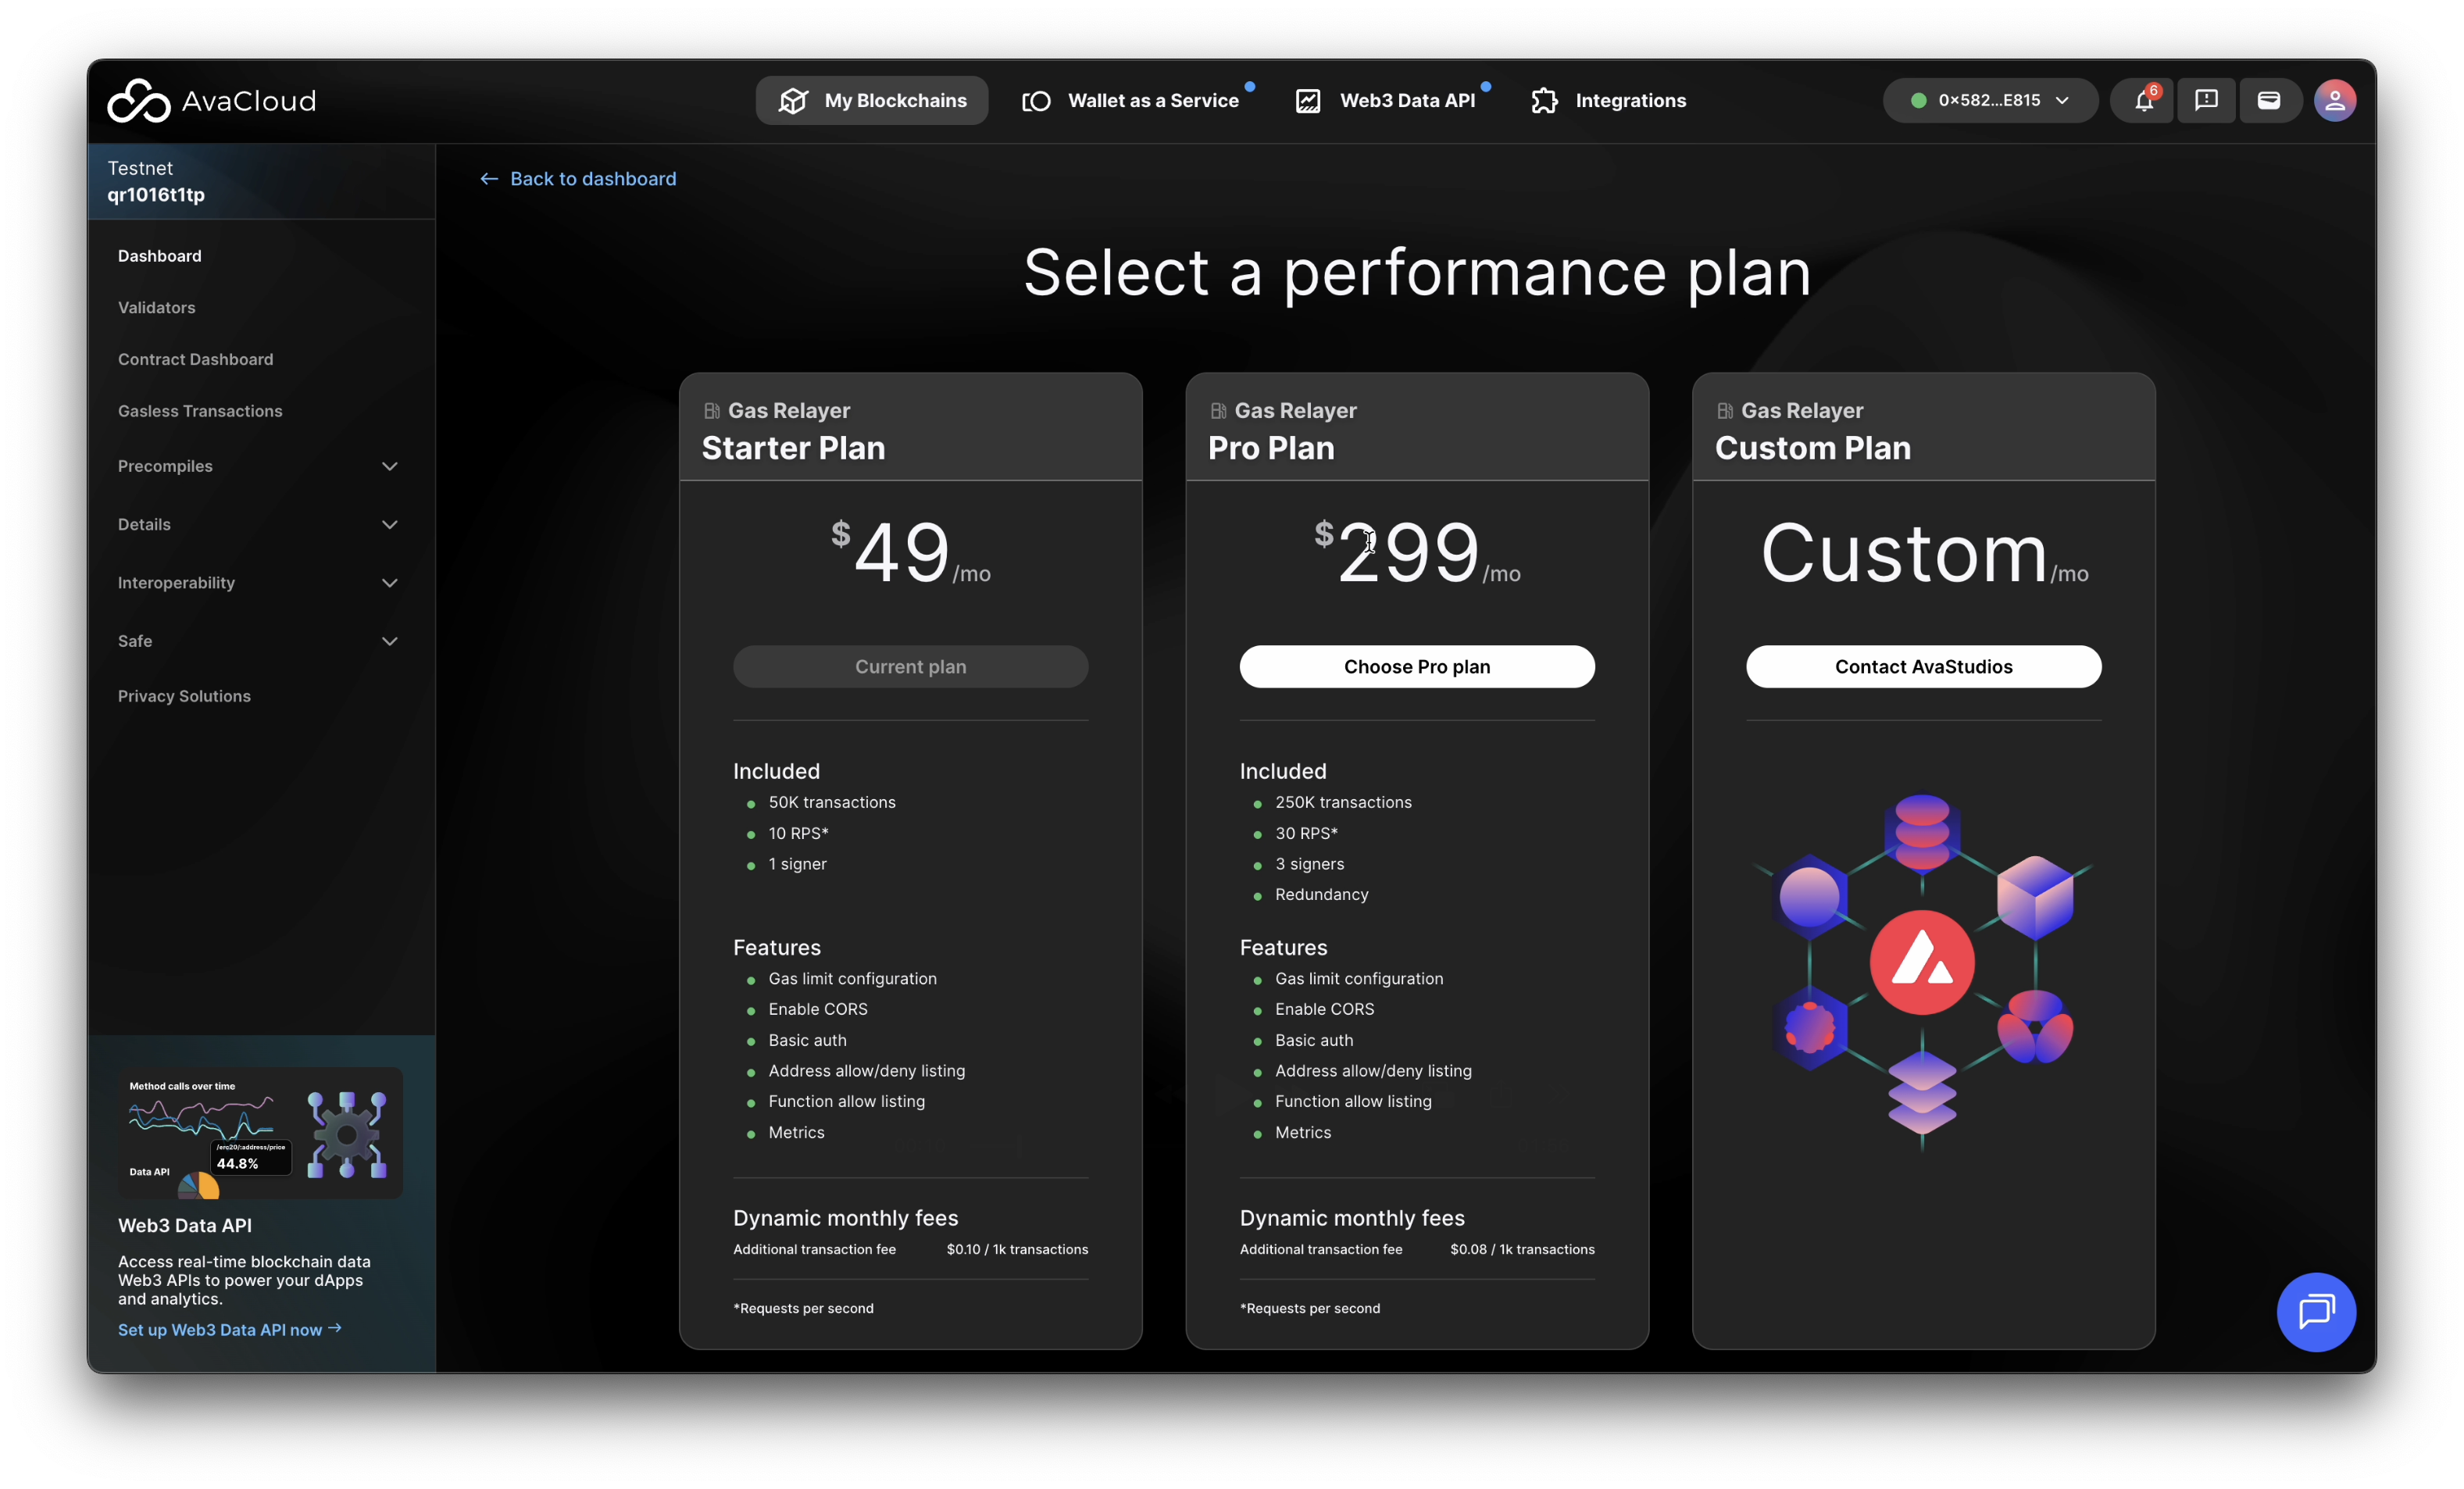
Change Plan
Switch to a different plan anytime by clicking the Change plan button.
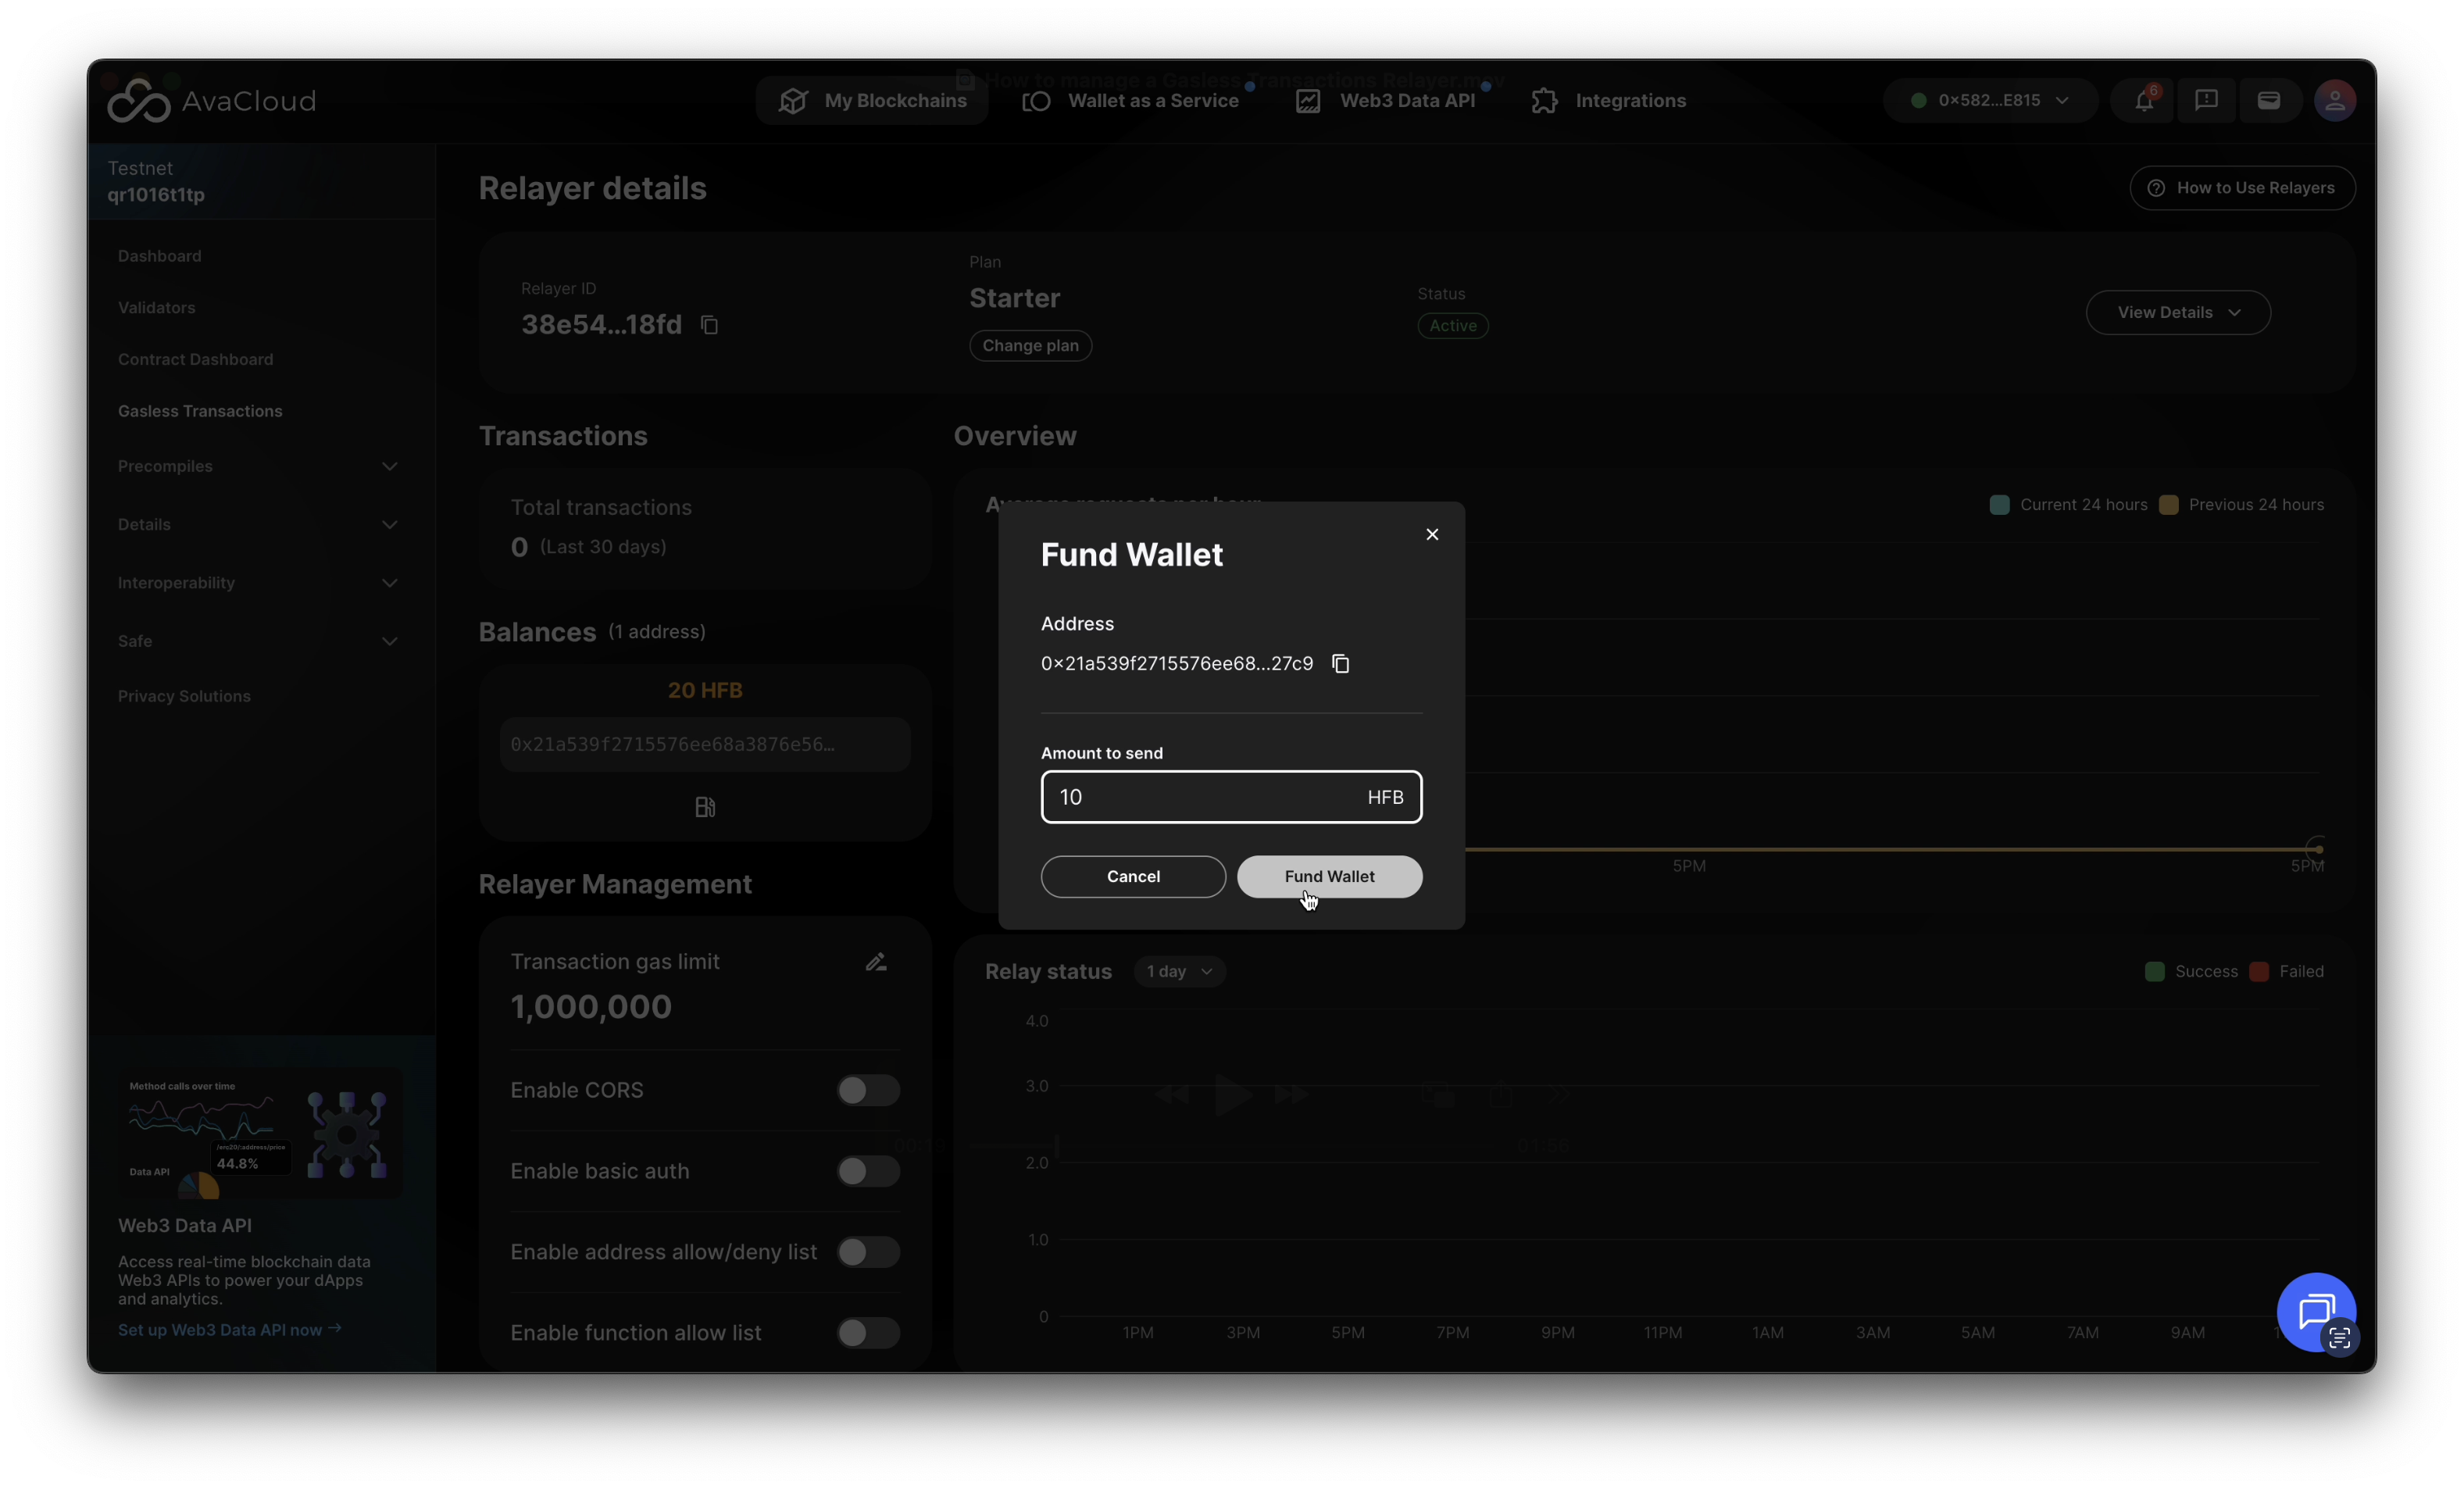
Fund the Relayer Wallet
To add funds to your relayer, click the gas-pump icon. This opens a pop-up, letting you transfer tokens from your connected Core Wallet to the relayer wallet.
CORS Configuration
Update allowed origins and manage Cross-Origin Resource Sharing (CORS) settings to control who can interact with your relayer.

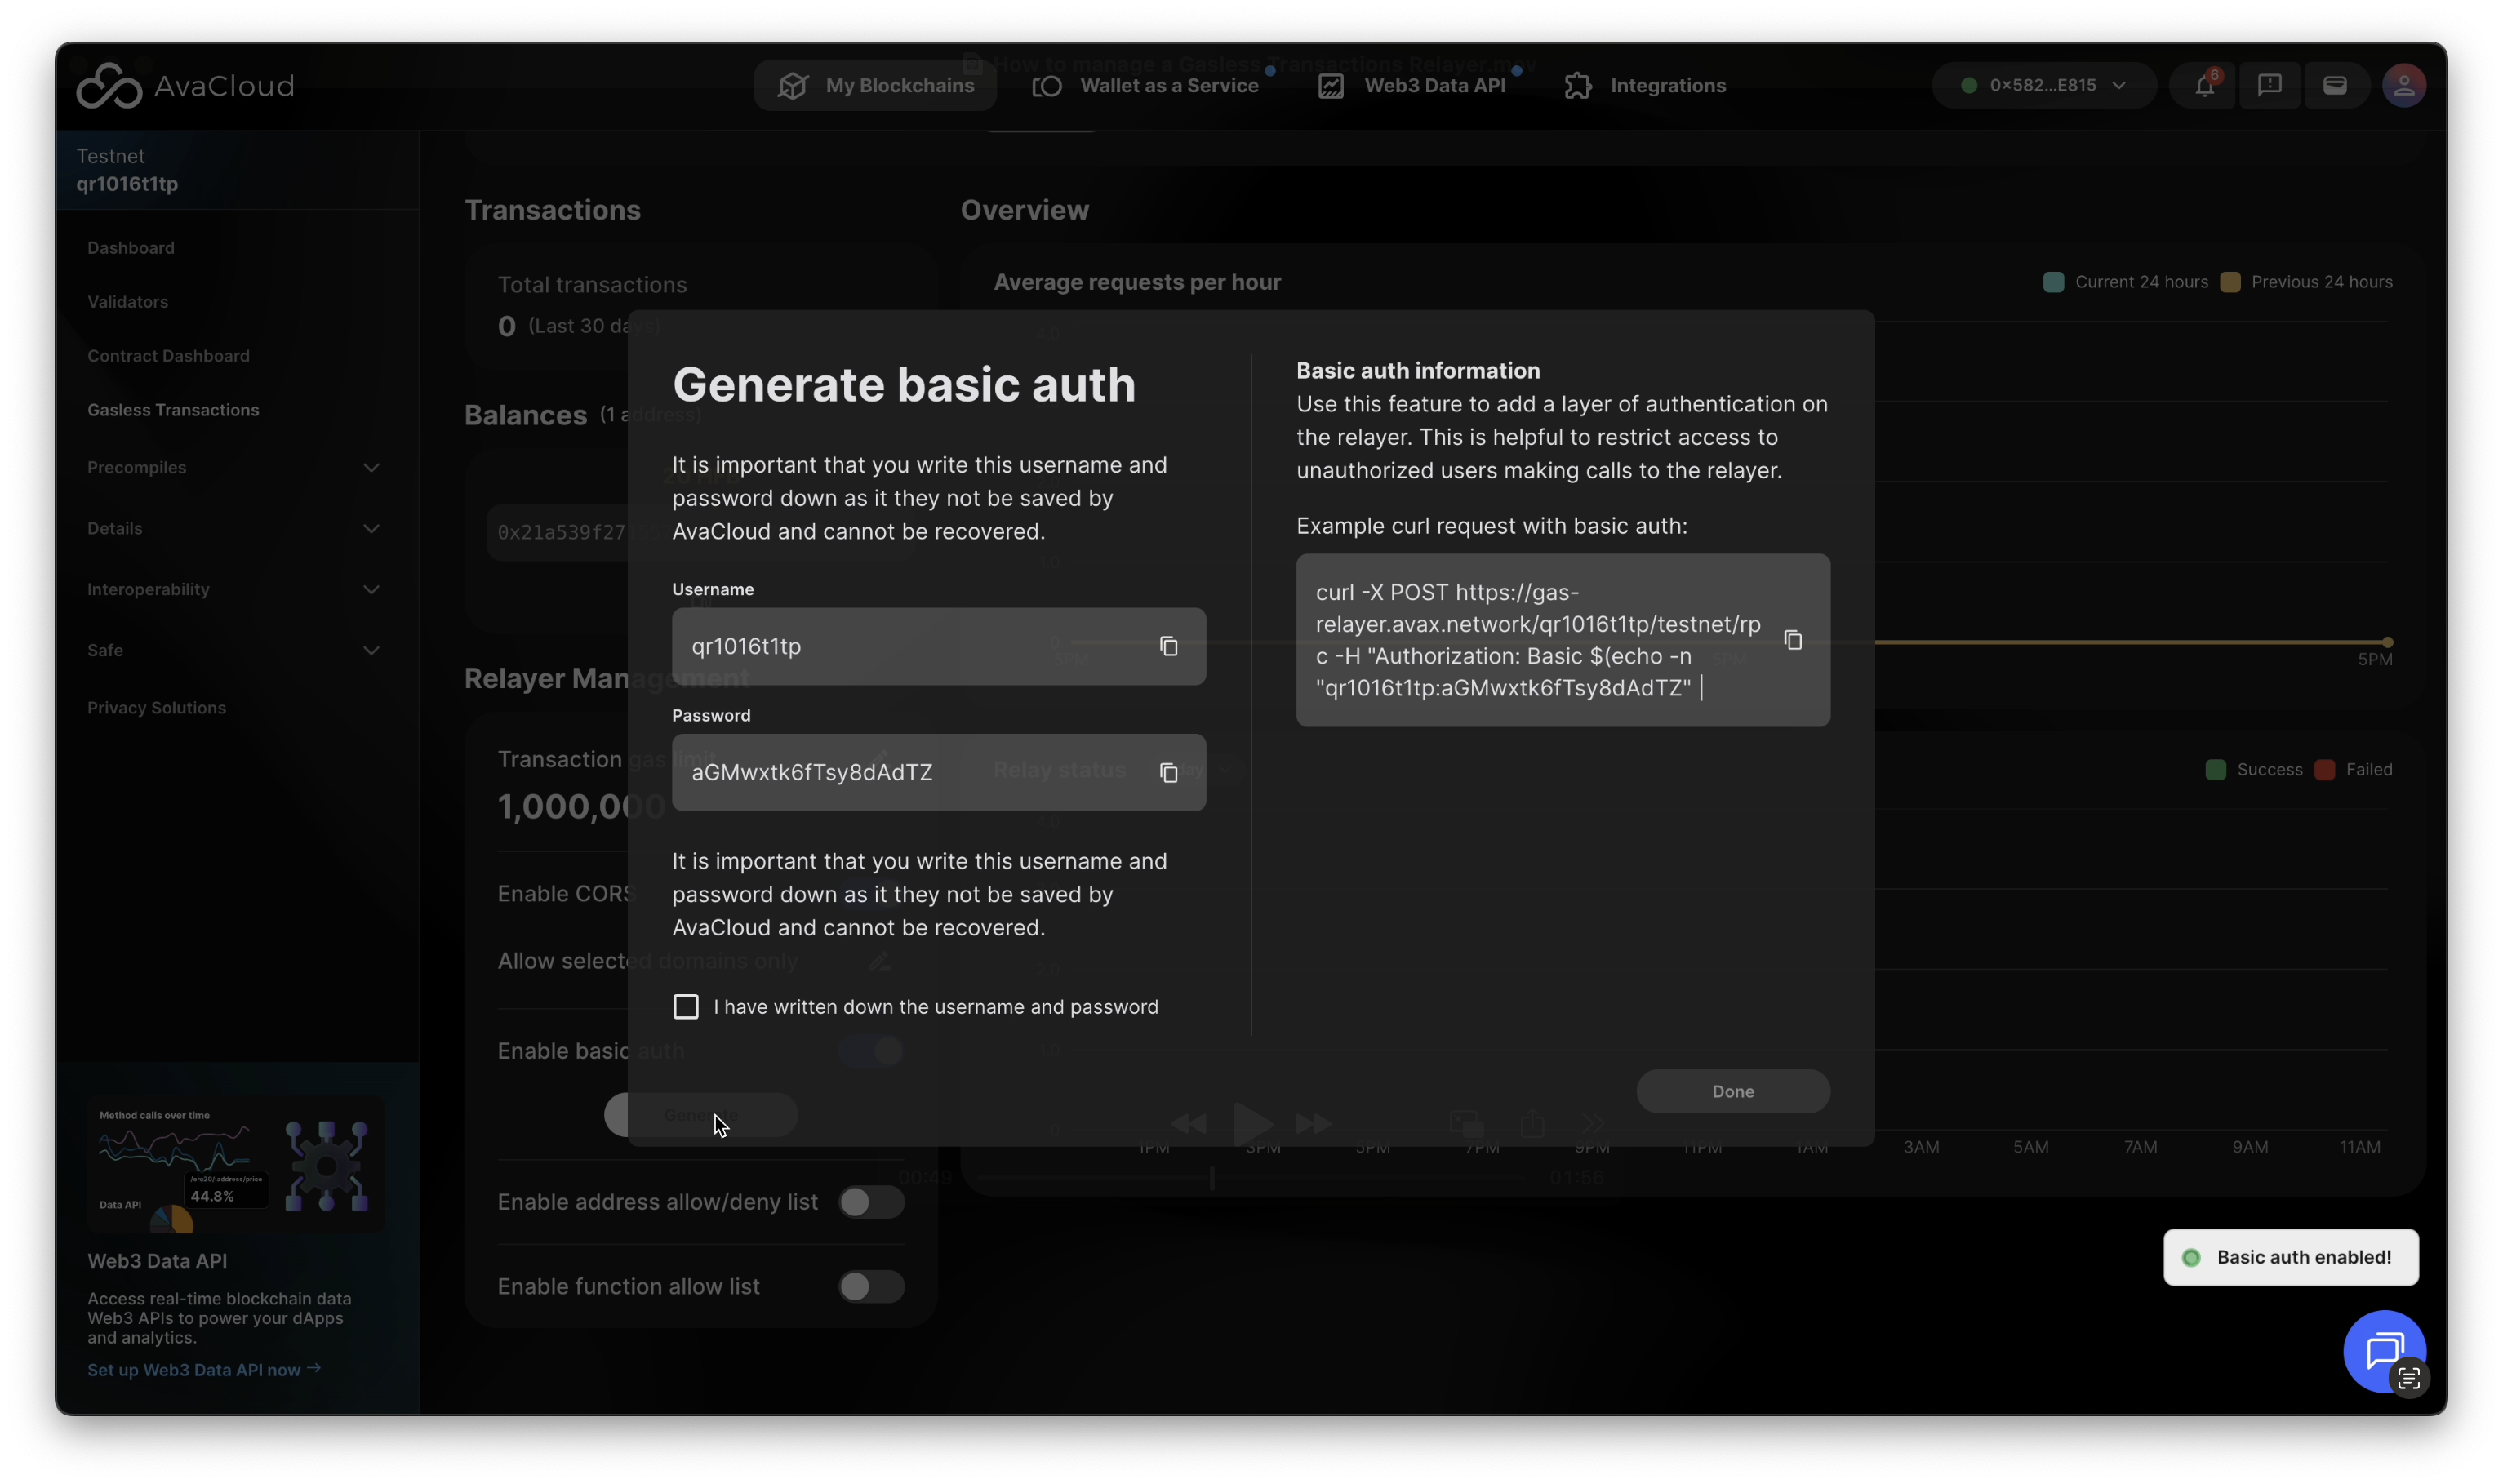
Basic Auth
Enable or configure Basic Auth to restrict access and improve security for relayer endpoints.
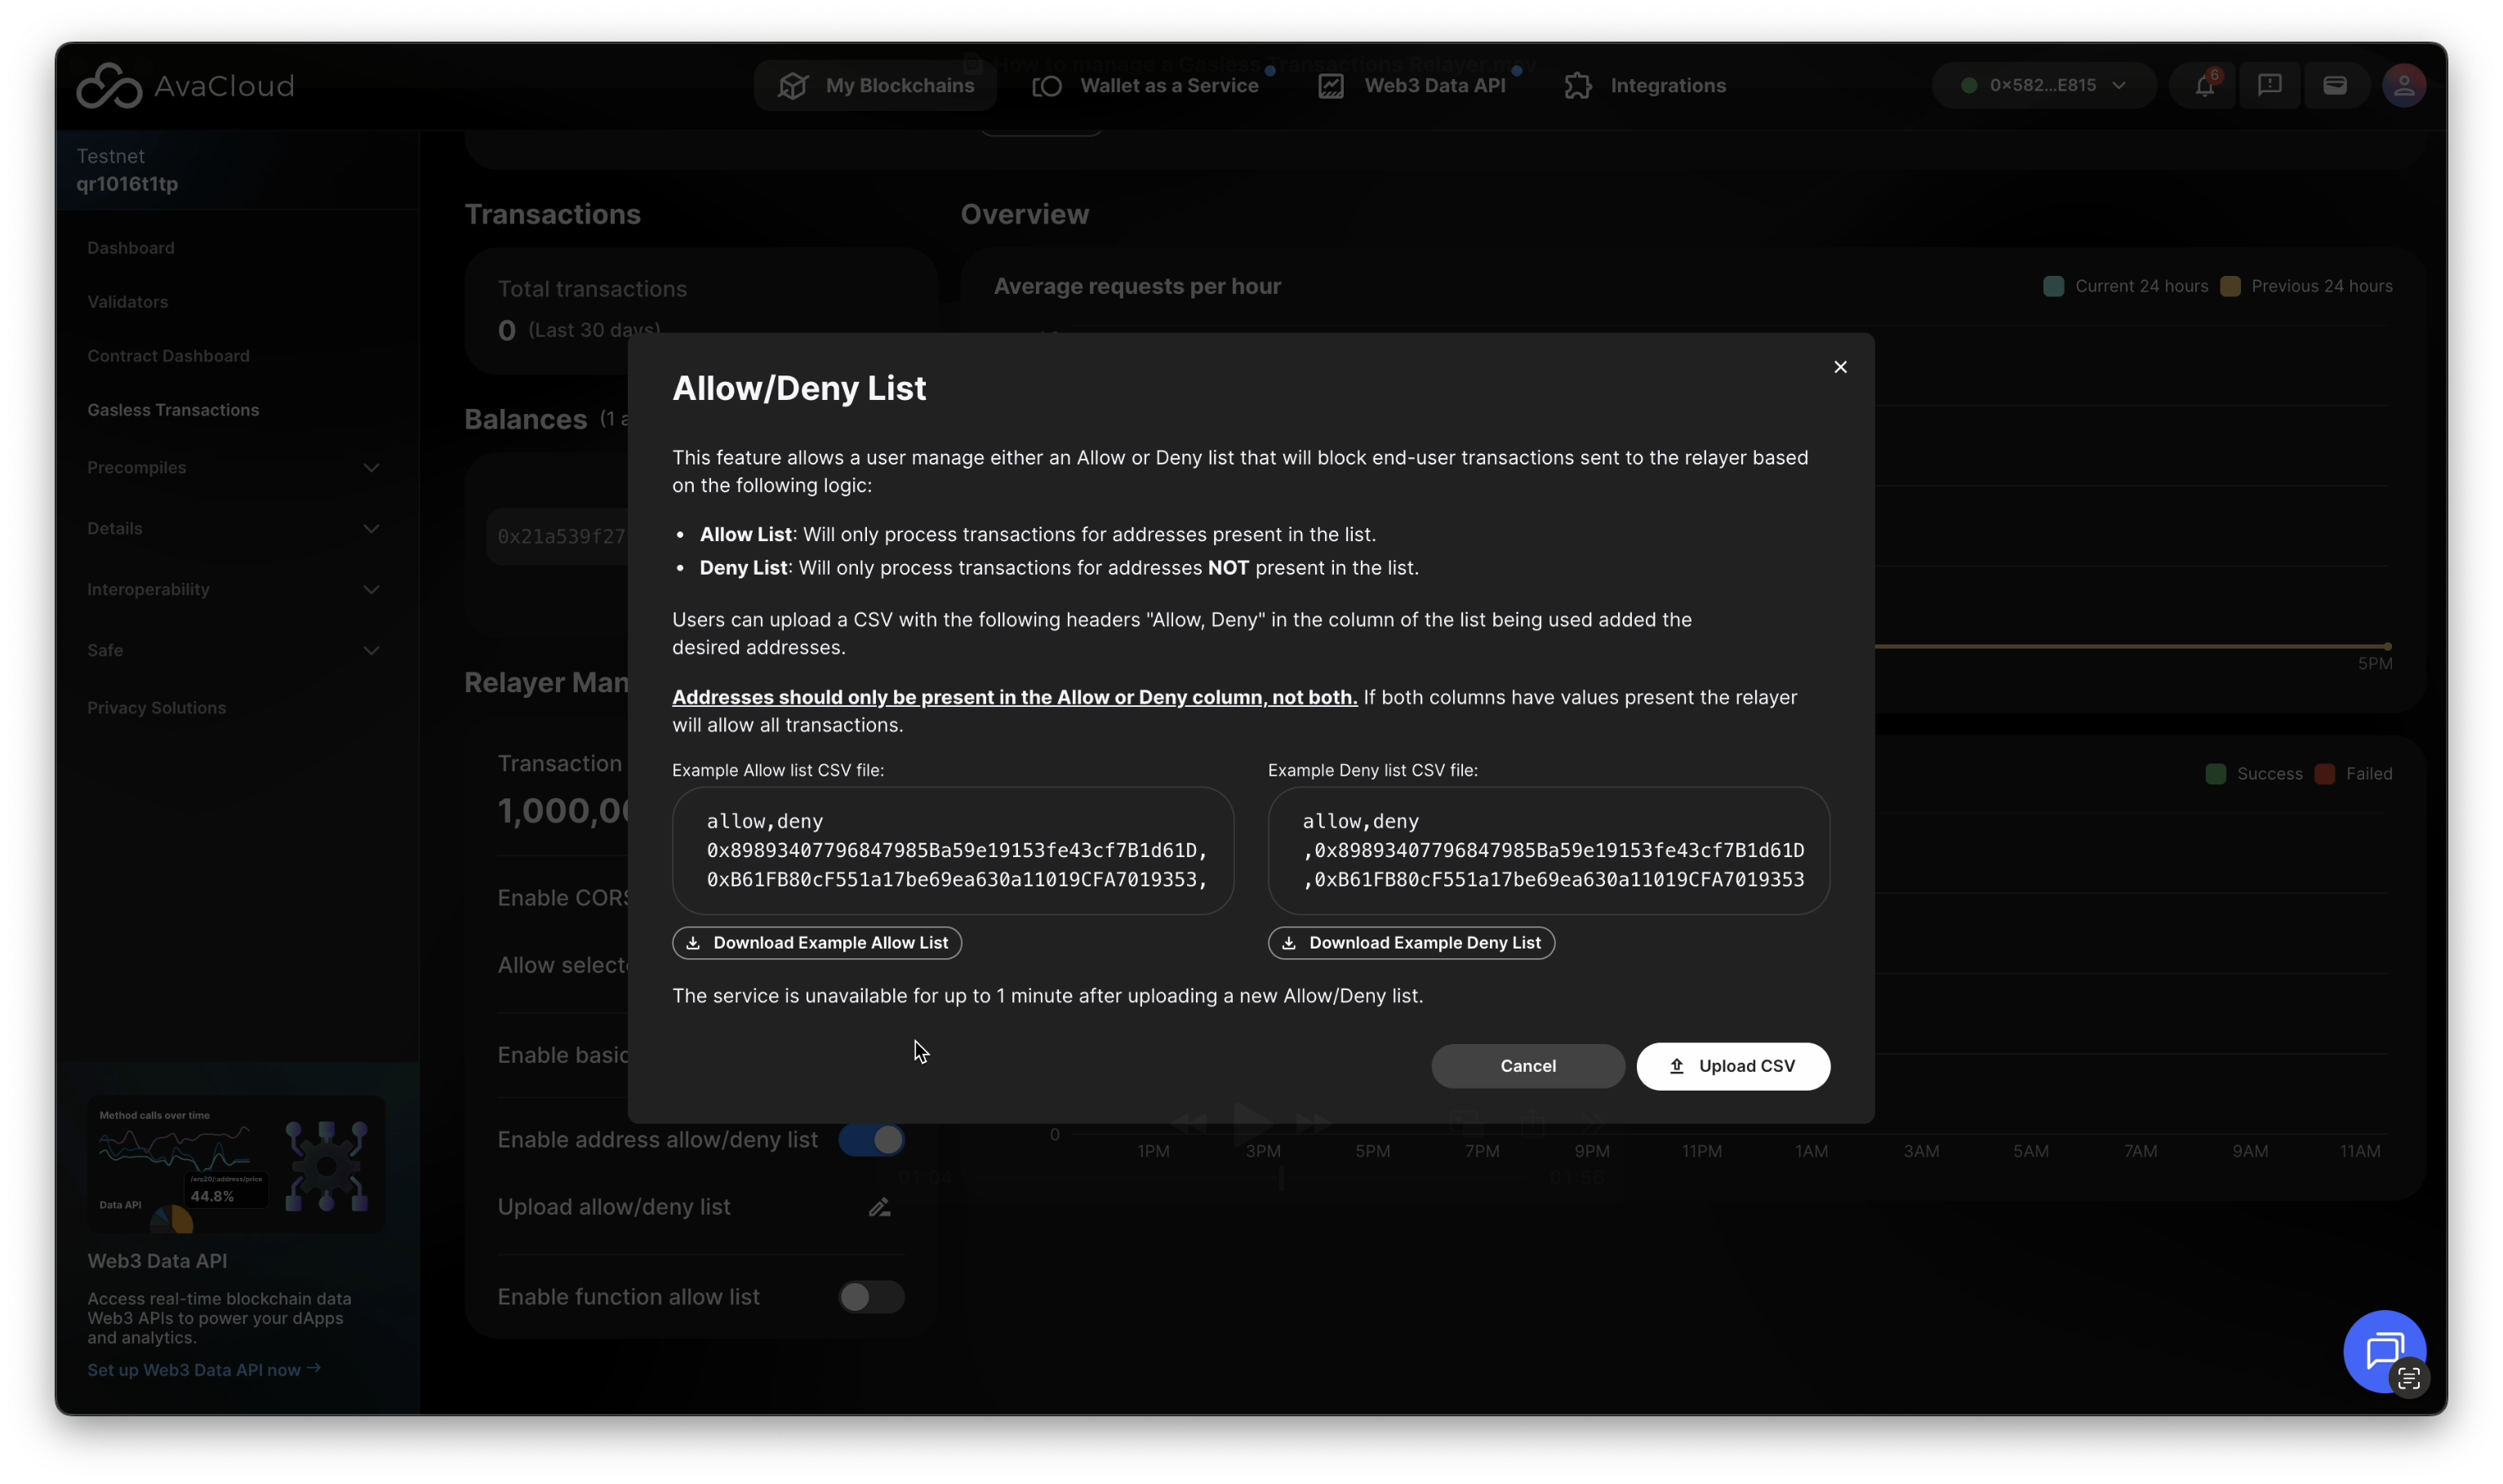
Allow/Deny List
Add or upload wallet addresses to explicitly allow or deny access to your relayer, giving you granular control over which addresses can submit requests.
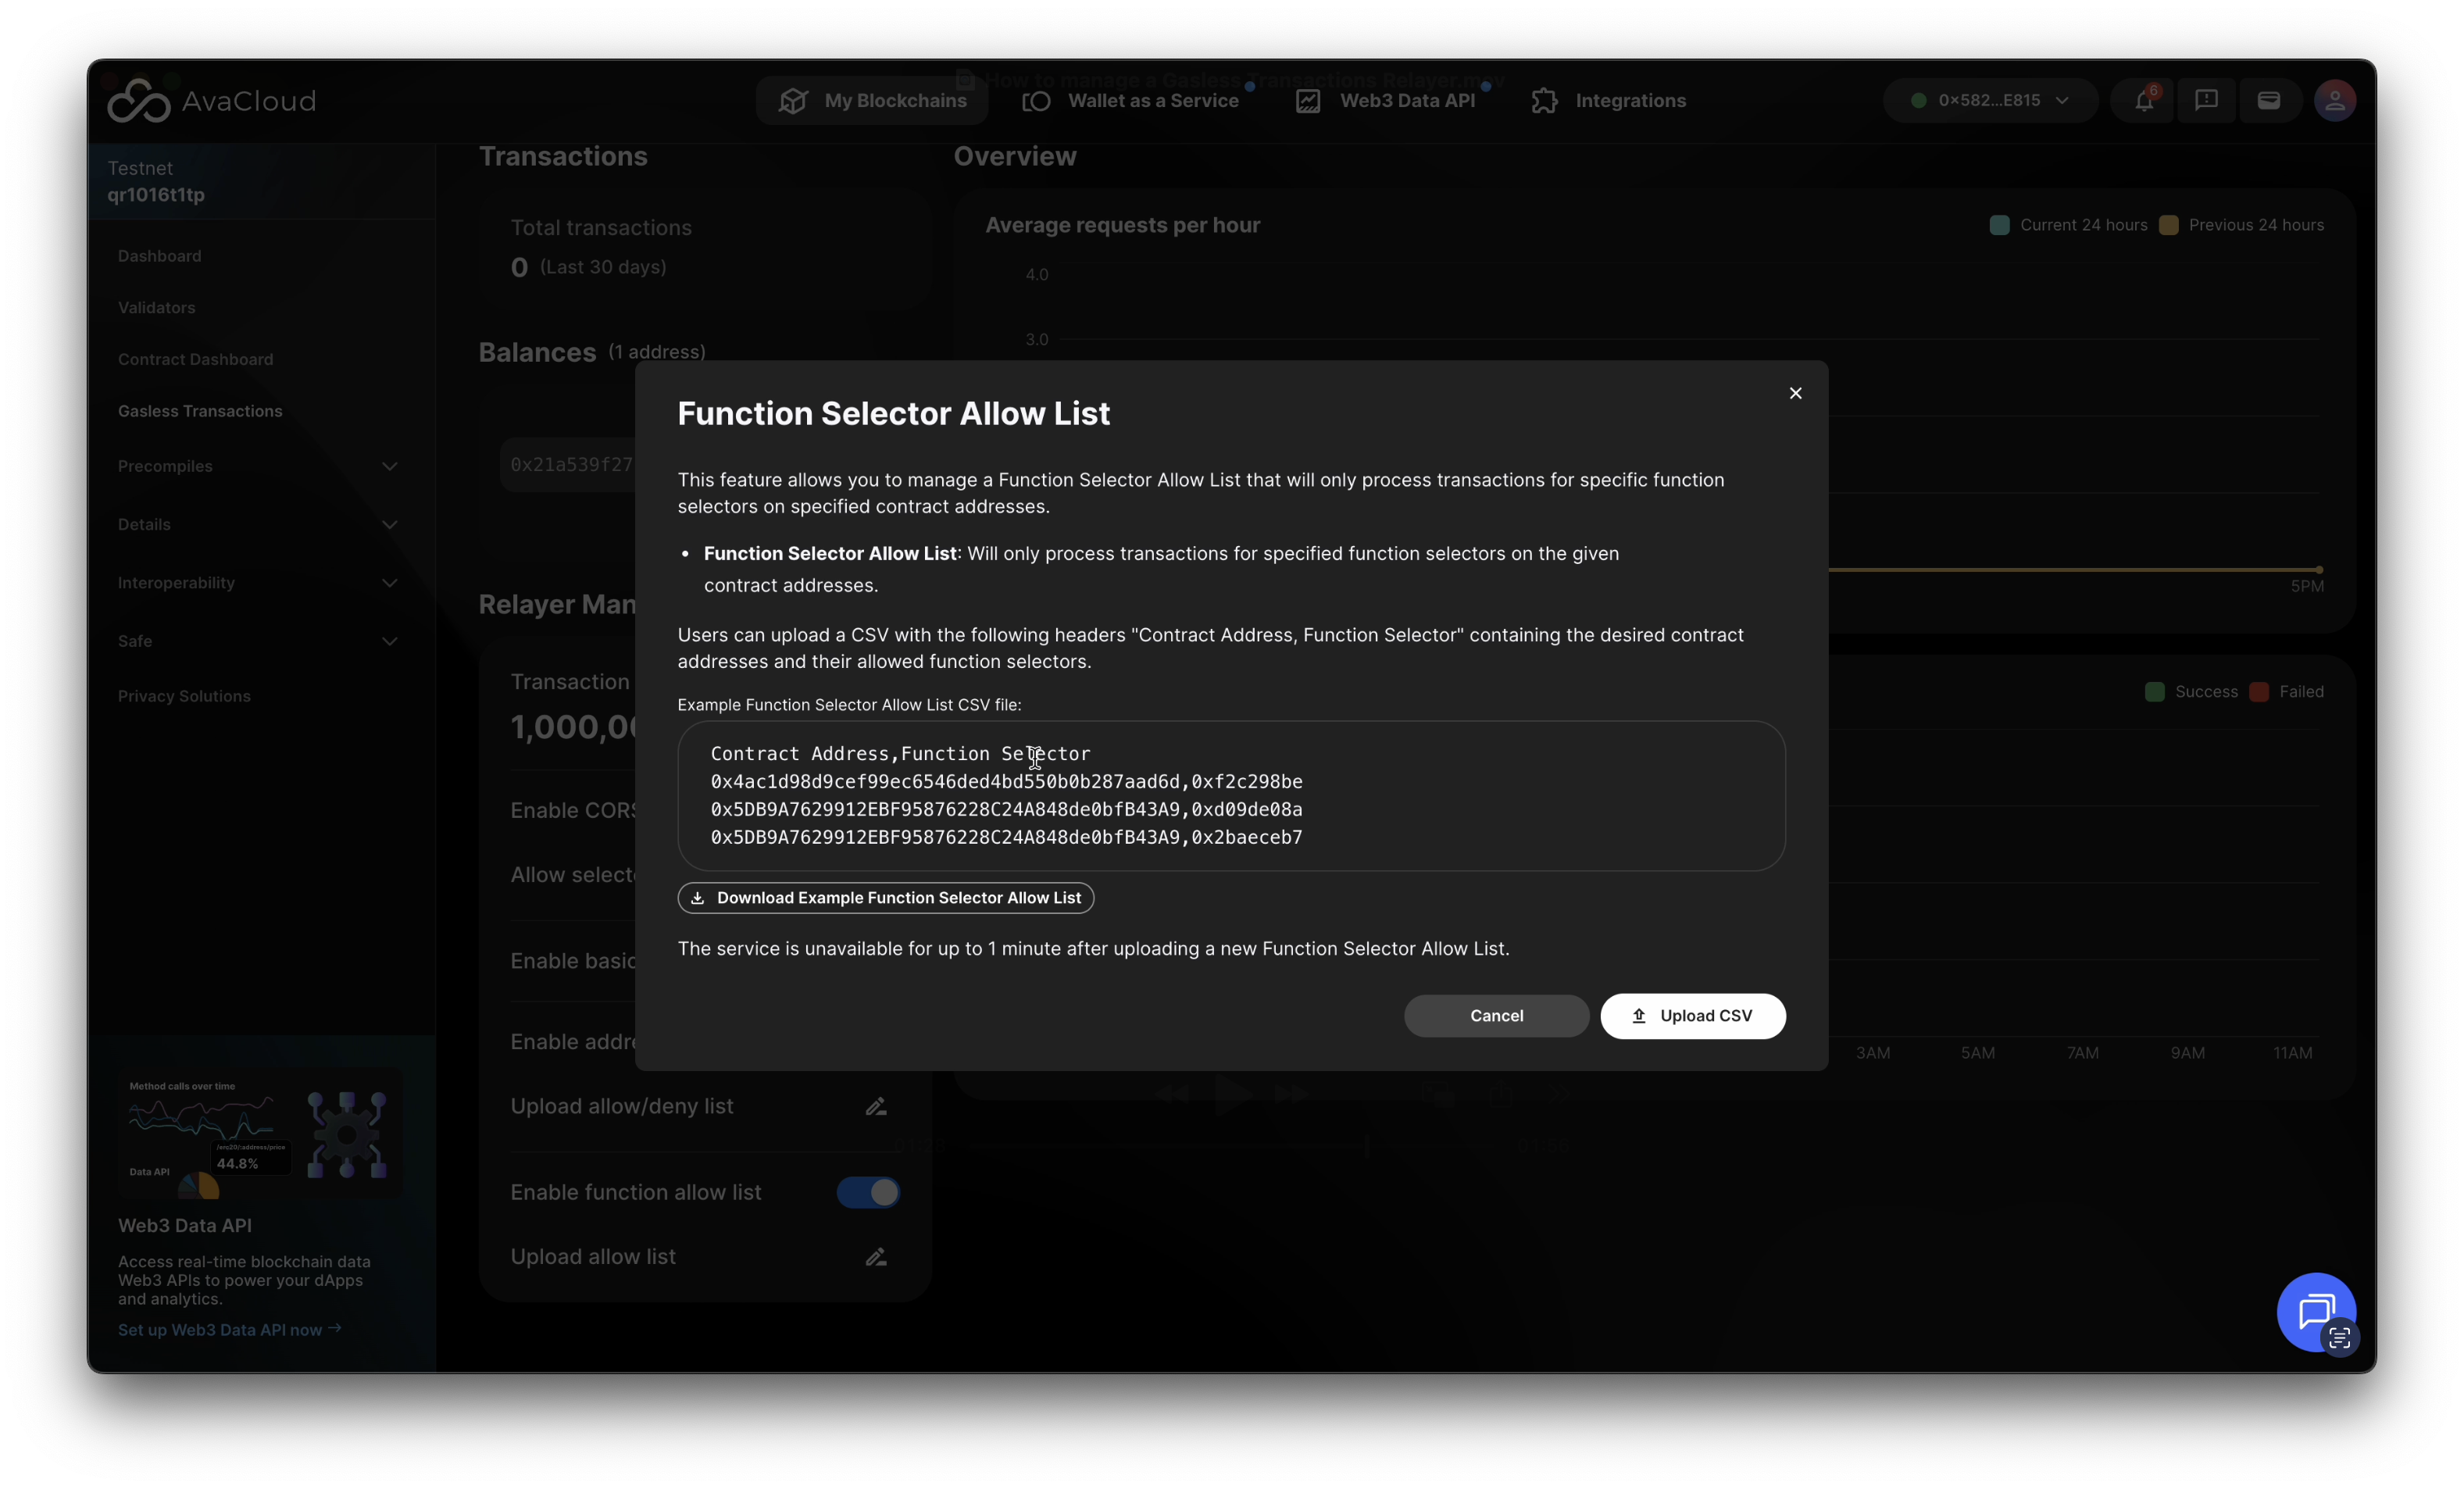
Function Allow List
Specify which contract functions can be accessed through the relayer, ensuring only permitted actions can be performed.
Gas Relayer Developer Guide
For integration details and developer resources, click the How to Use Relayers button at the top right of the dashboard. This directs you to the AvaCloud Gasless Relayer Developer Guide, also available here.
Video Walkthrough
If you need more help, explore our other articles or reach out to our support team via chat or email [email protected]. All examples provided are for demonstration purposes only.
Learn More About AvaCloud | Download Case Studies | Schedule an AvaCloud Demo