How to Set Up an Interchain Transfer for USDC Between Avalanche C-Chain and an L1?
AvaCloud offers built-in support for Avalanche Interoperability within its portal, including the ability to enable Interchain Transfers. This guide walks you through transferring USDC between Avalanche C-Chain and an L1.
Prerequisites
- Interoperability must be enabled on your target L1. See How to Set Up Interoperability?.
Enable Interchain Transfer for USDC
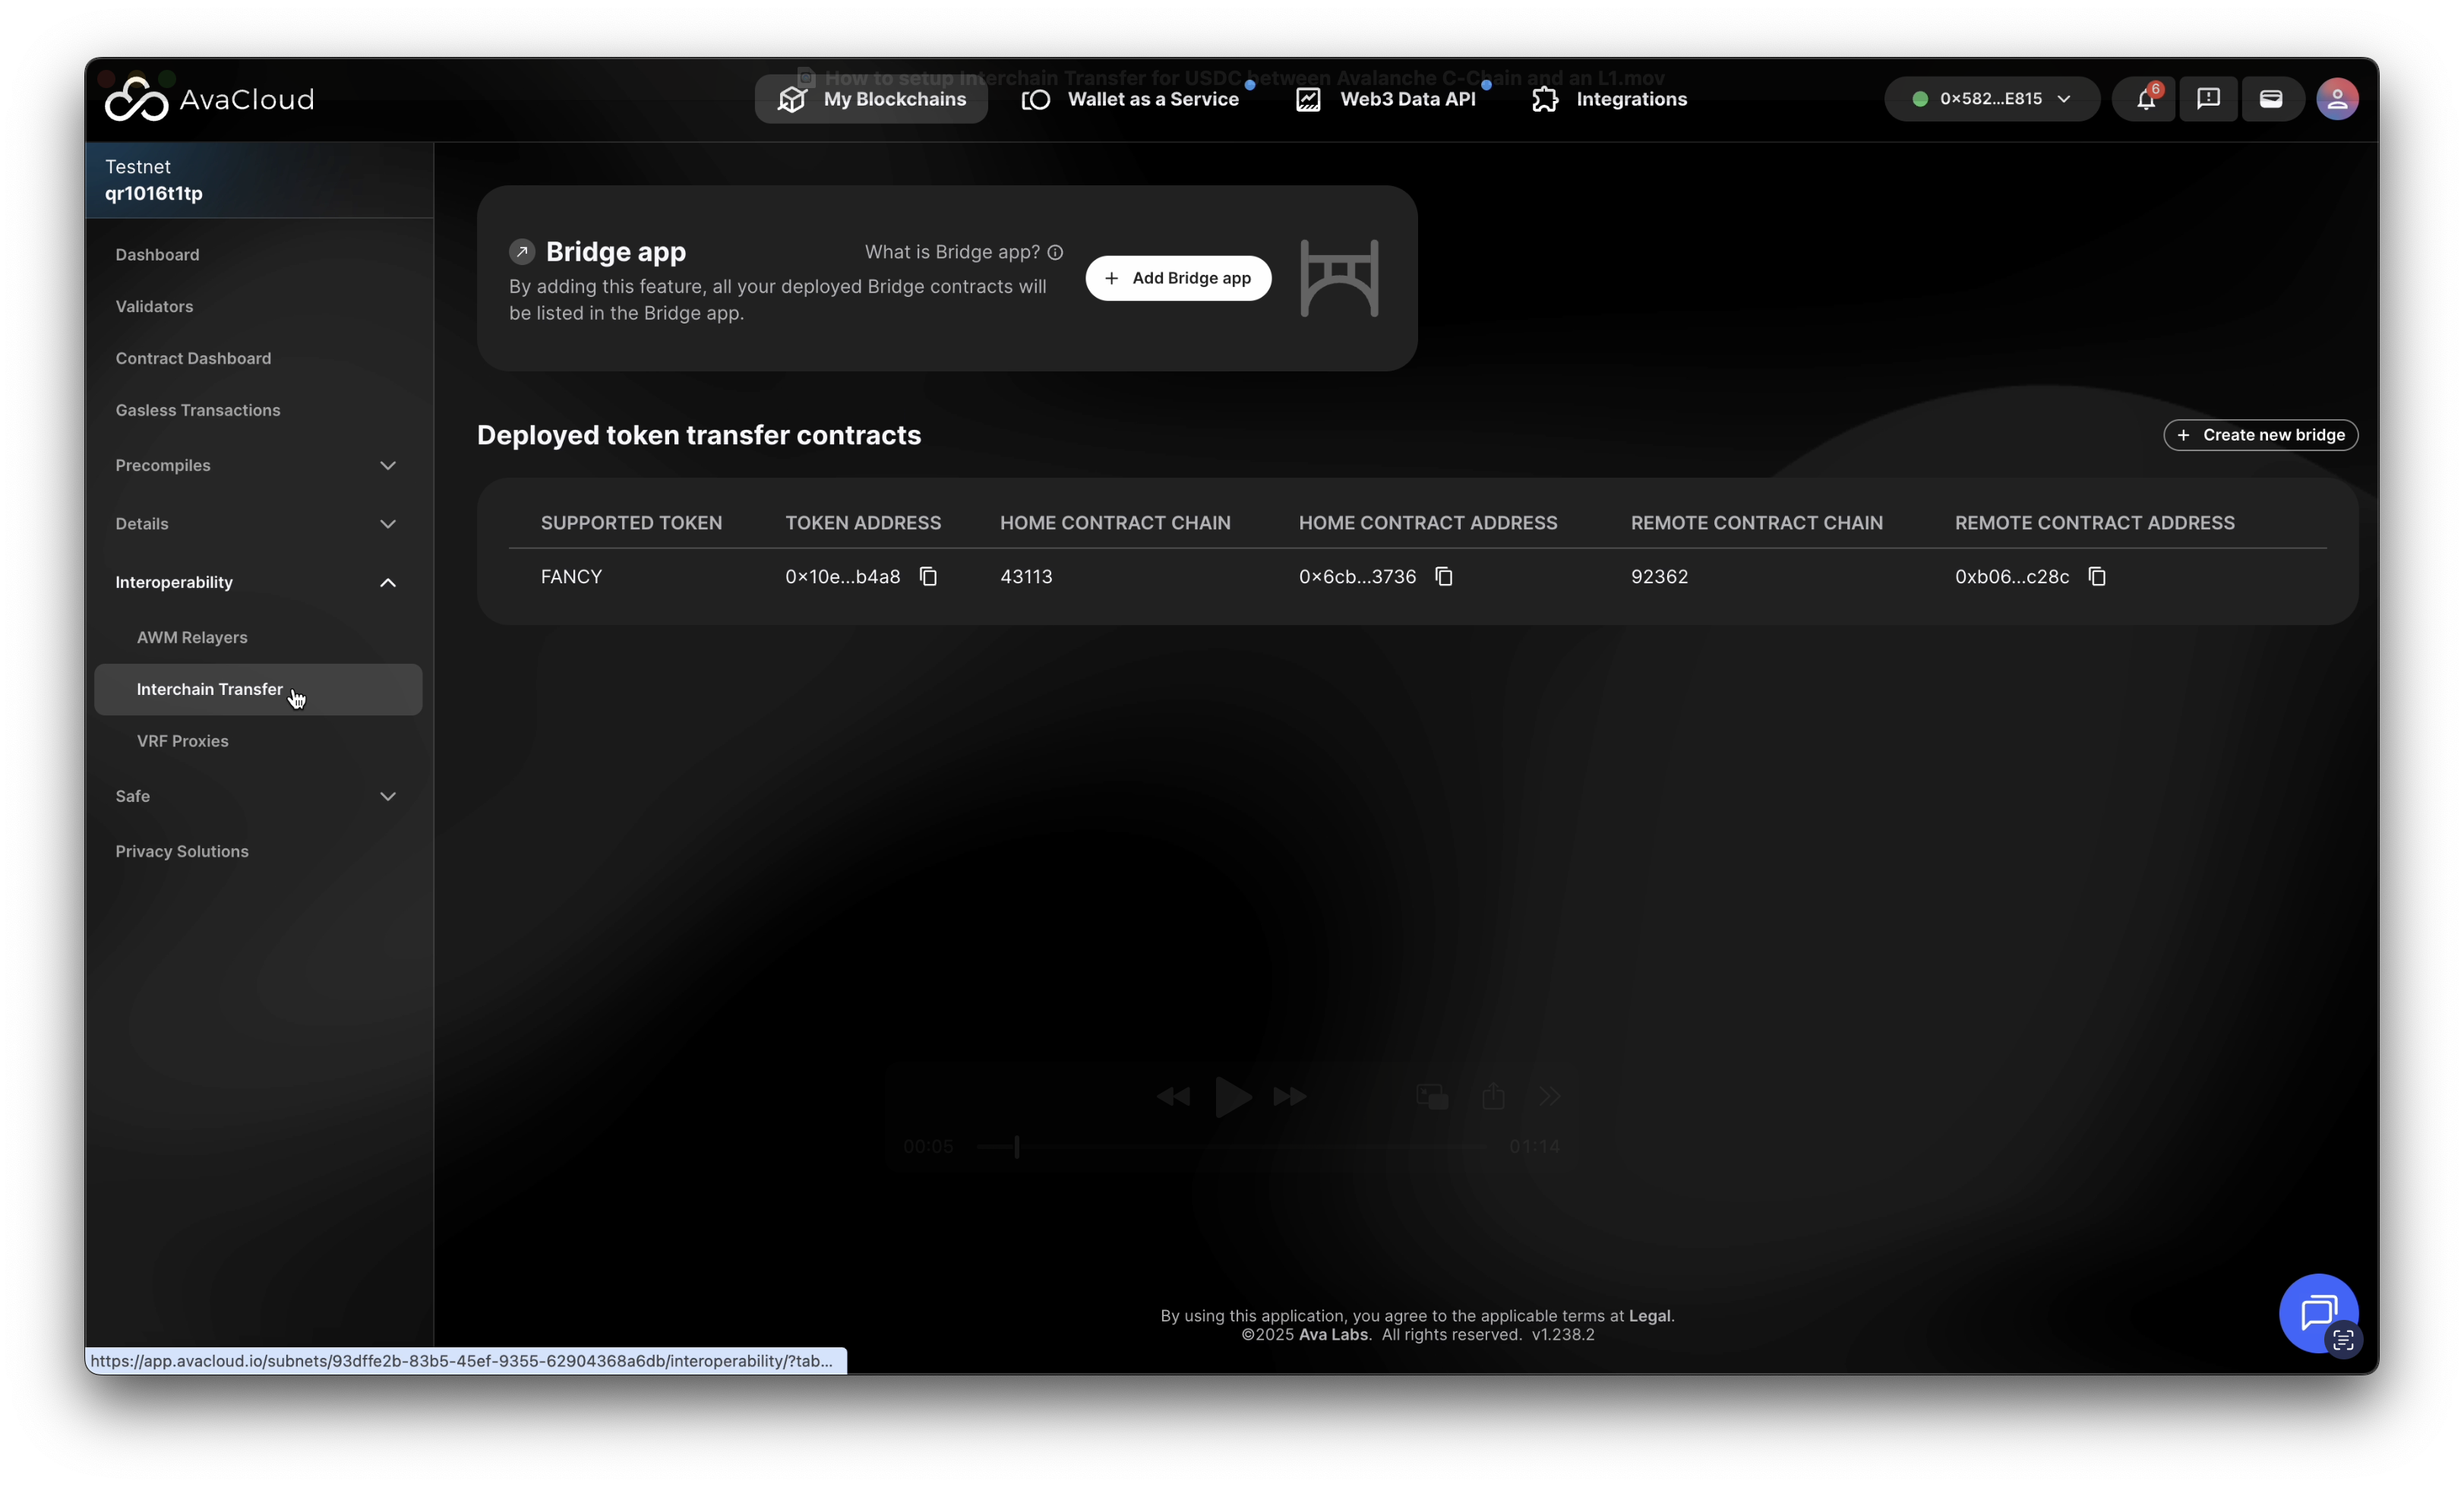
- In the AvaCloud Portal, navigate to the
Interoperabilitytab. - Select
Interchain Transfer.
Start a New Interchain Token Transfer
- Click the
Create new bridgebutton. - The Portal will guide you through the Interchain token transfer setup.
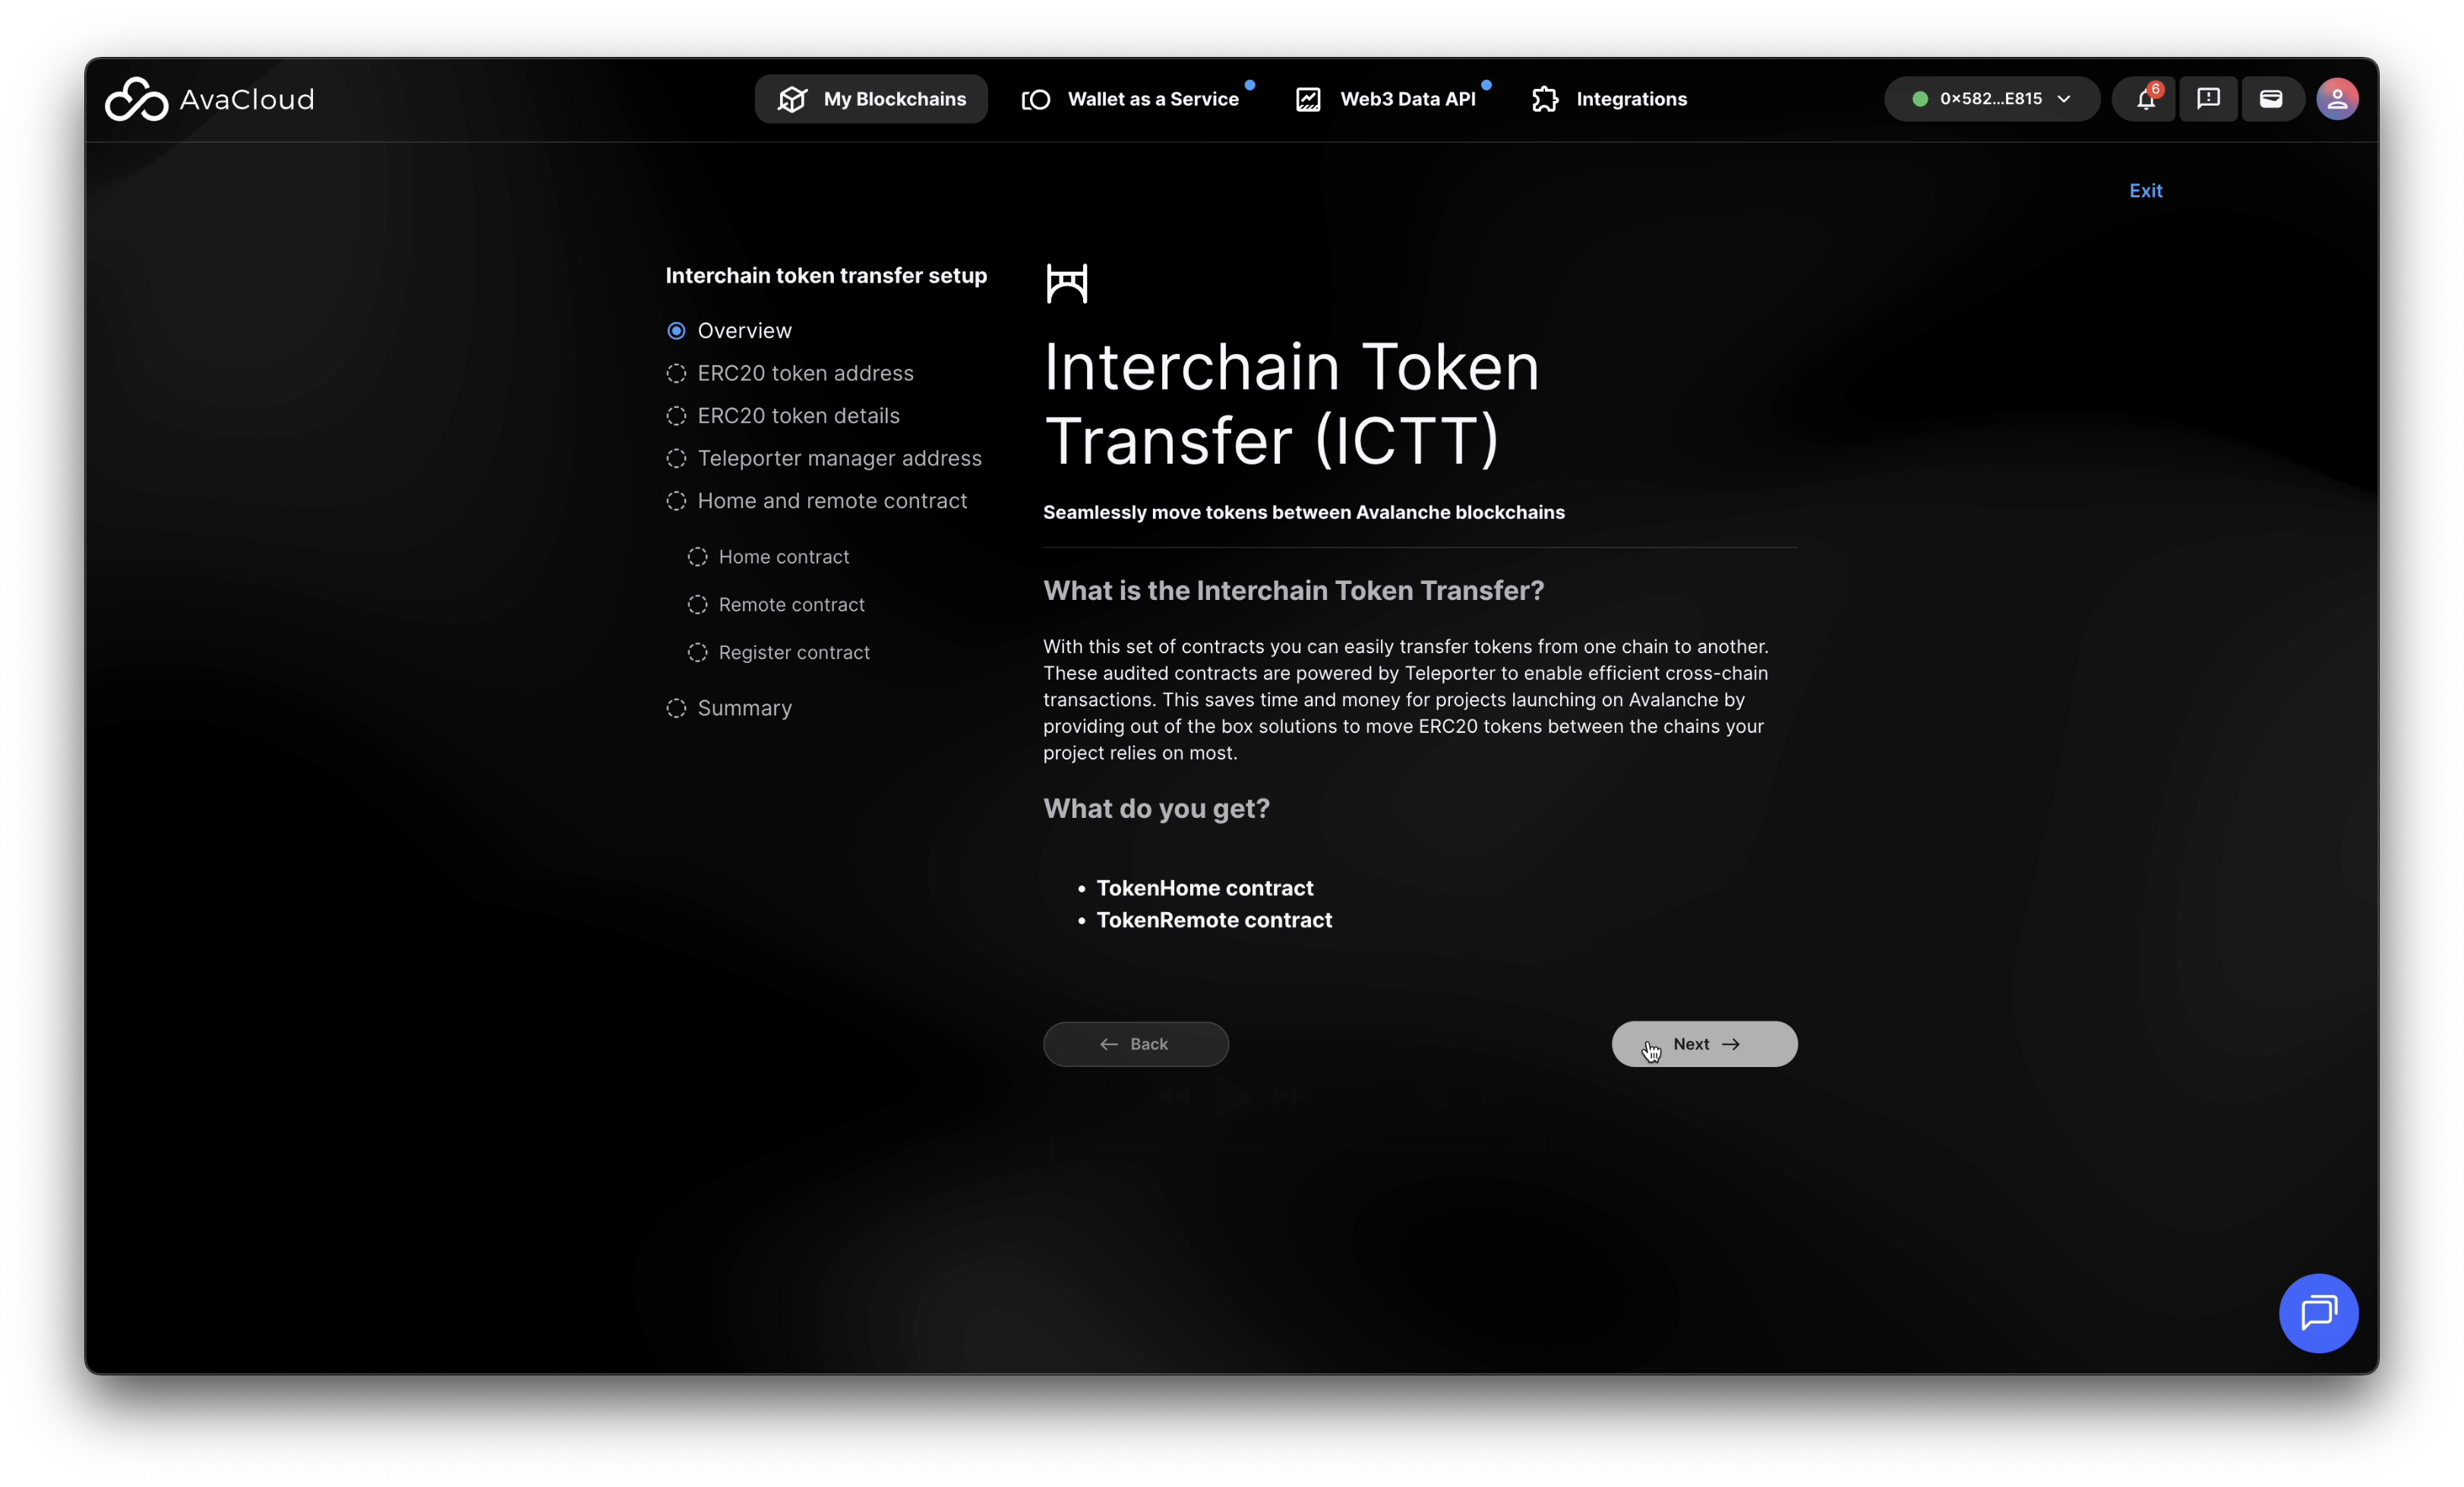
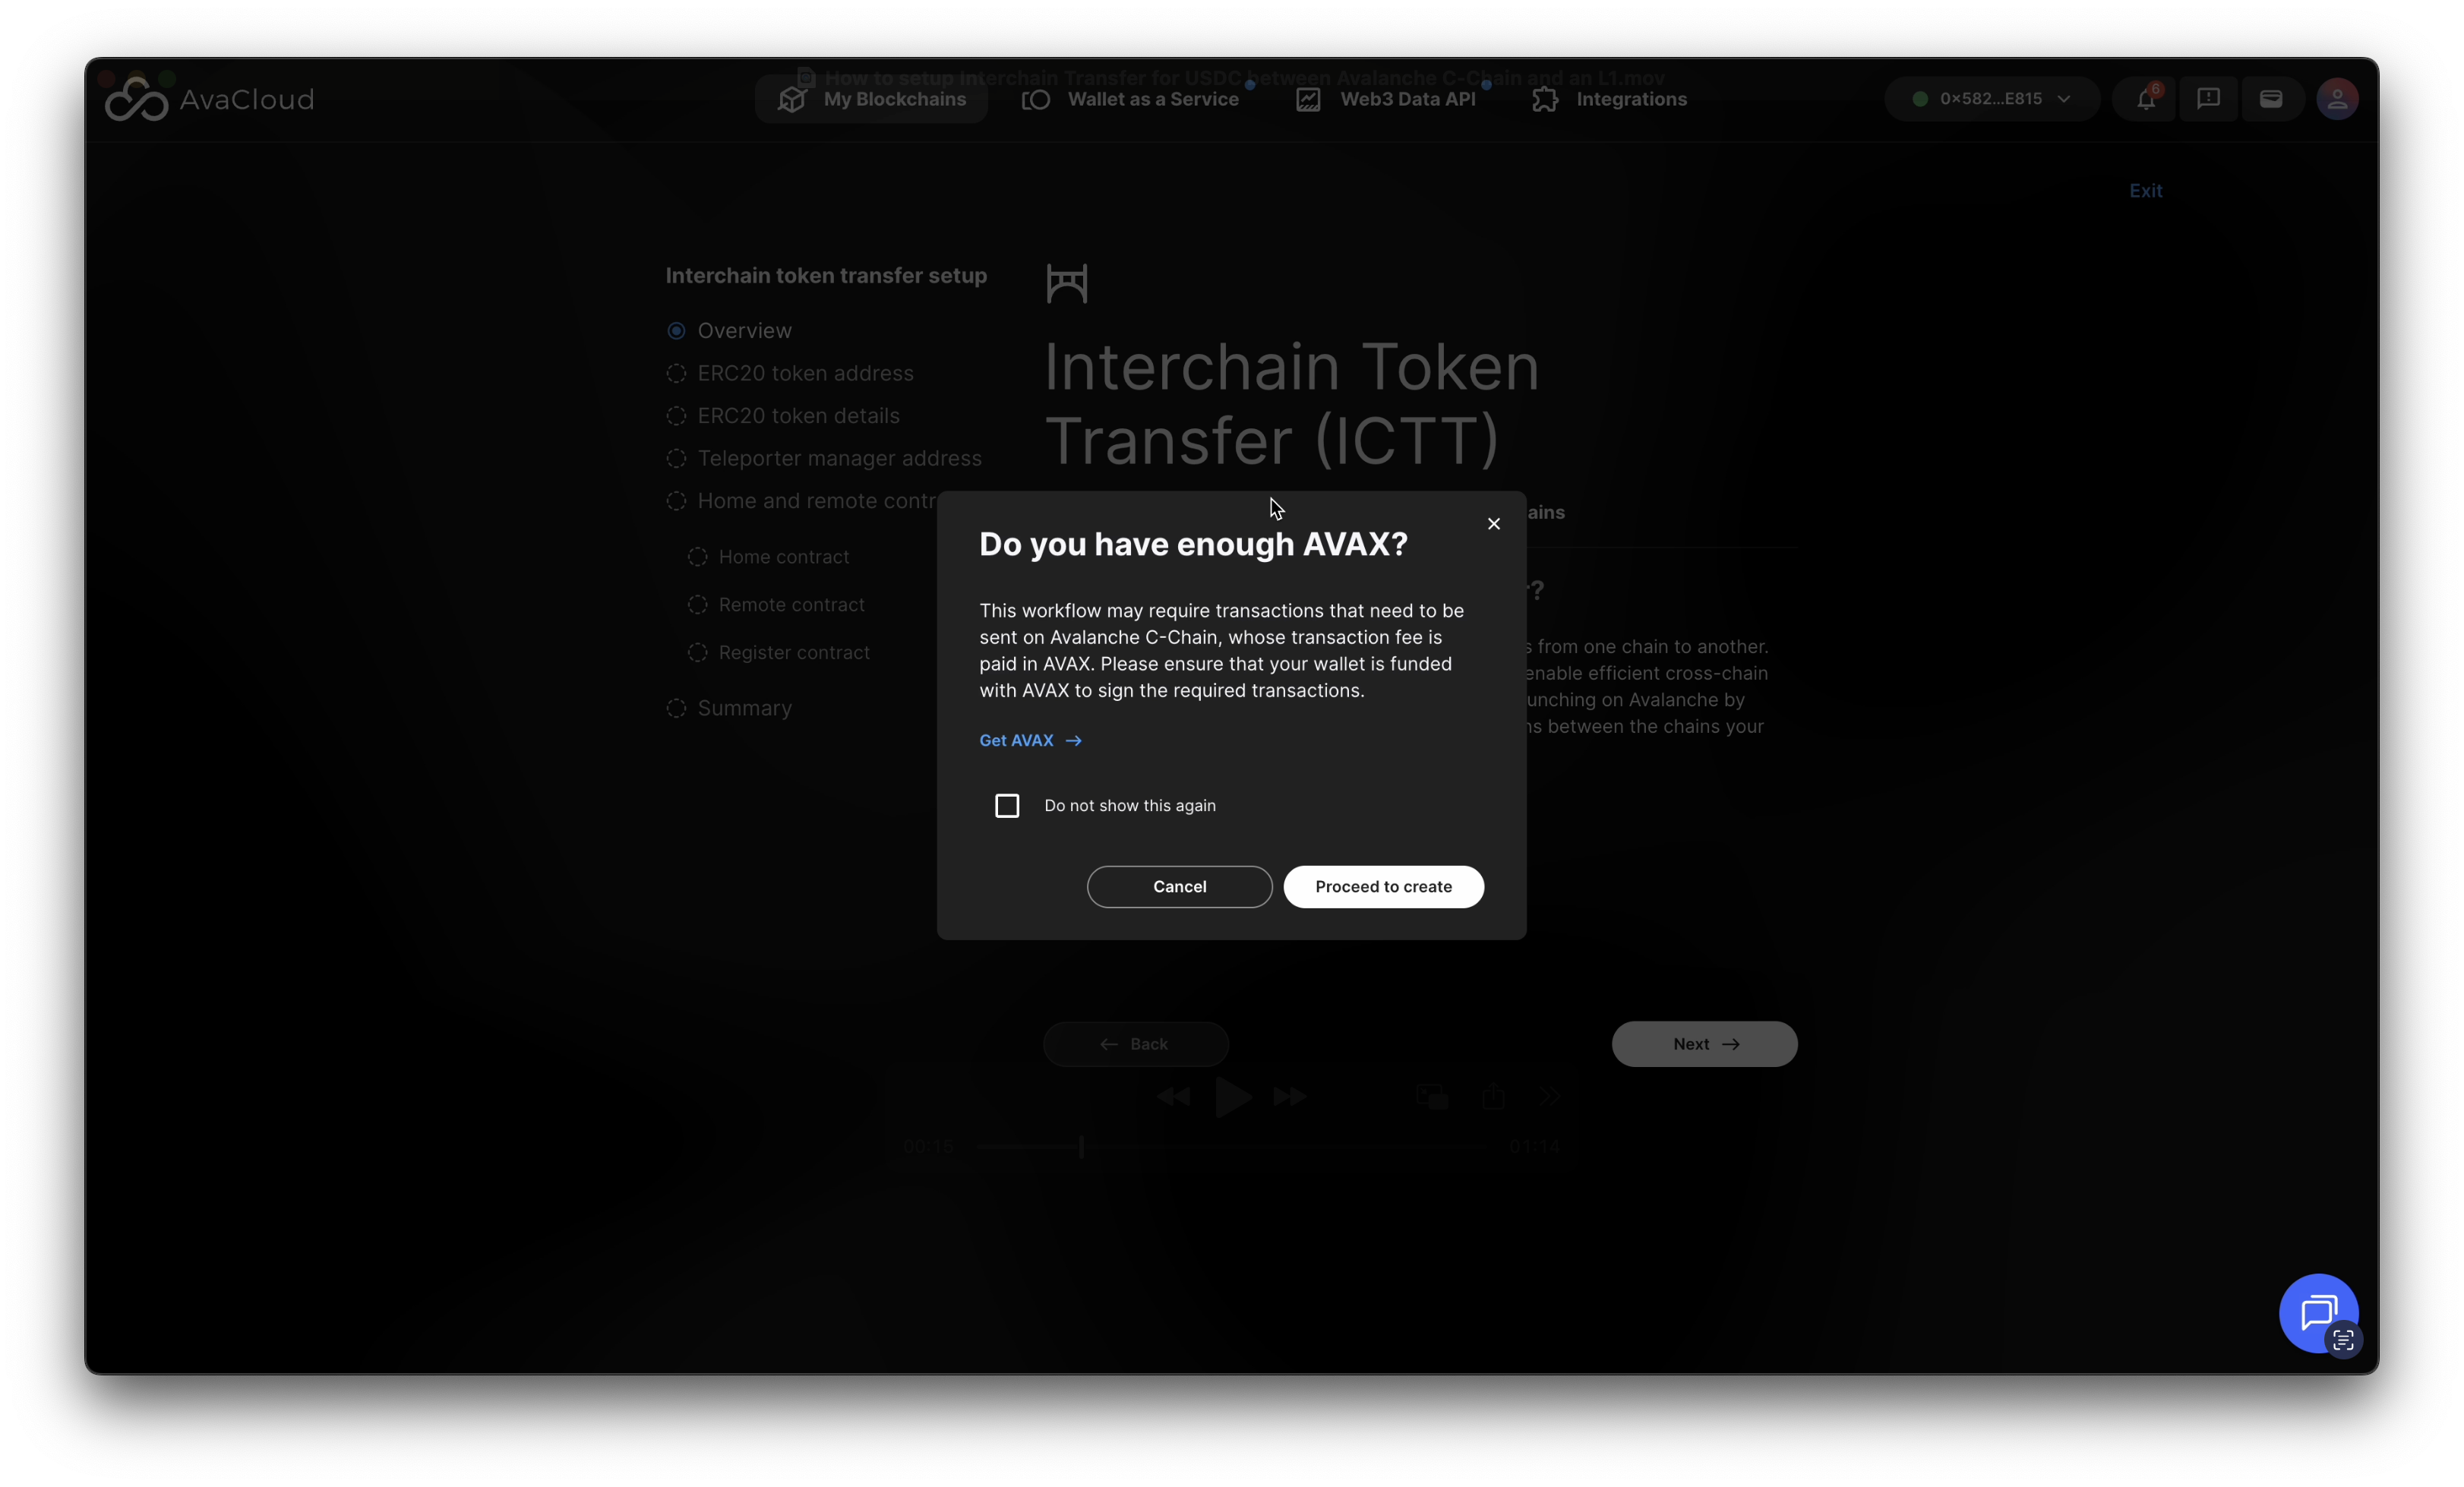
- Confirm that you have sufficient AVAX on C-Chain to pay for transaction fees.
USDC as an ERC20 Token
Indicate where the ERC20 token (in this case, USDC) is deployed.
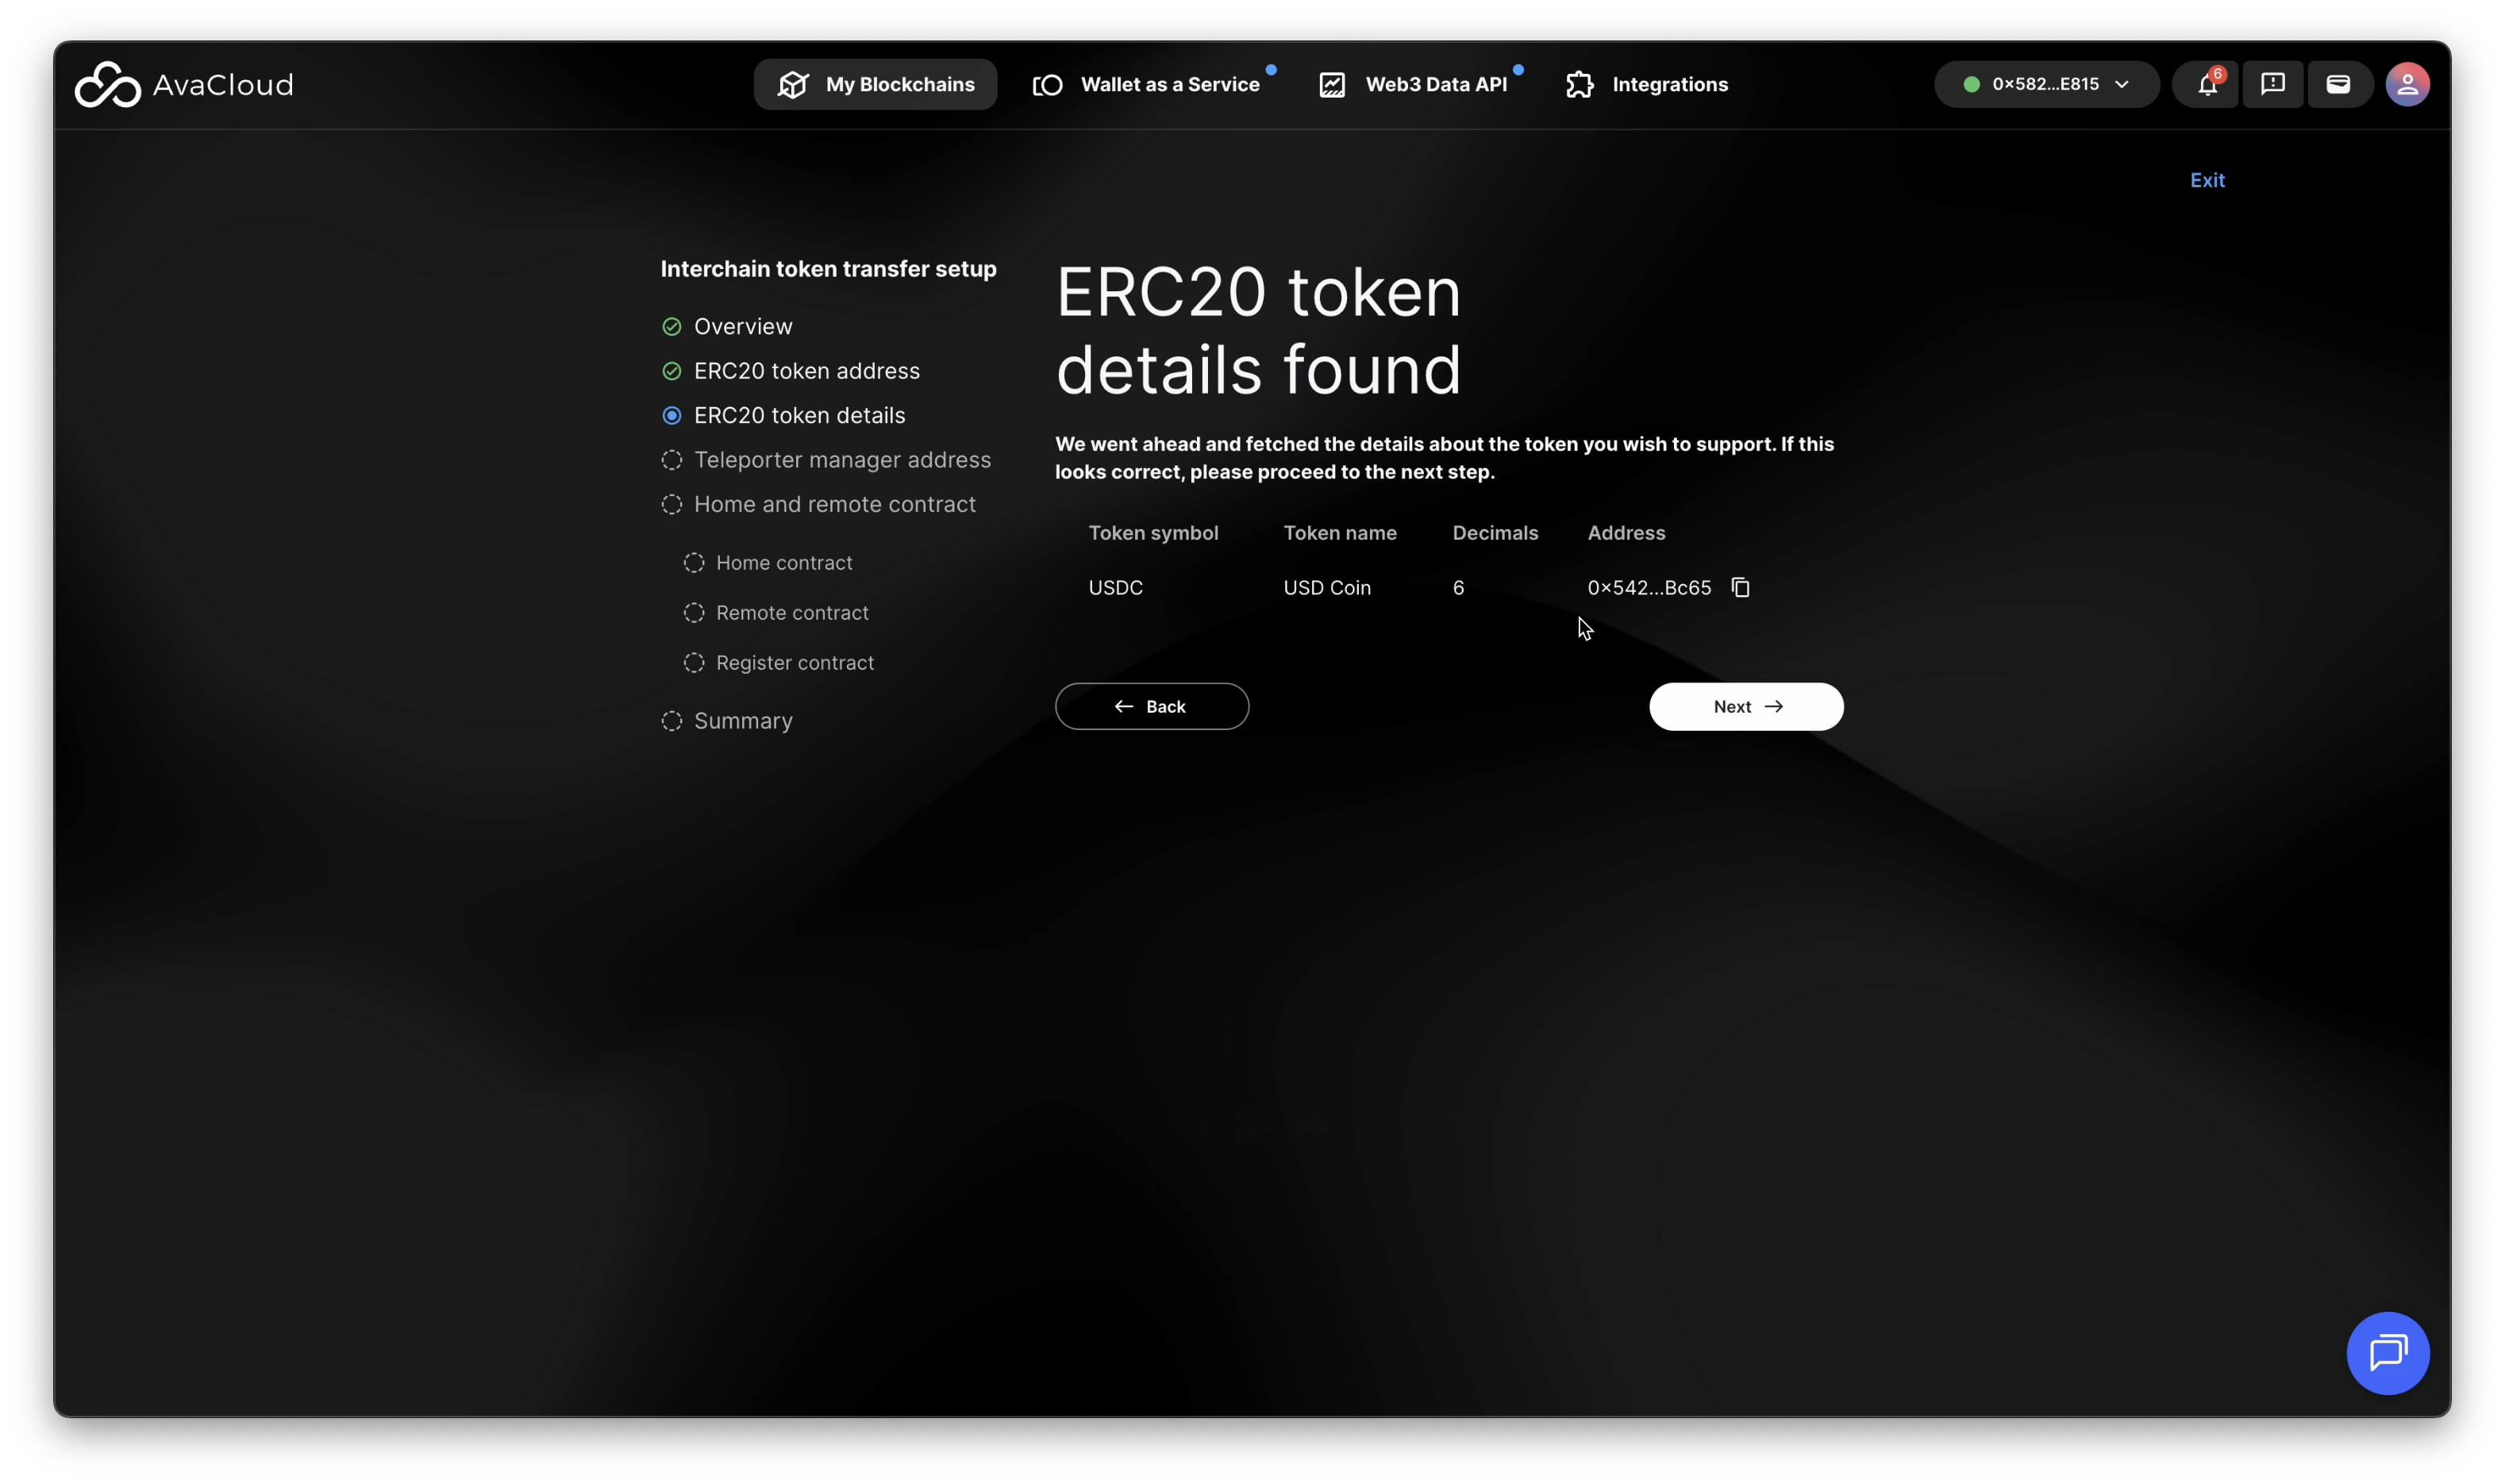
Since this transfer is from C-Chain to L1, select C-Chain and enter the USDC contract address on Avalanche Test: 0x5425890298aed601595a70AB815c96711a31Bc65.
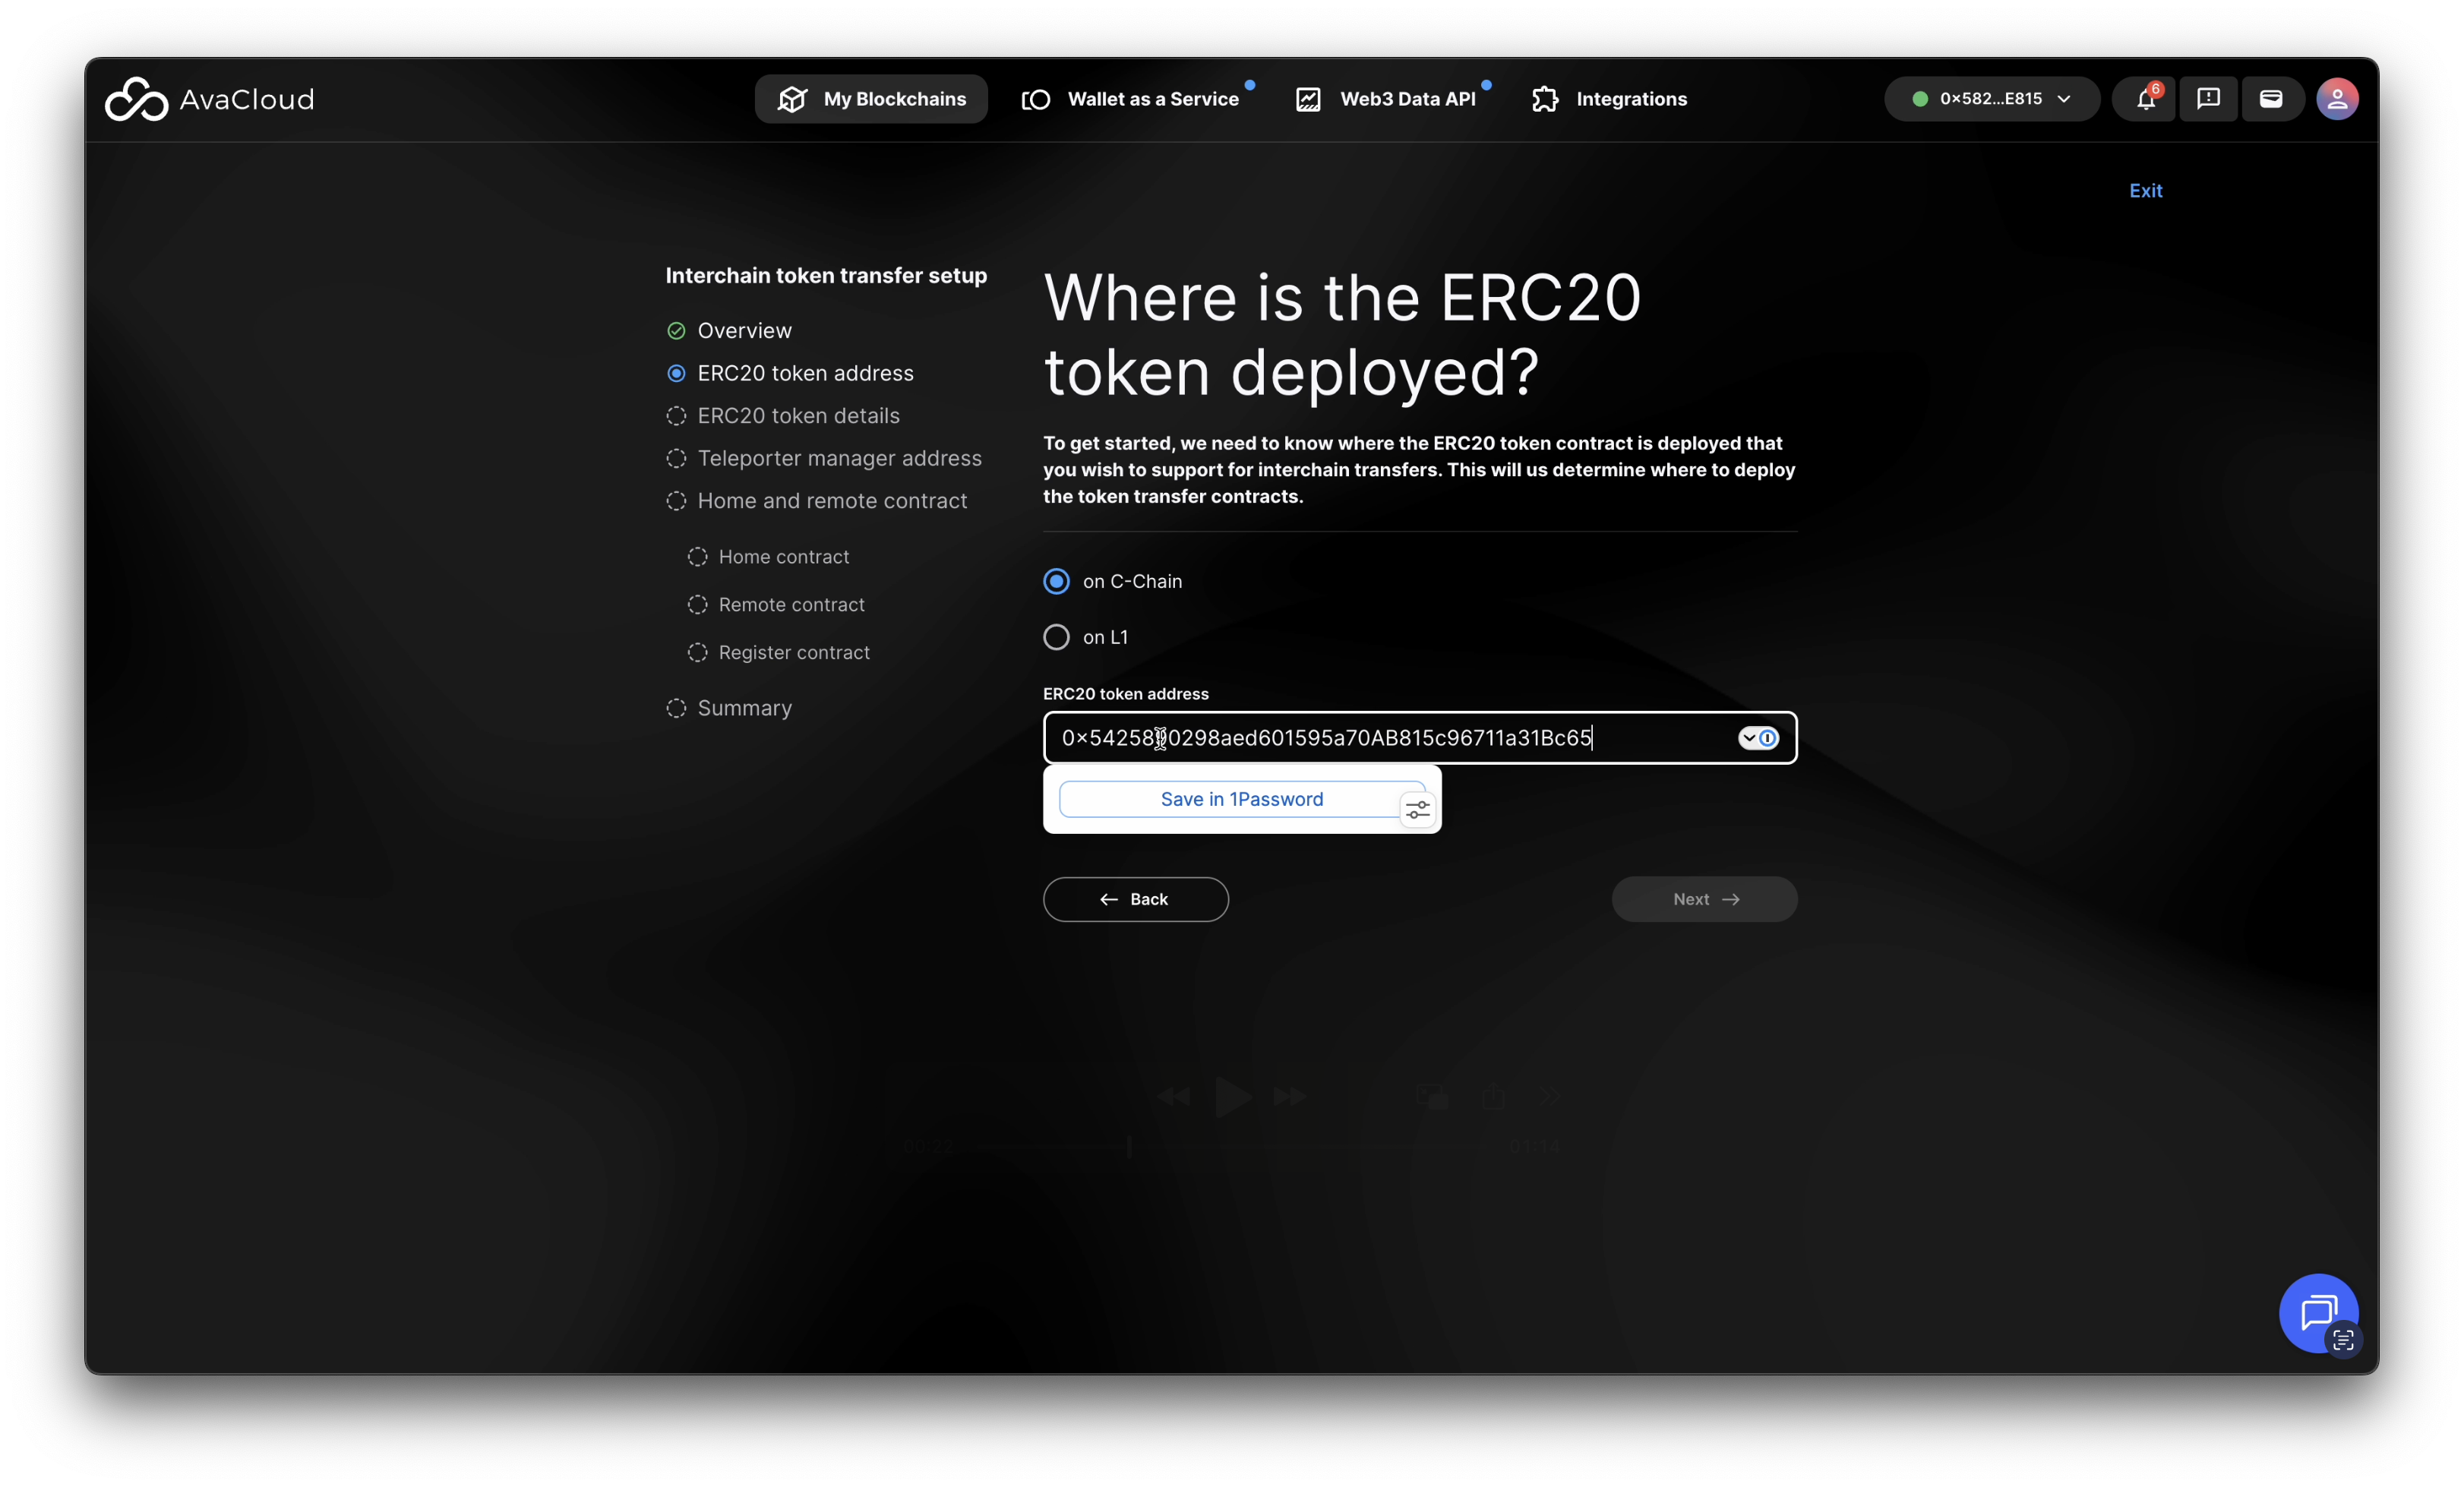
The AvaCloud Portal should automatically identify and display USDC.
Teleporter Manager Address
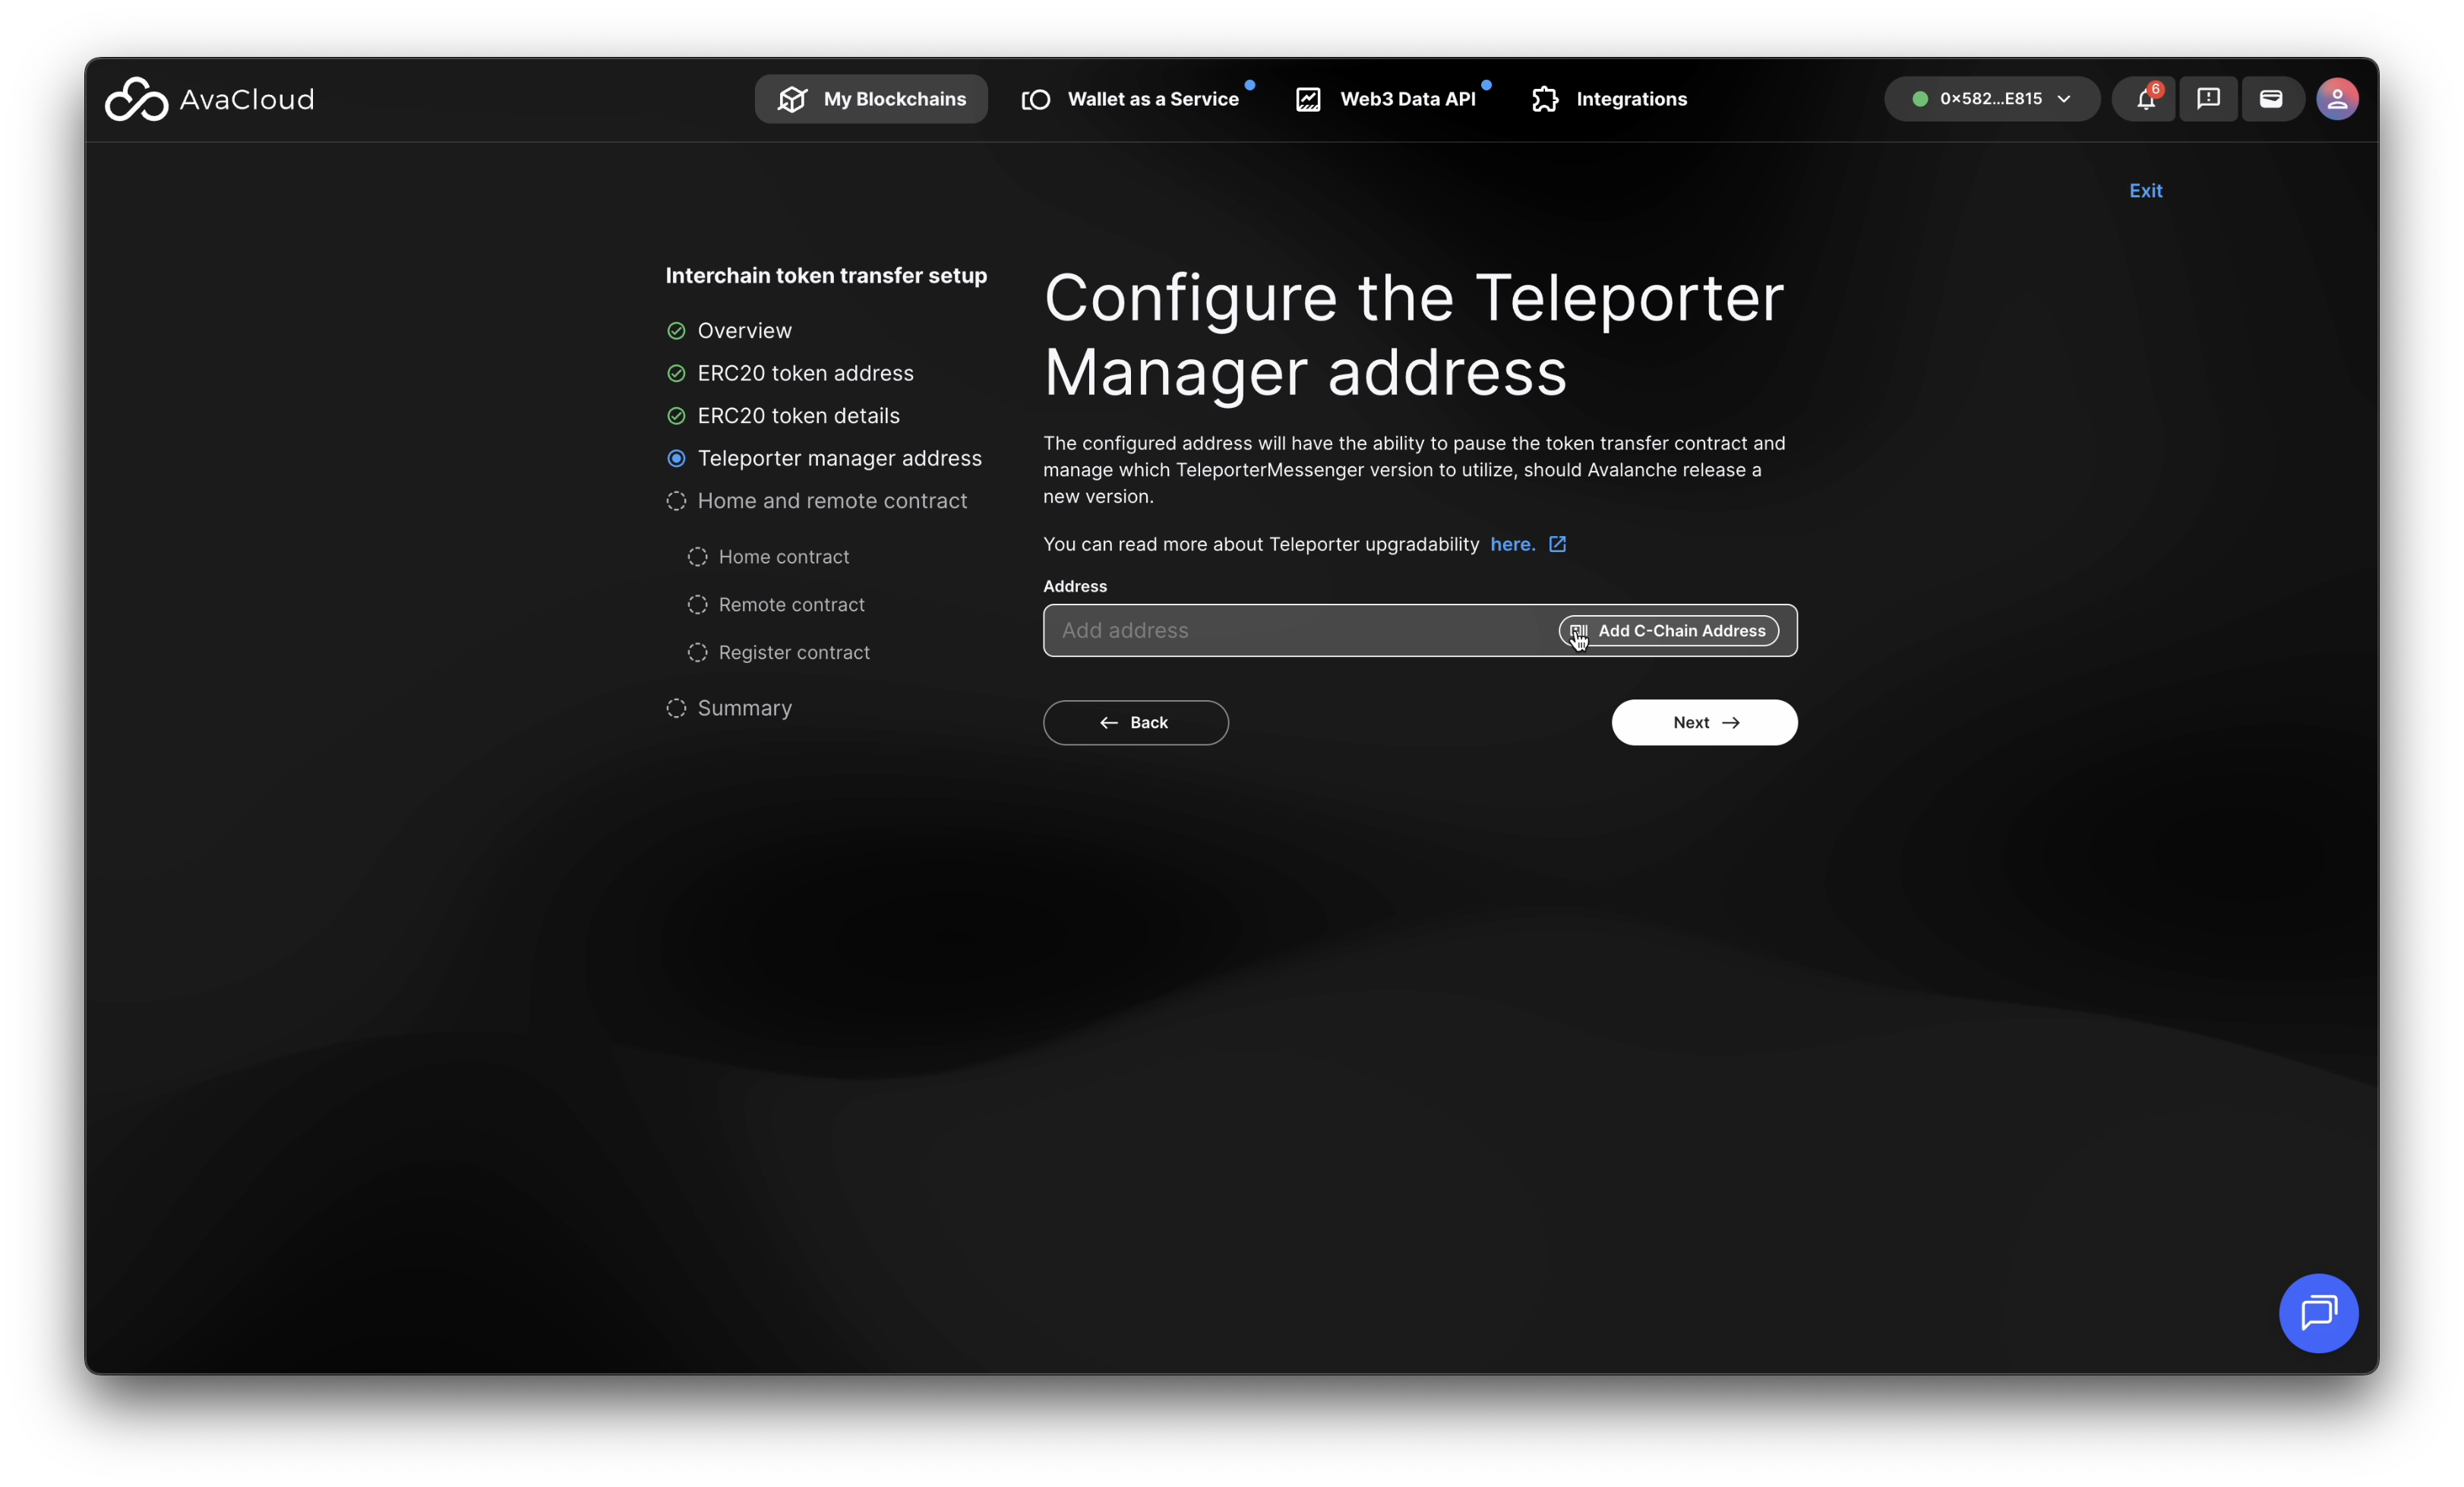
Enter the Teleporter Manager Address, which is a C-Chain address.
Deploy Home and Remote Contracts
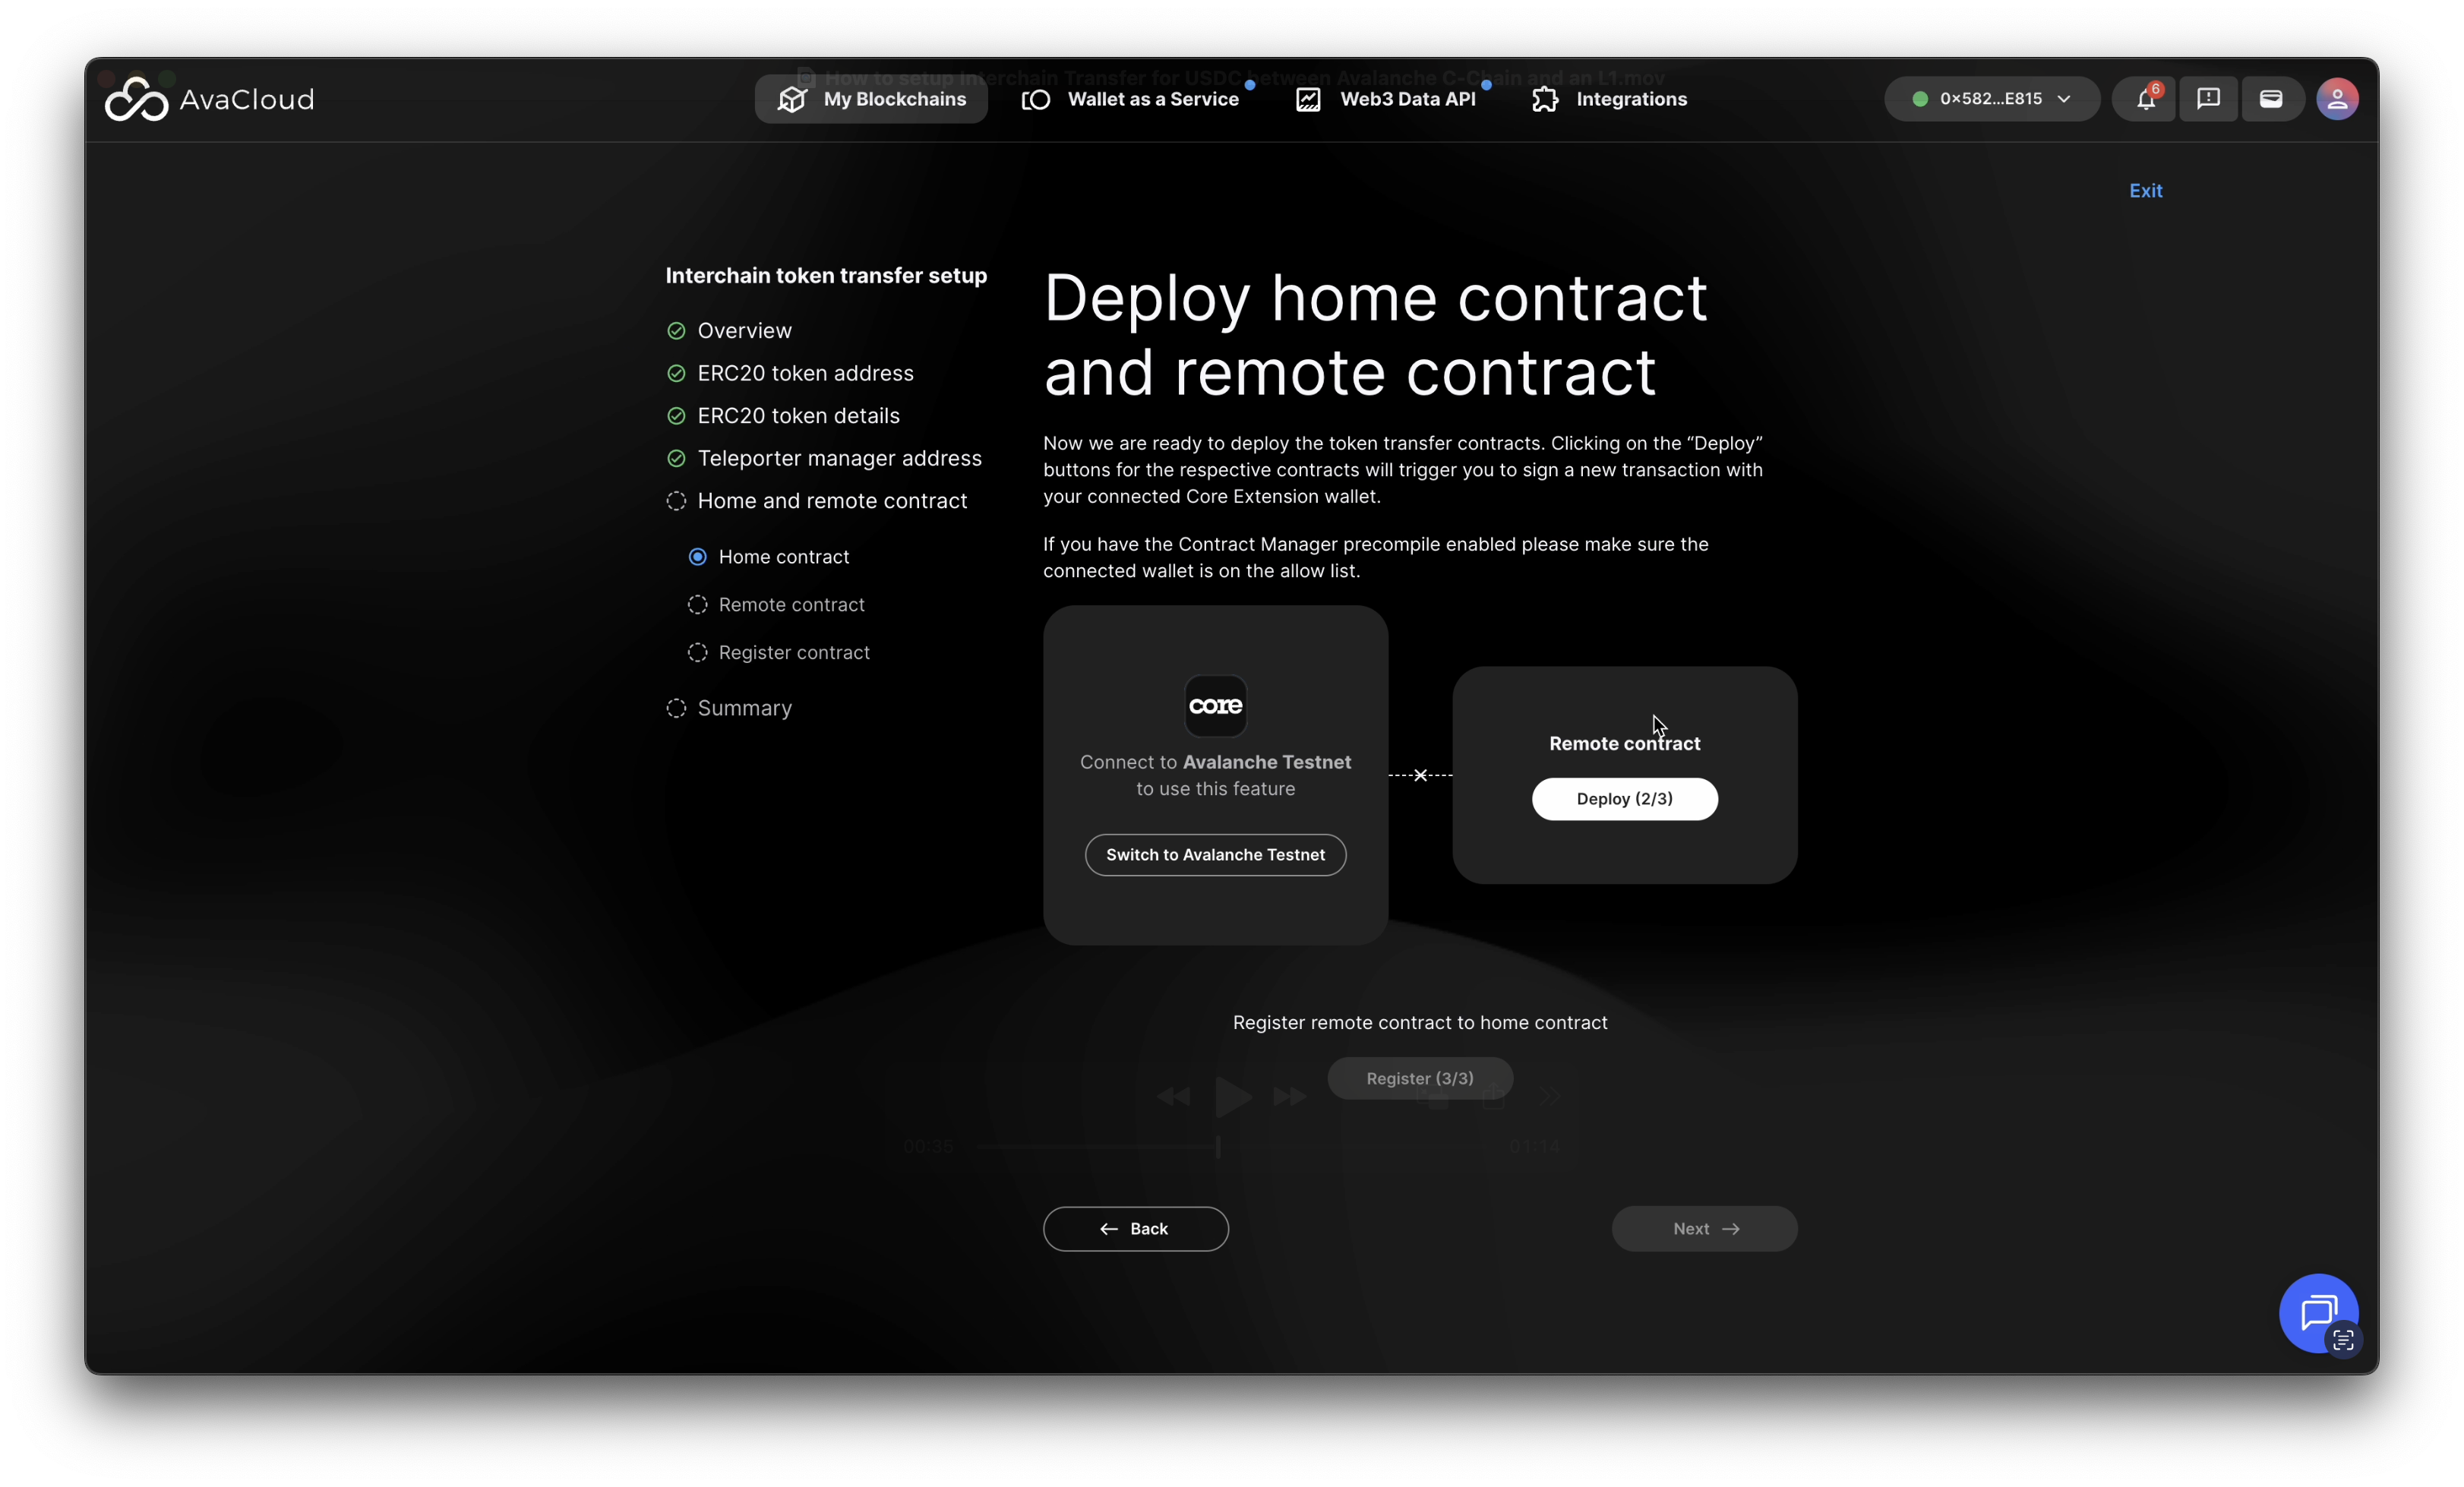
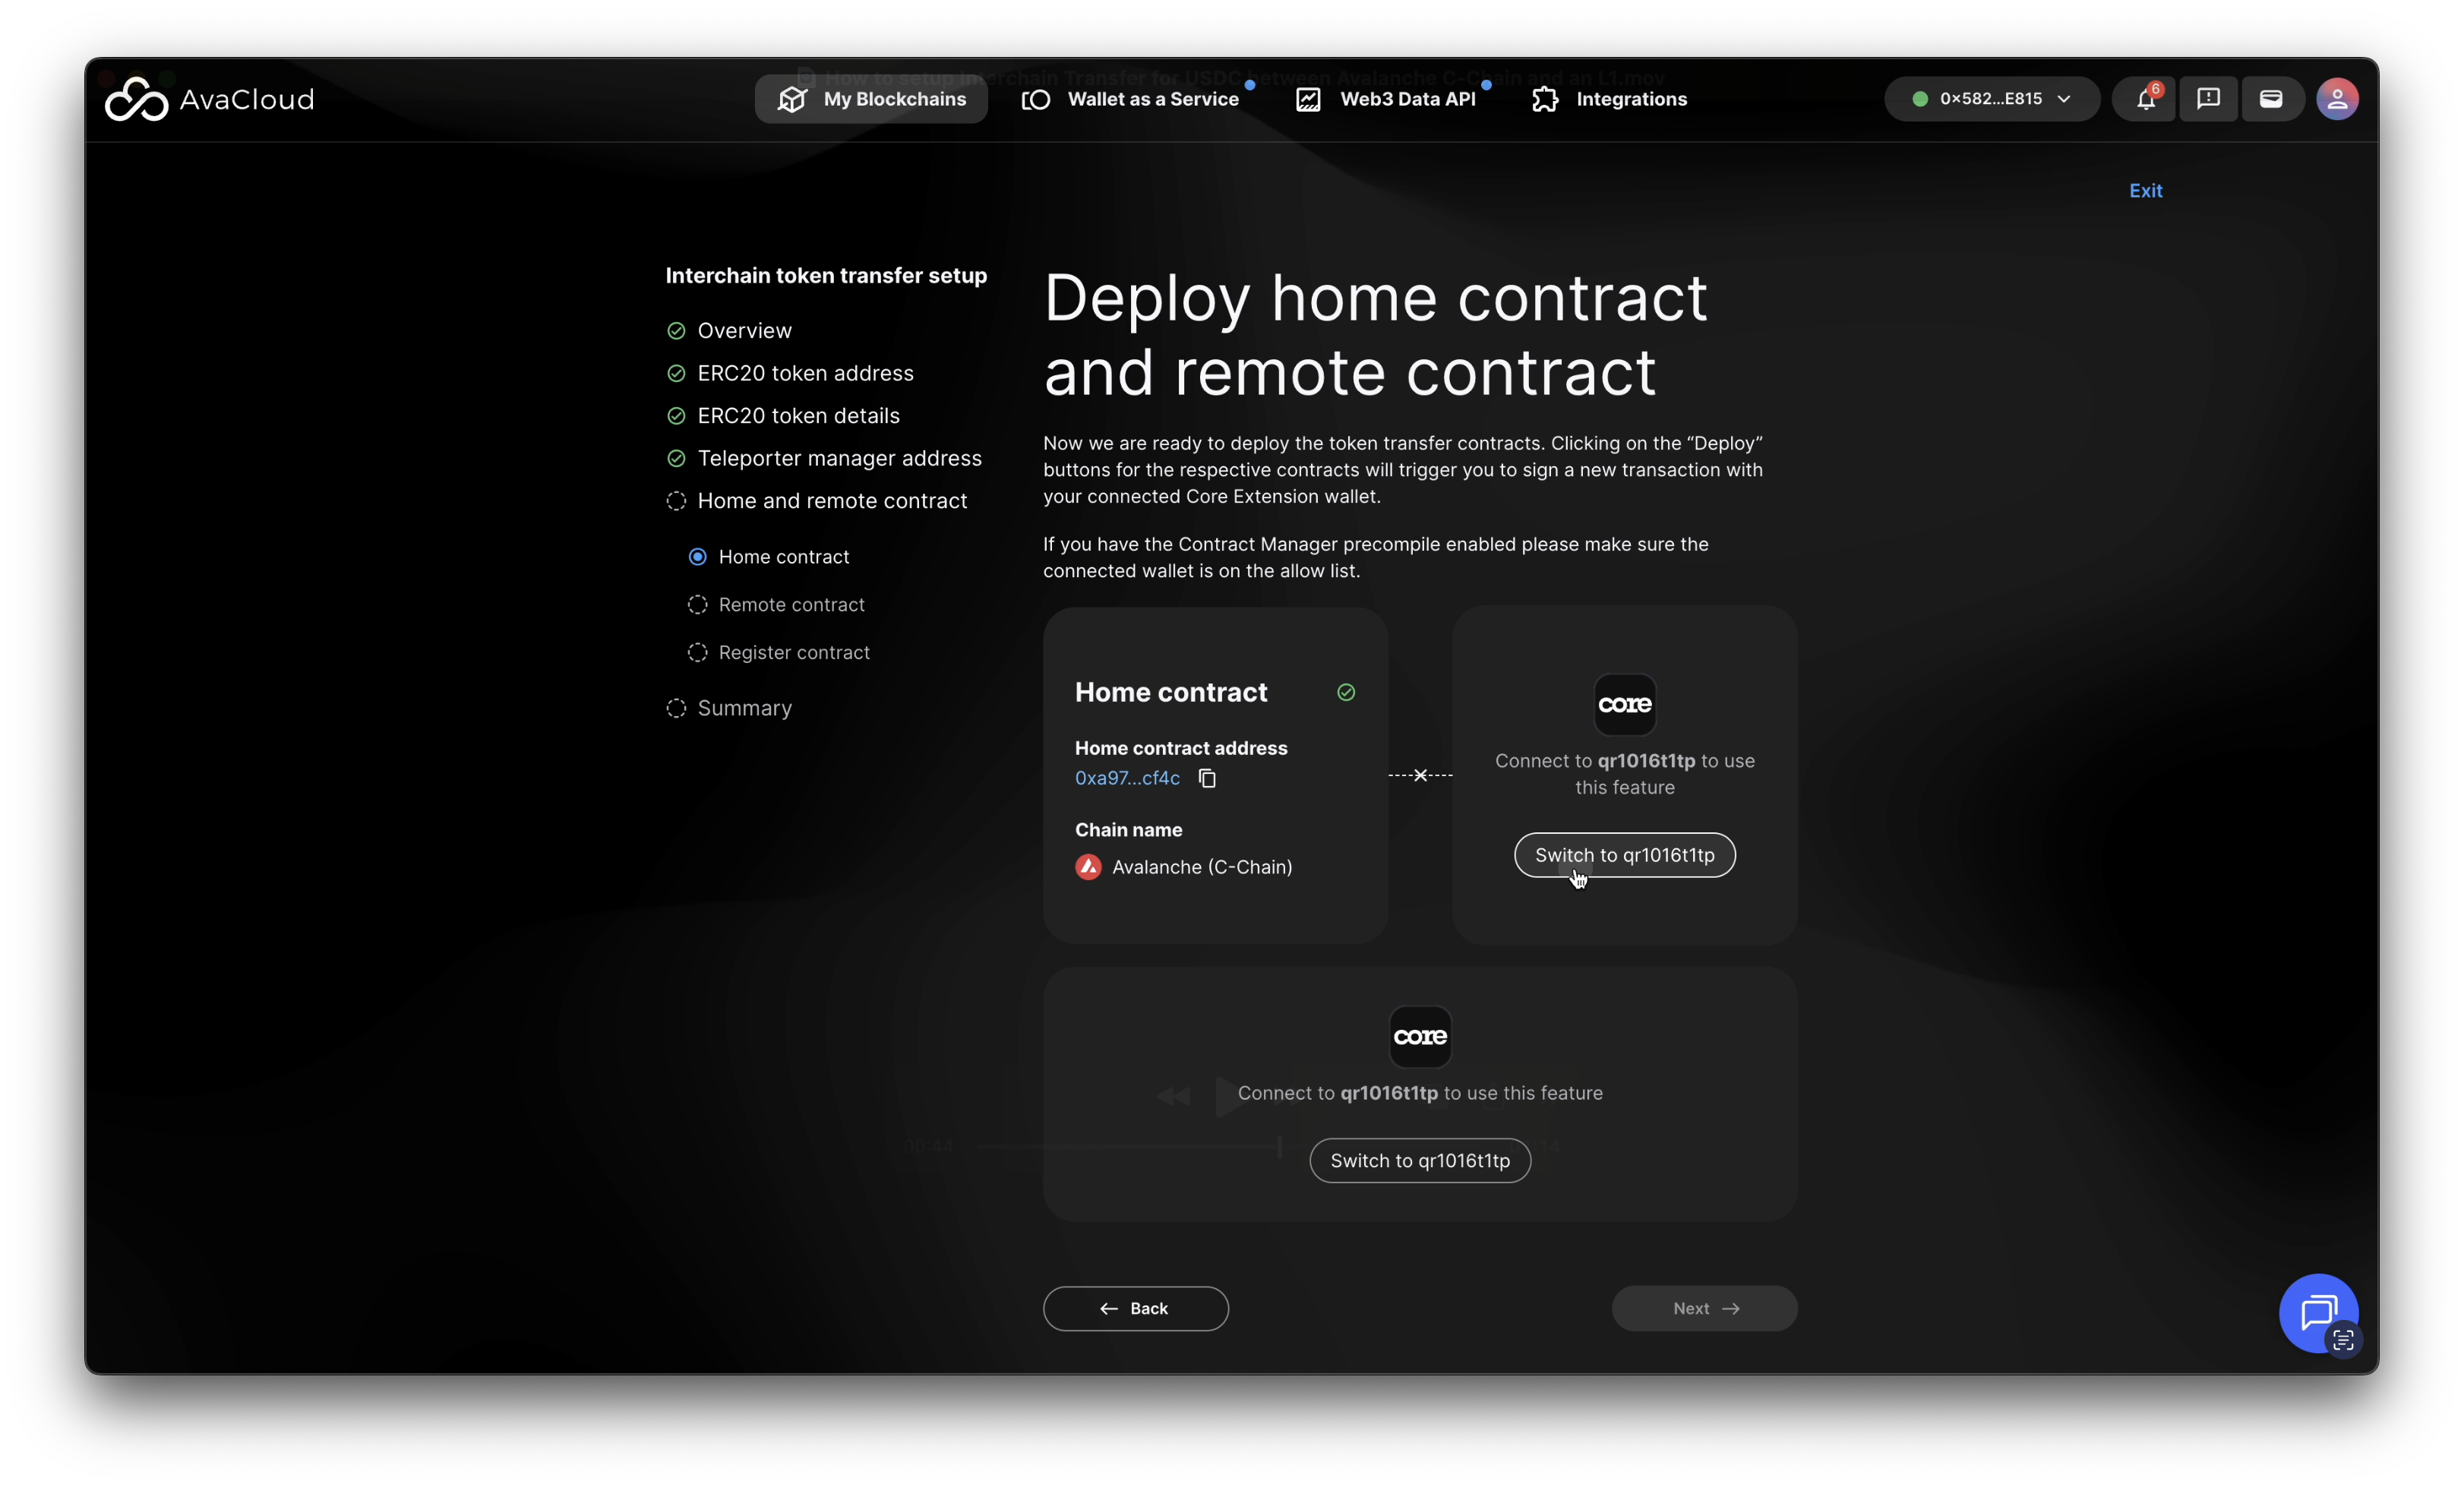
Ensure Correct Source Network
Ensure AvaCloud Portal is connected to the correct network (for example, Avalanche Testnet or Mainnet).
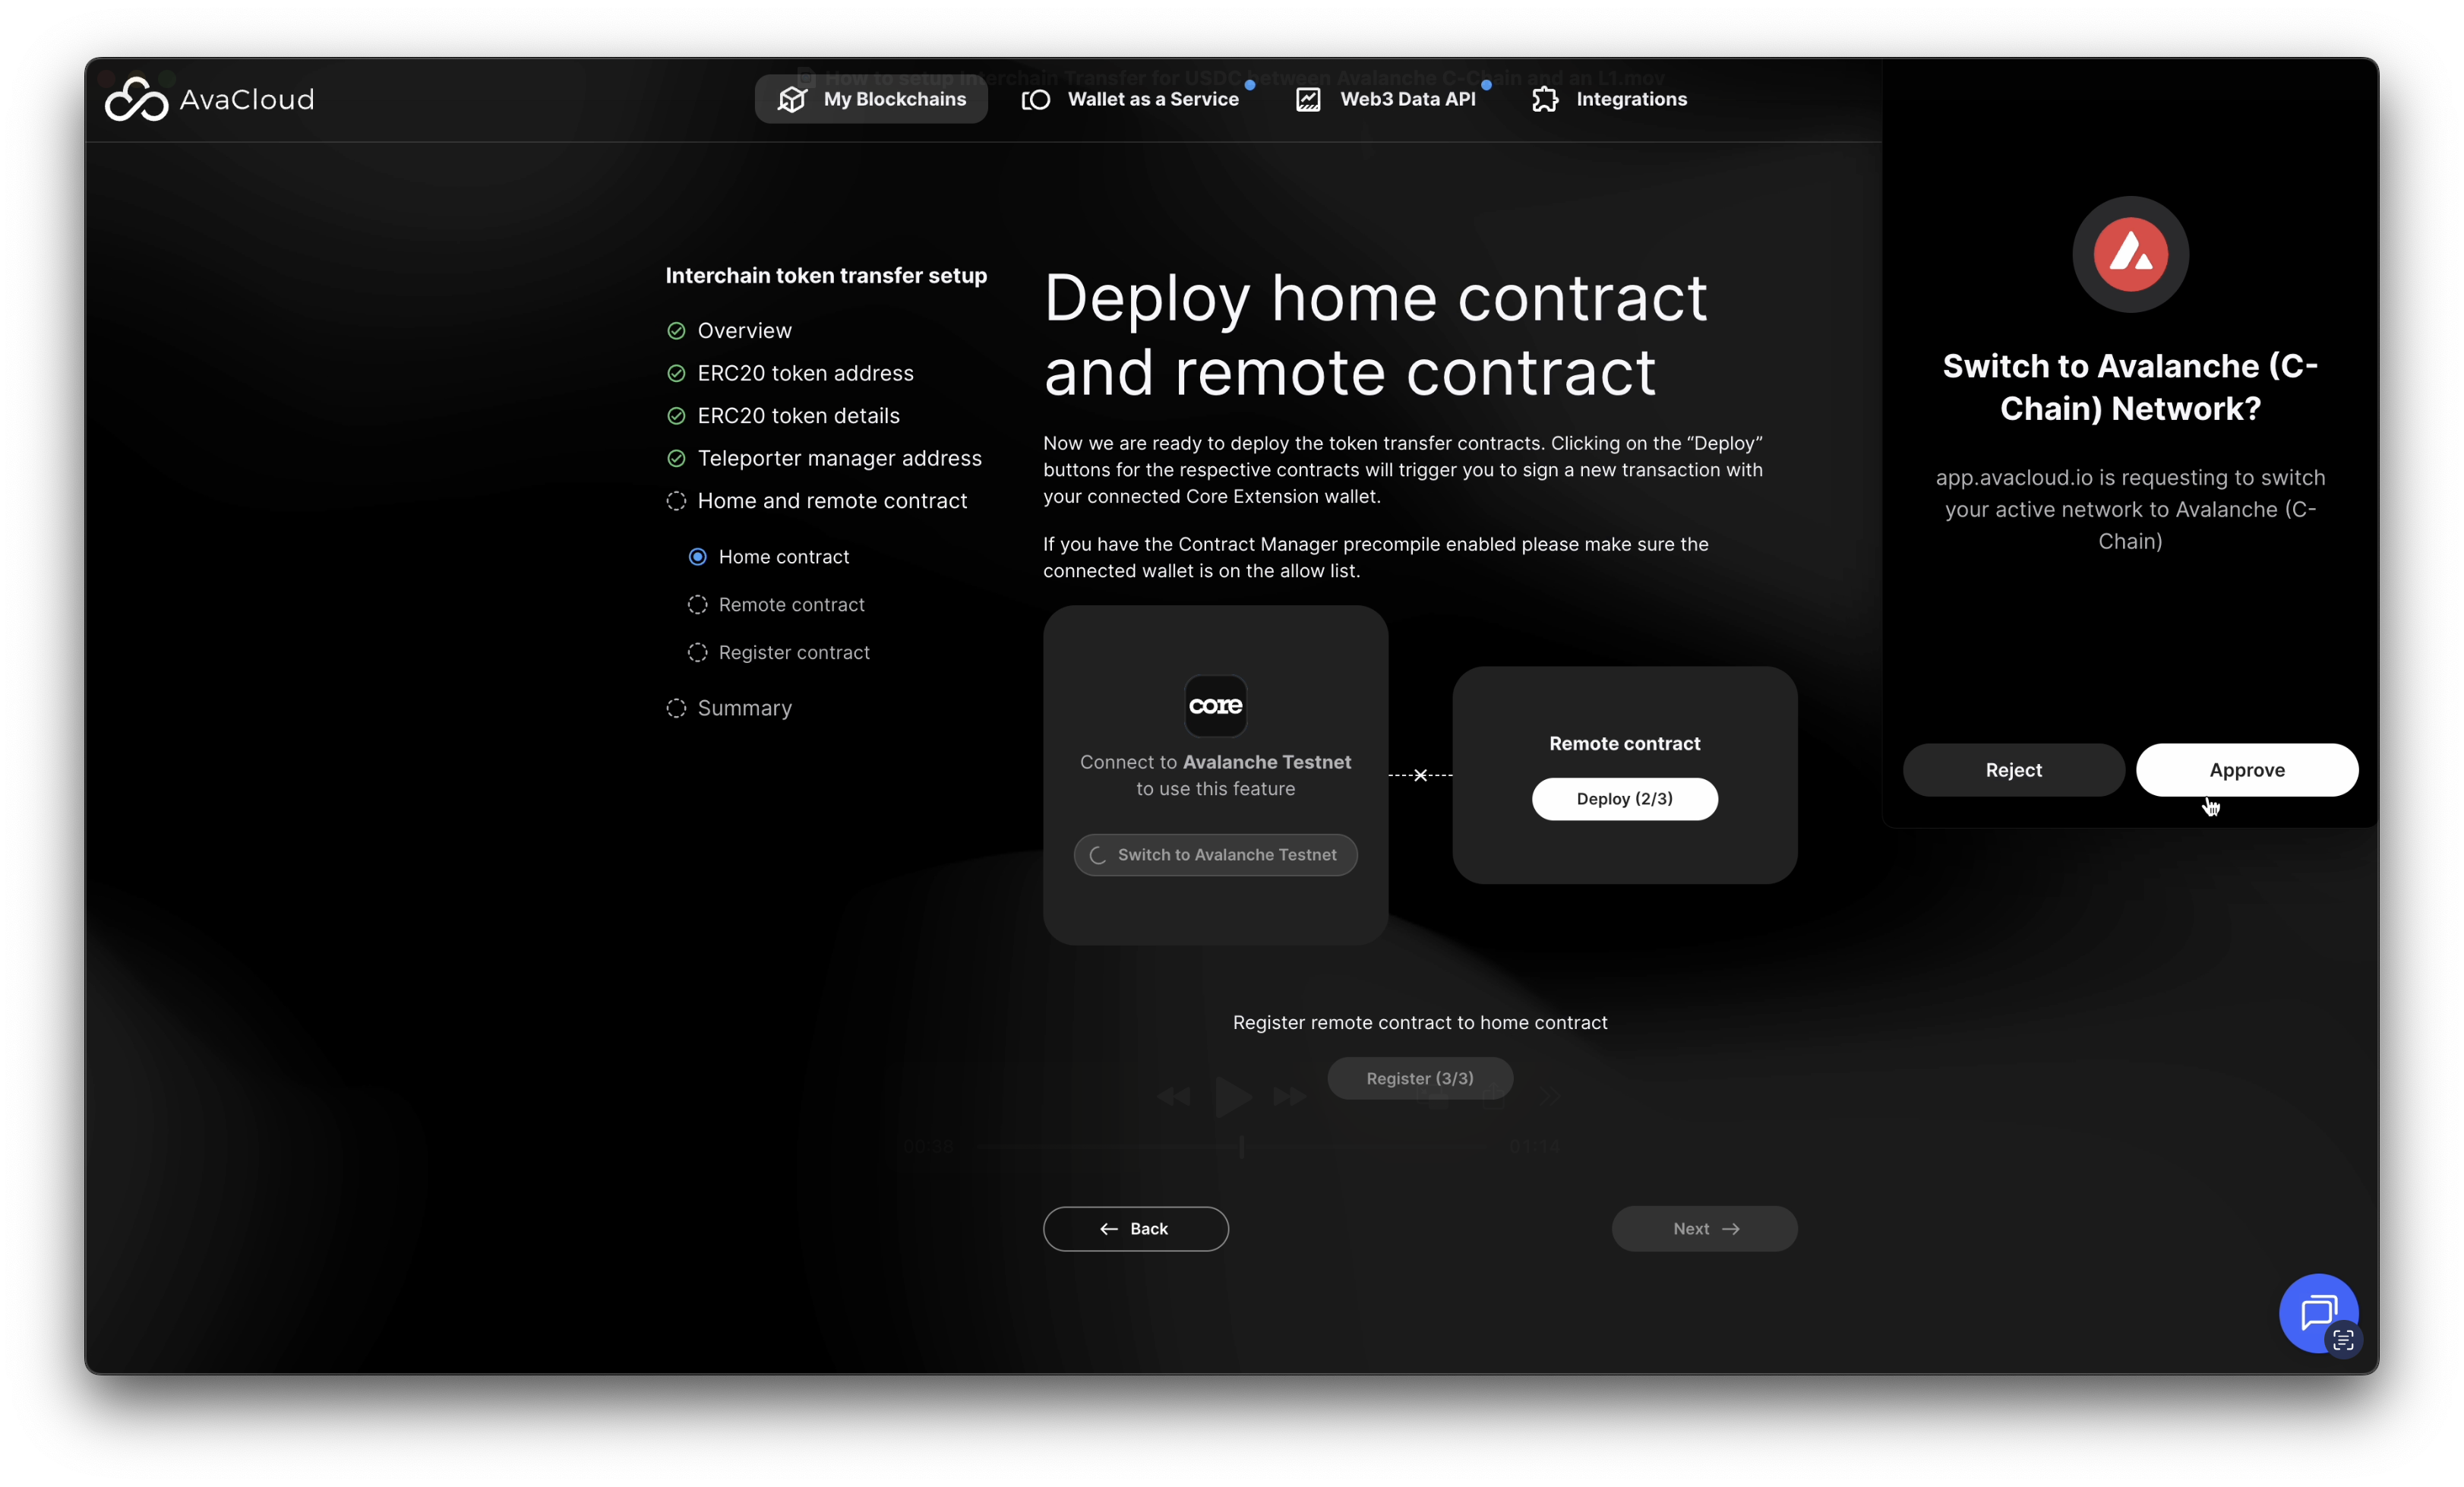
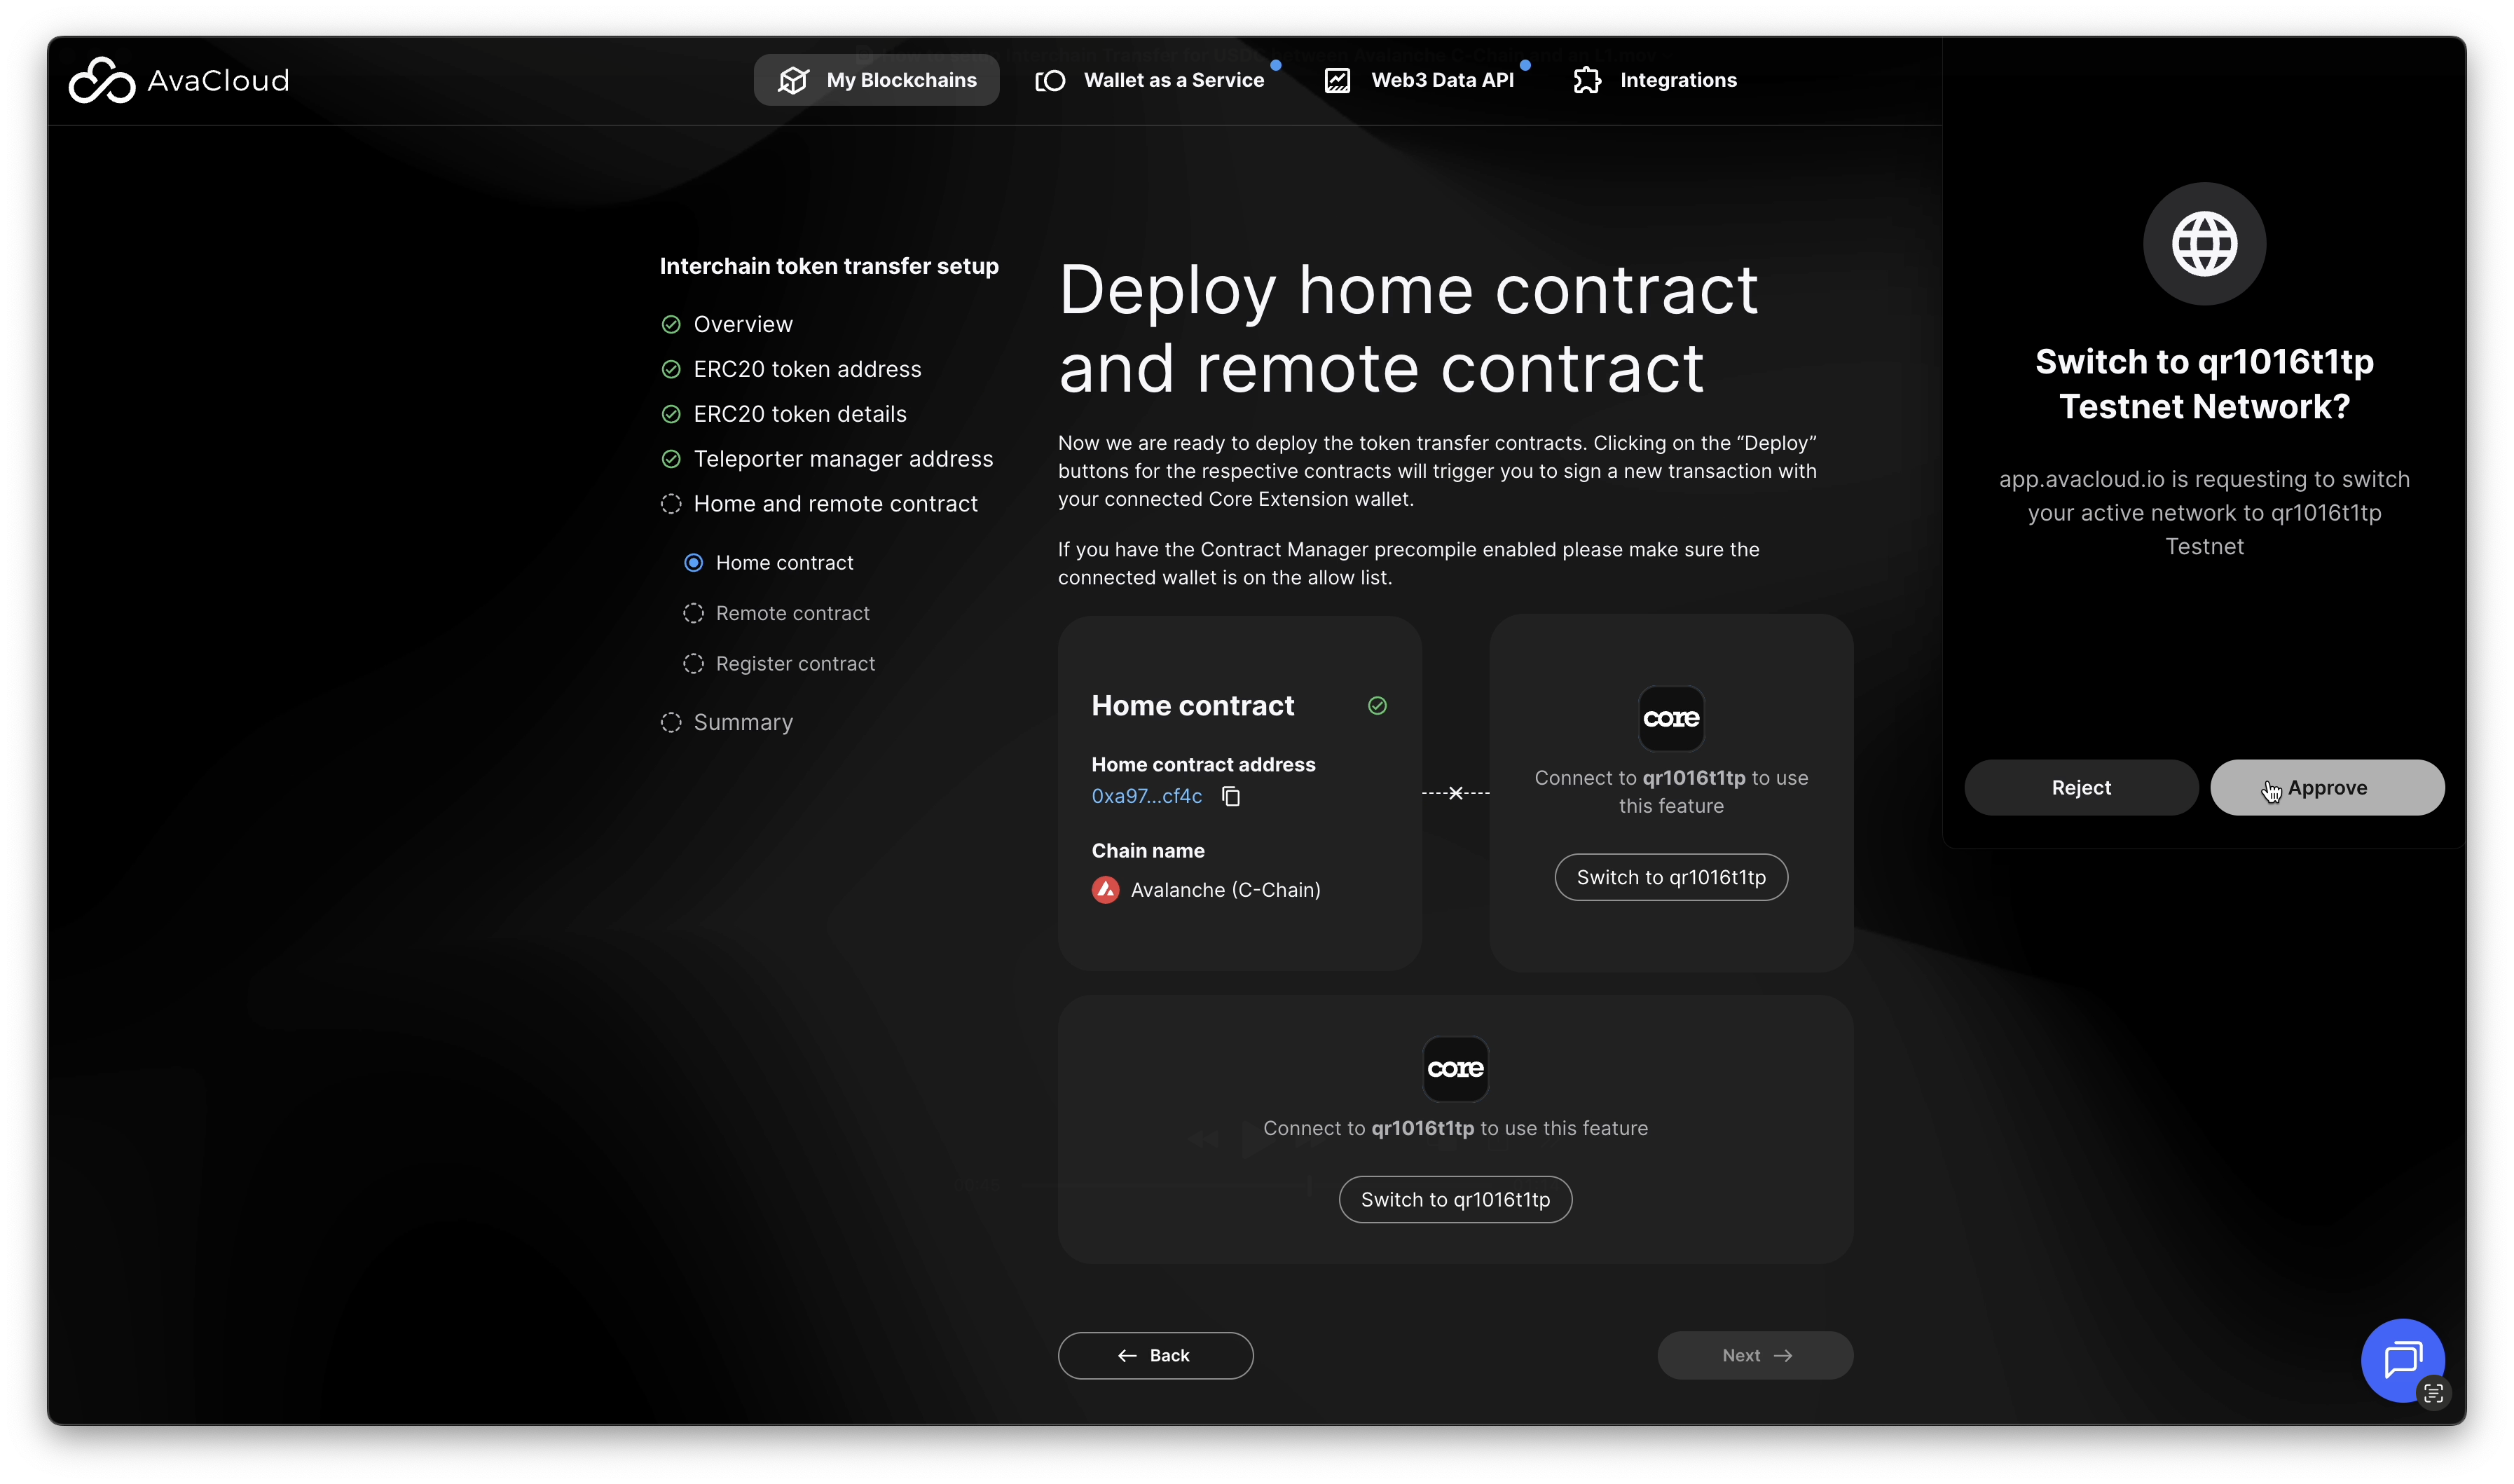
Ensure Correct Destination Network
Switch to the correct L1 network:
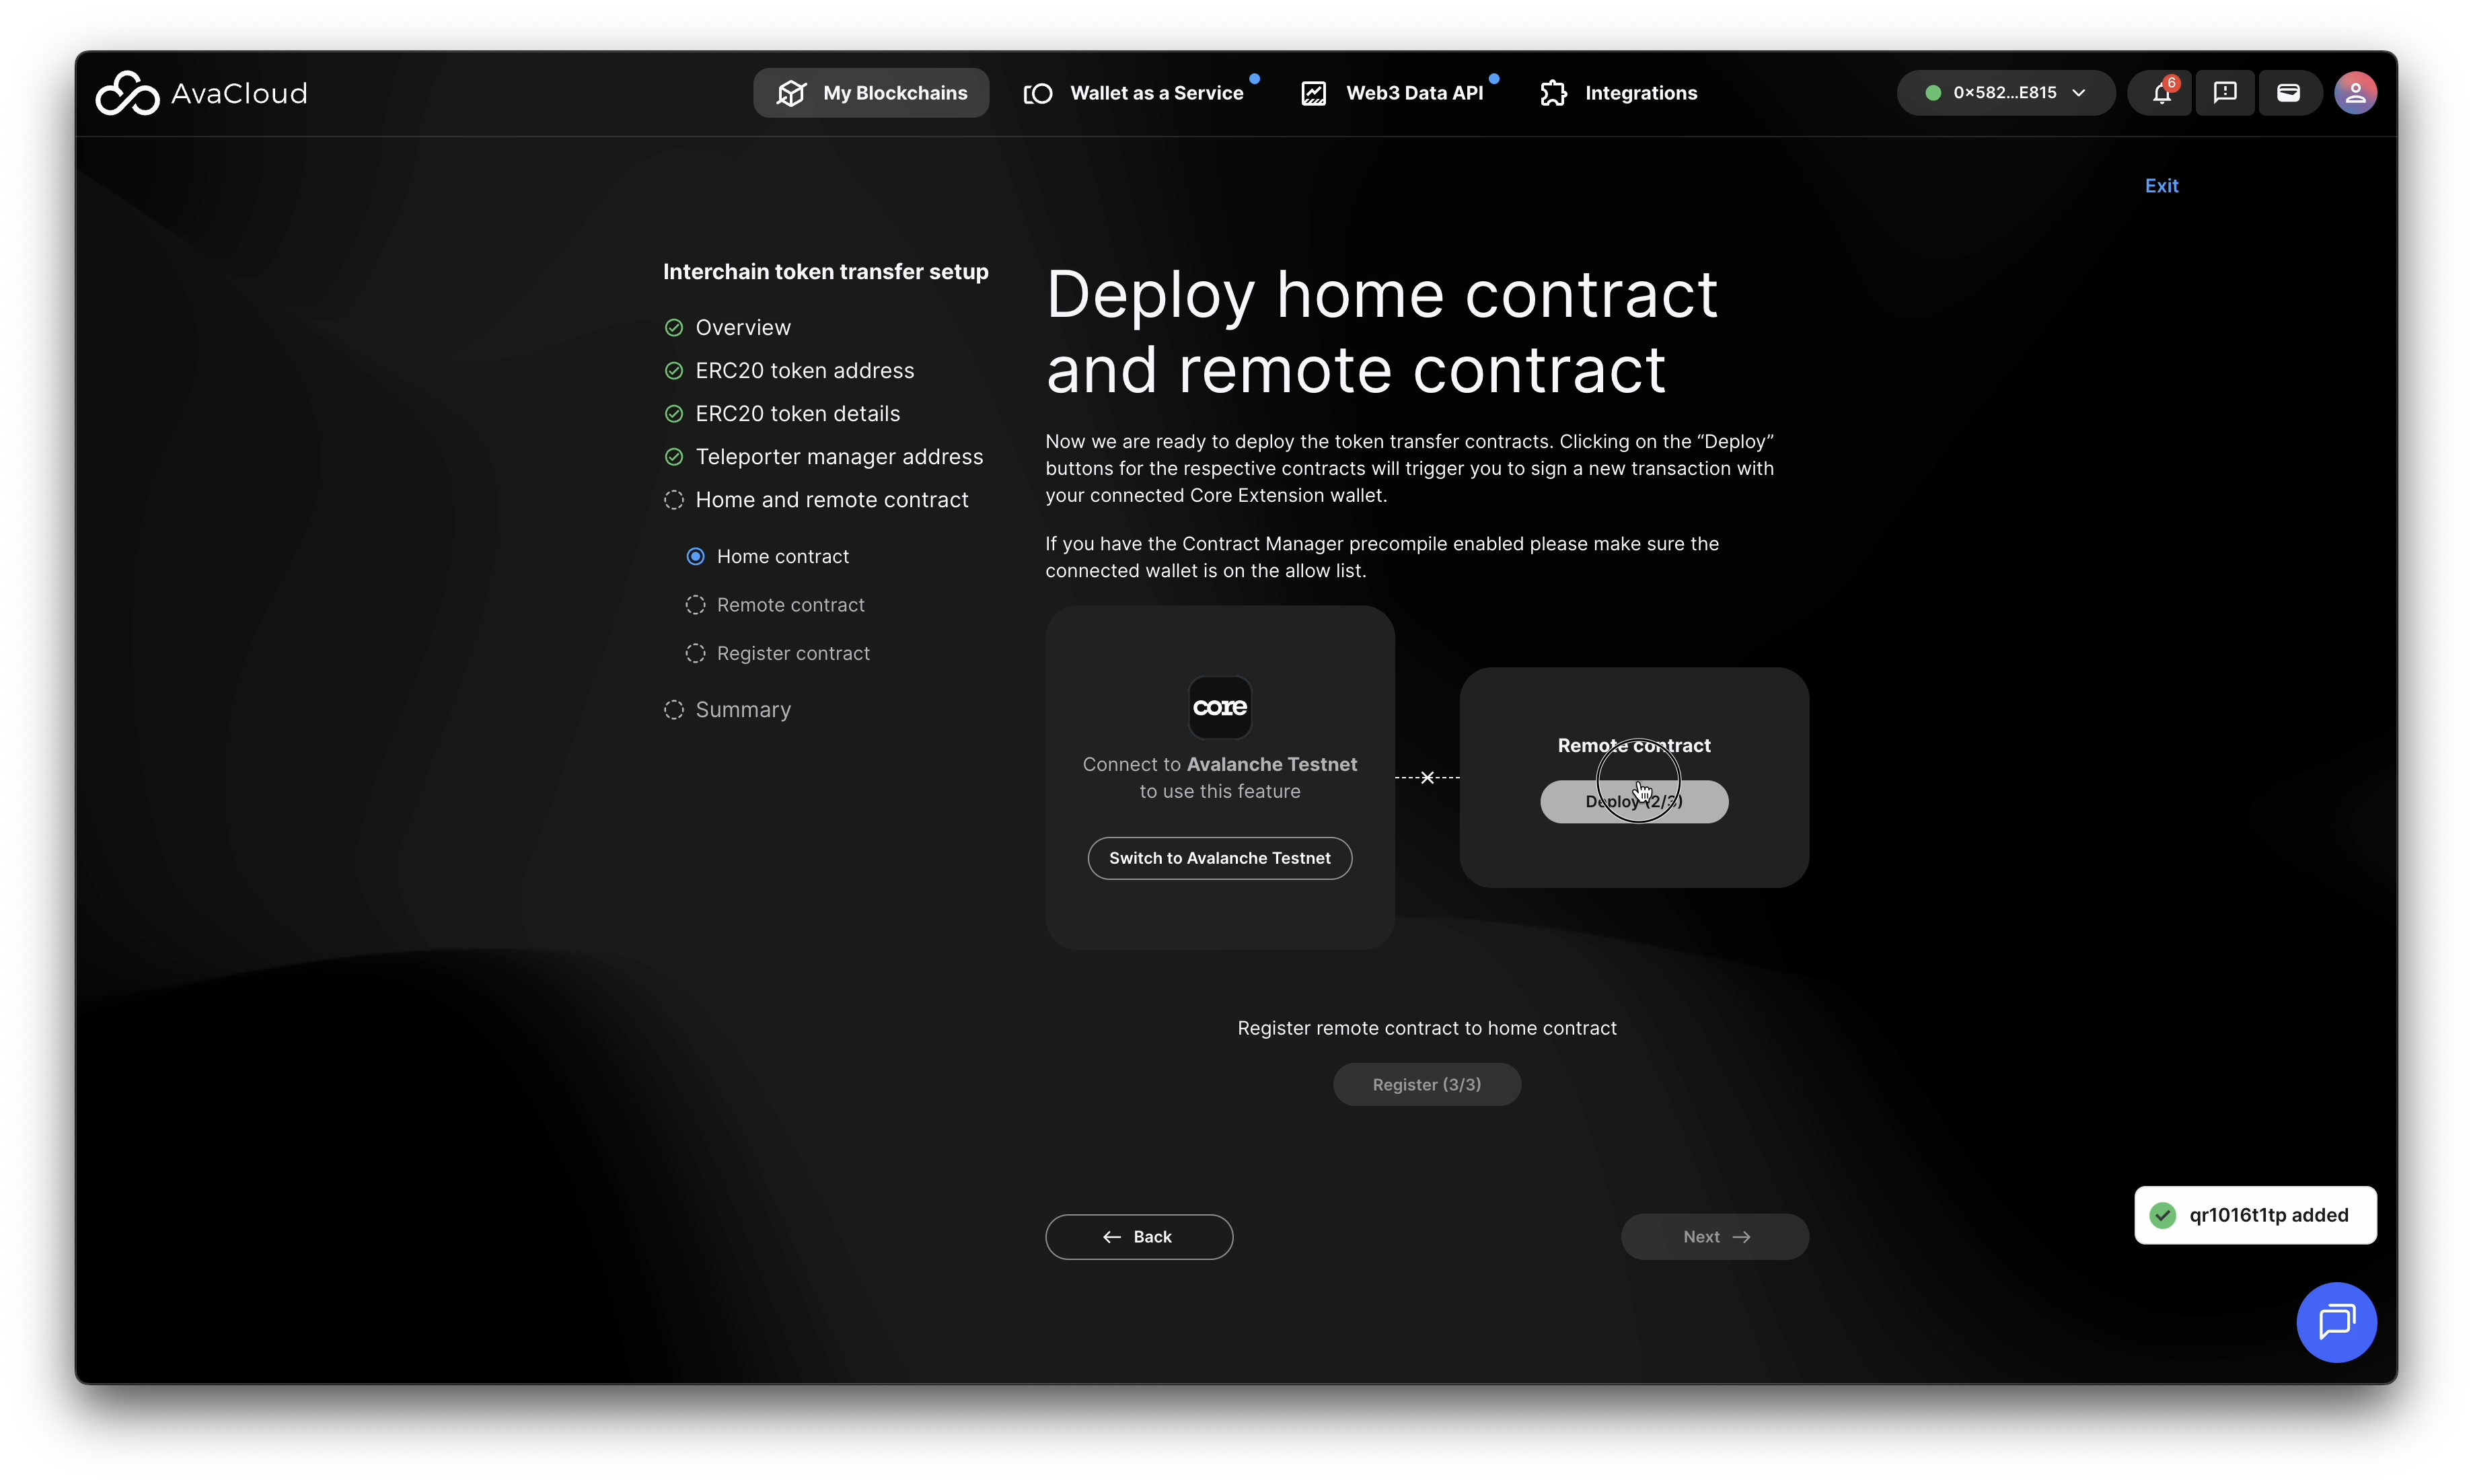
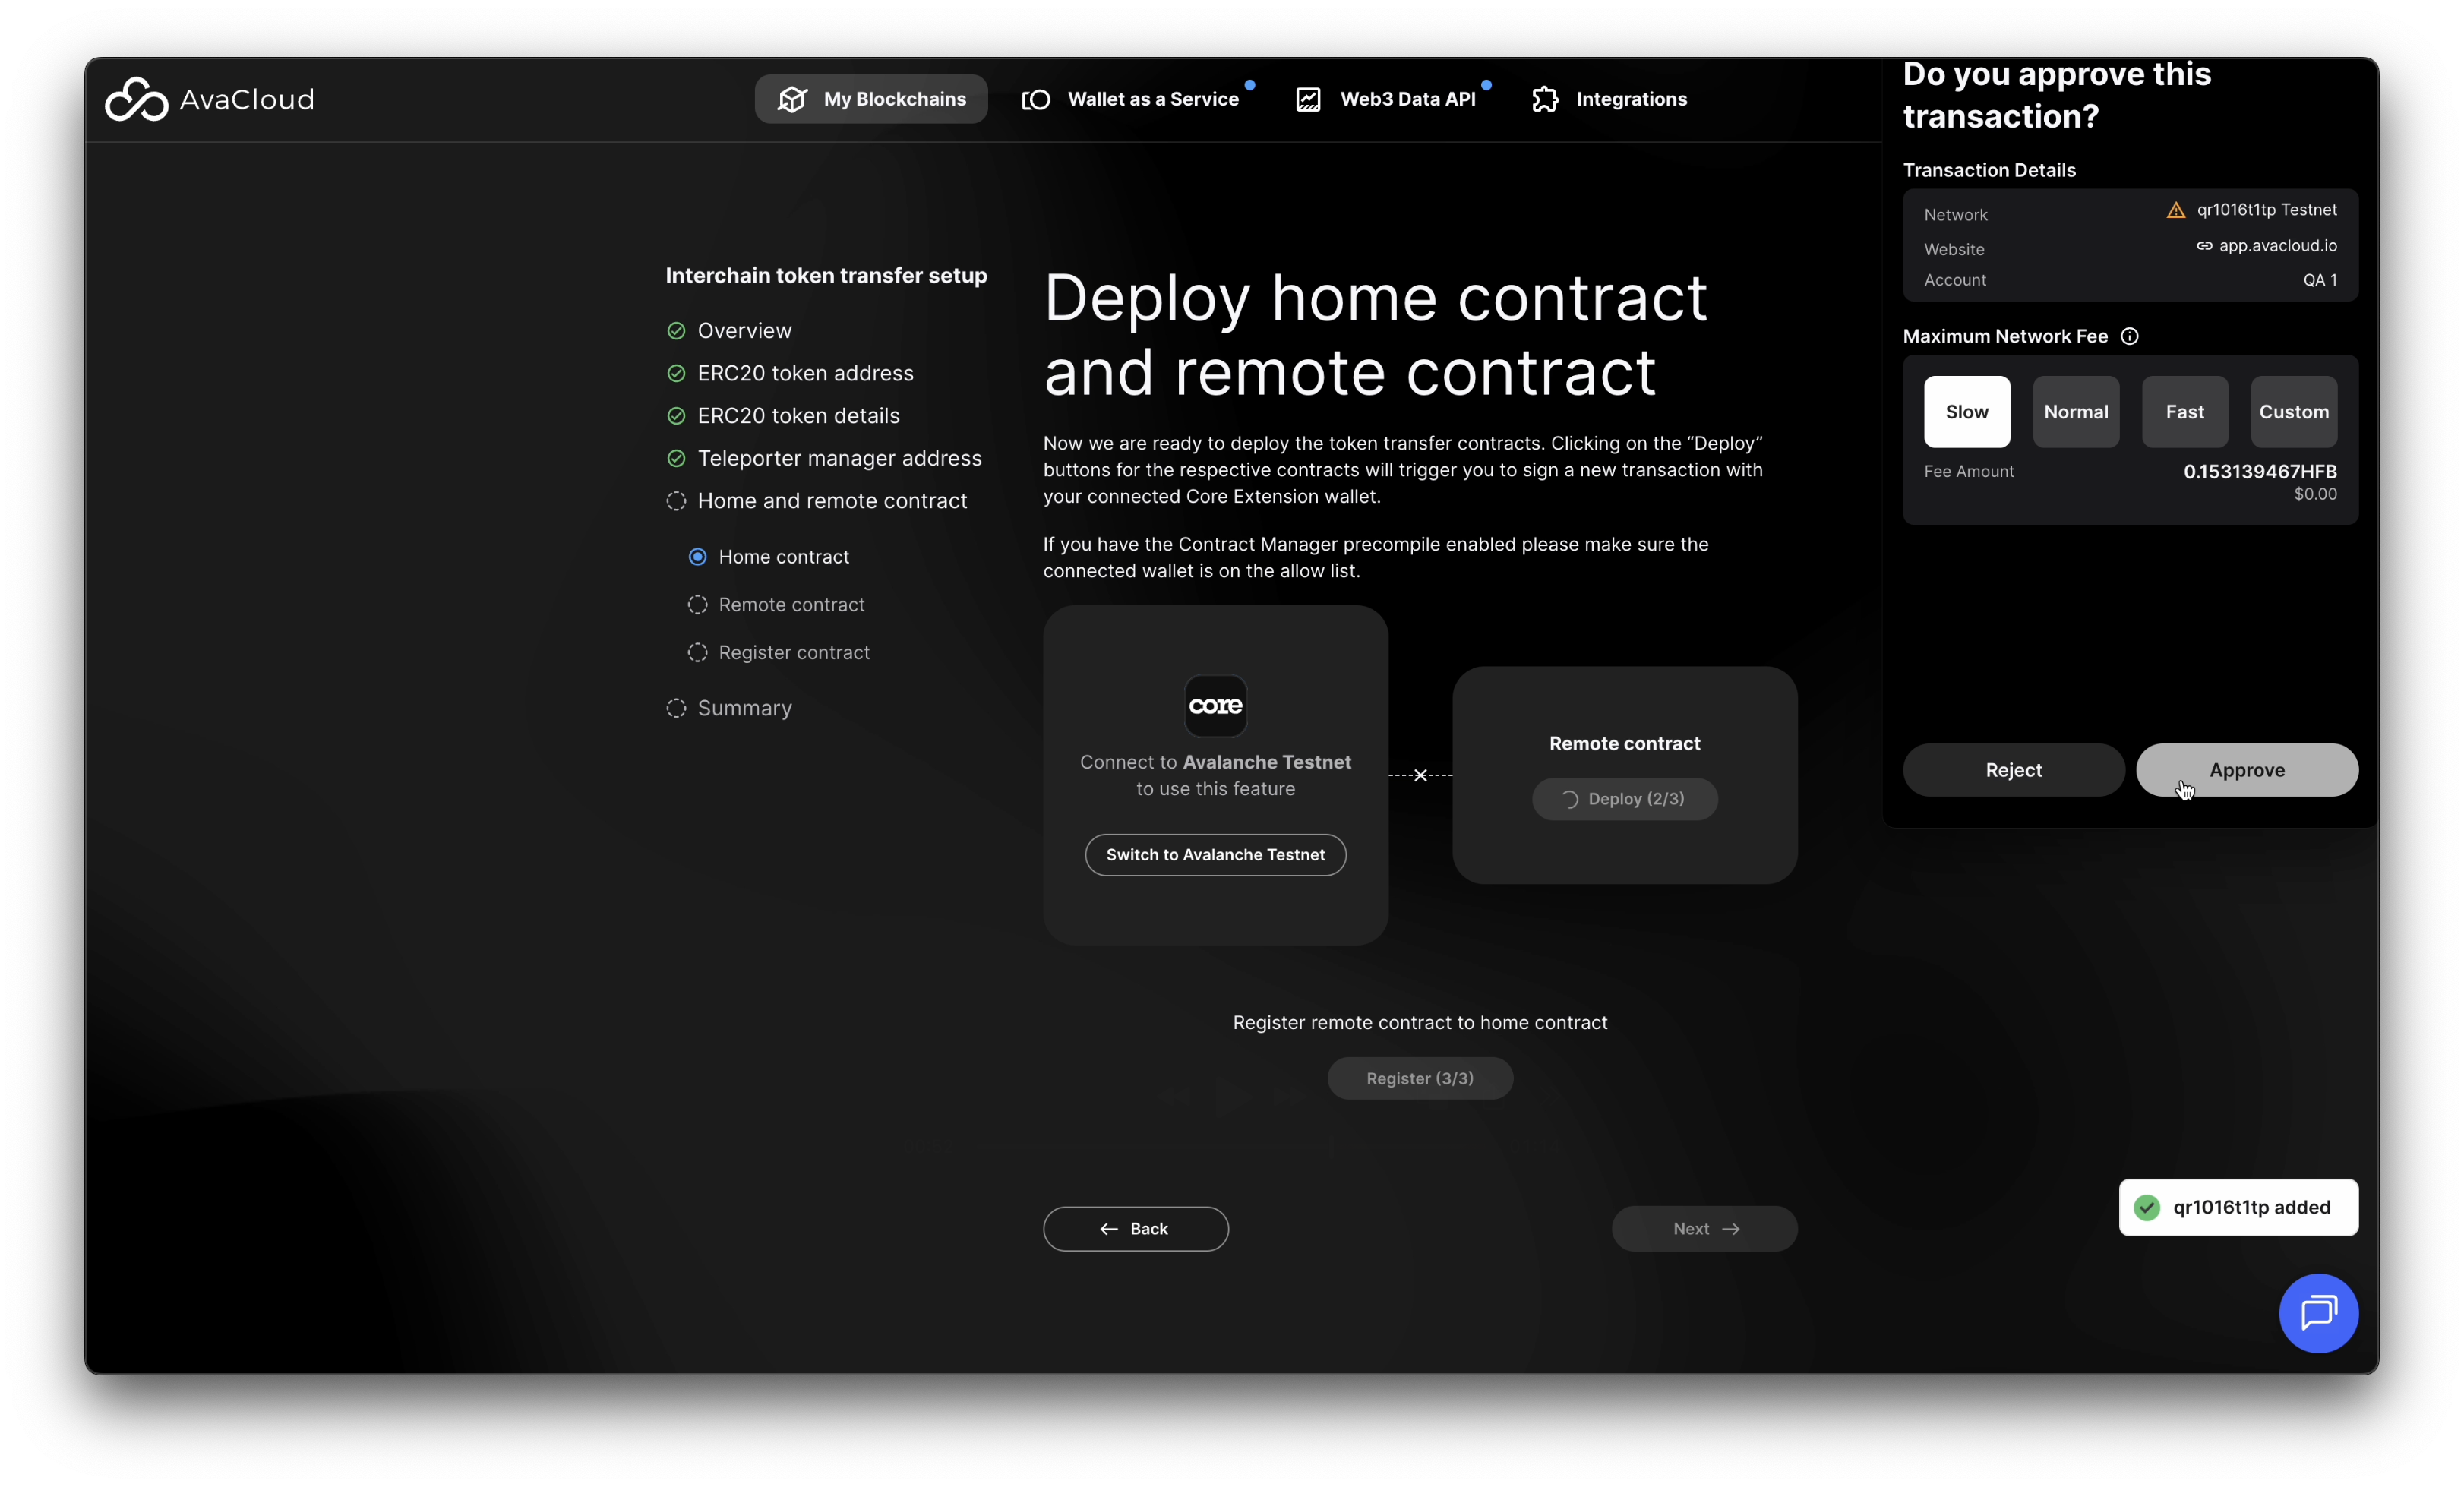
Deploy remote contract
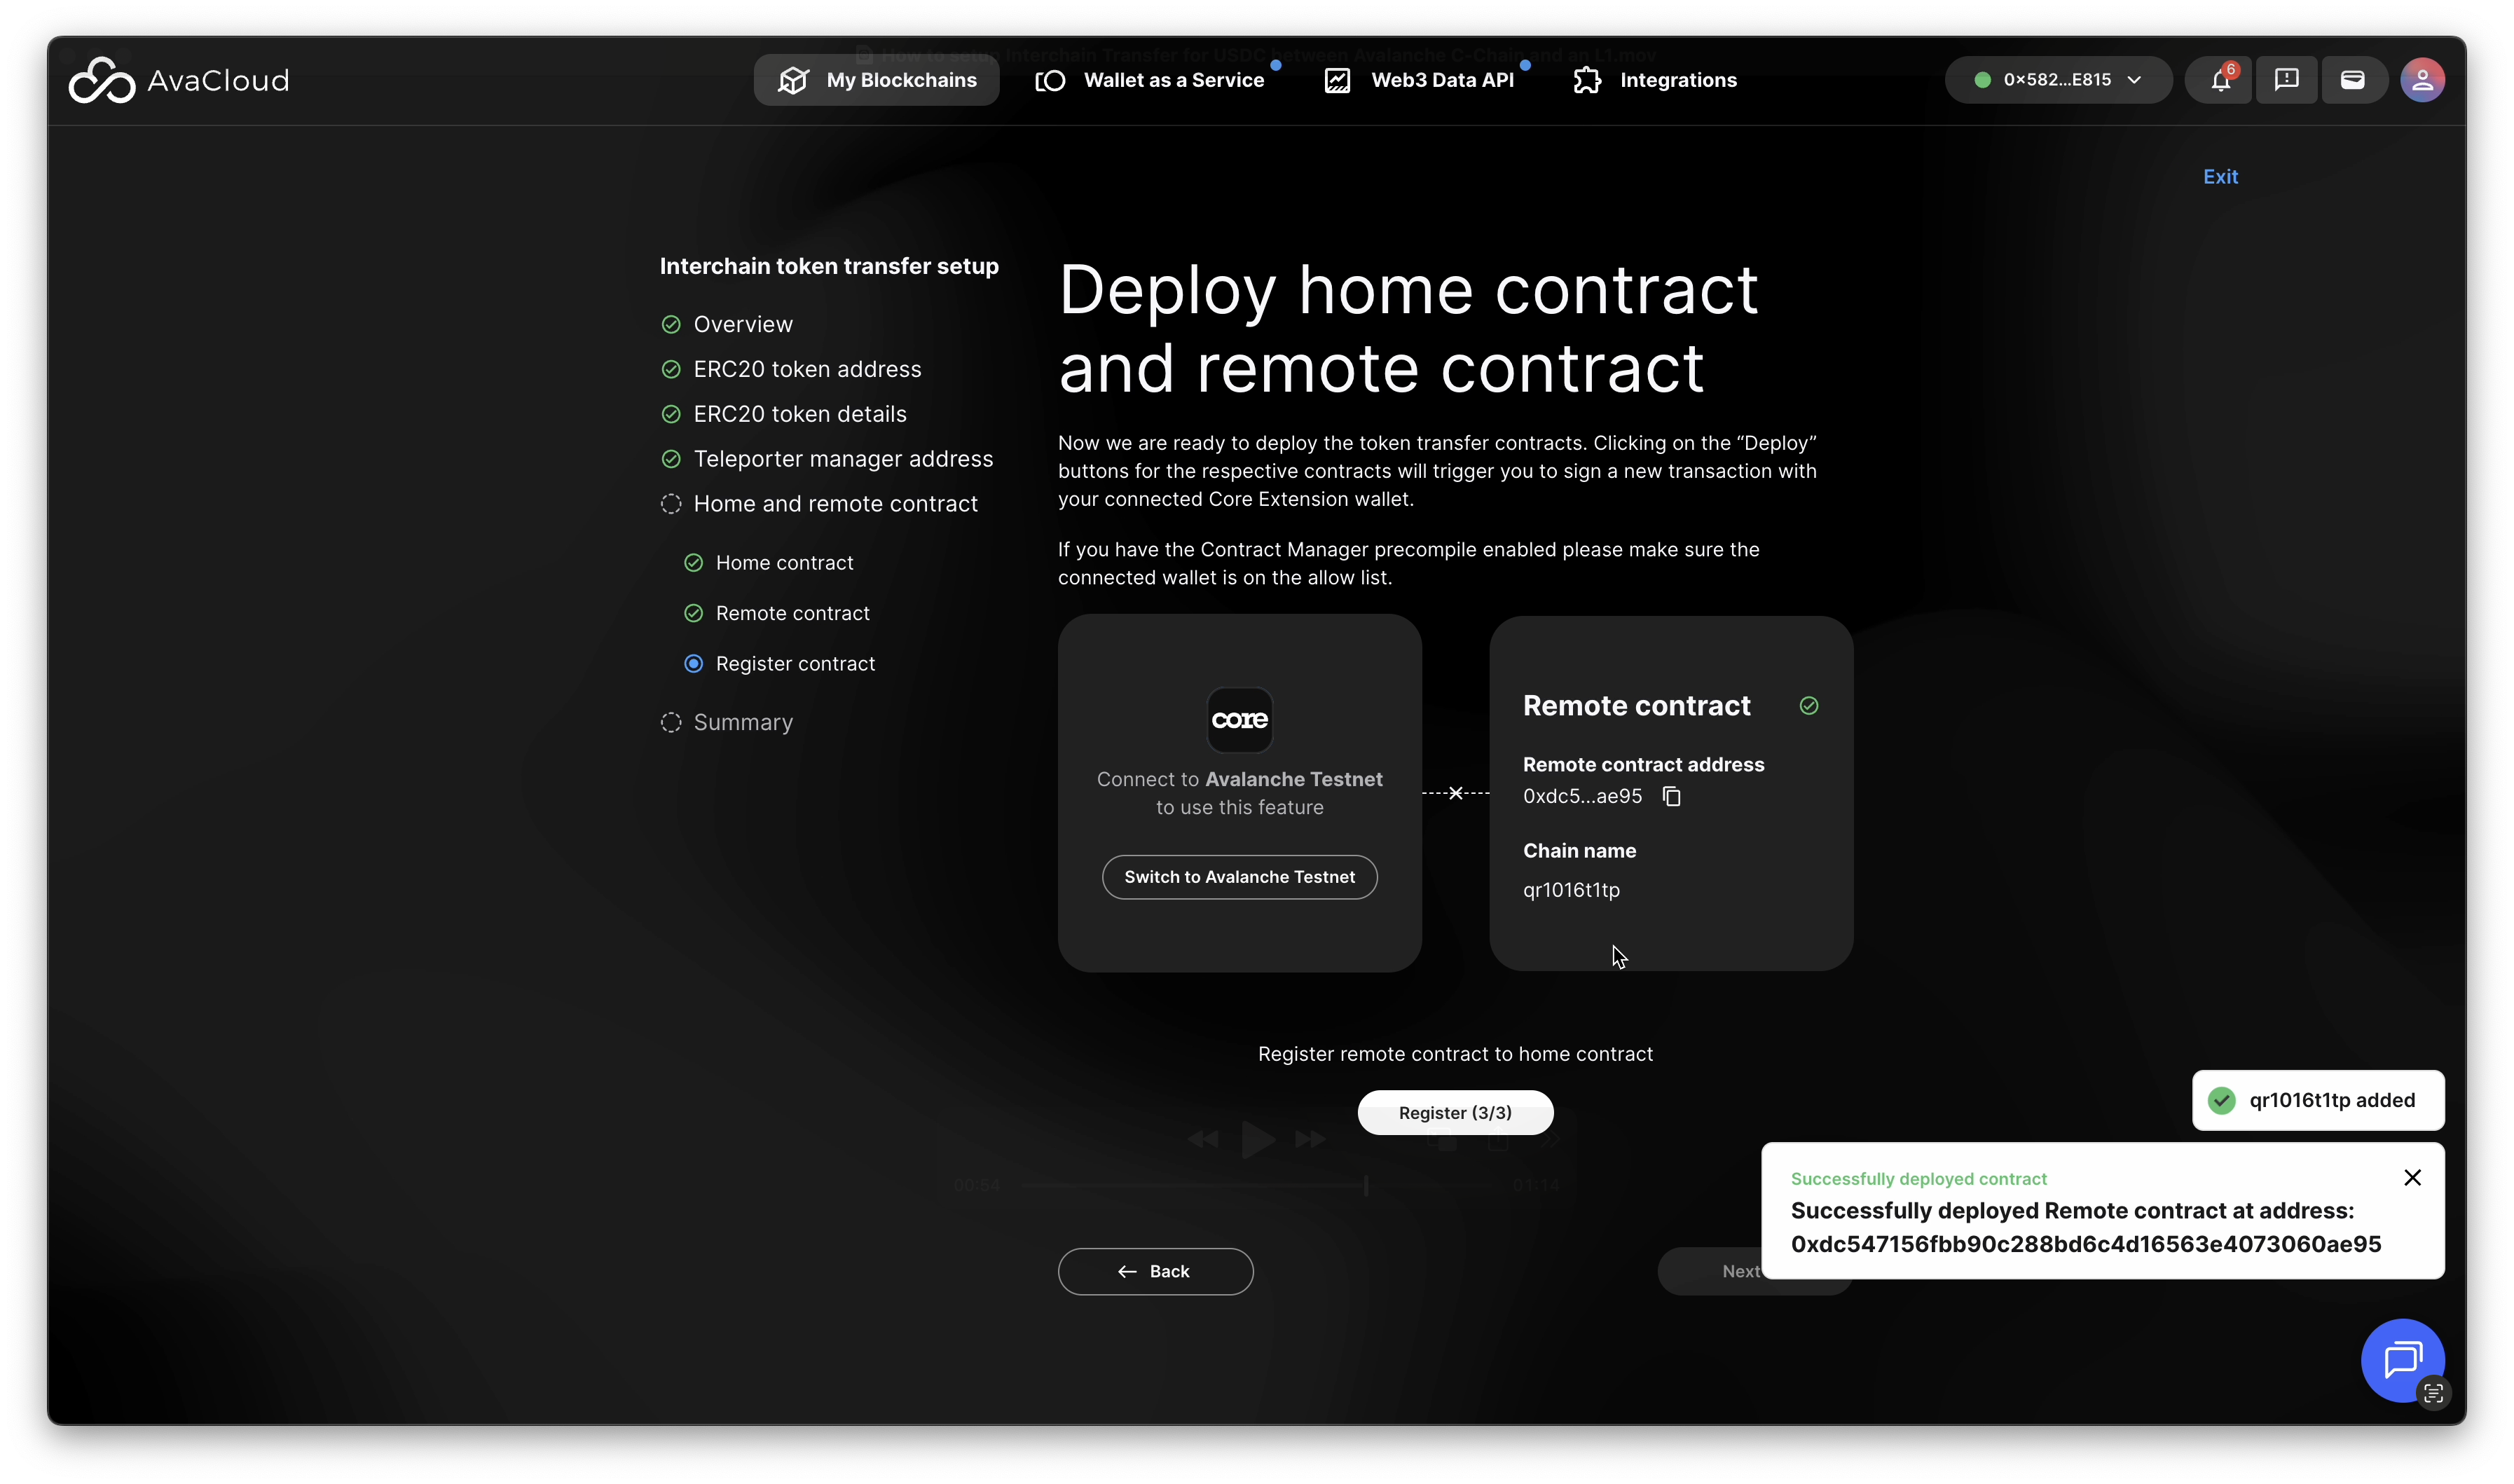
Register Contract
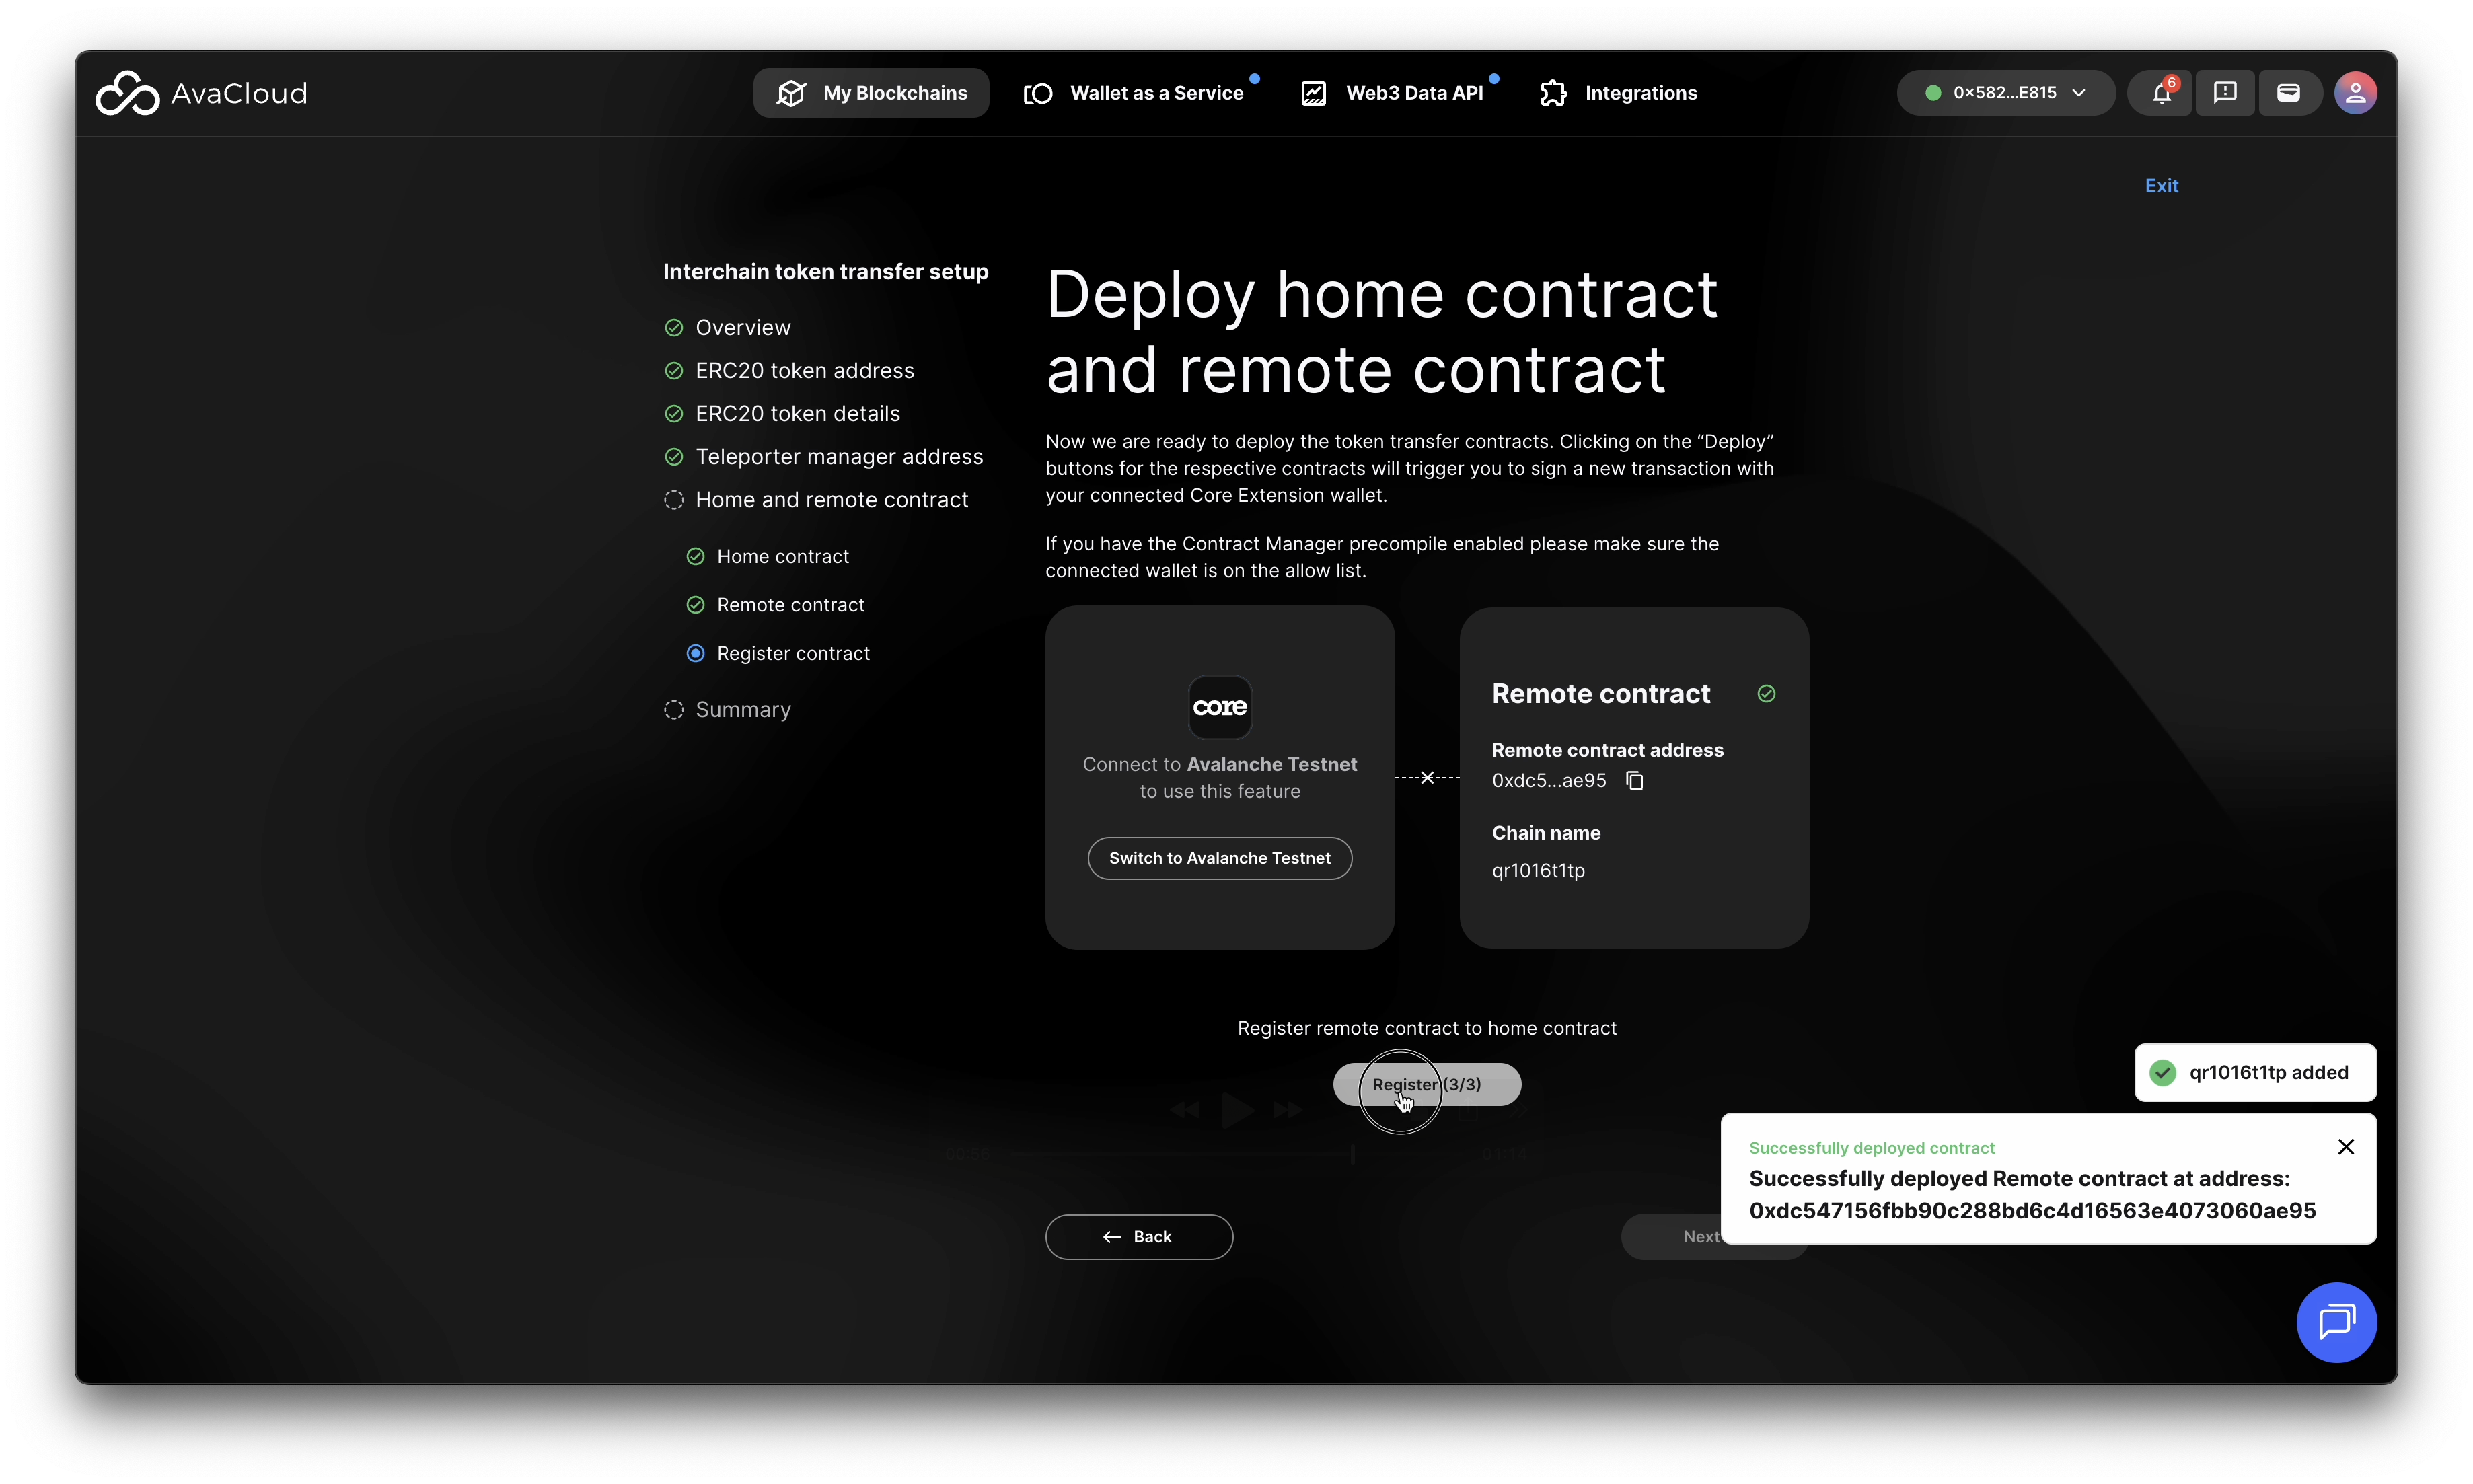
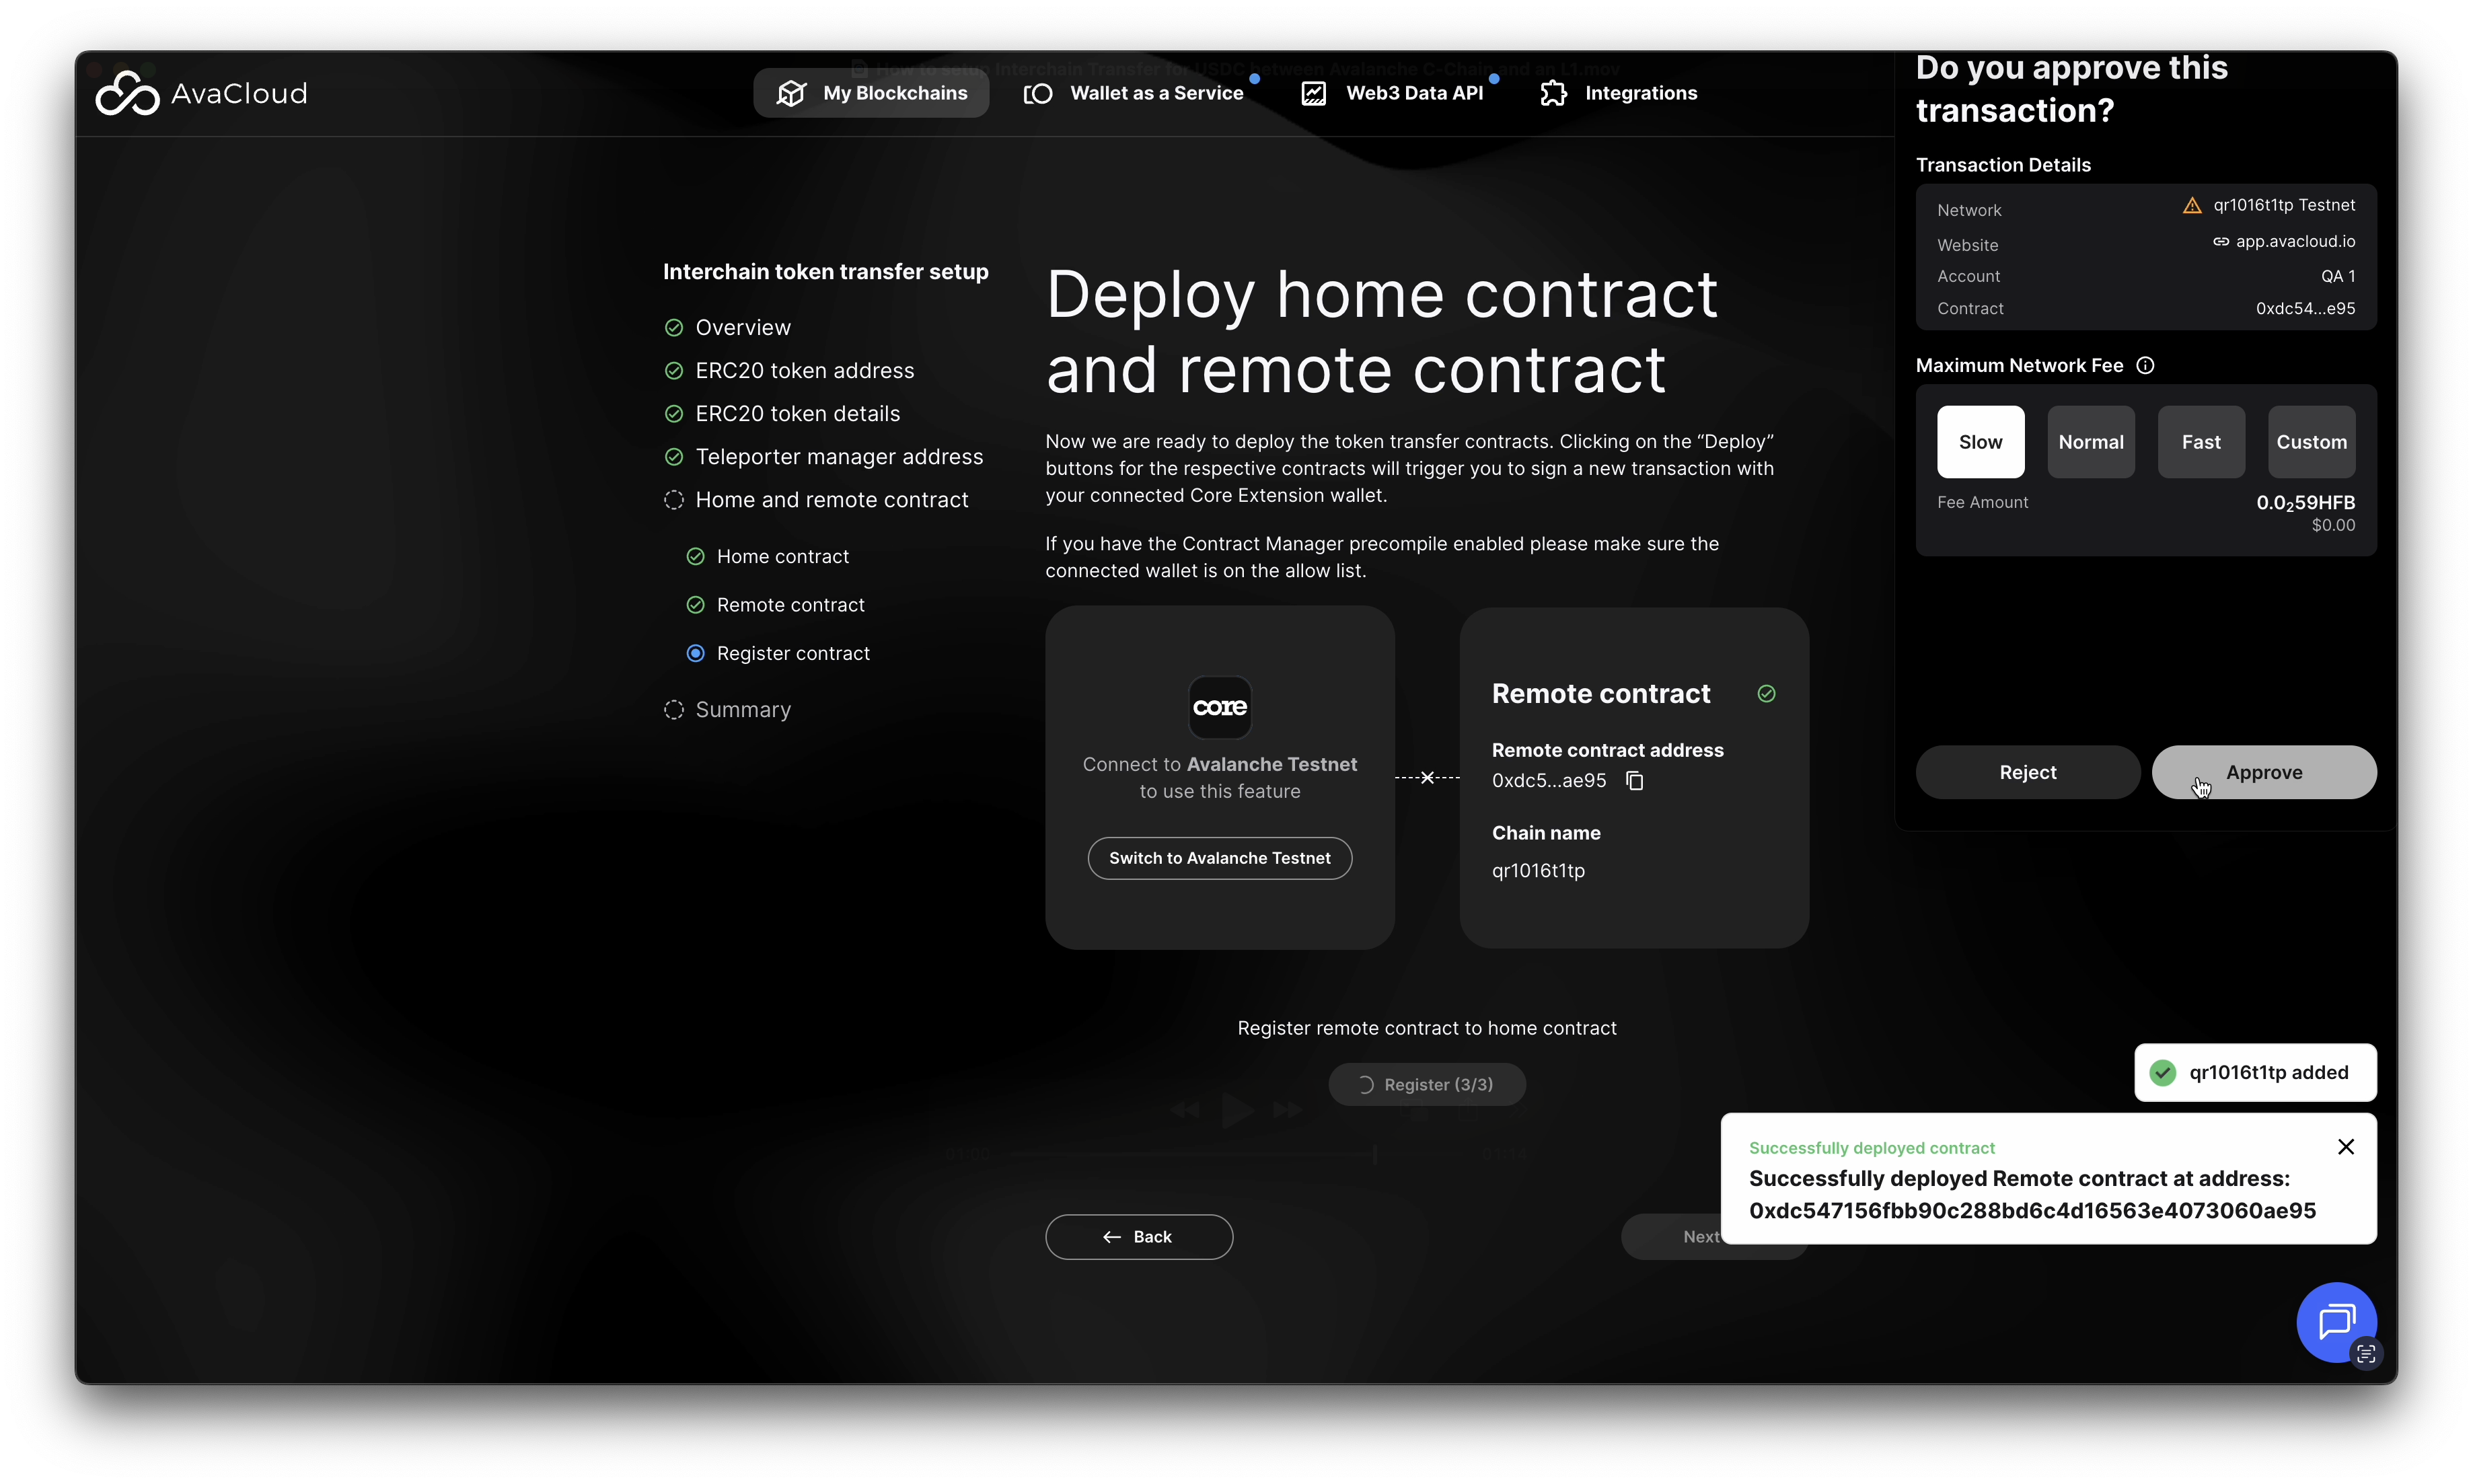
In the final step, register remote contract to home contract.
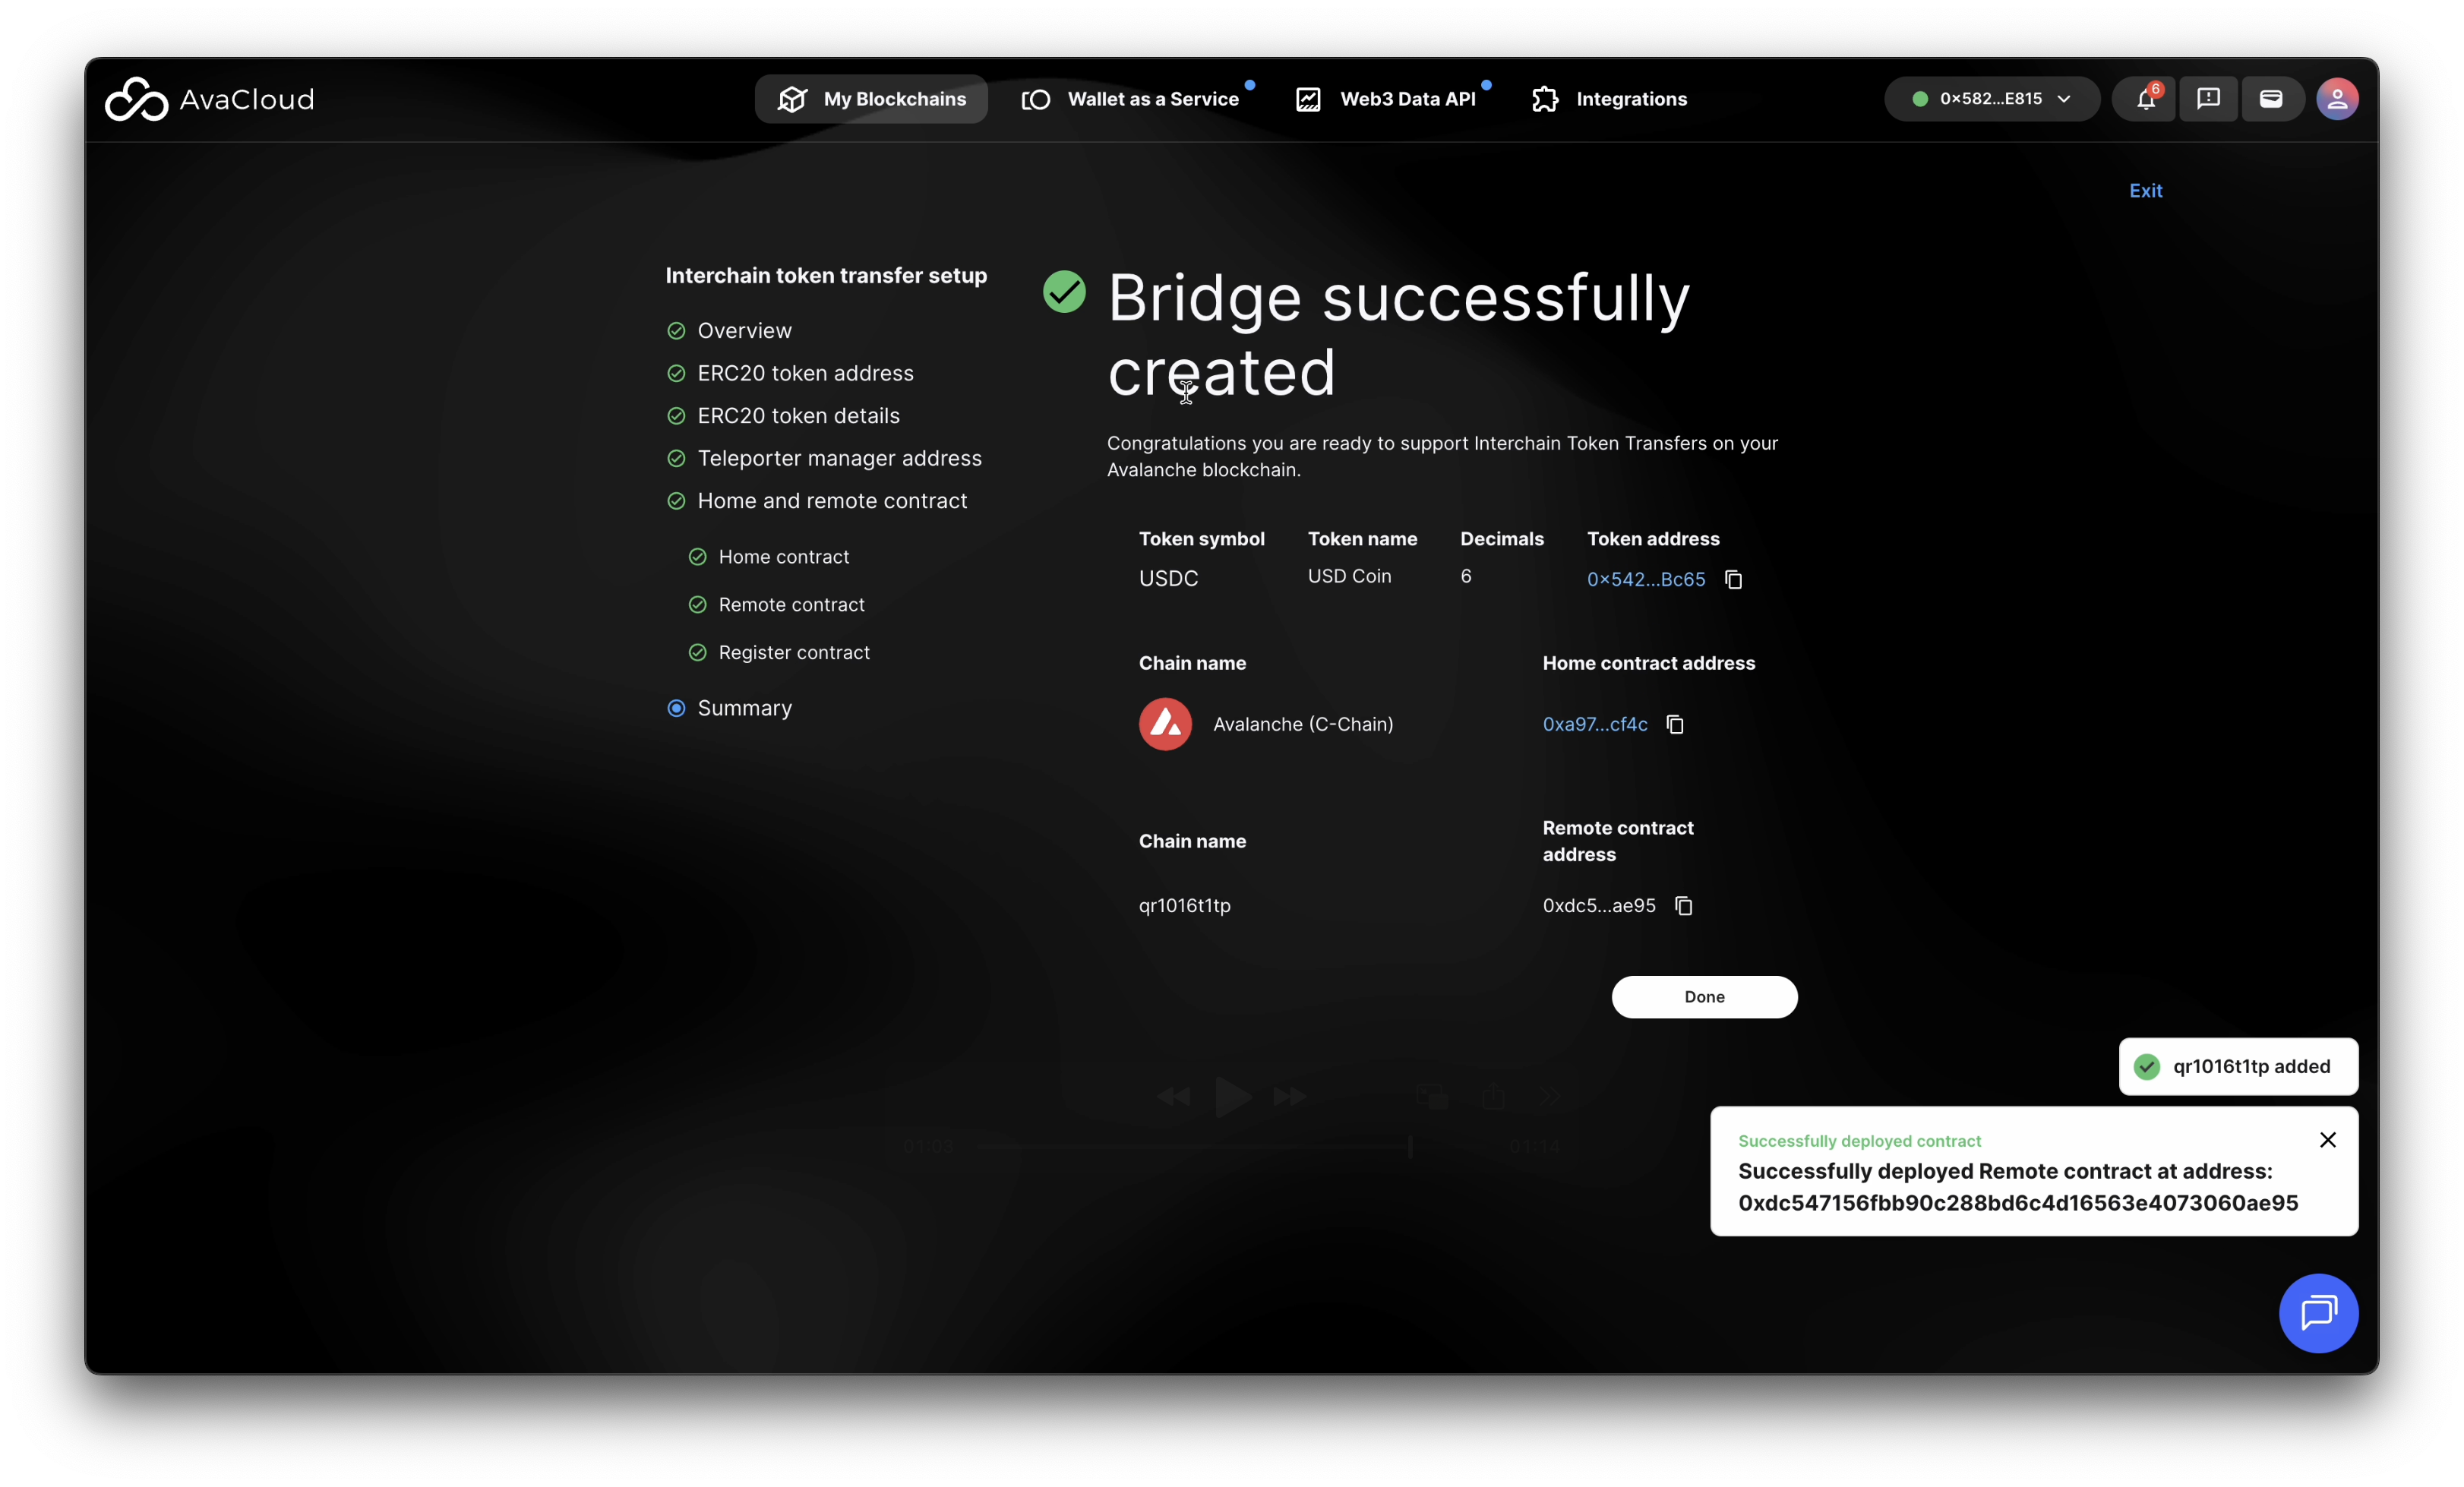
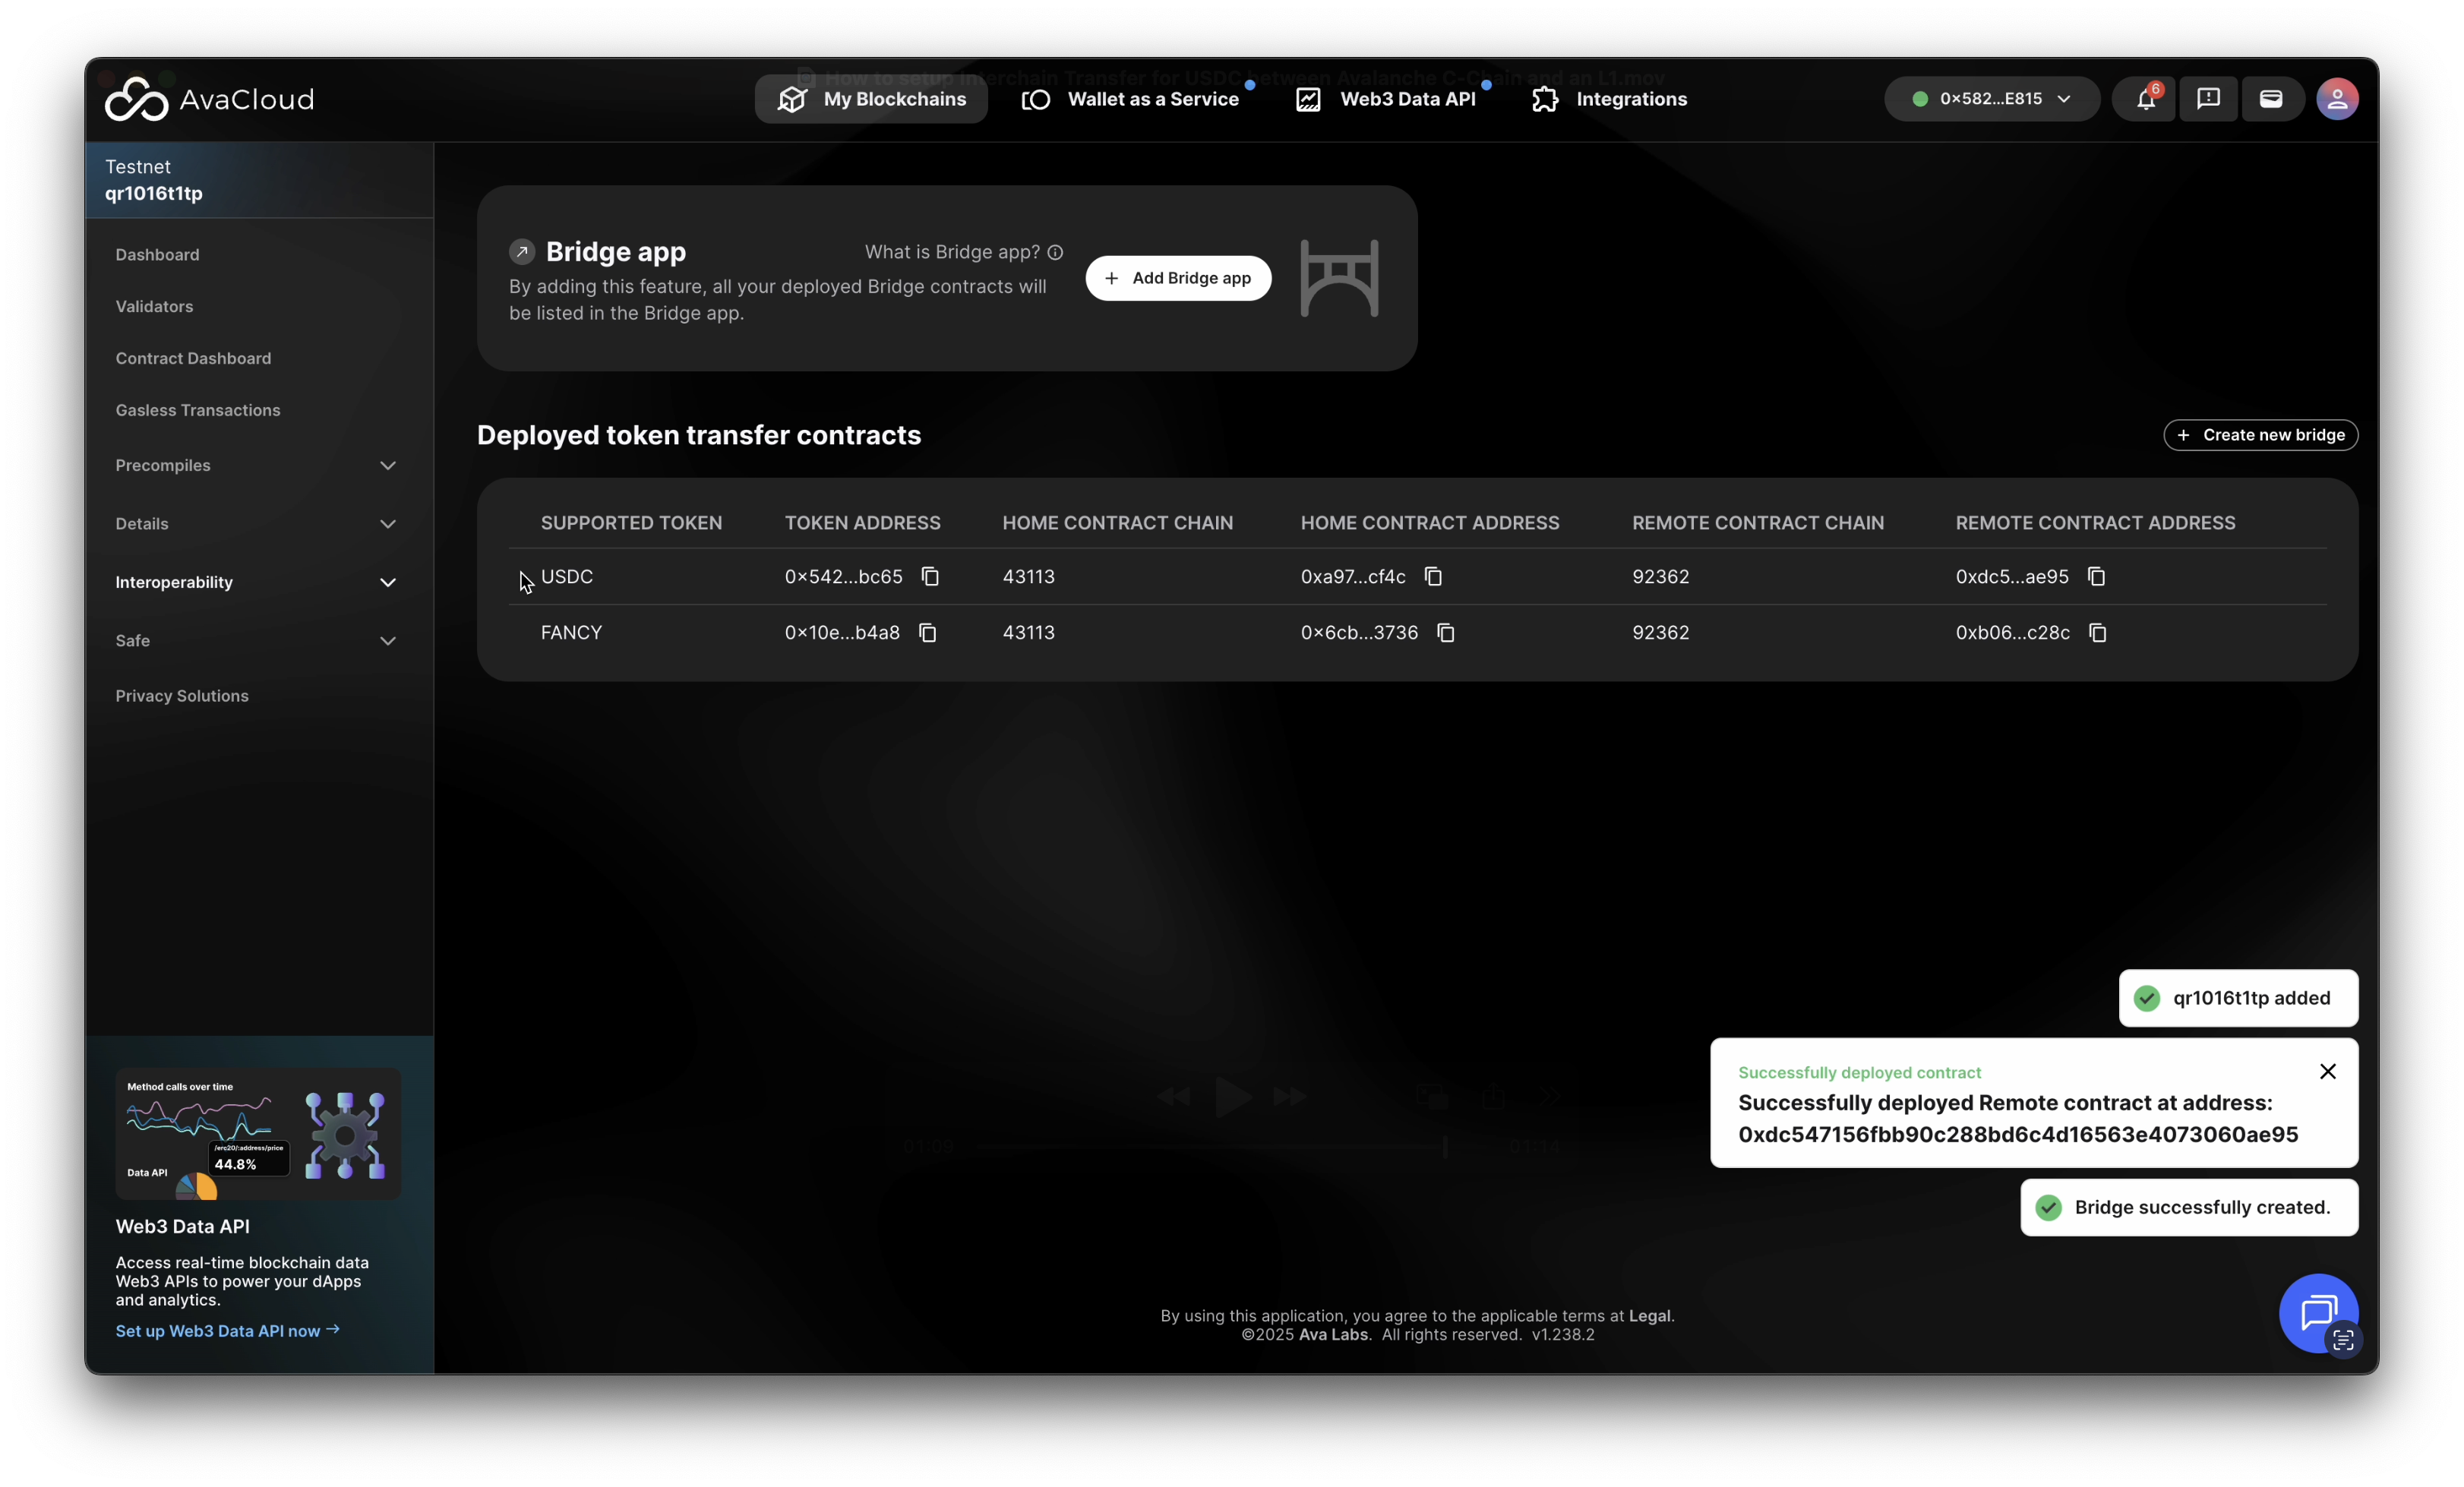
Once complete, a success screen will confirm your bridge has been created.
Full Walkthrough Video
Learn More
If you need more help, explore our other articles or reach out to our support team via chat or email [email protected]. All examples provided are for demonstration purposes only.
Learn More About AvaCloud | Download Case Studies | Schedule an AvaCloud Demo