How to Transfer USDC from Avalanche C-Chain to an L1 via the Bridge App?
How to Transfer USDC from Avalanche C-Chain to an L1 via the Bridge App?
Prerequisites
- A USDC interchain exchange/bridge must already be established between Avalanche C-Chain and the L1. Refer to How to Set Up an Interchain Transfer for USDC Between Avalanche C-Chain and an L1?
- Your wallet must have the USDC token to be transferred.
- Your wallet must contain AVAX tokens and gas tokens of the L1 to cover transaction fees.
Step-by-step Transfer Instructions
-
Open bridge.avacloud.io and connect your Core Extension wallet. Ensure you’re using the appropriate Testnet or Mainnet.
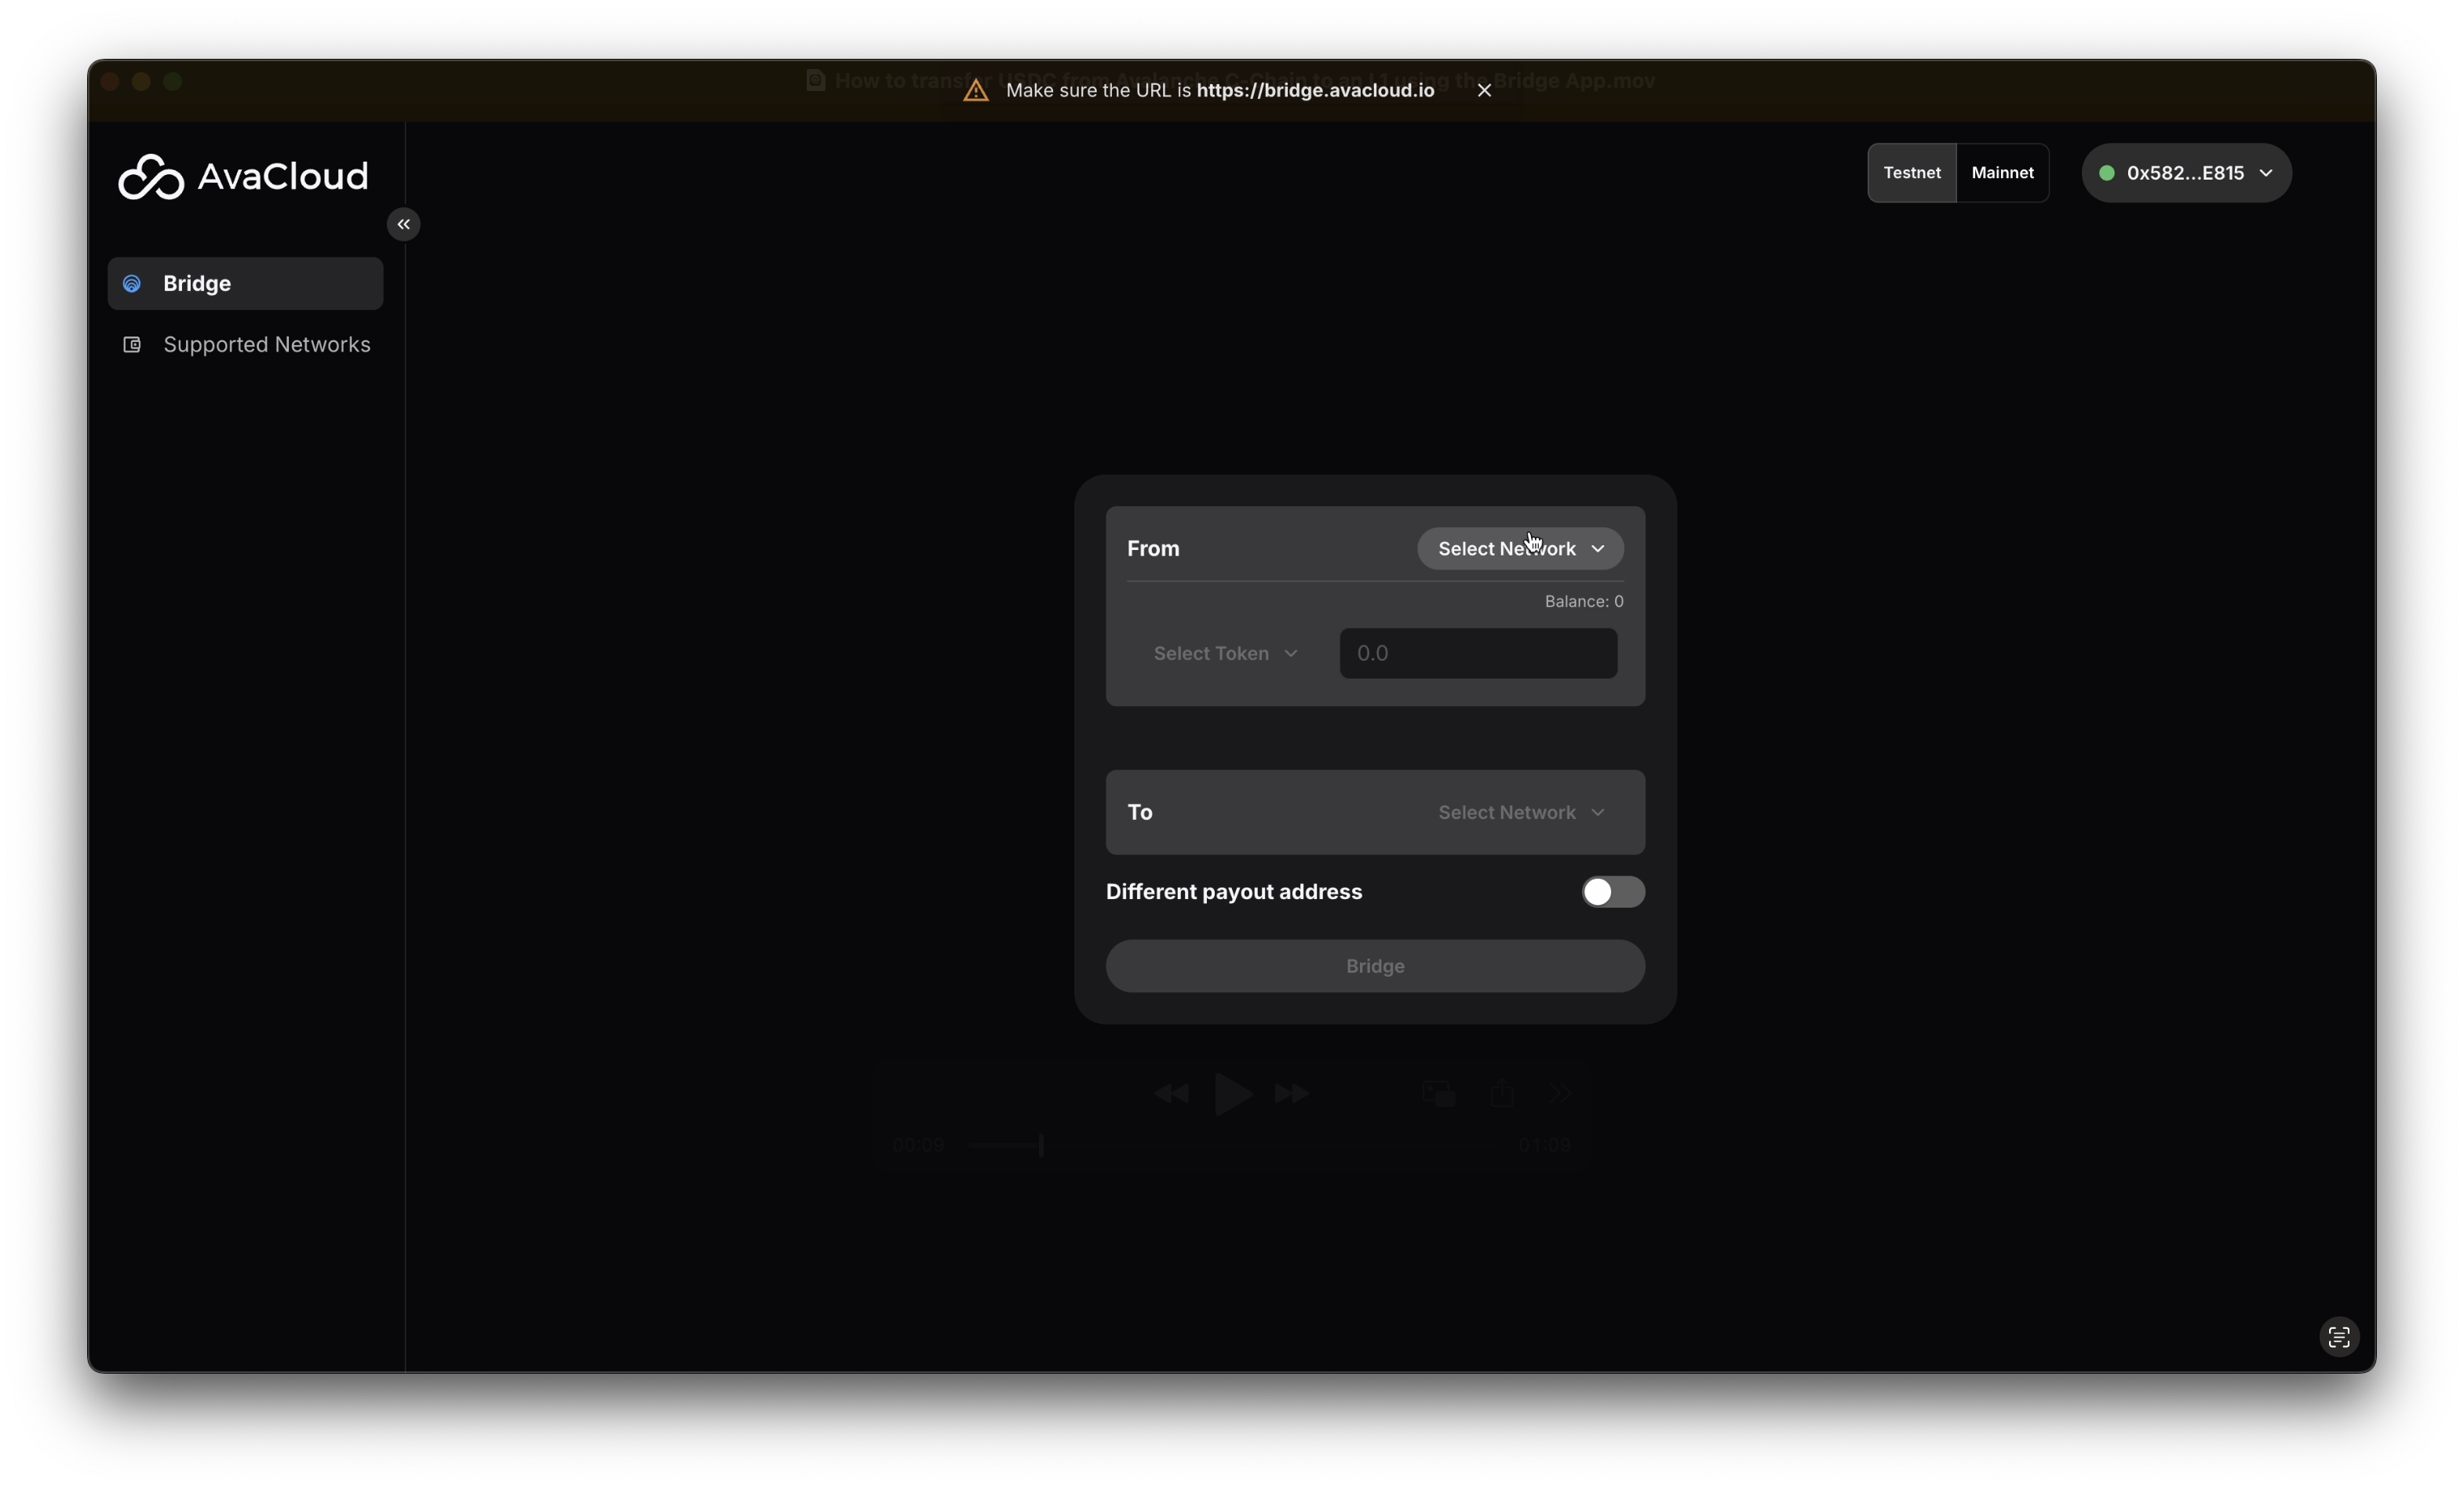
-
Click
Select Networkat the top right under theFromsection and chooseAvalanche C-Chain.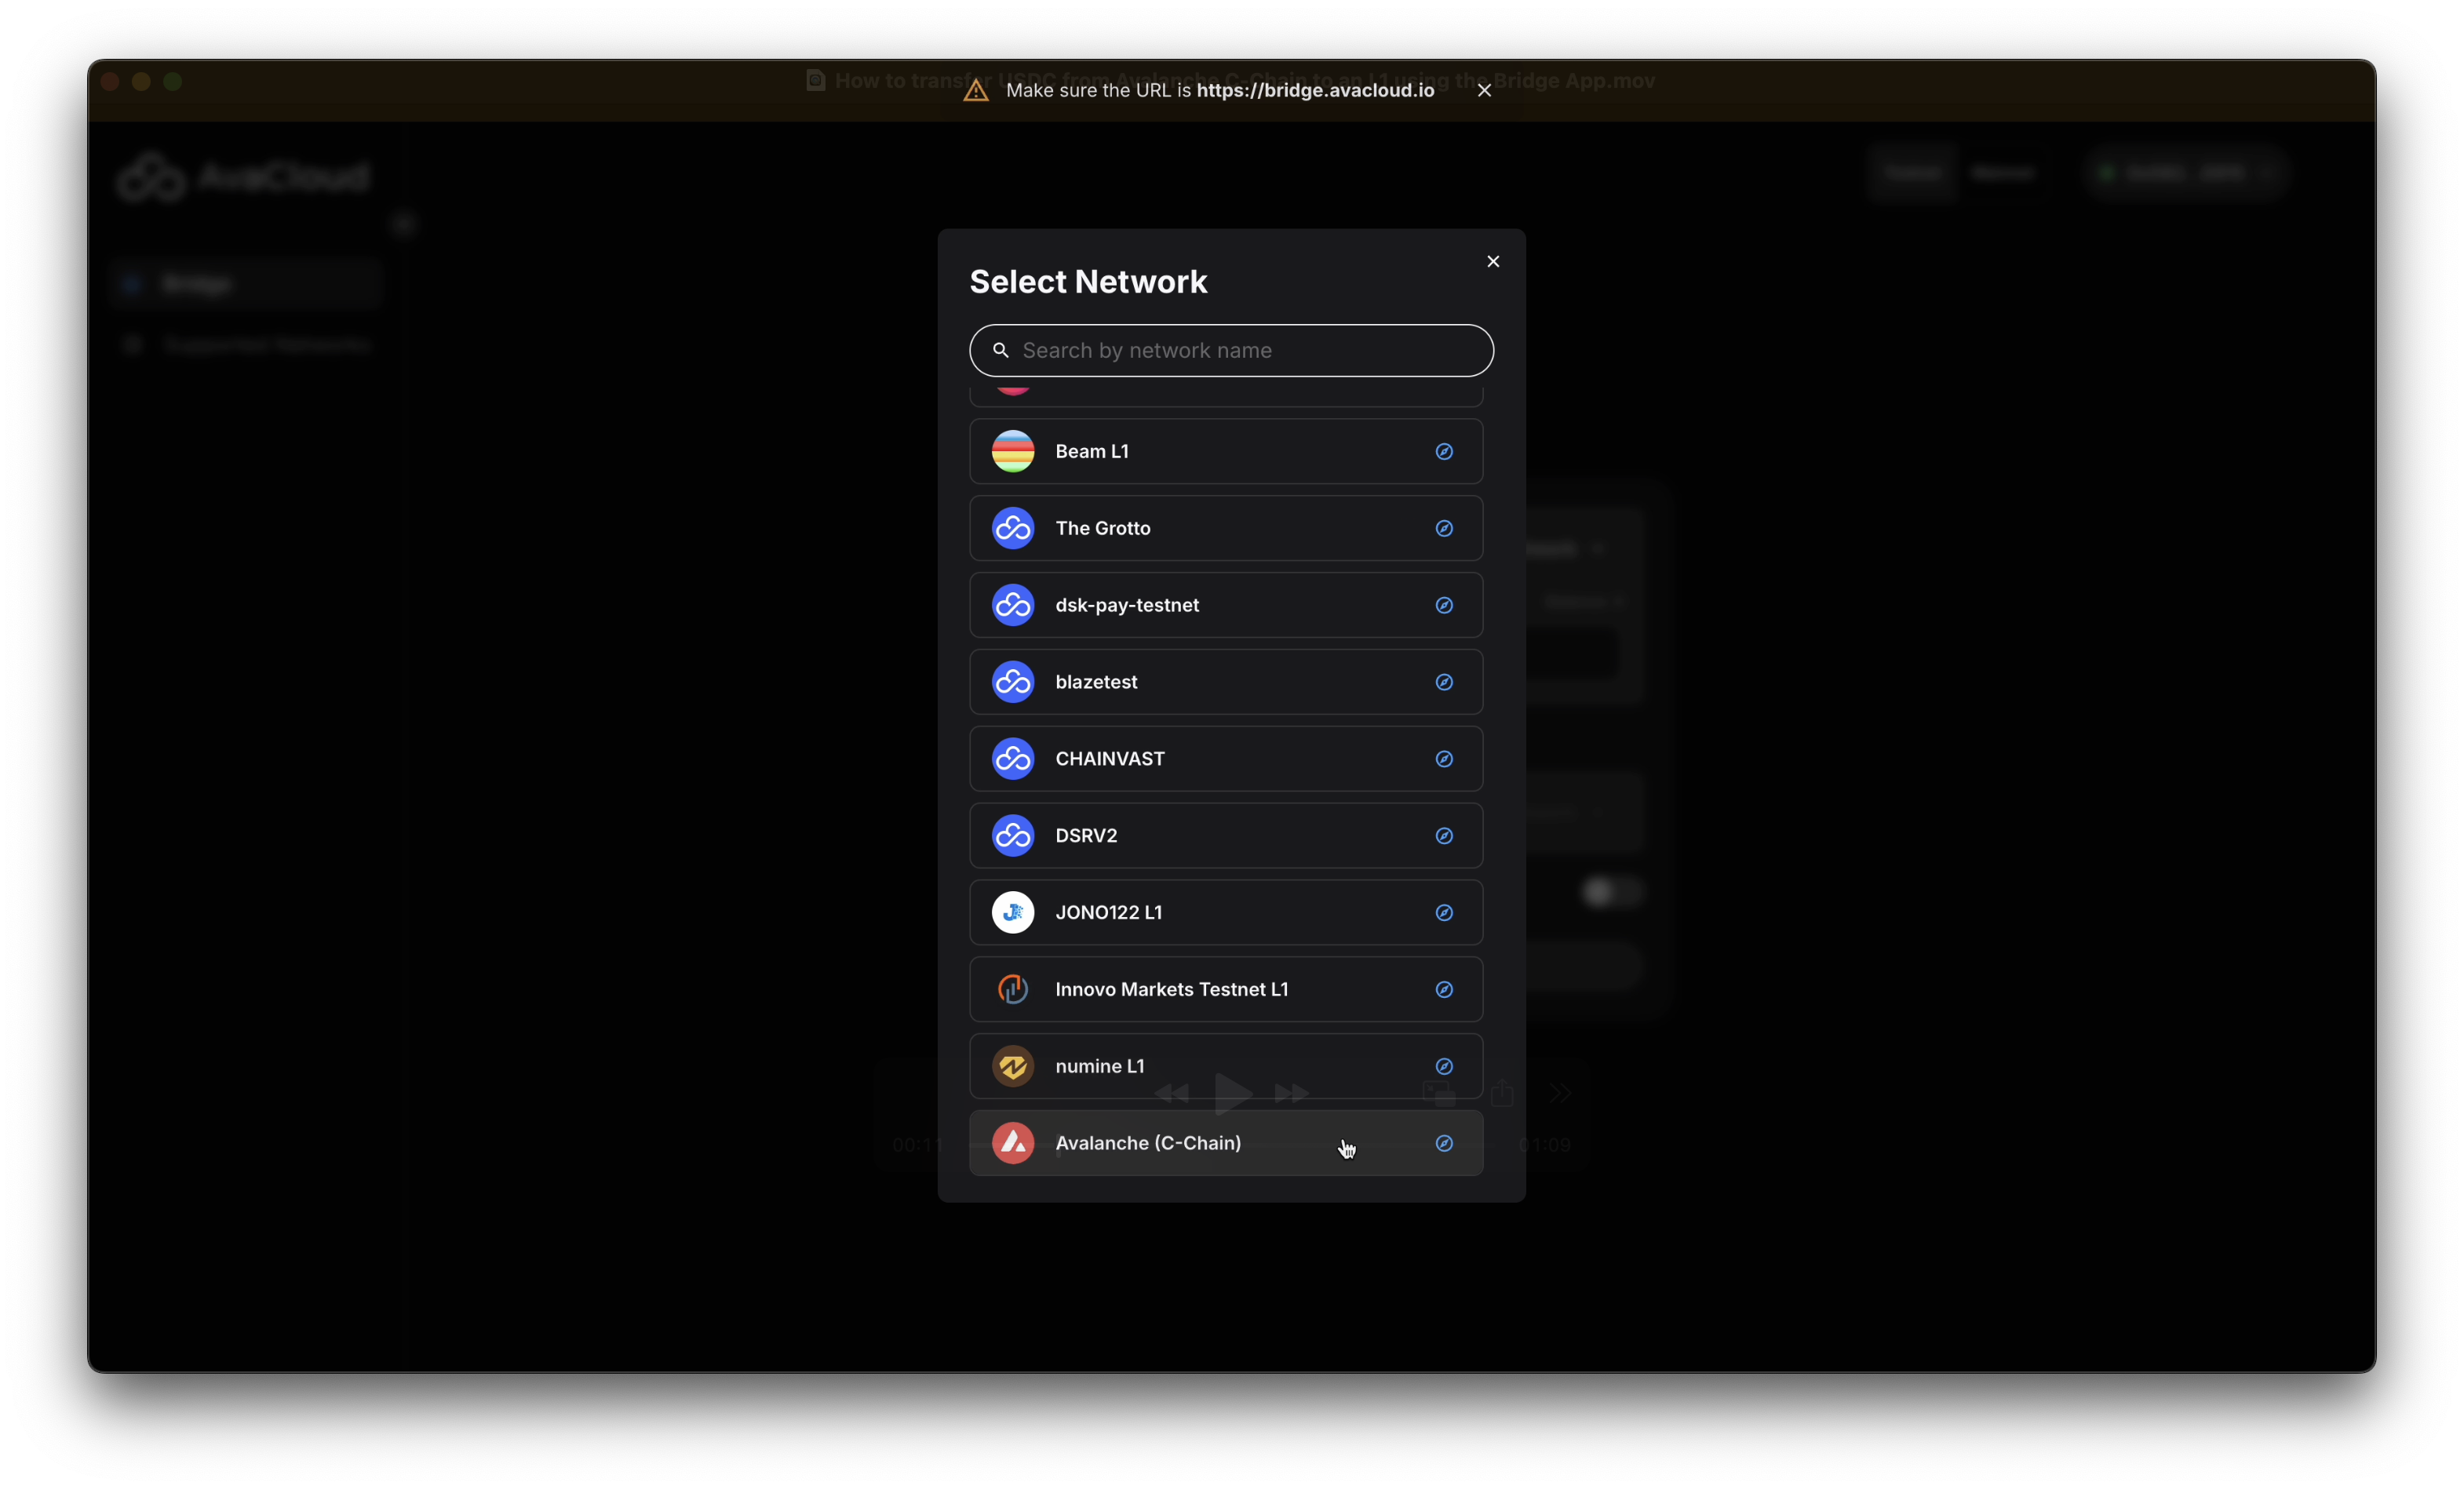
-
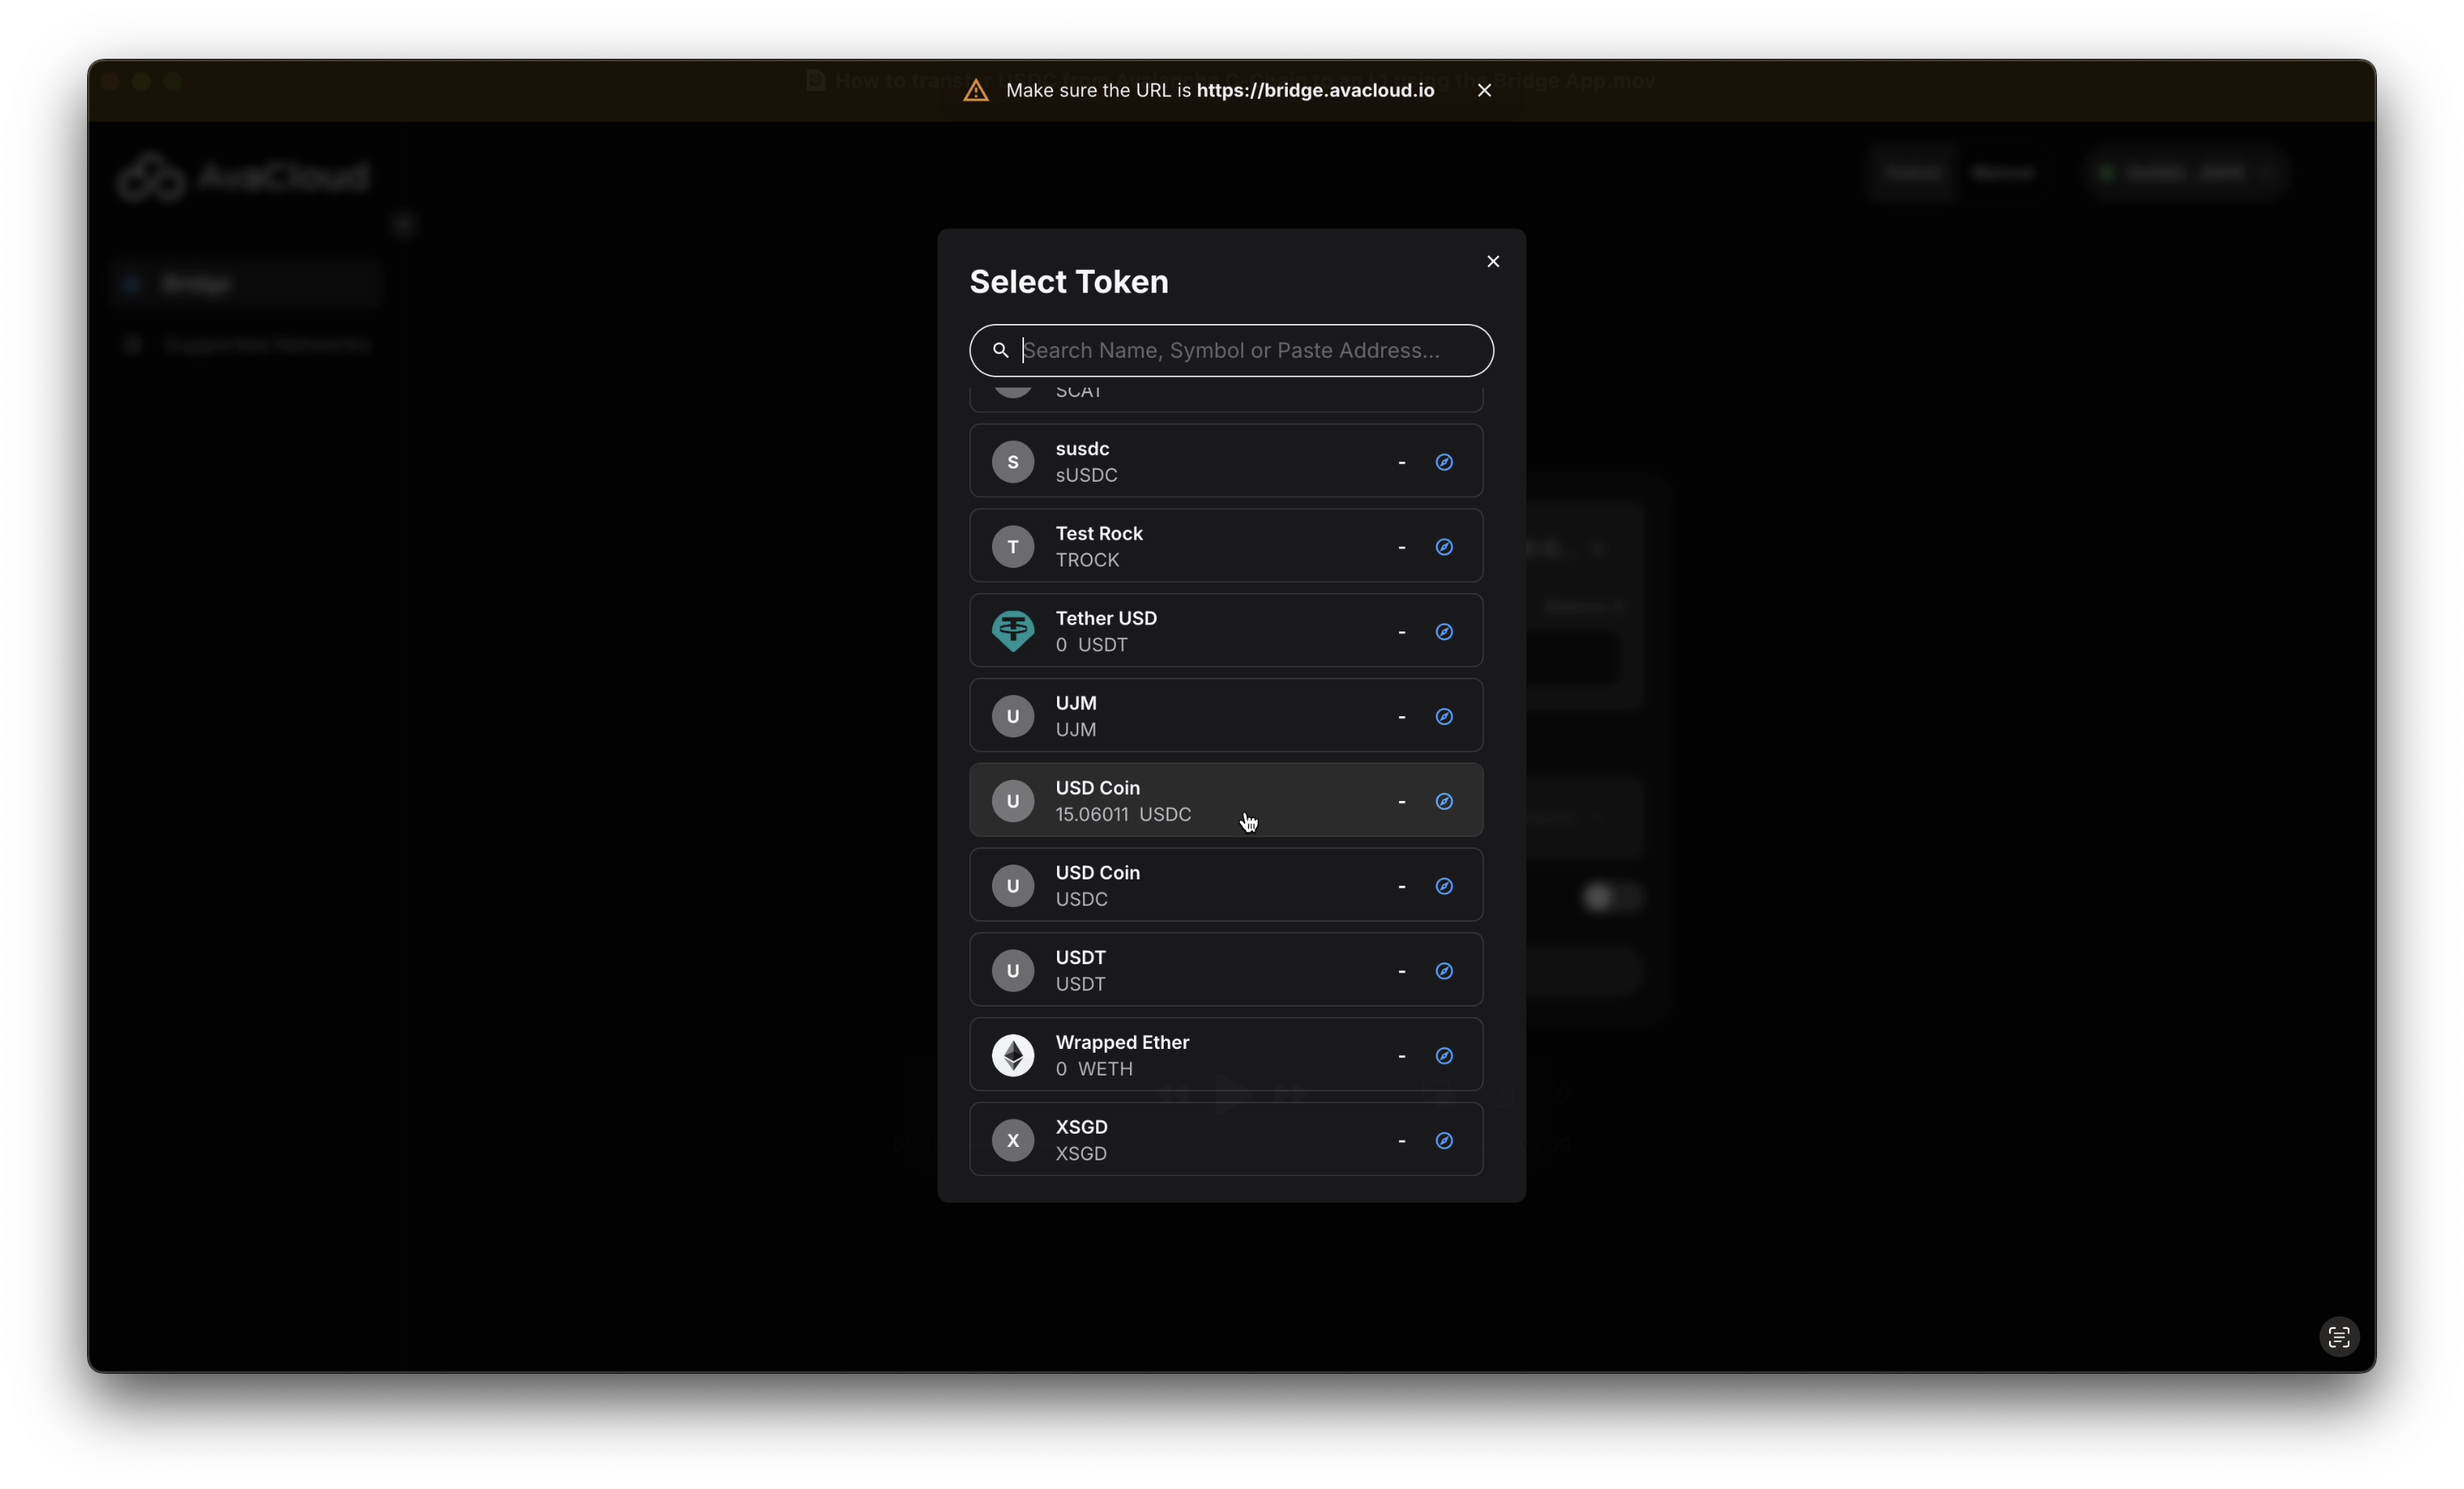
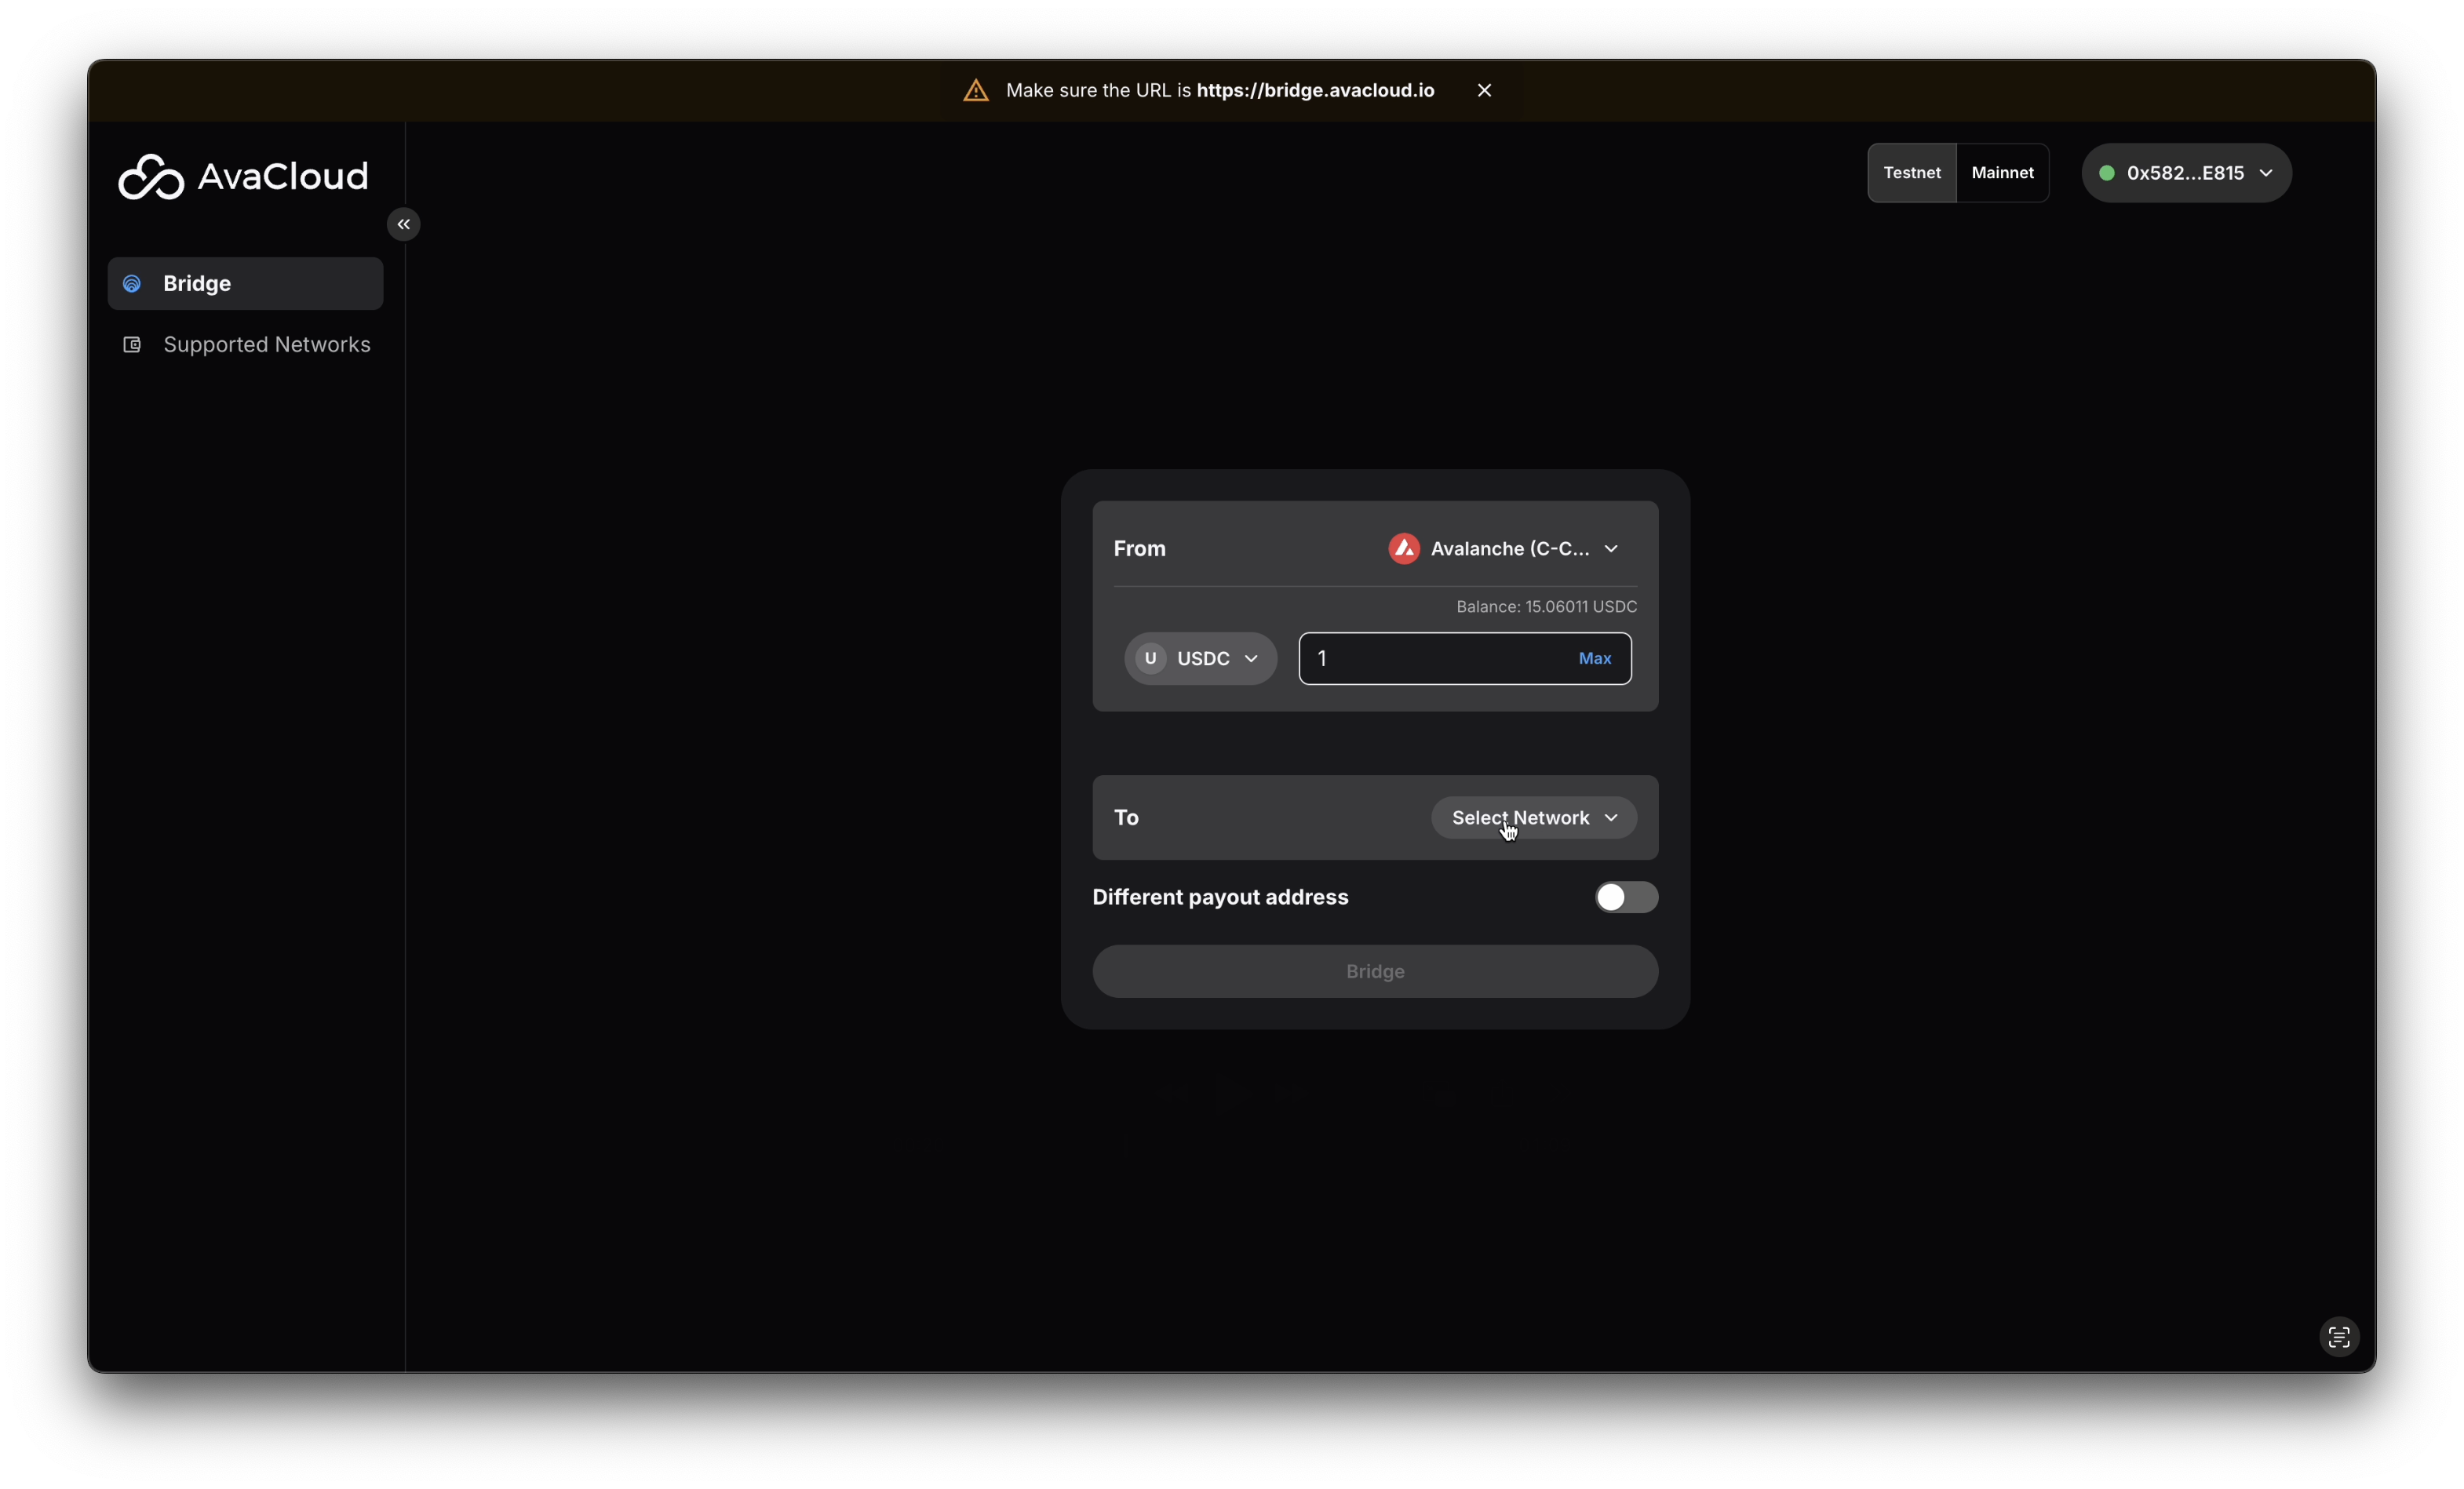
Select USDC as your token and enter the amount you wish to transfer.
-
In the
Tosection, clickSelect Networkat the bottom right and pick your desired destination L1.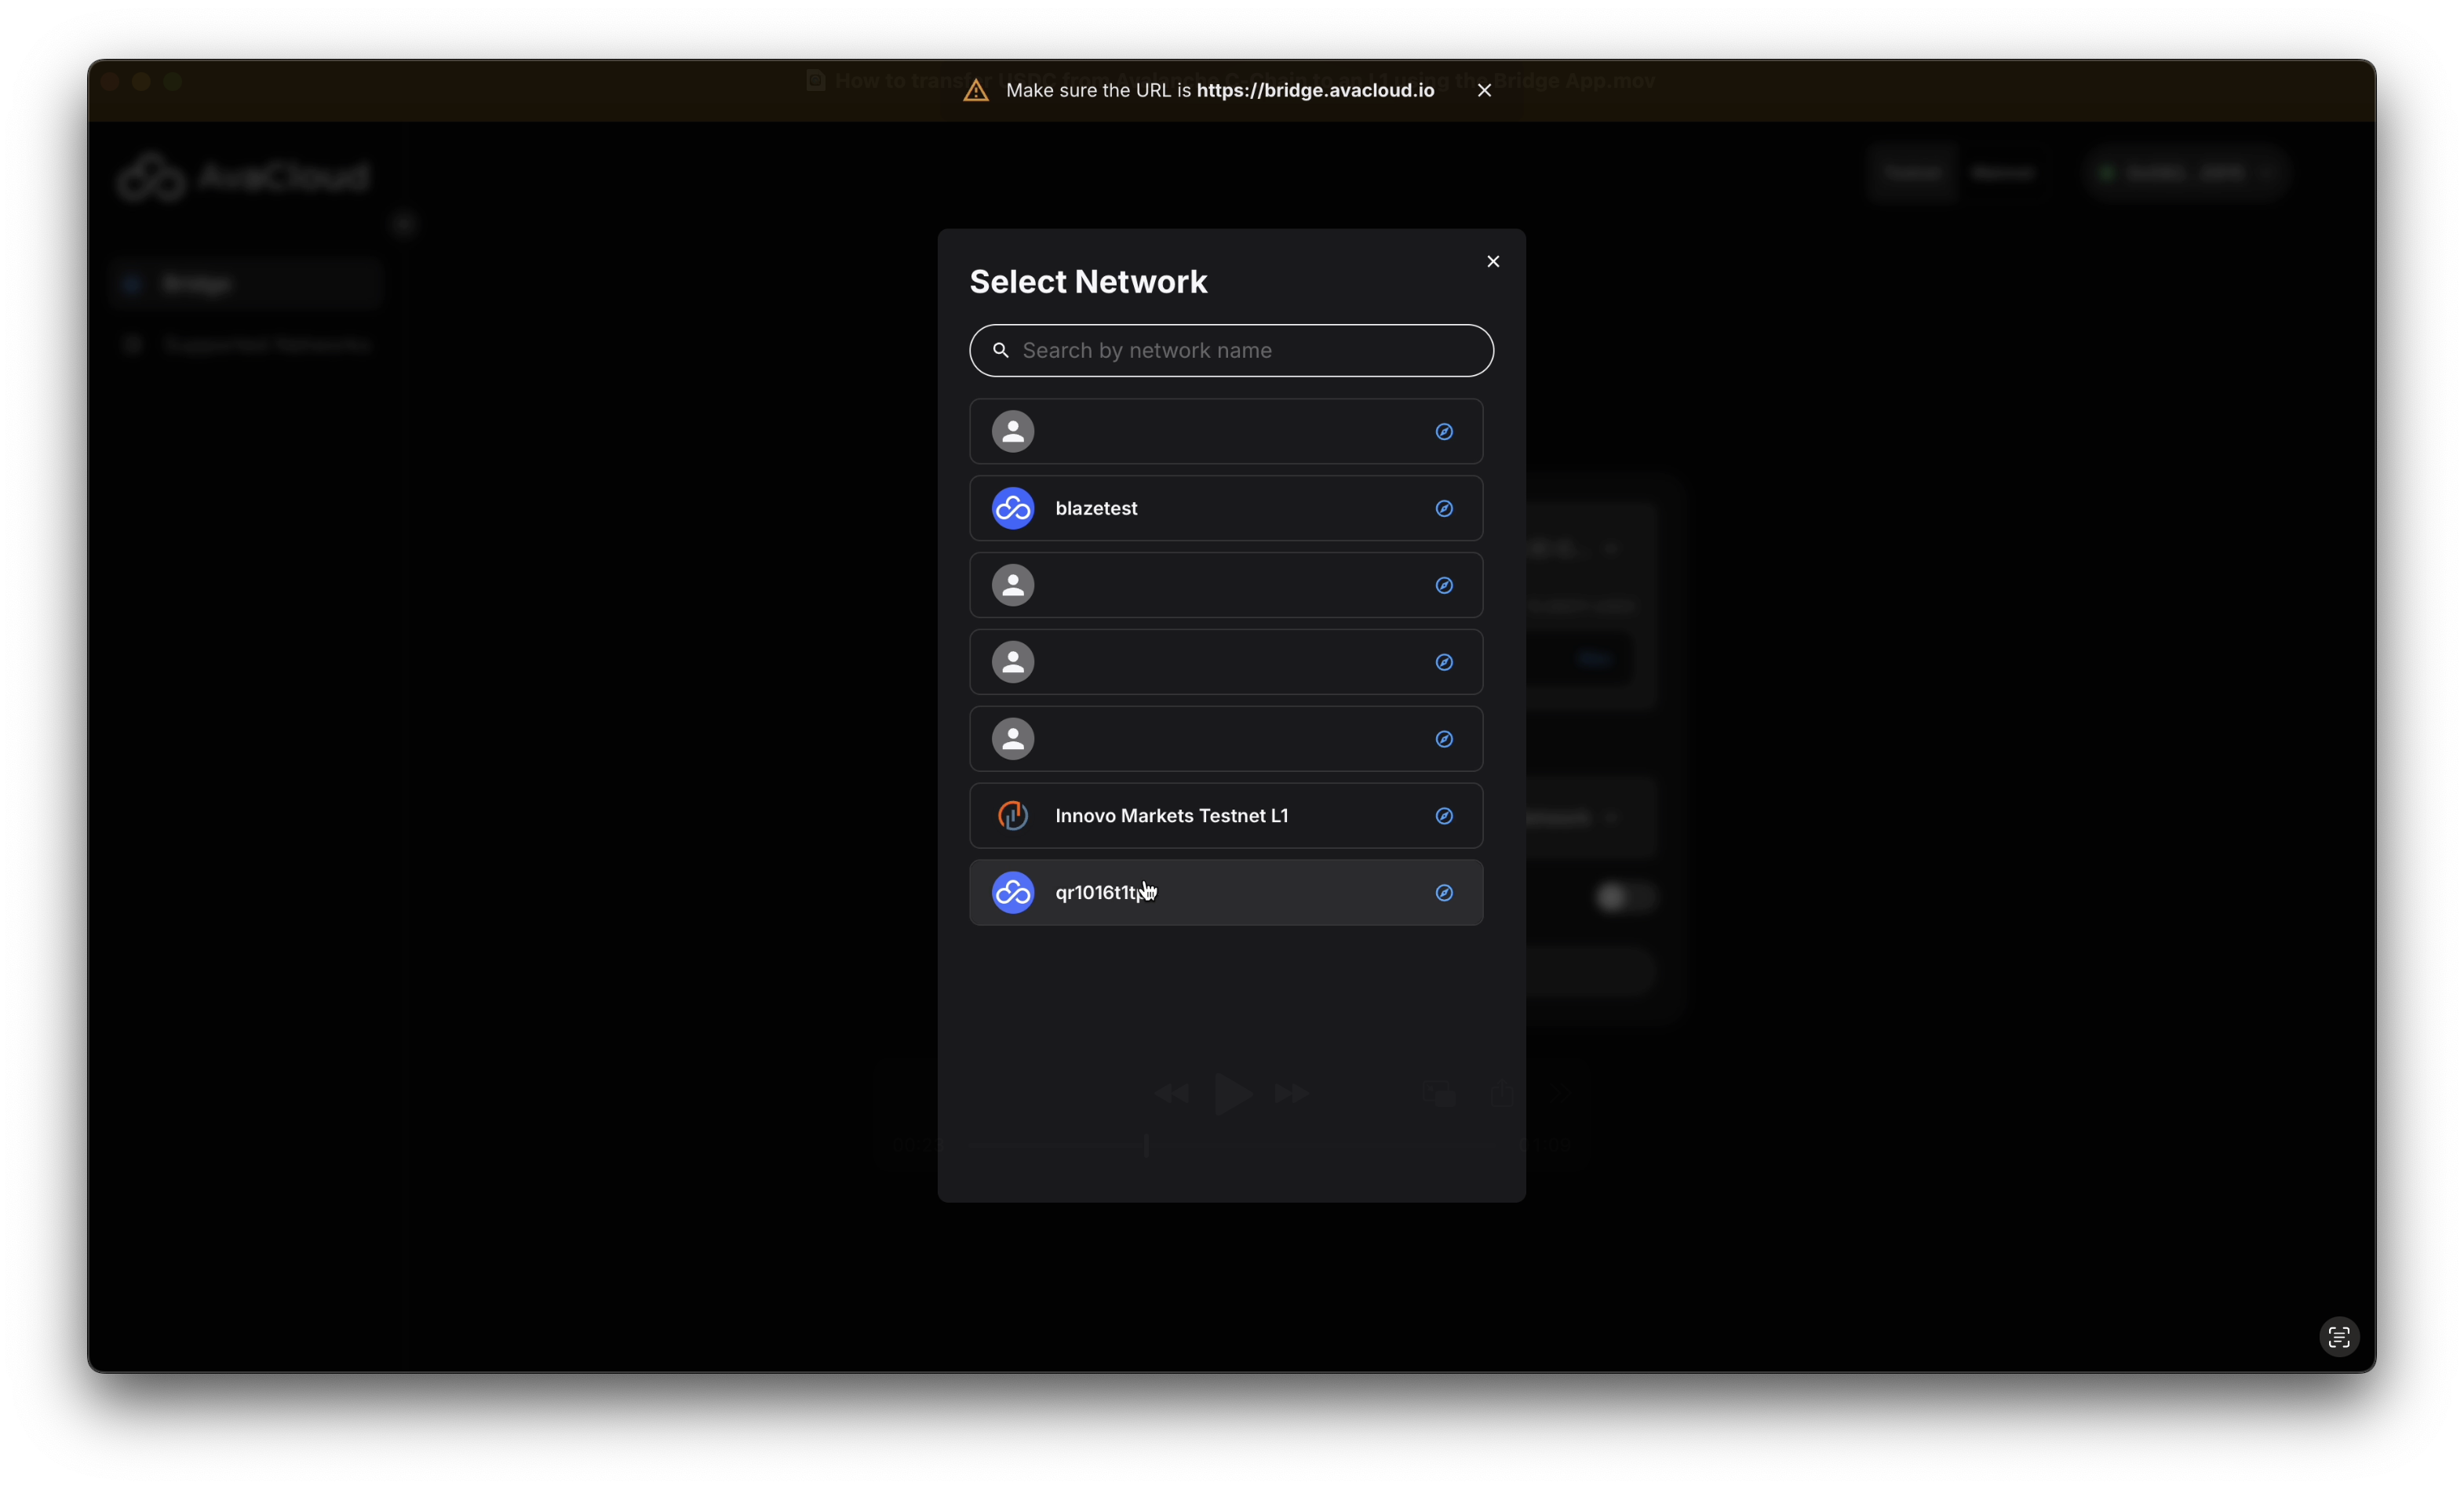
-
Click the
Bridgebutton to start the transfer process.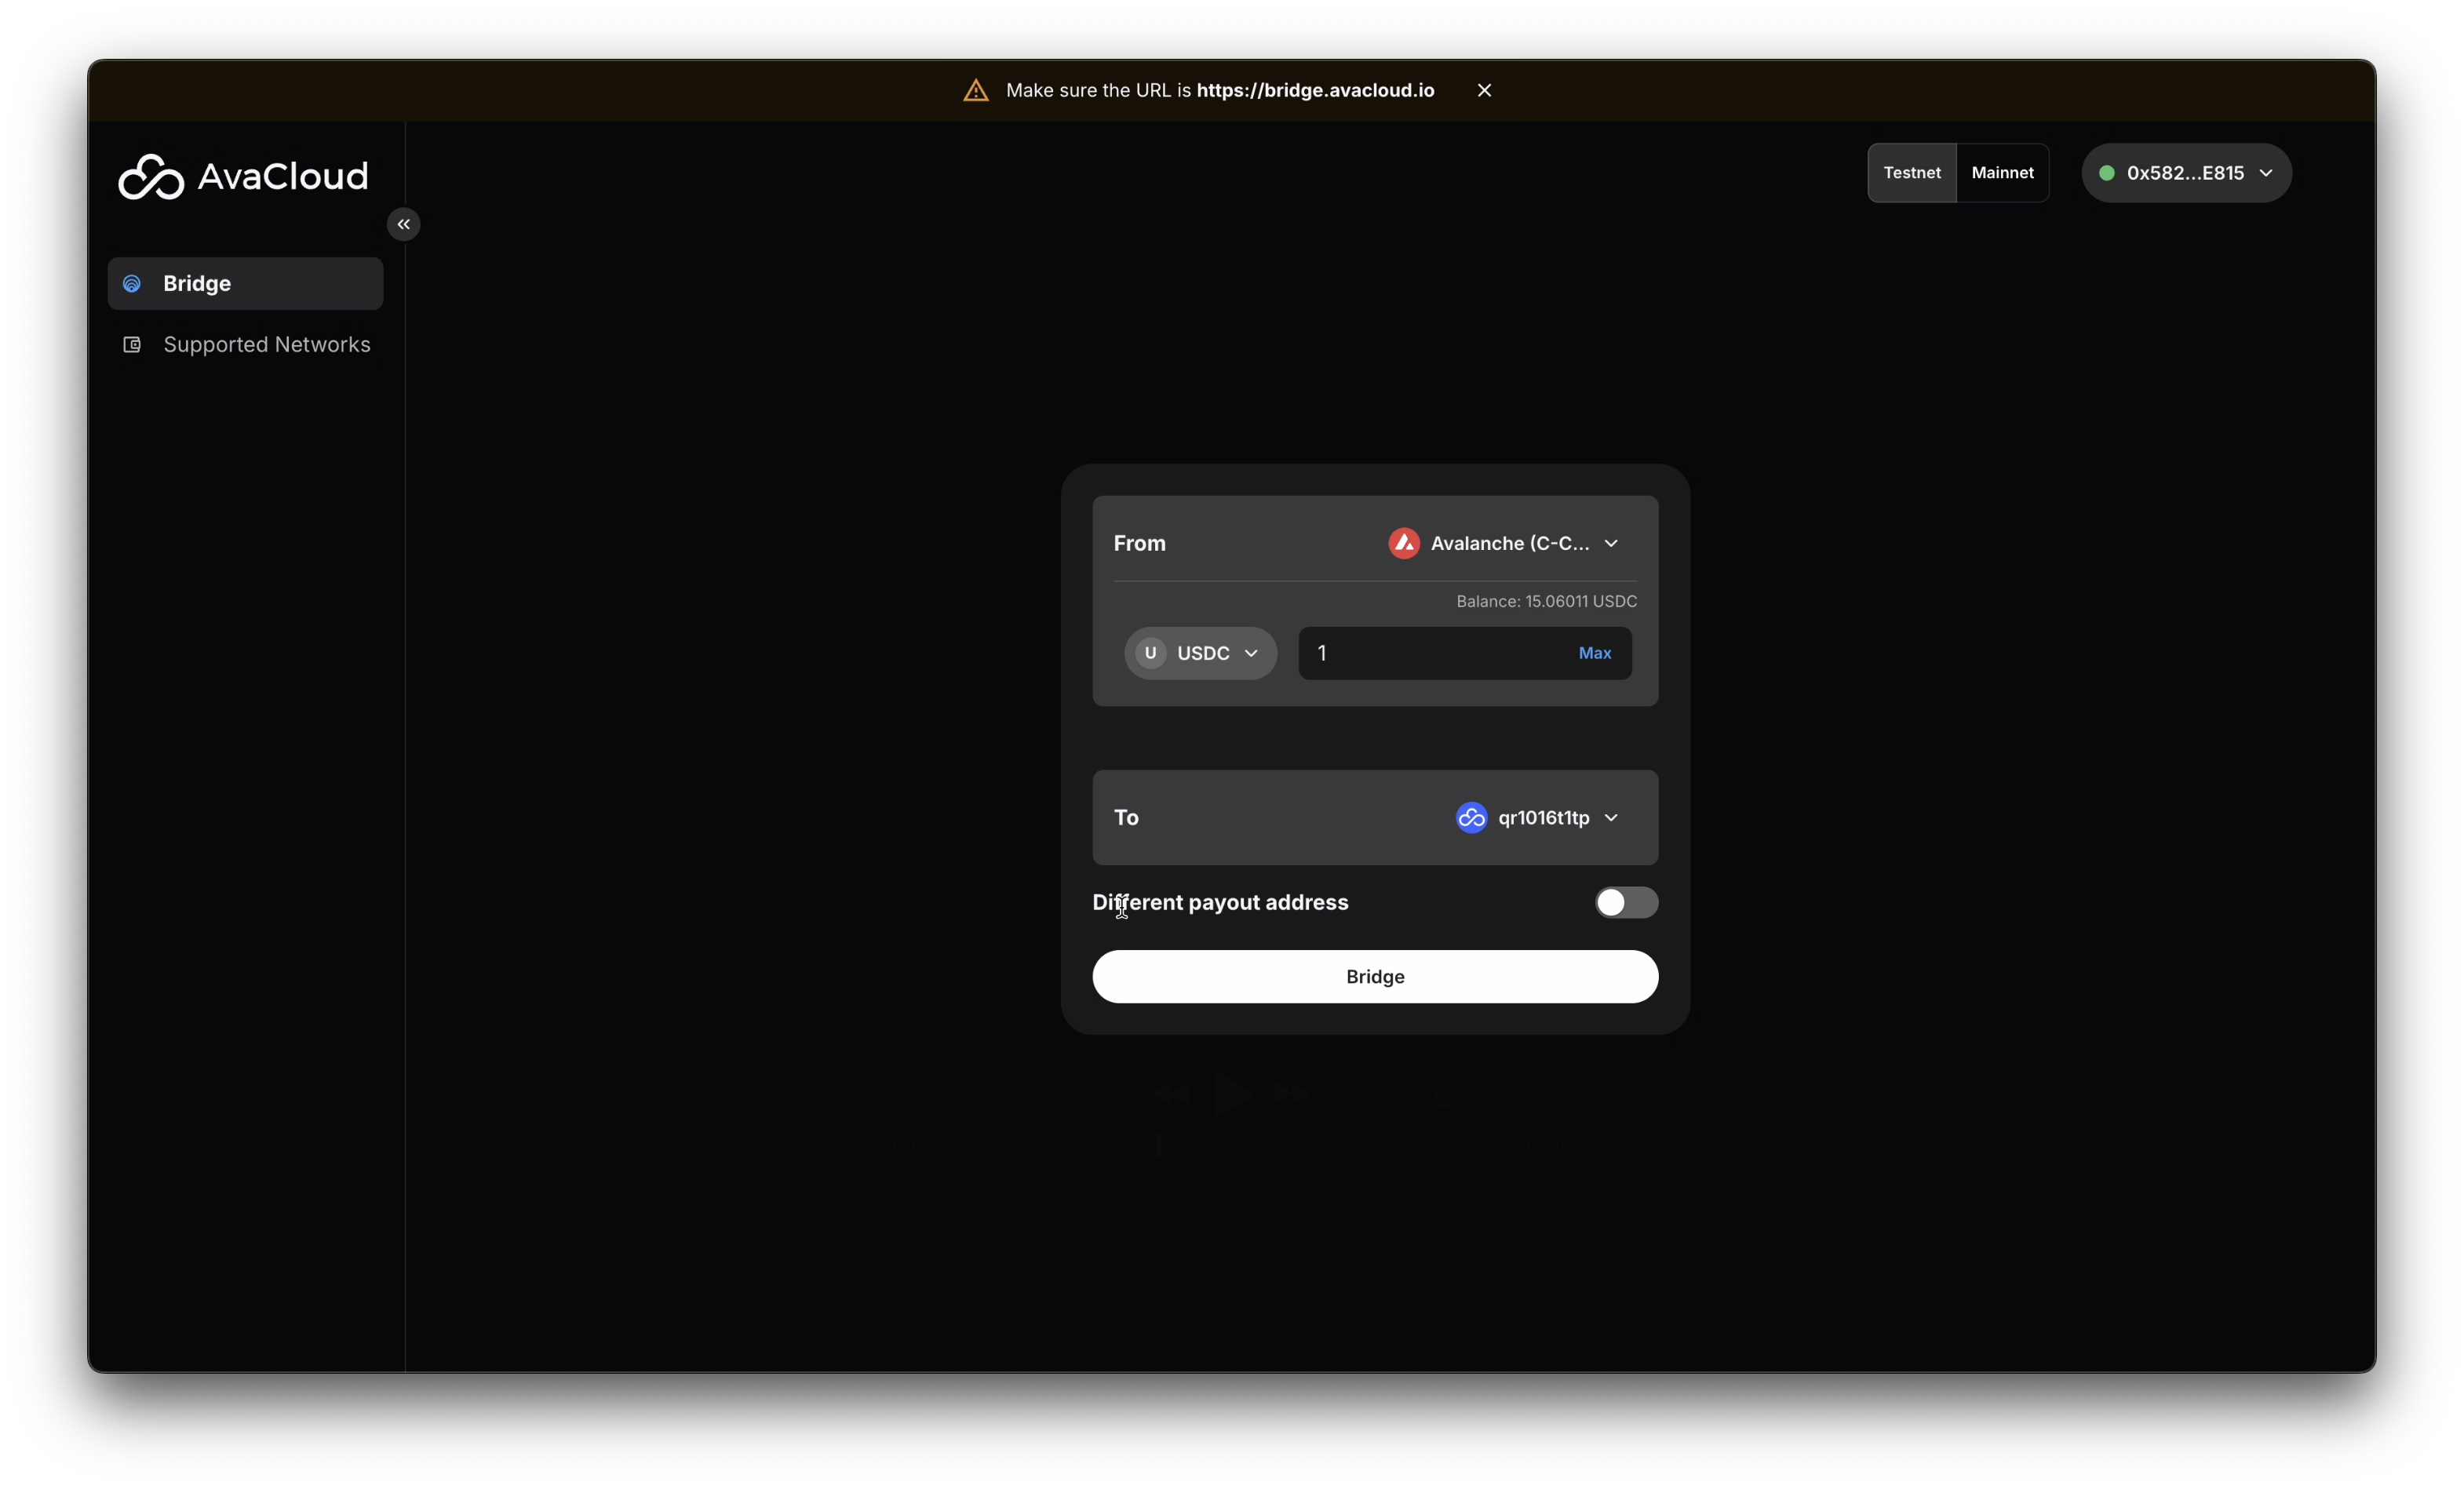
-
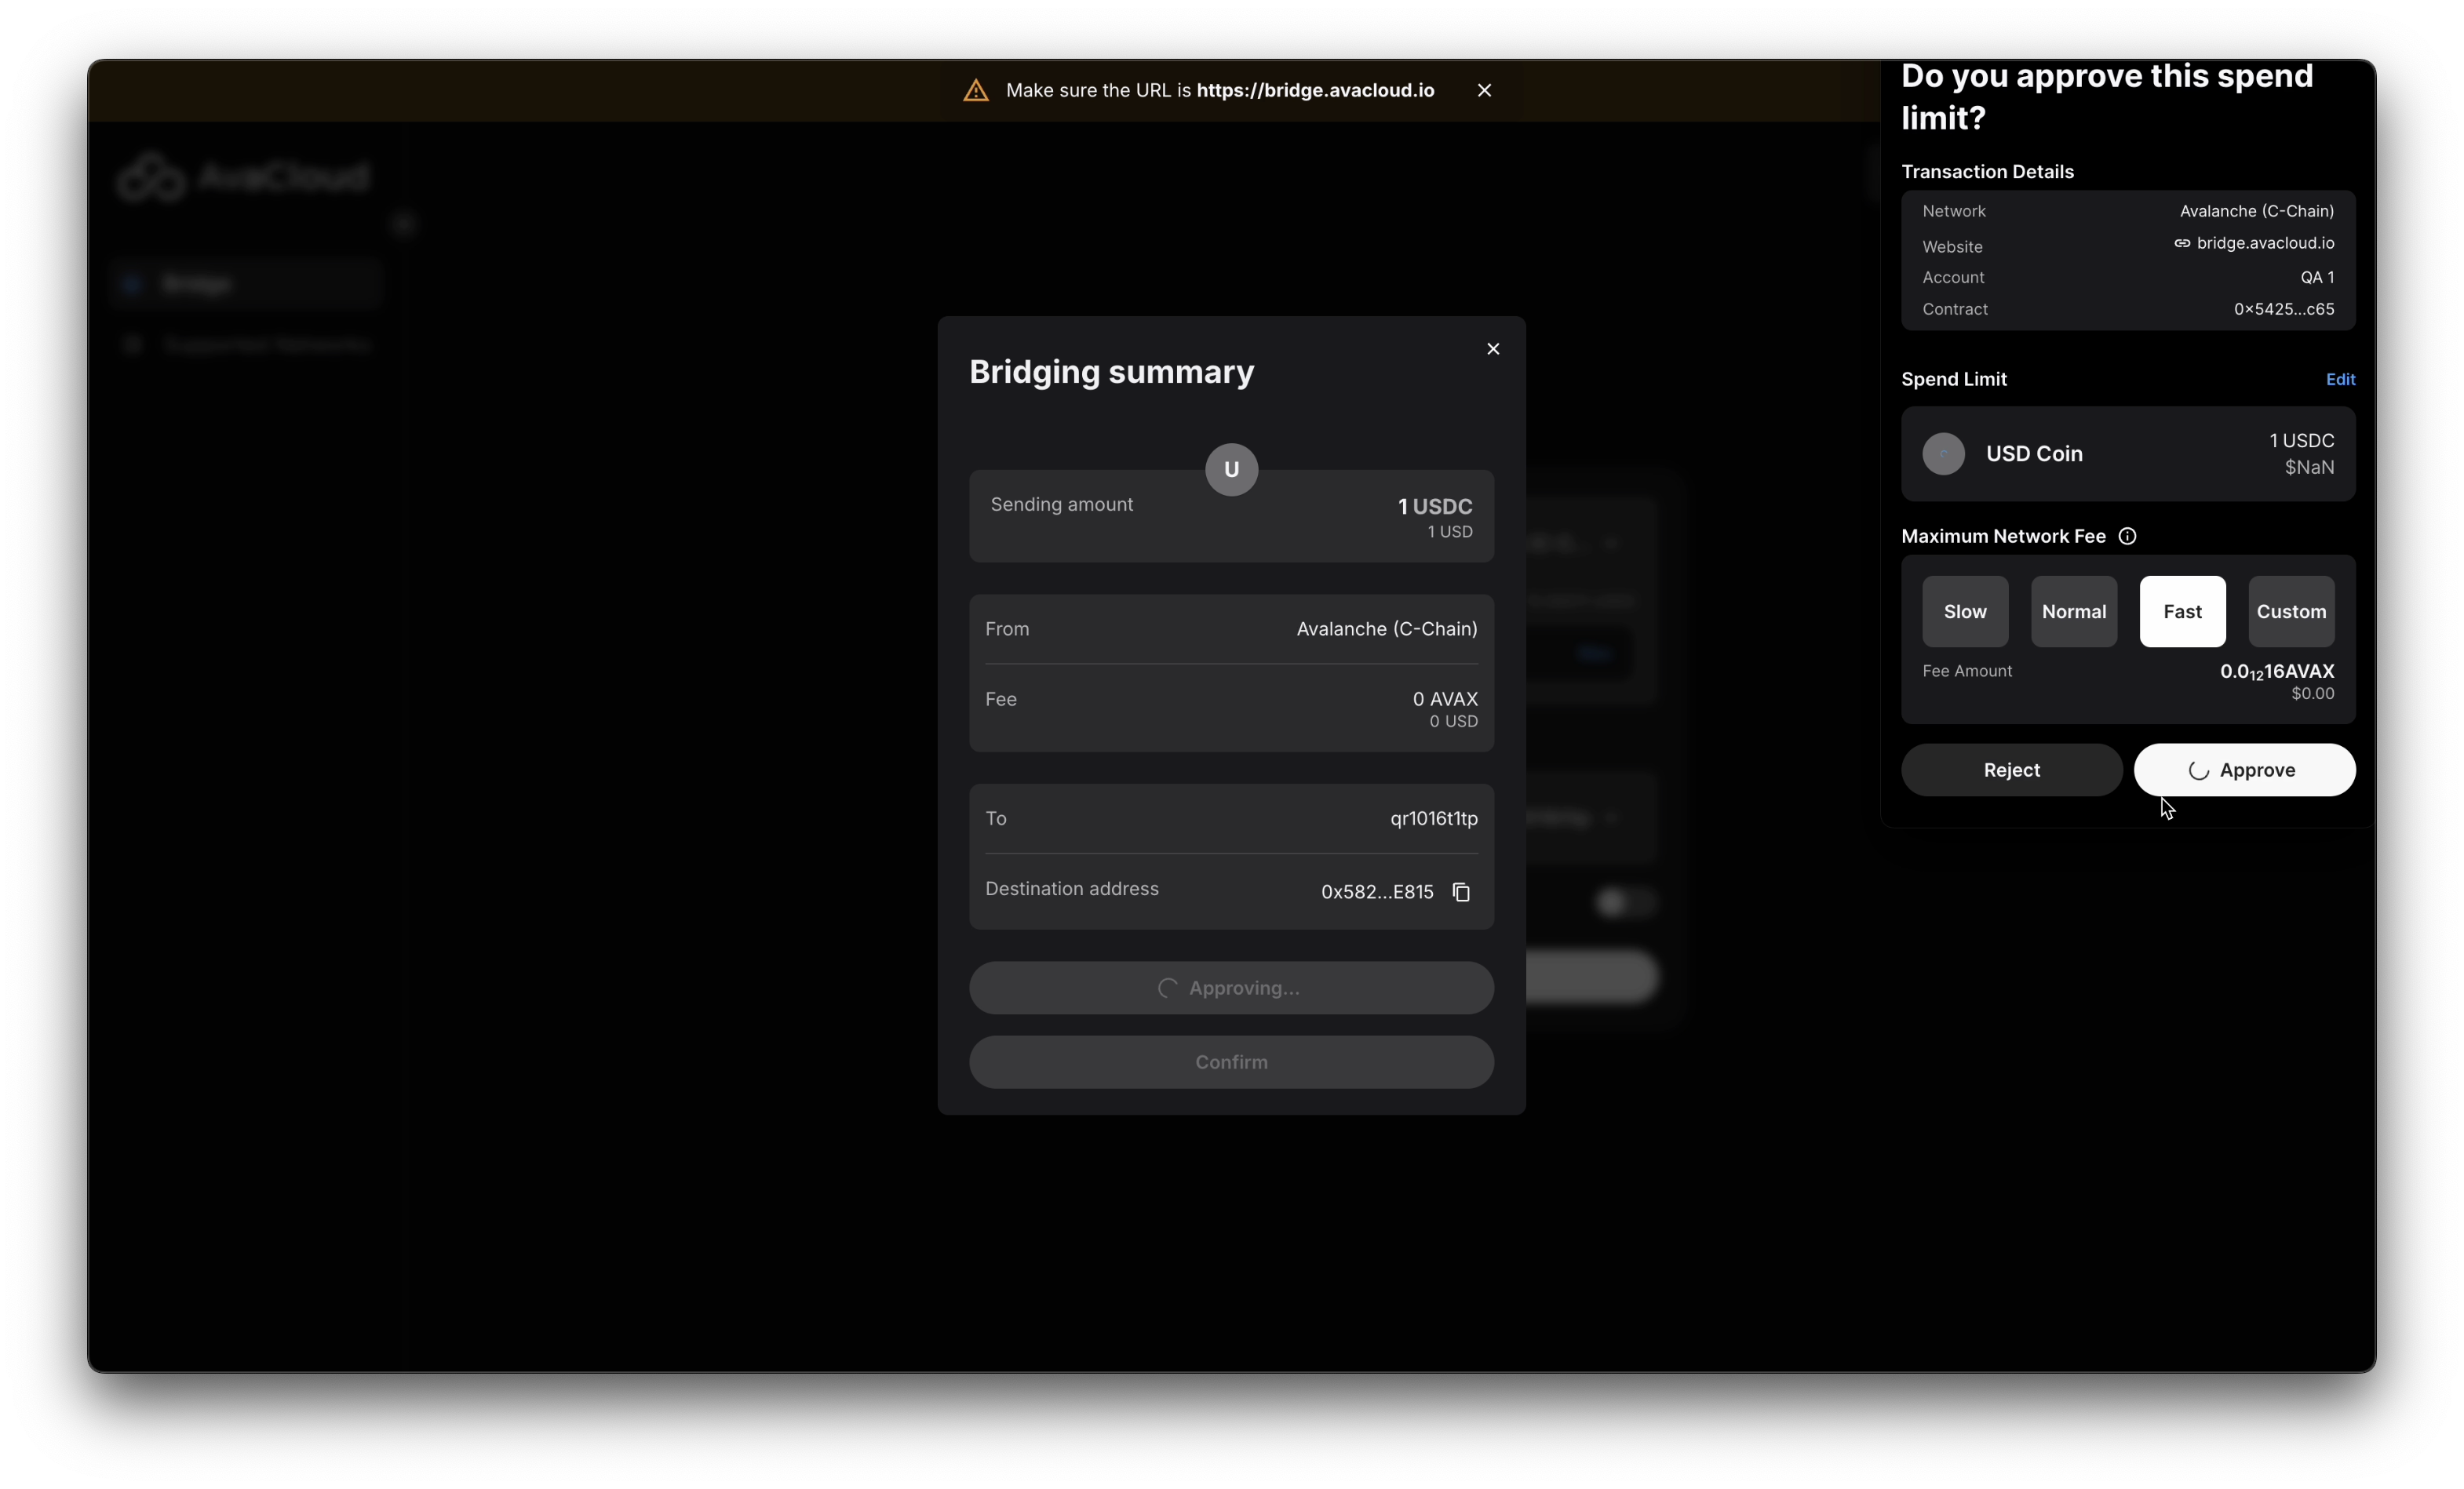
Approve the USDC token and the transfer amount when prompted.

-
After approval, click the
Confirmbutton and thenApprovein the Core Extension to finalize the transfer. The specified amount of USDC will be bridged from Avalanche C-Chain to your selected L1.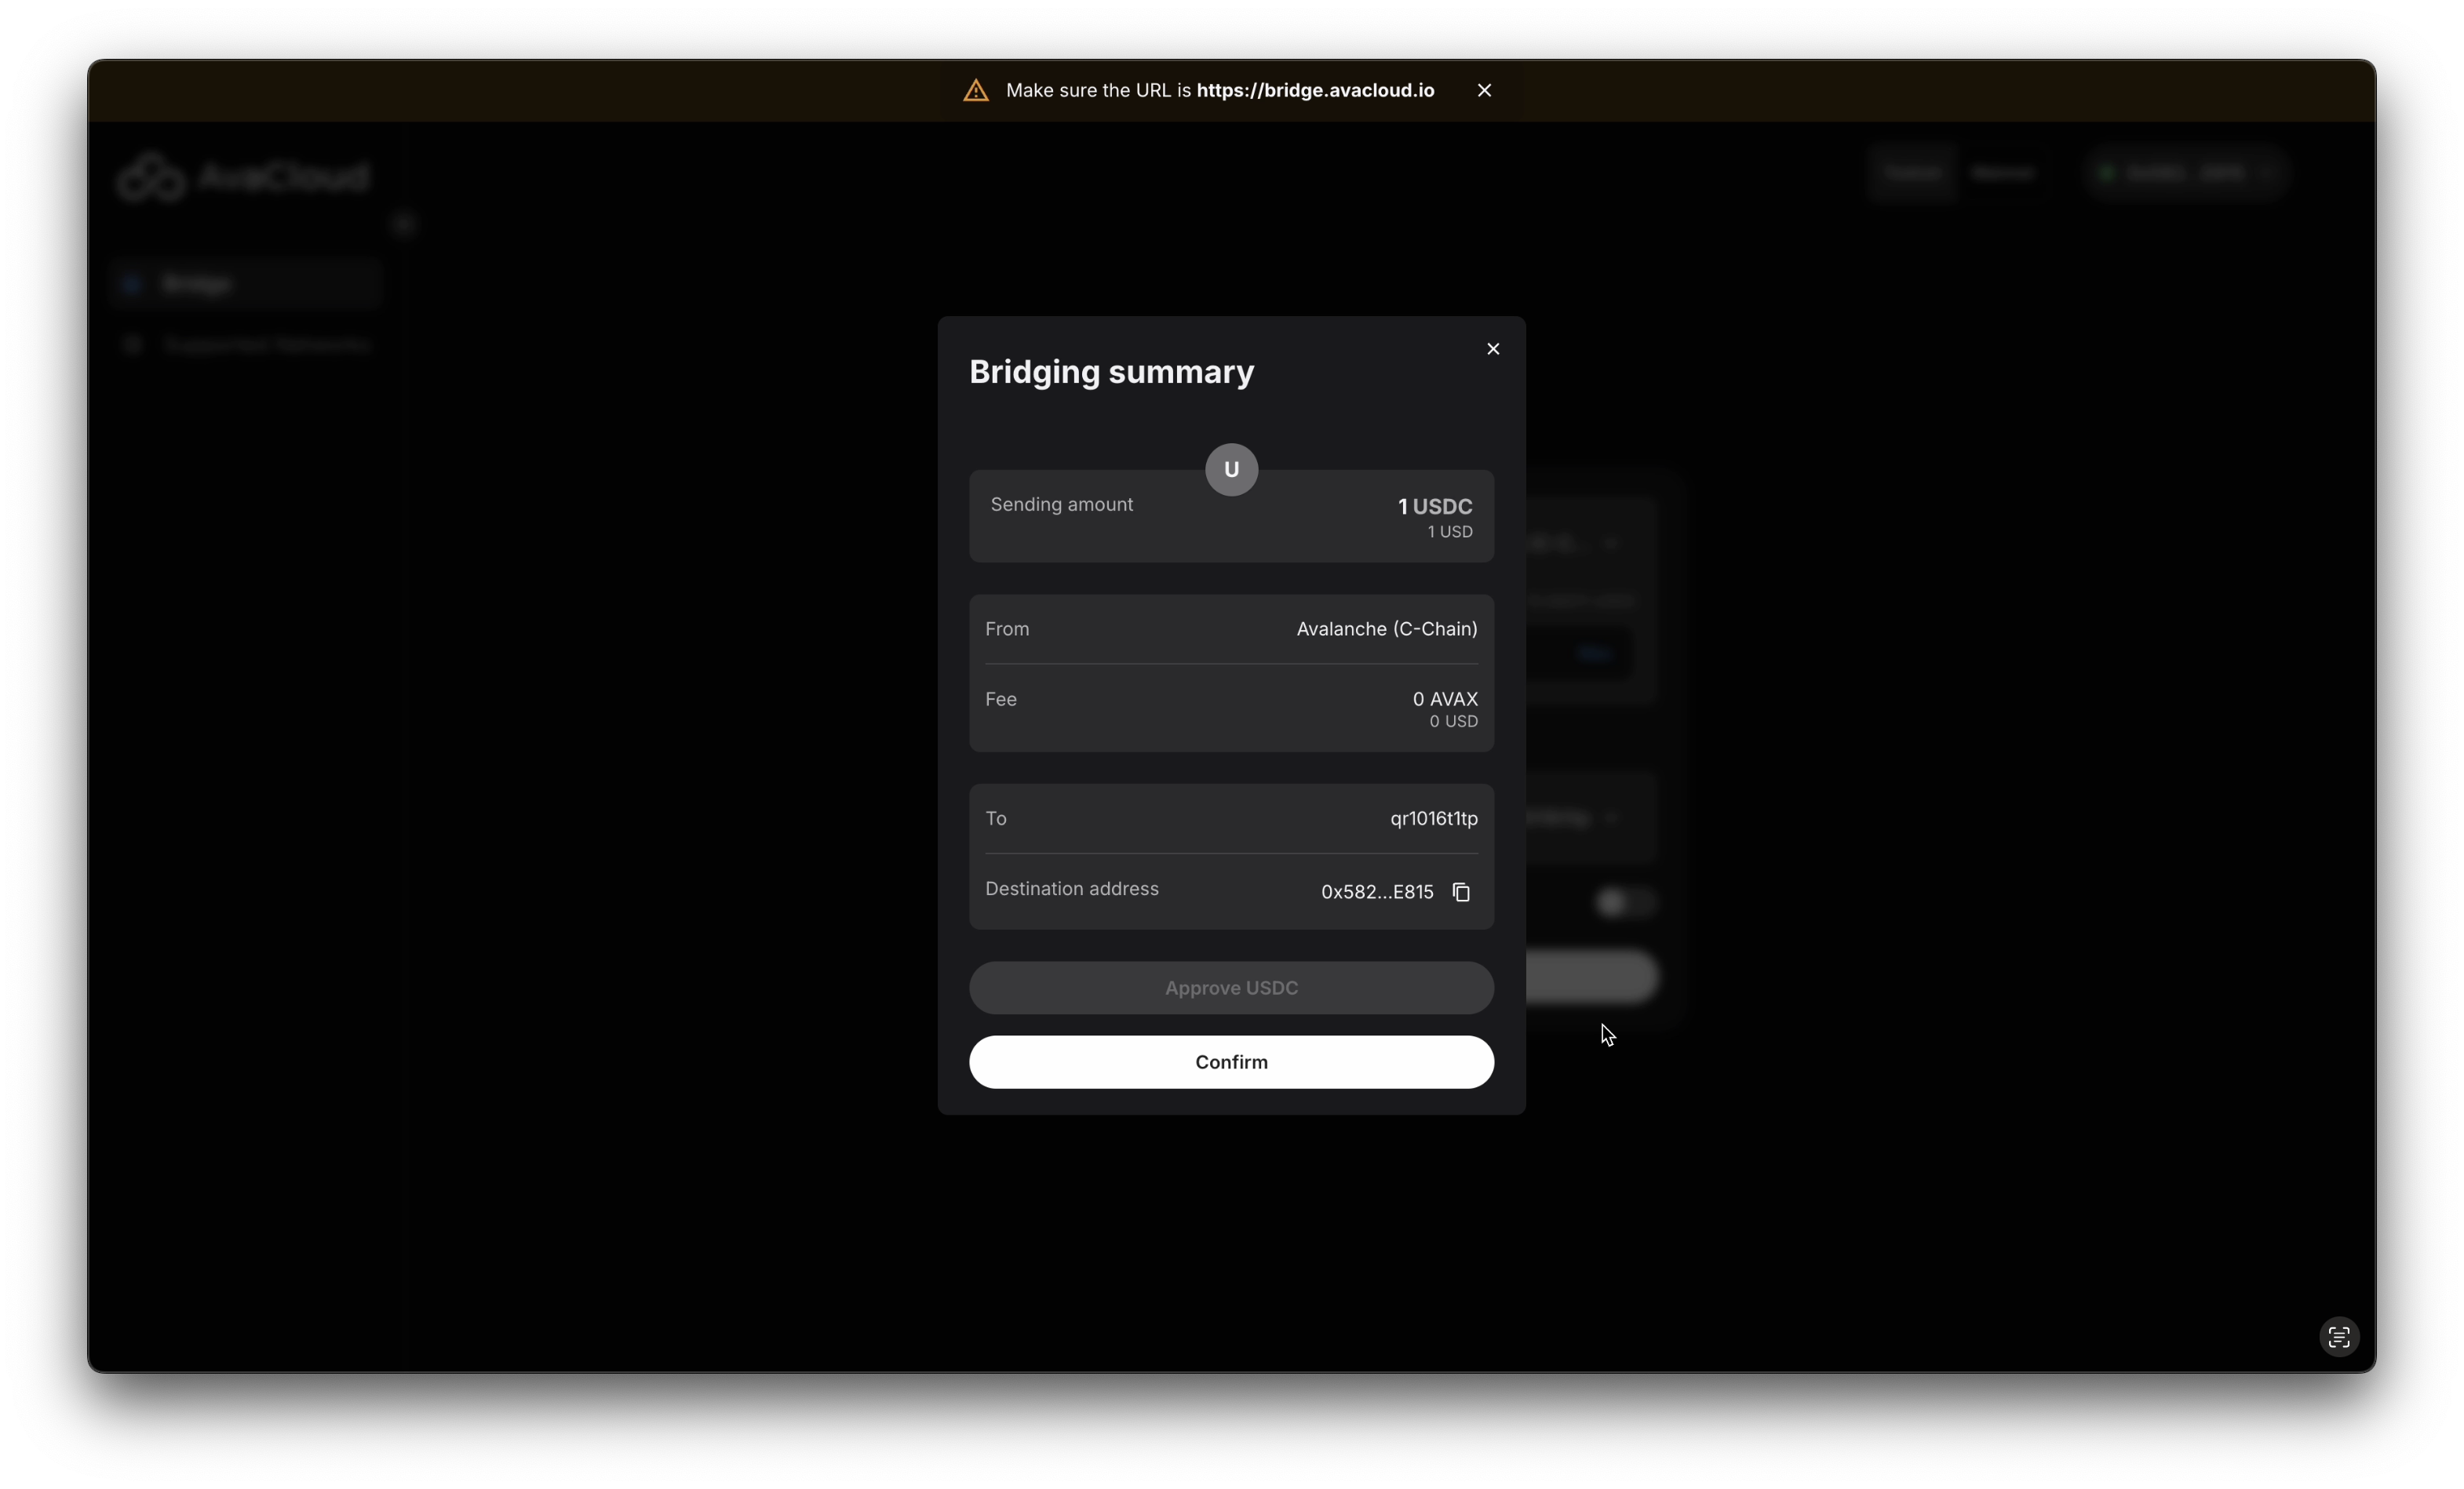

-
Once completed, a success screen will appear. You can find transaction links and check the recipient address here.
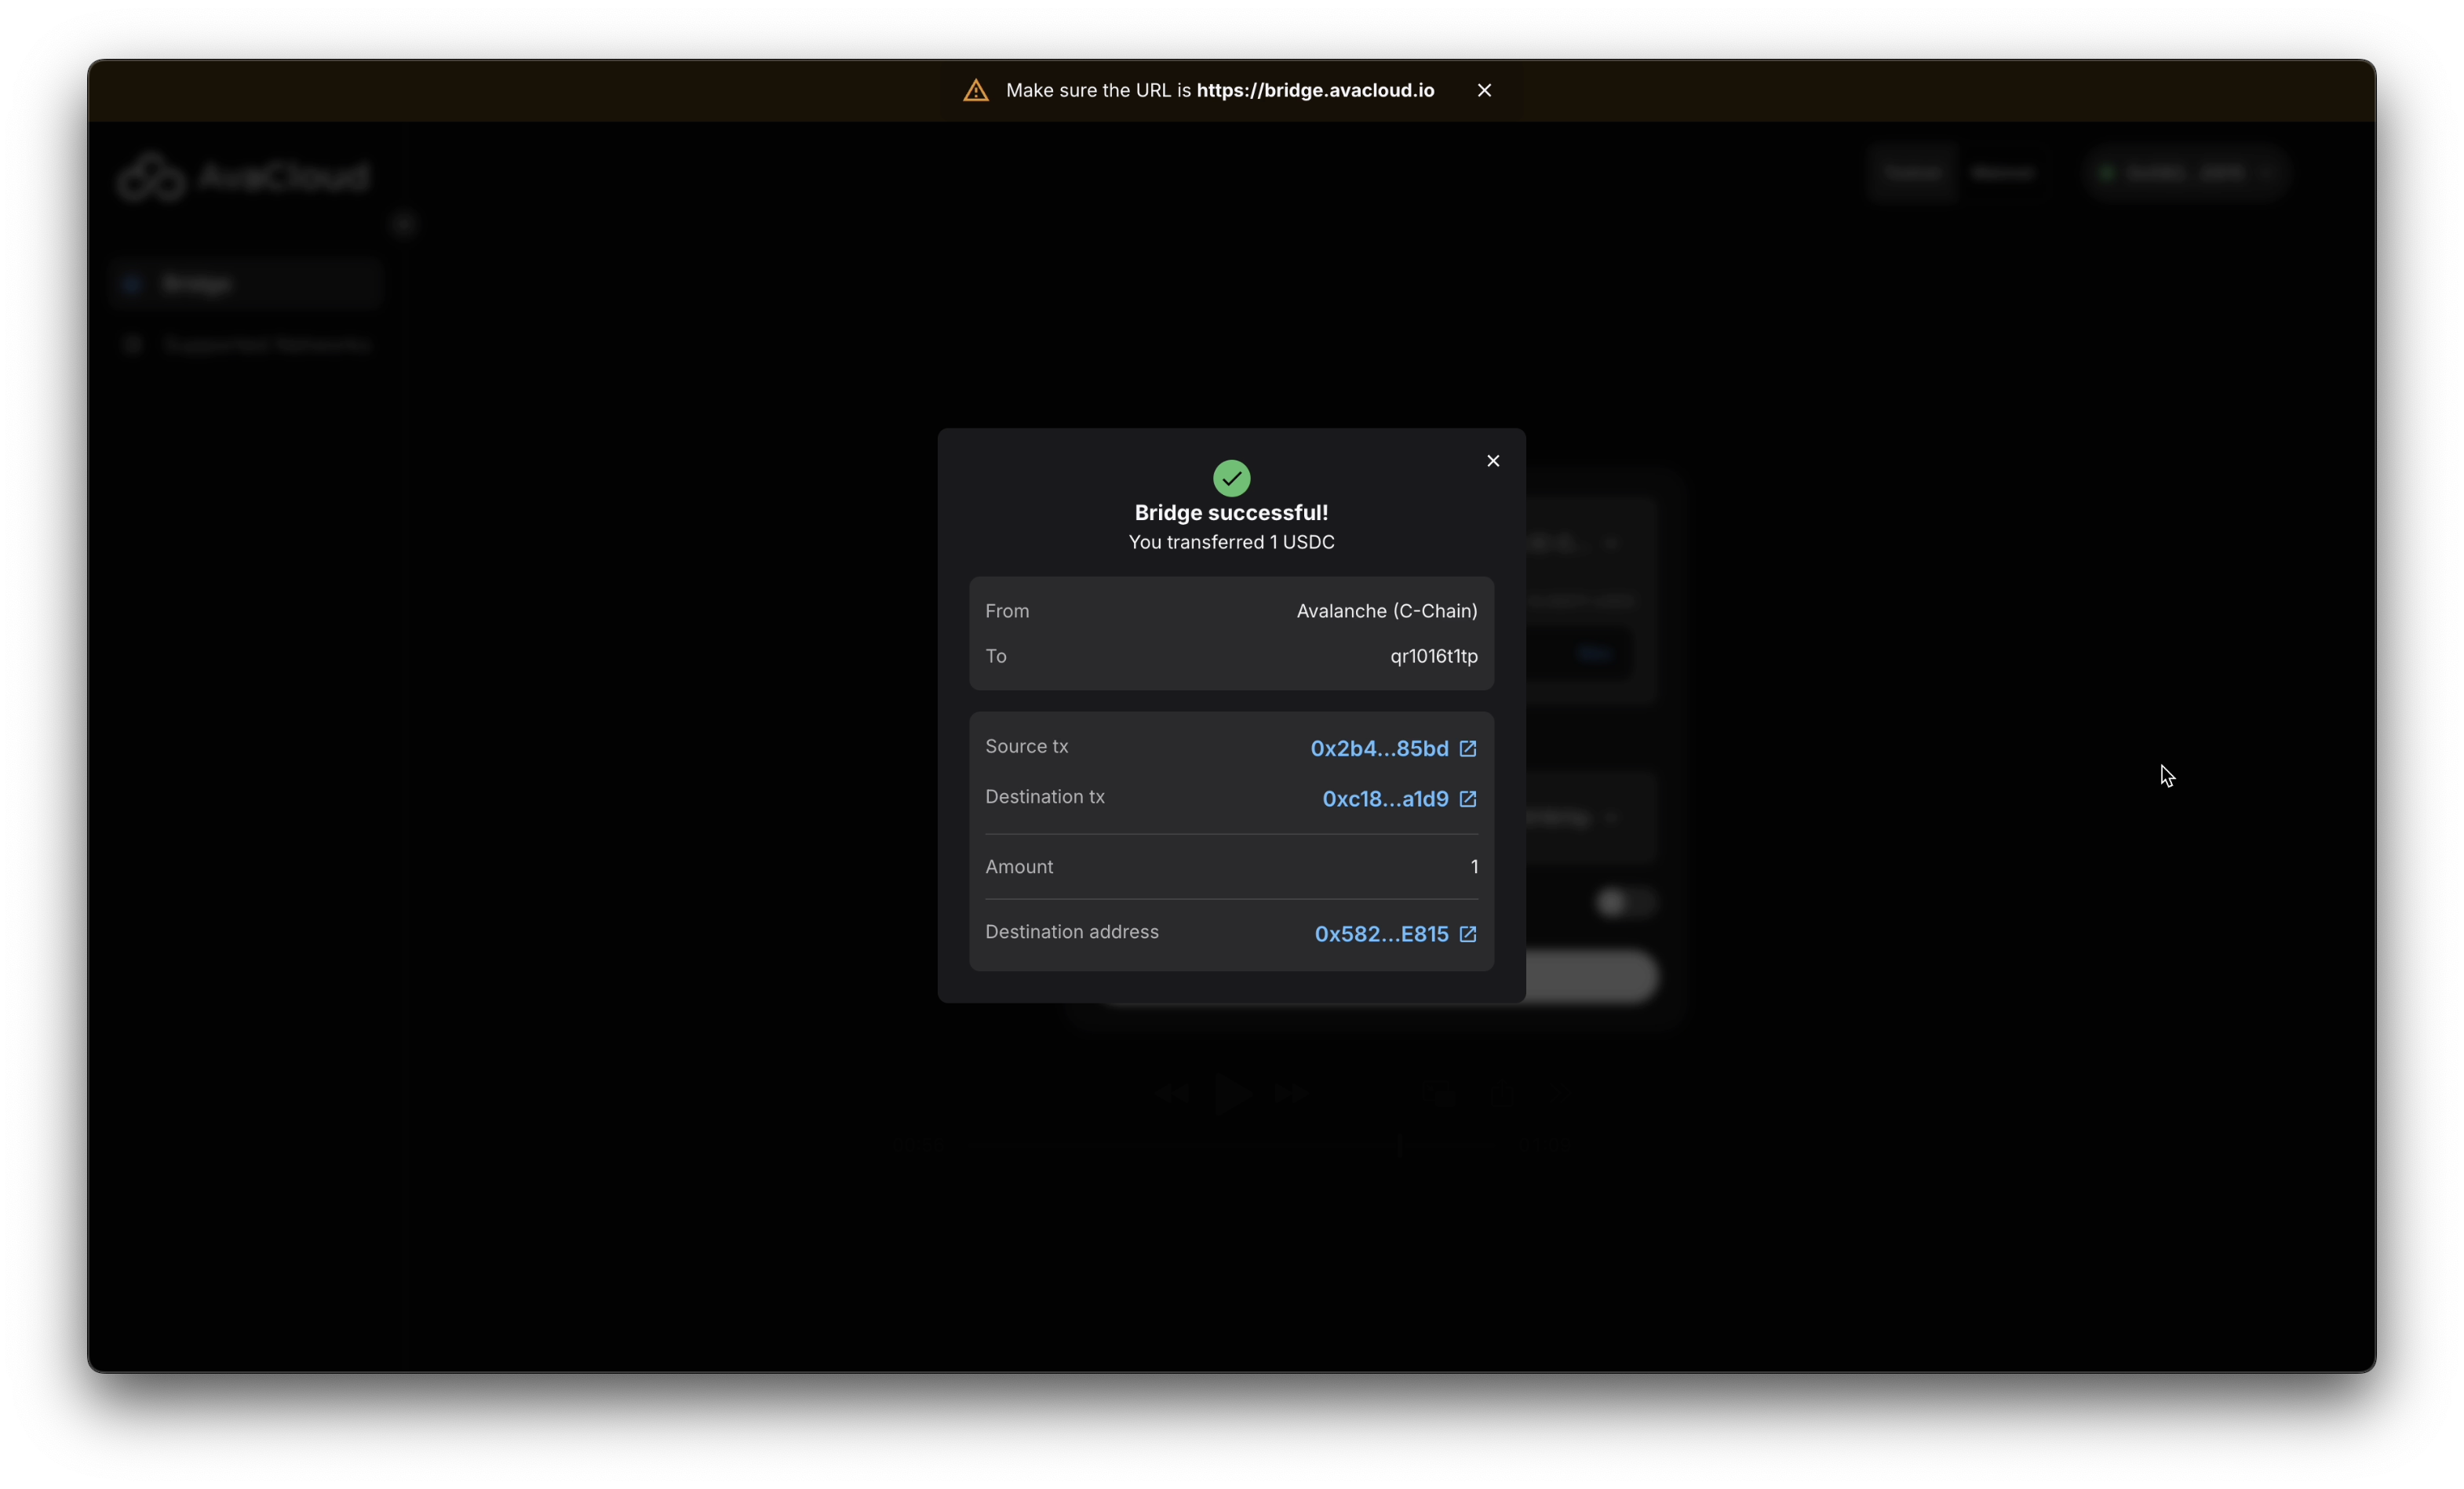
In addition, you should see the USDC token reflected in your destination wallet on the selected L1.
![]()
Video Walkthrough
Watch a full walkthrough of the process:
If you need more help, explore our other articles or reach out to our support team via chat or email [email protected]. All examples provided are for demonstration purposes only.
Learn More About AvaCloud | Download Case Studies | Schedule an AvaCloud Demo