How to Create an L1 With Starter/Pro Plan With Advanced Setup?
How to Create an L1 With Starter/Pro Plan With Advanced Setup?
This guide will help you launch an Avalanche L1 using the Starter or Pro plan with Advanced Setup, on either Testnet or Mainnet.
Prerequisites
- AvaCloud portal account (Sign up and log in)
Step-by-Step Guide
-
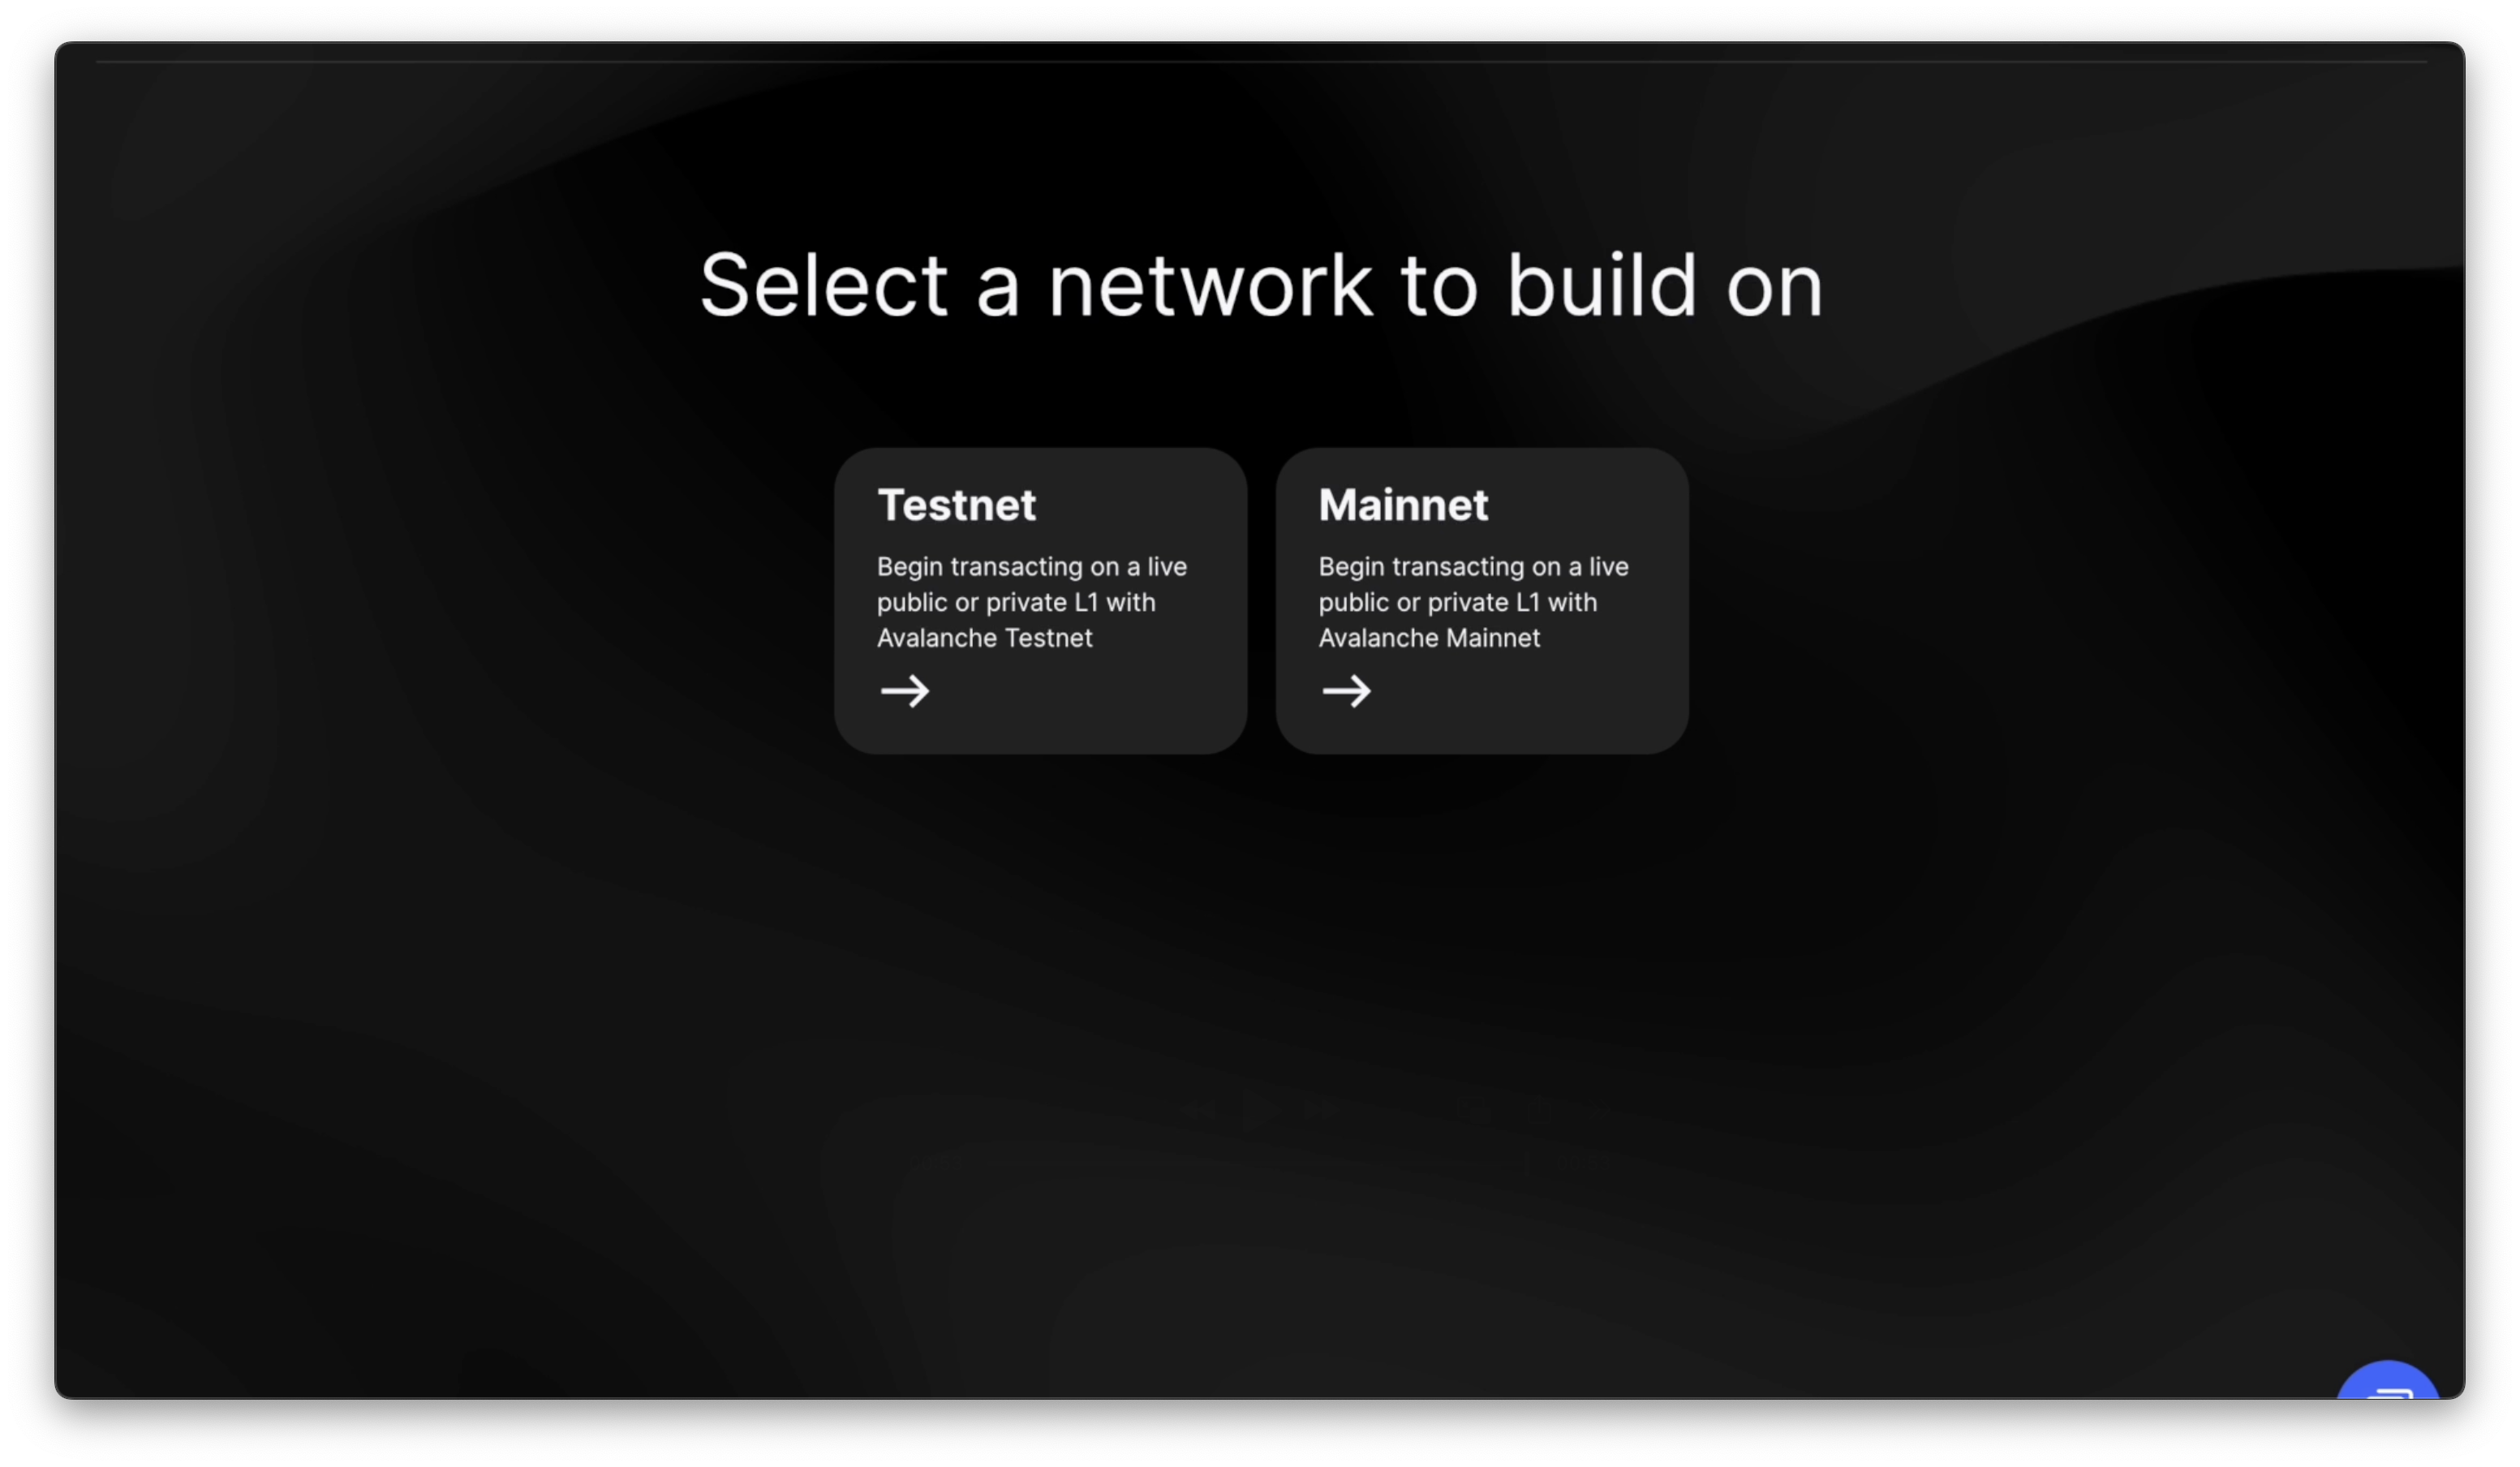
Select Network
- Go to the L1 creation page in the AvaCloud Portal by clicking on
Create L1button. - Choose “Testnet” or “Mainnet”.
- Go to the L1 creation page in the AvaCloud Portal by clicking on
-
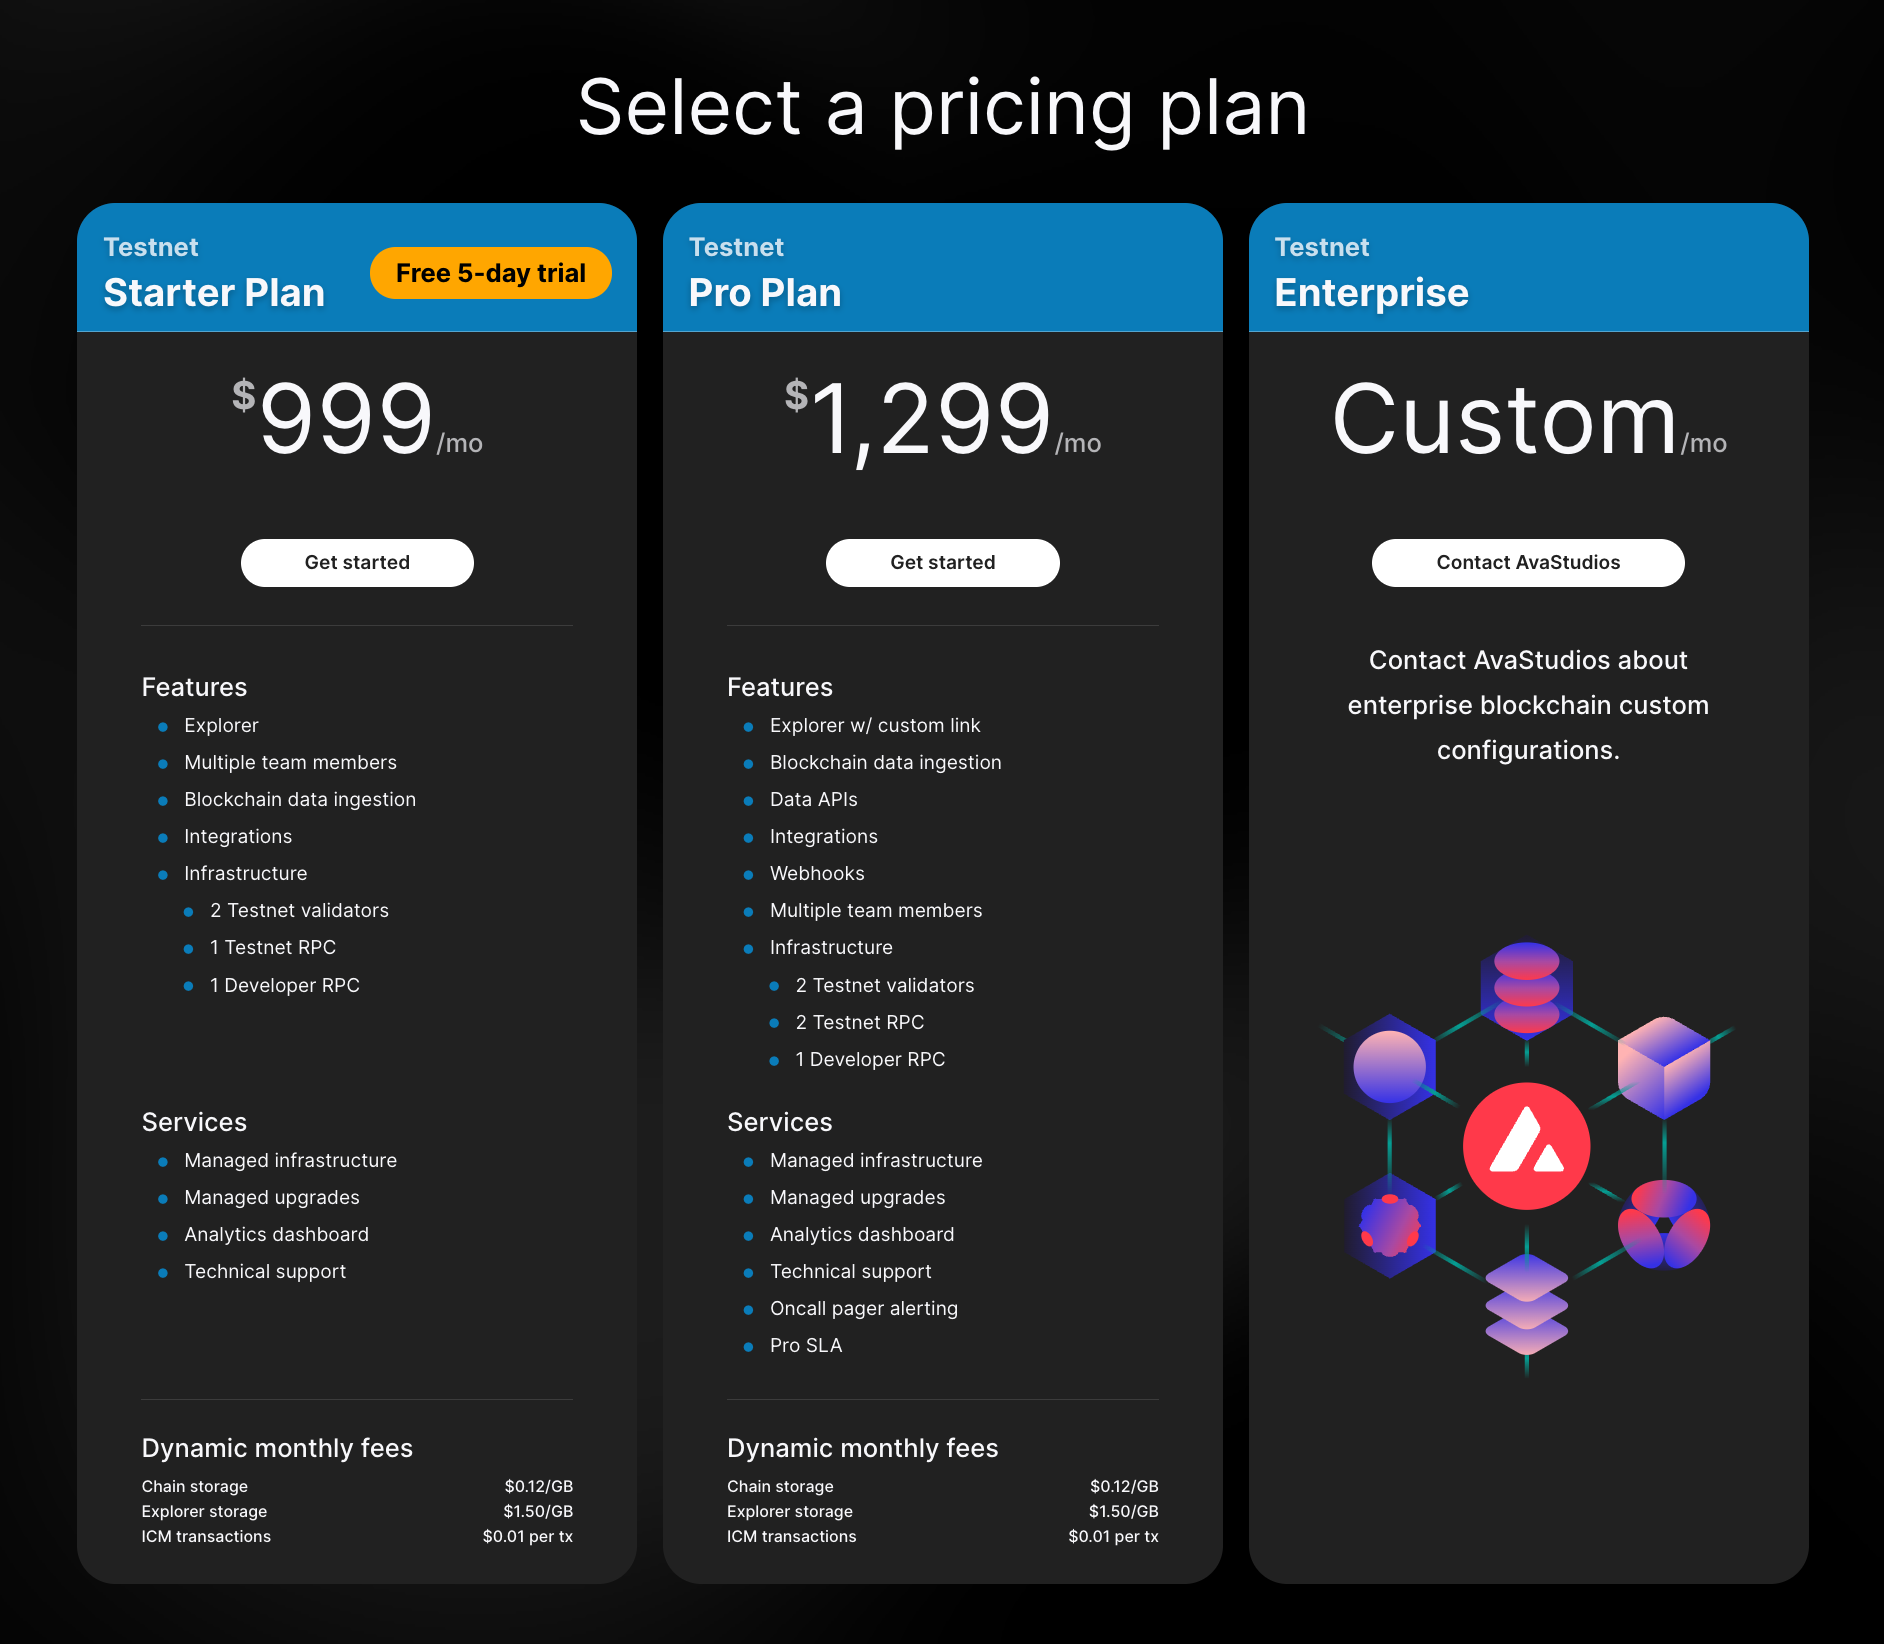
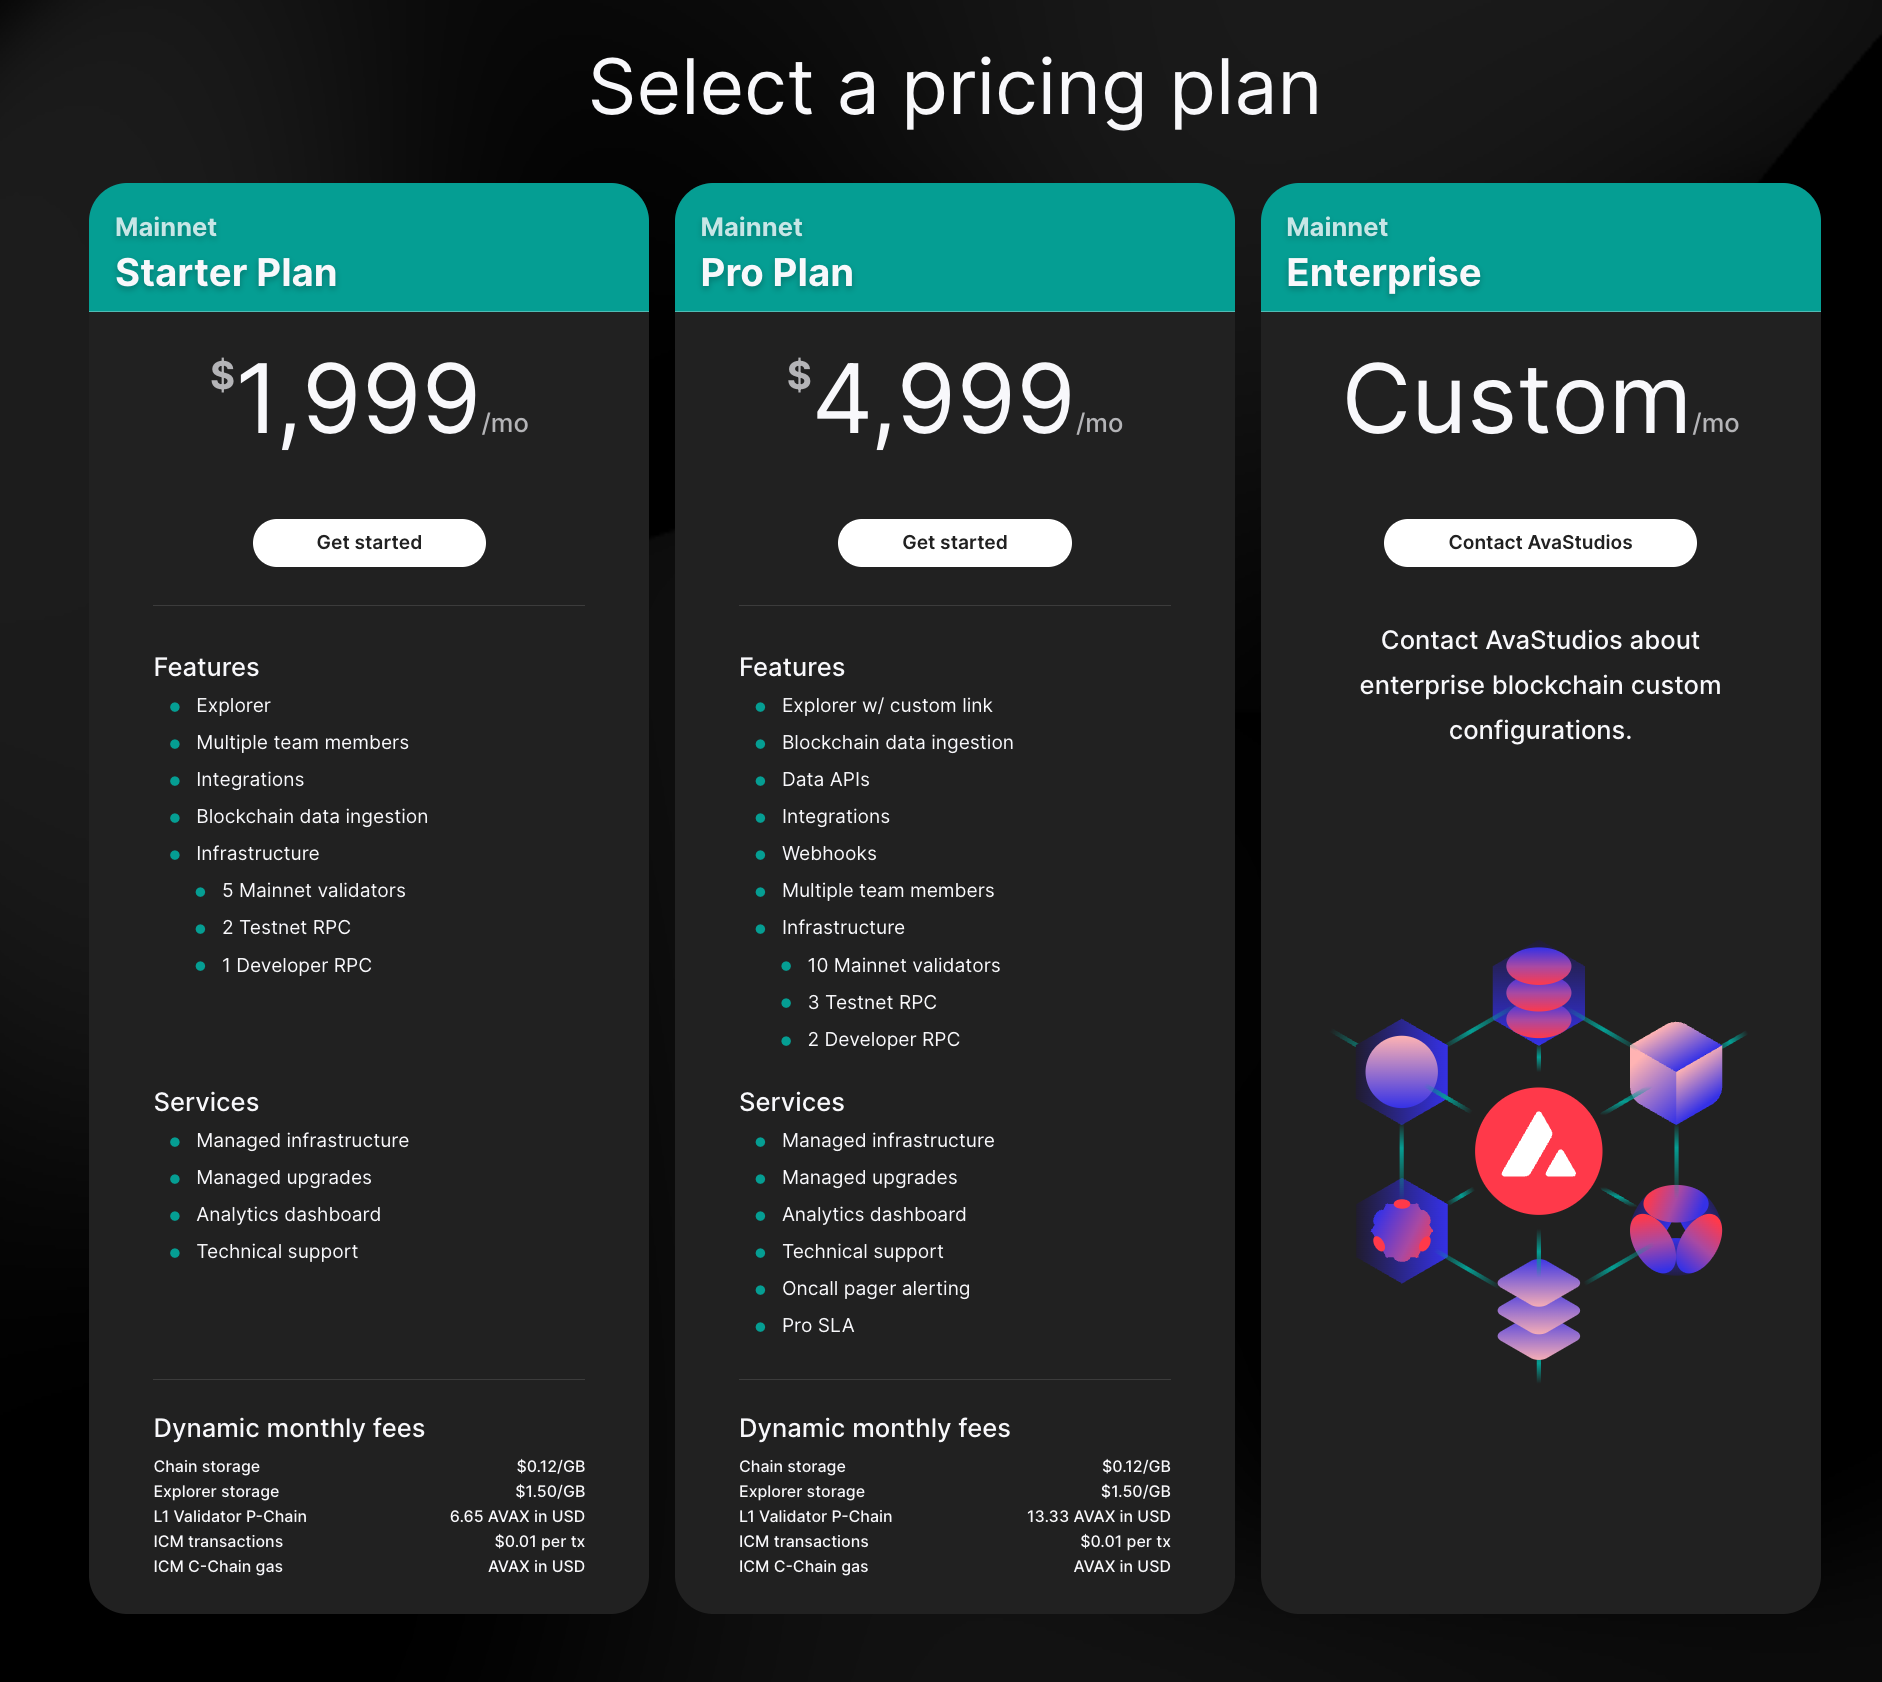
Choose Your Plan
- On Testnet: Pick either Starter or Pro Plan.
- On Mainnet: Pick either Starter or Pro Plan.
- For Enterprise plans, see this documentation.
For the free trial, follow our Testnet Starter guide. - On Testnet: Pick either Starter or Pro Plan.
-
Complete Payment
- Pay for your selected plan via Stripe. Pro plans require a valid payment method.
-
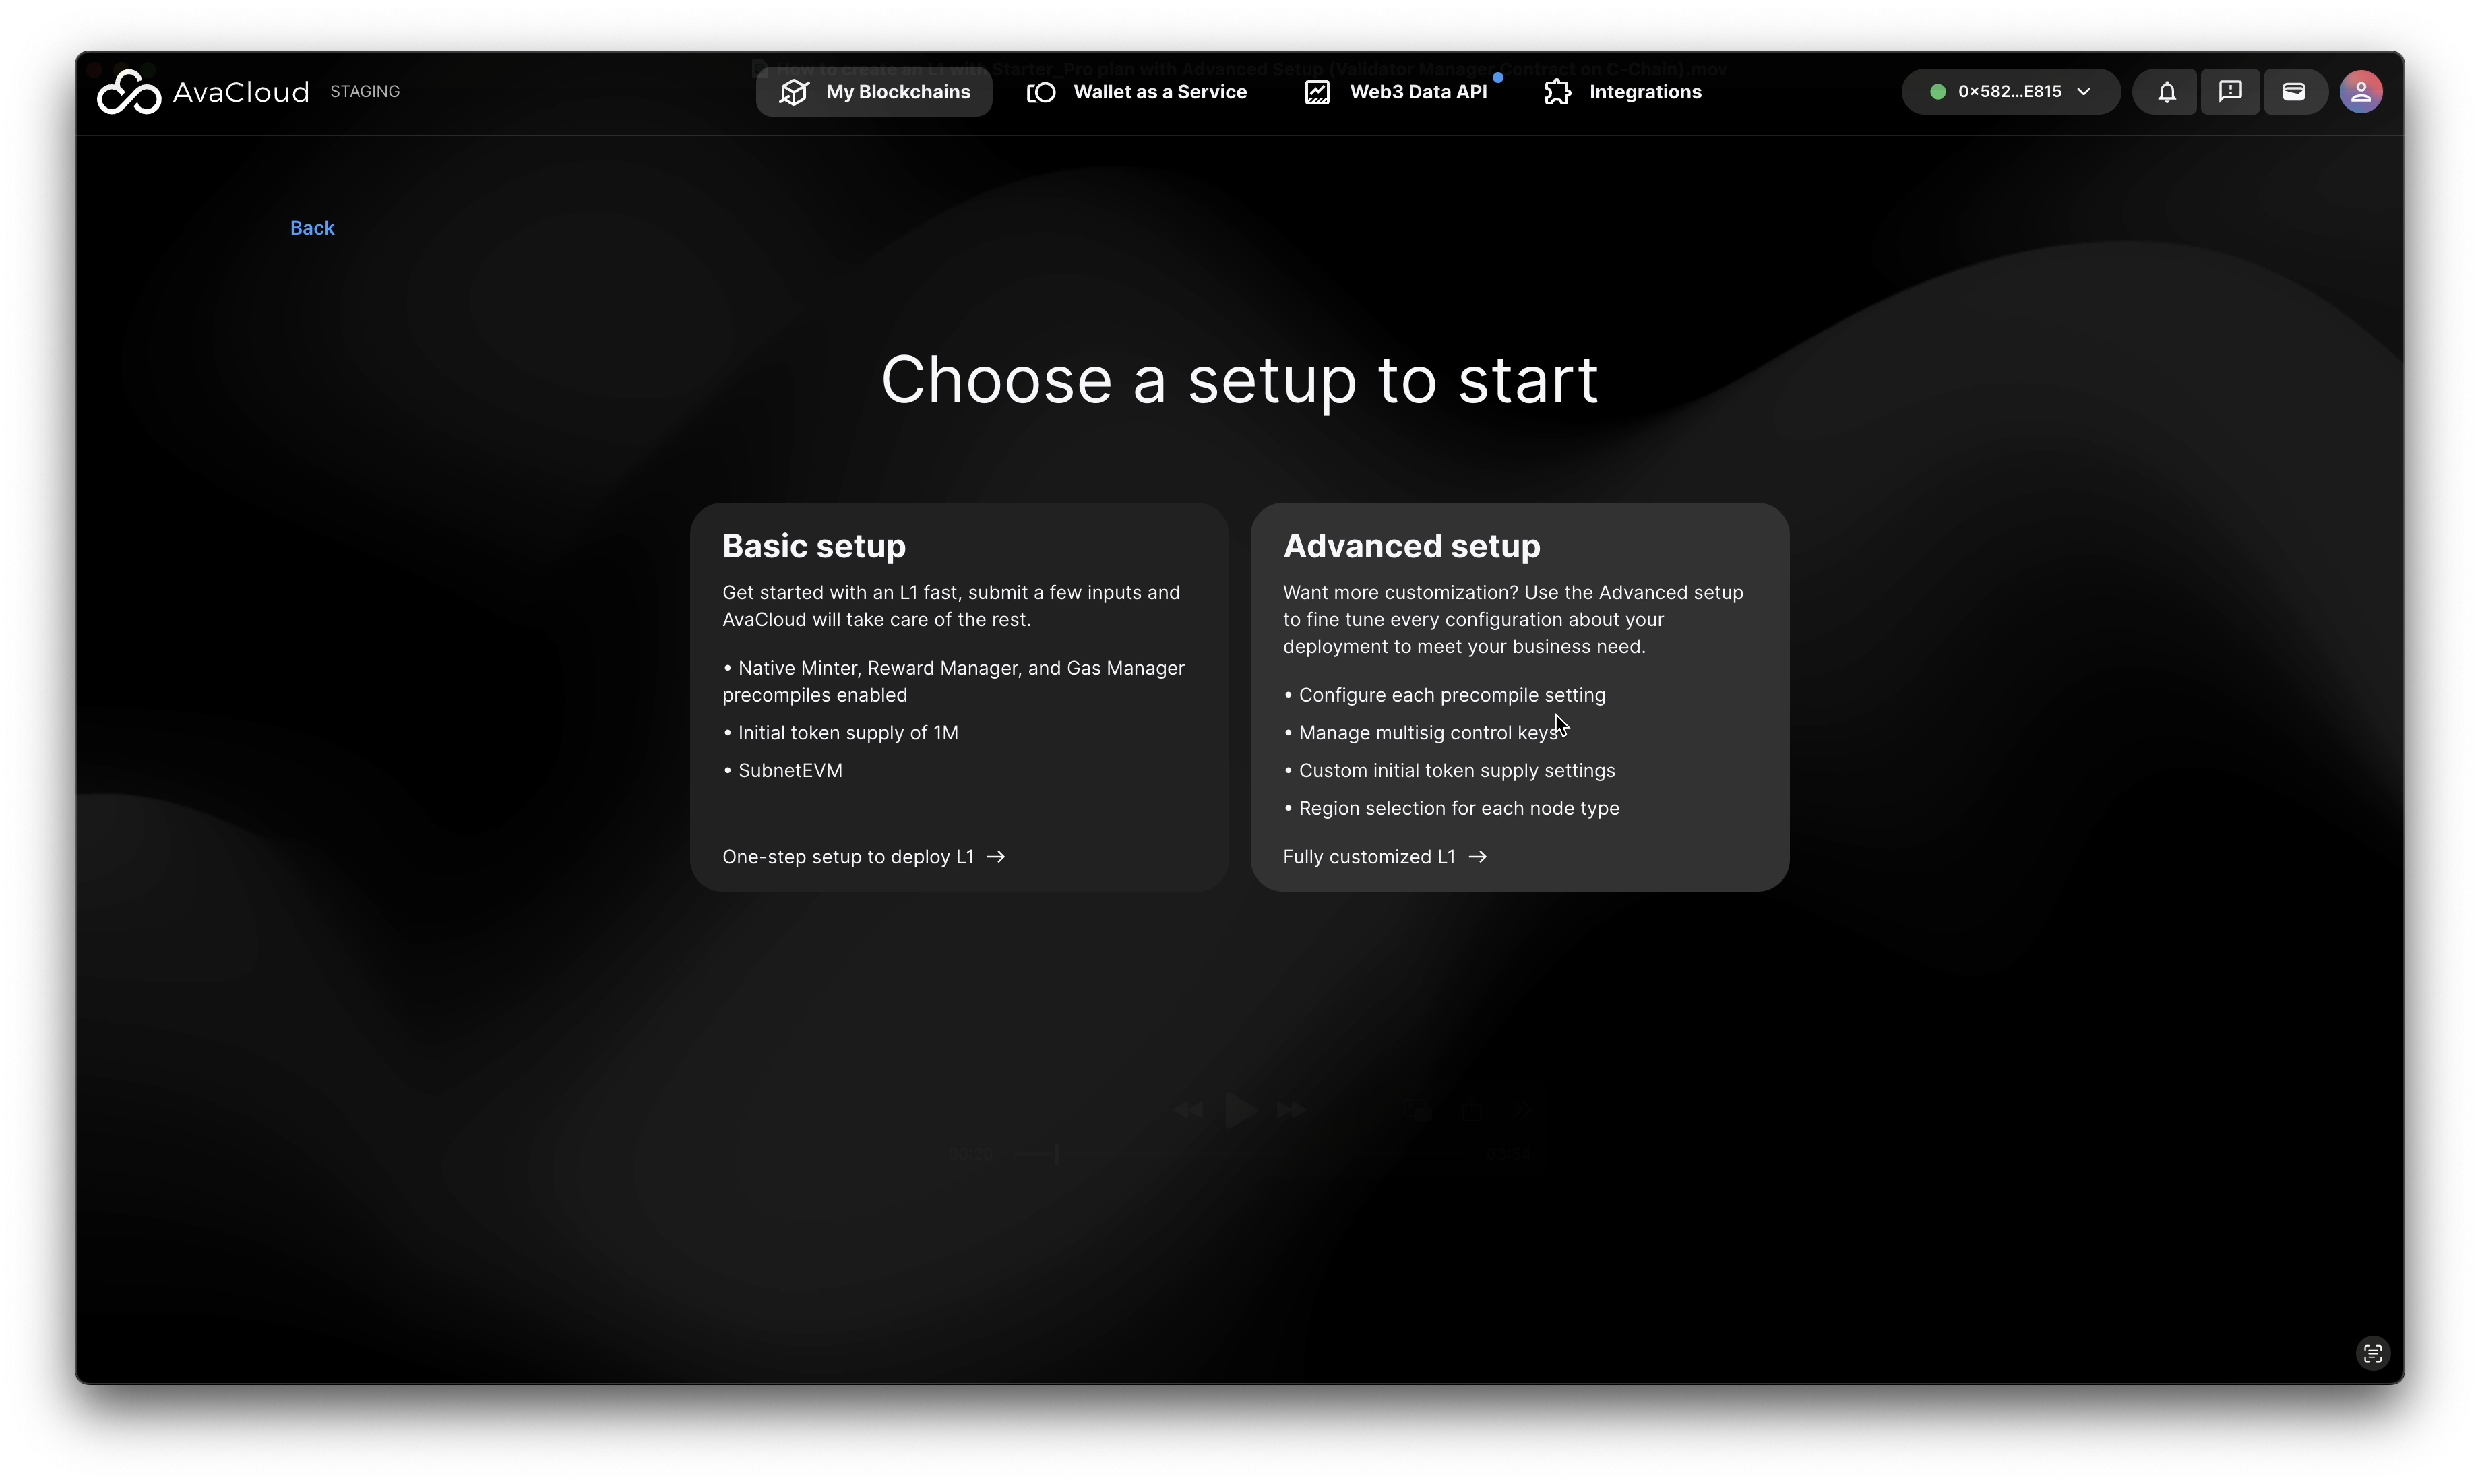
Select Setup Type
- Choose “Advanced Setup” for full configuration options.
- Choose “Advanced Setup” for full configuration options.
-
Connect to Network
- Ensure your Core Wallet is connected to the correct Testnet or Mainnet.
- Switch networks if needed.
-
Configure Your L1
a. General Information

b. Interoperability Settings
In this example, the default setting is to NOT enable interoperability on the L1 for now, which can be enabled later after the L1 is up running.
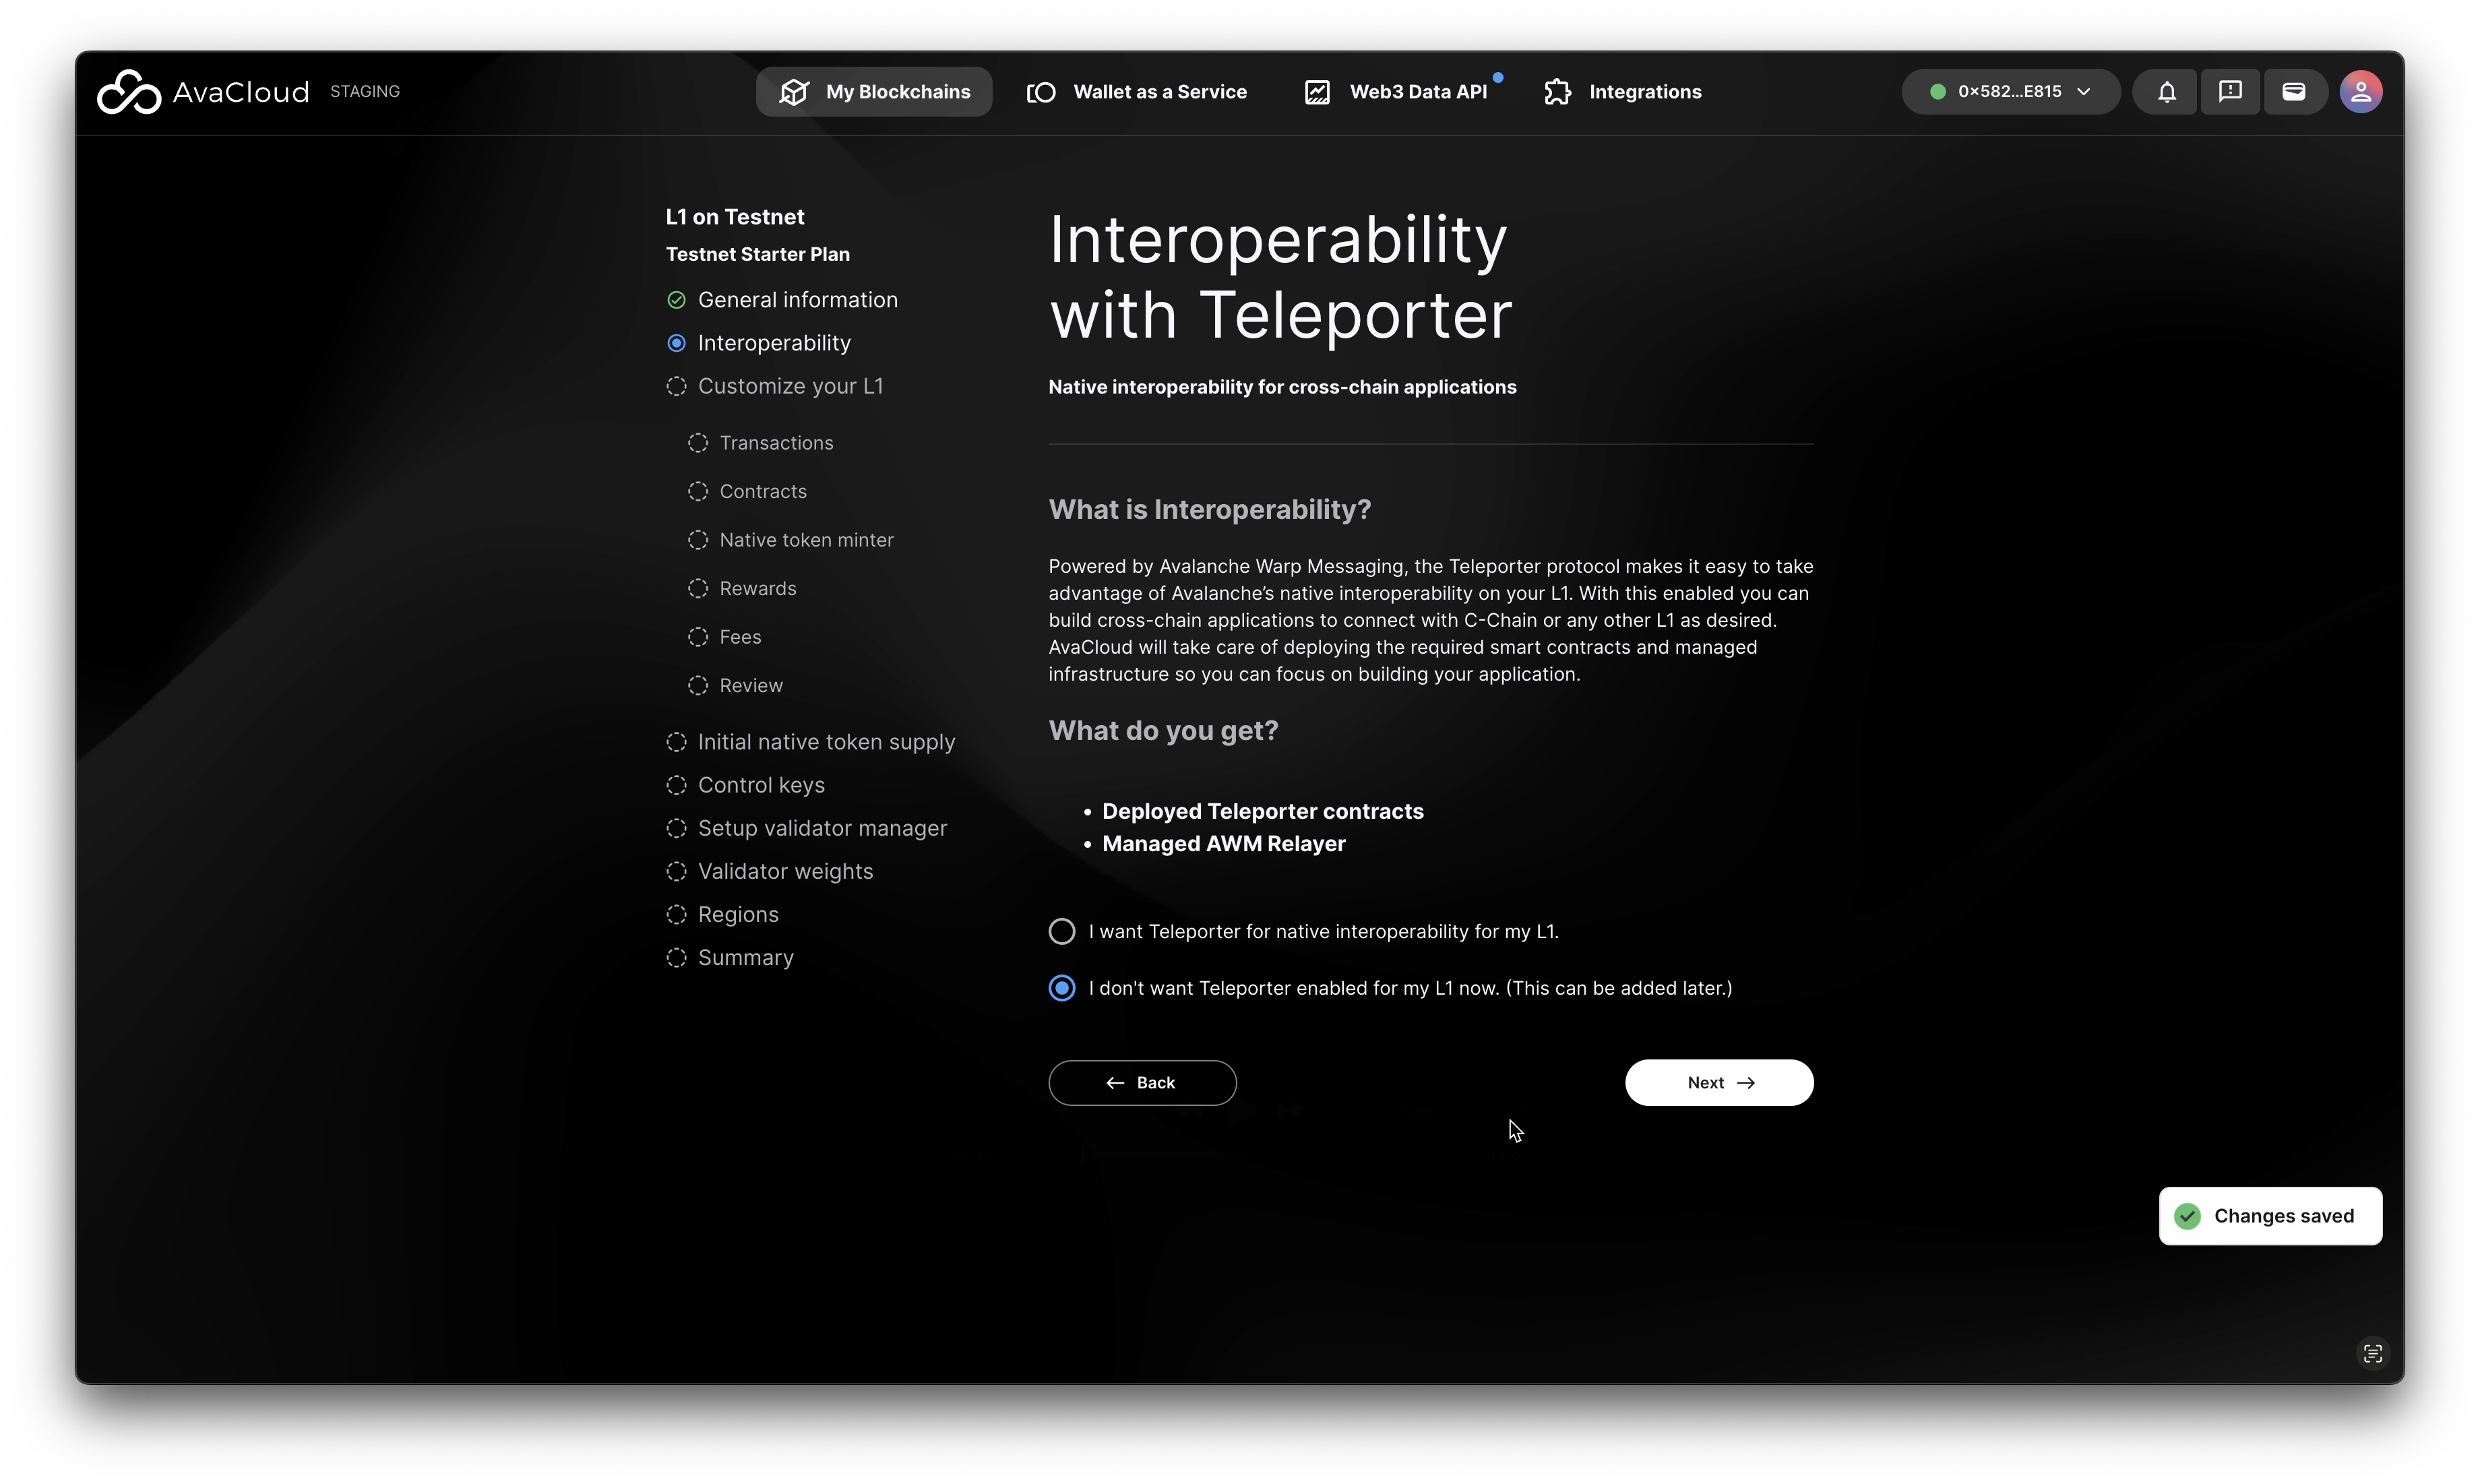
To see how to enable interoperability during the L1 creation, please refer to this guide.
c. Customization Options

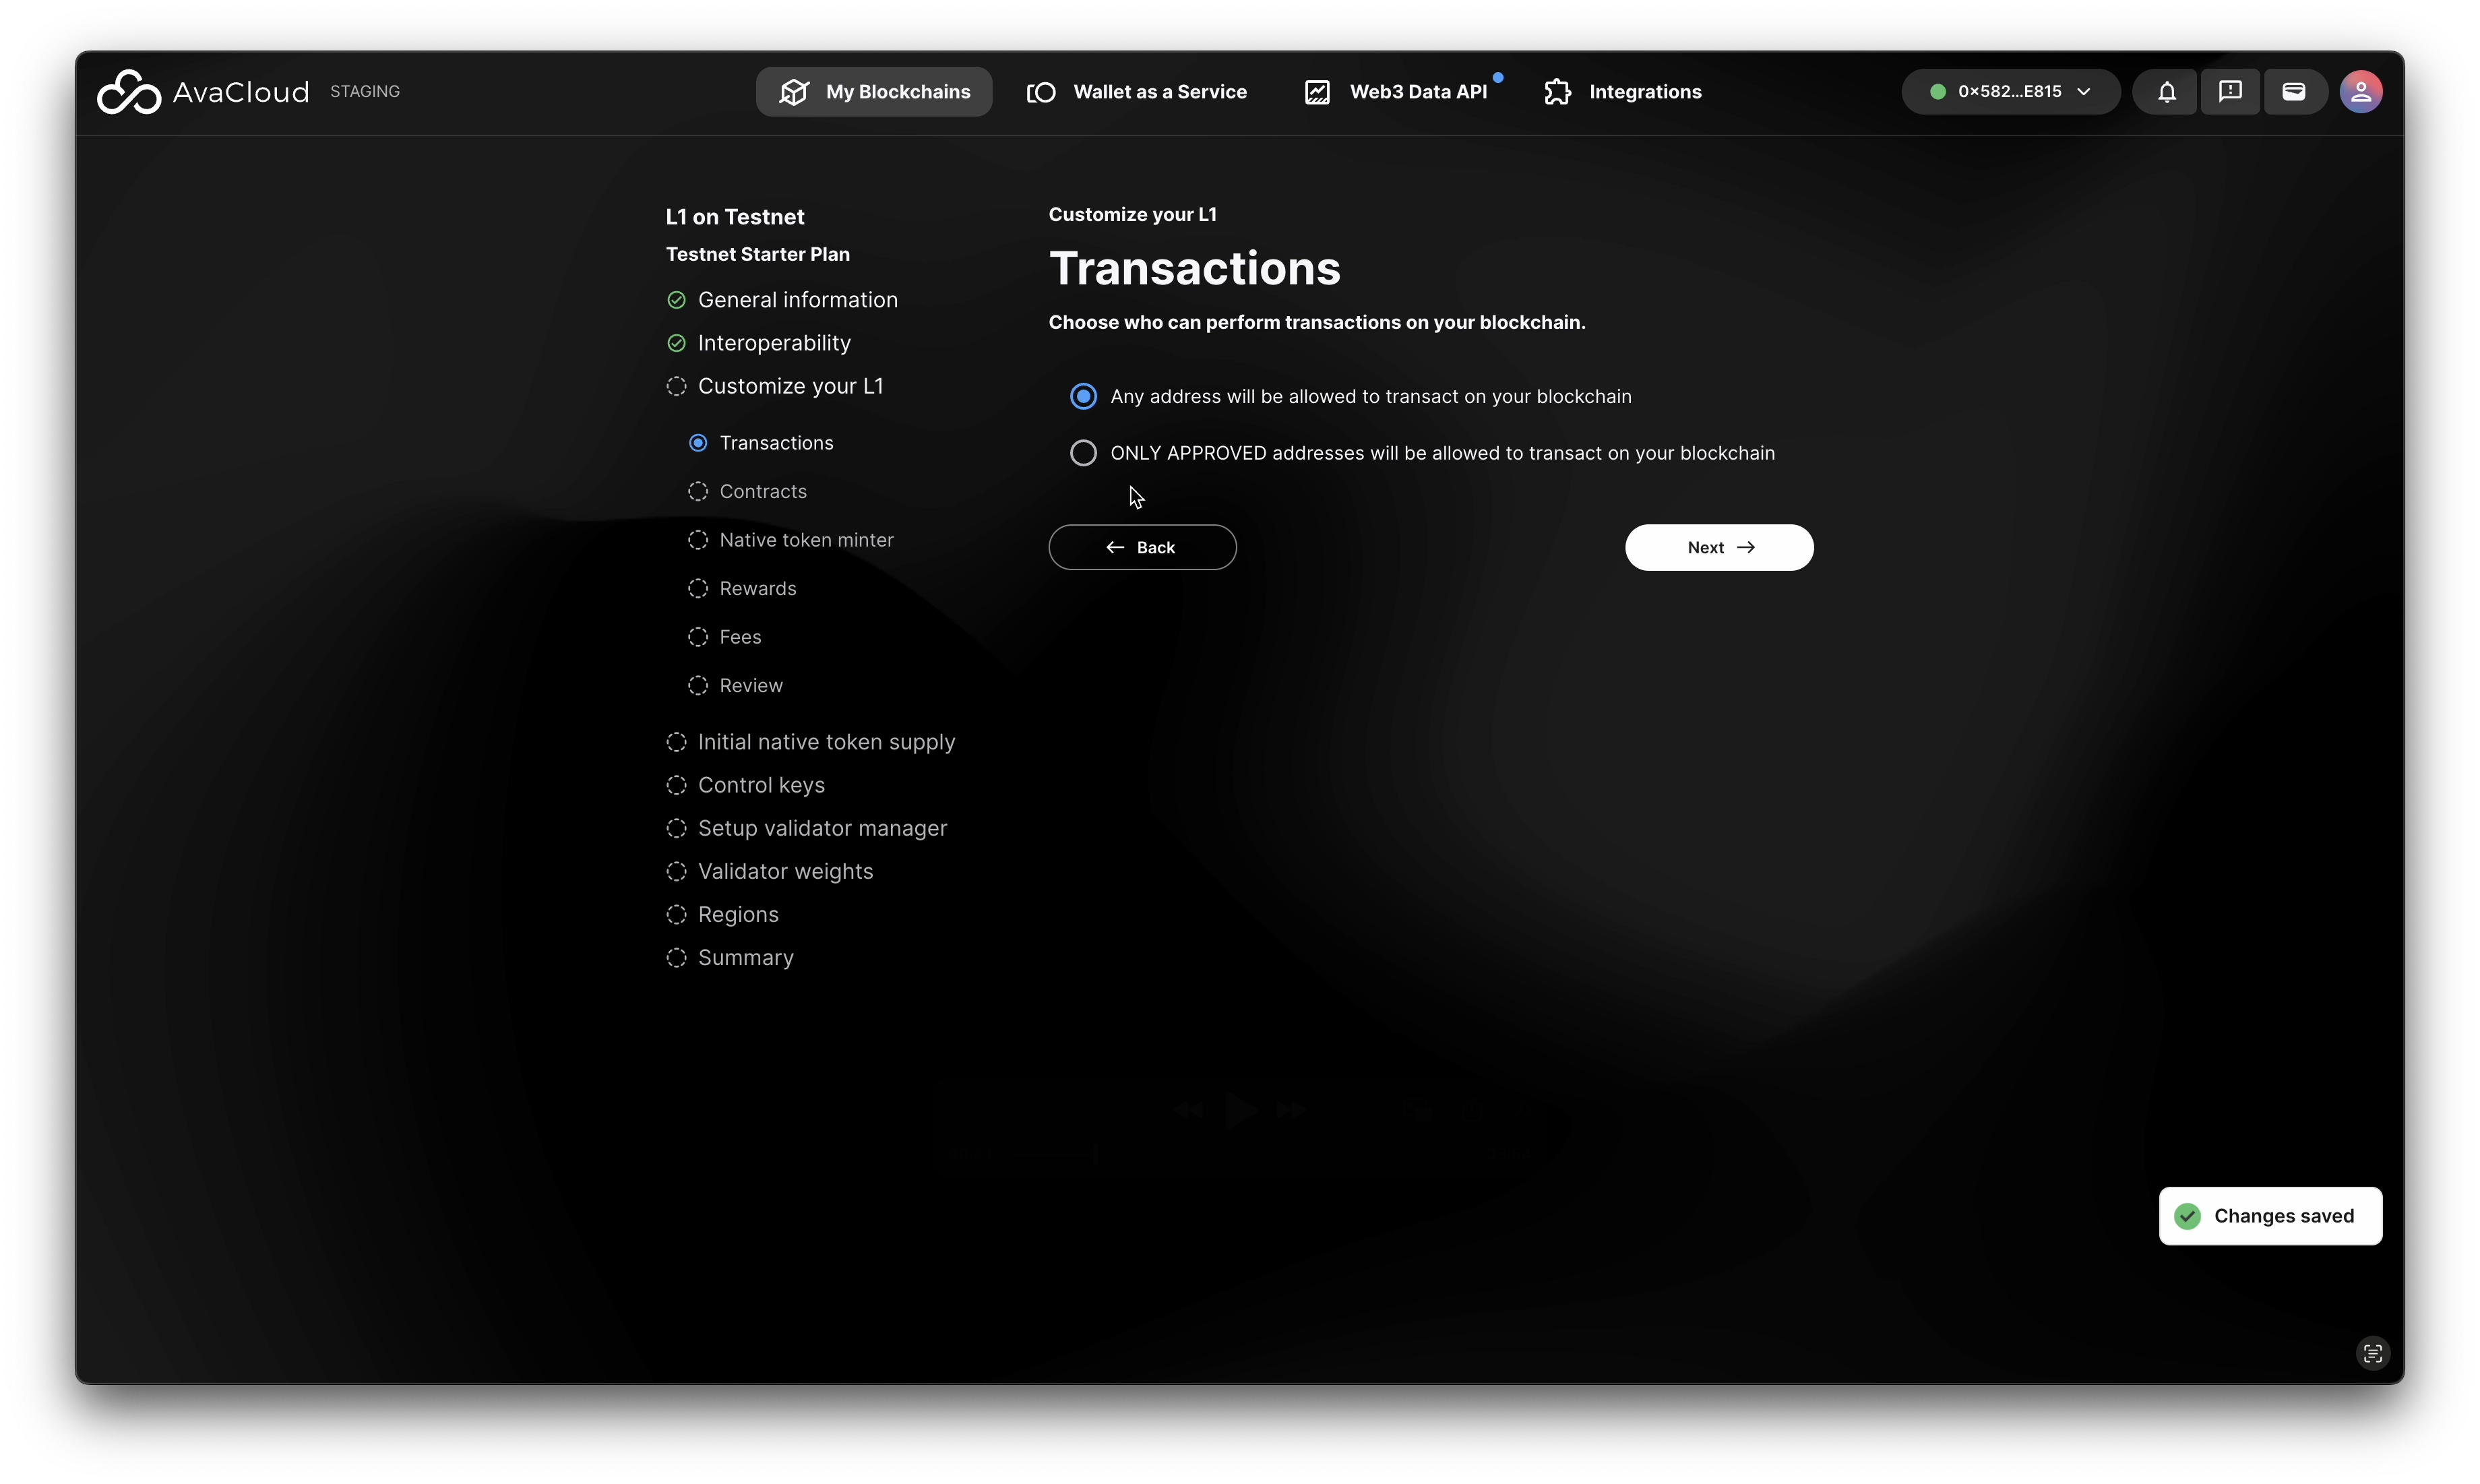
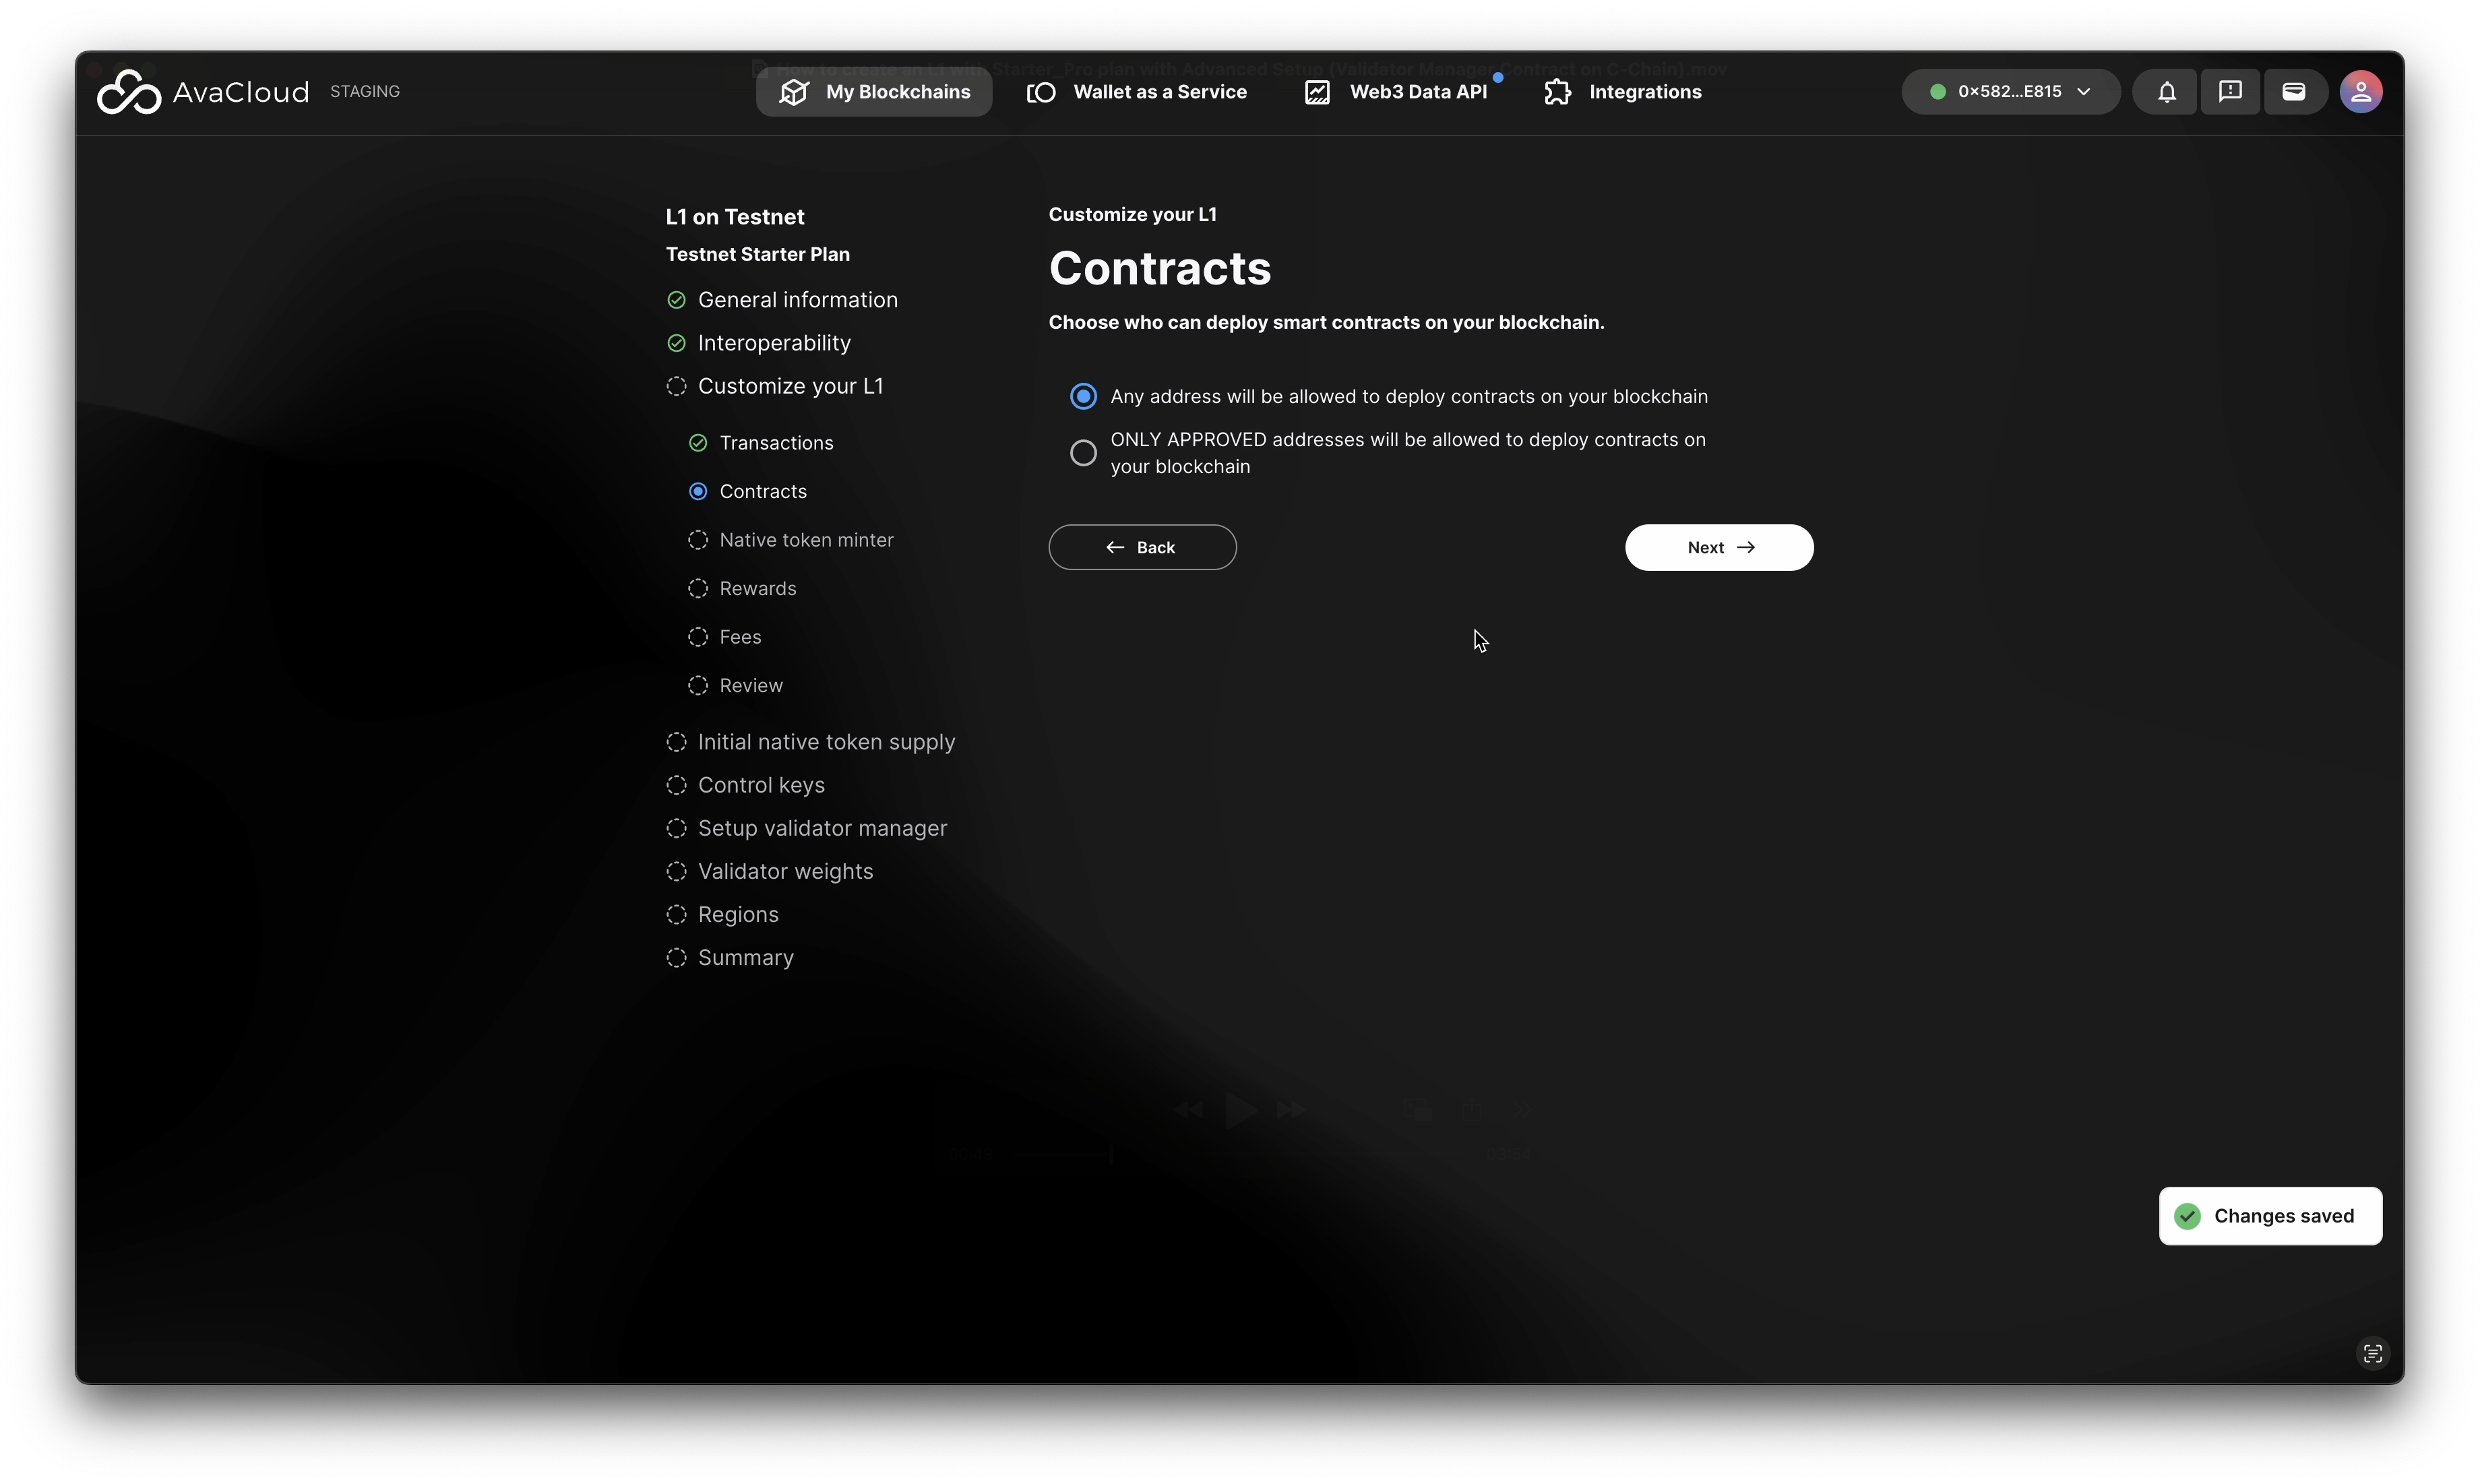
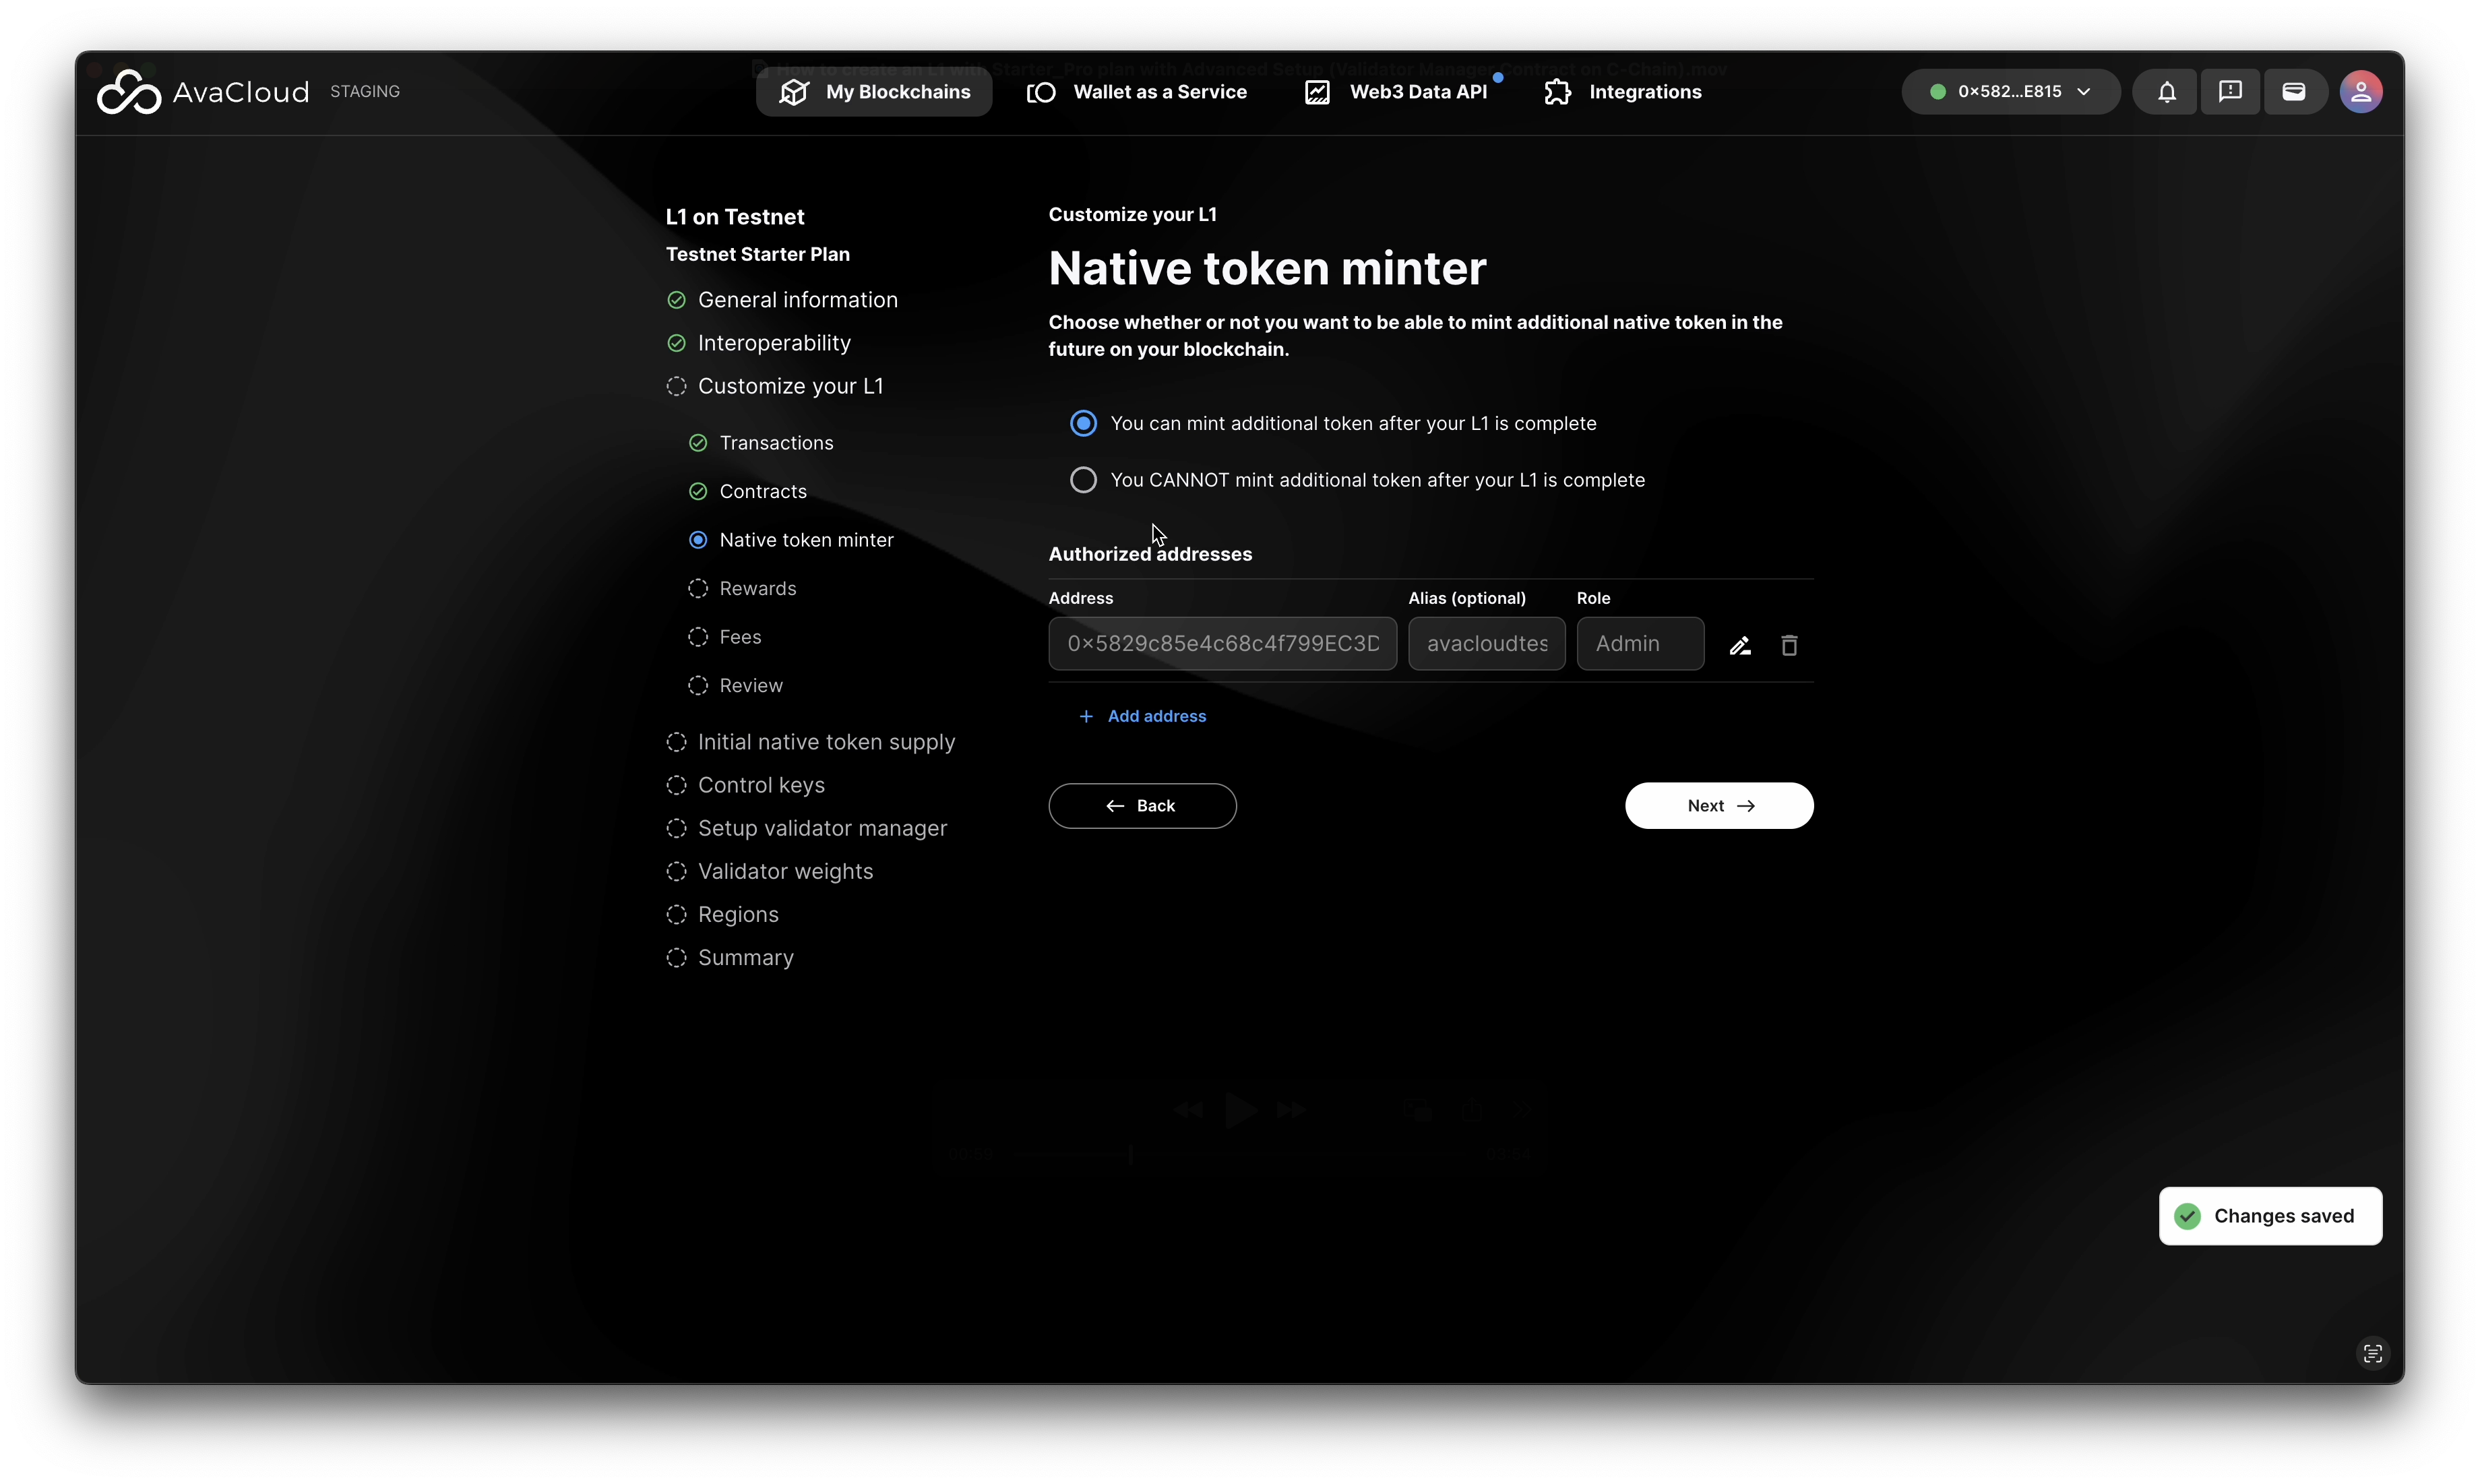
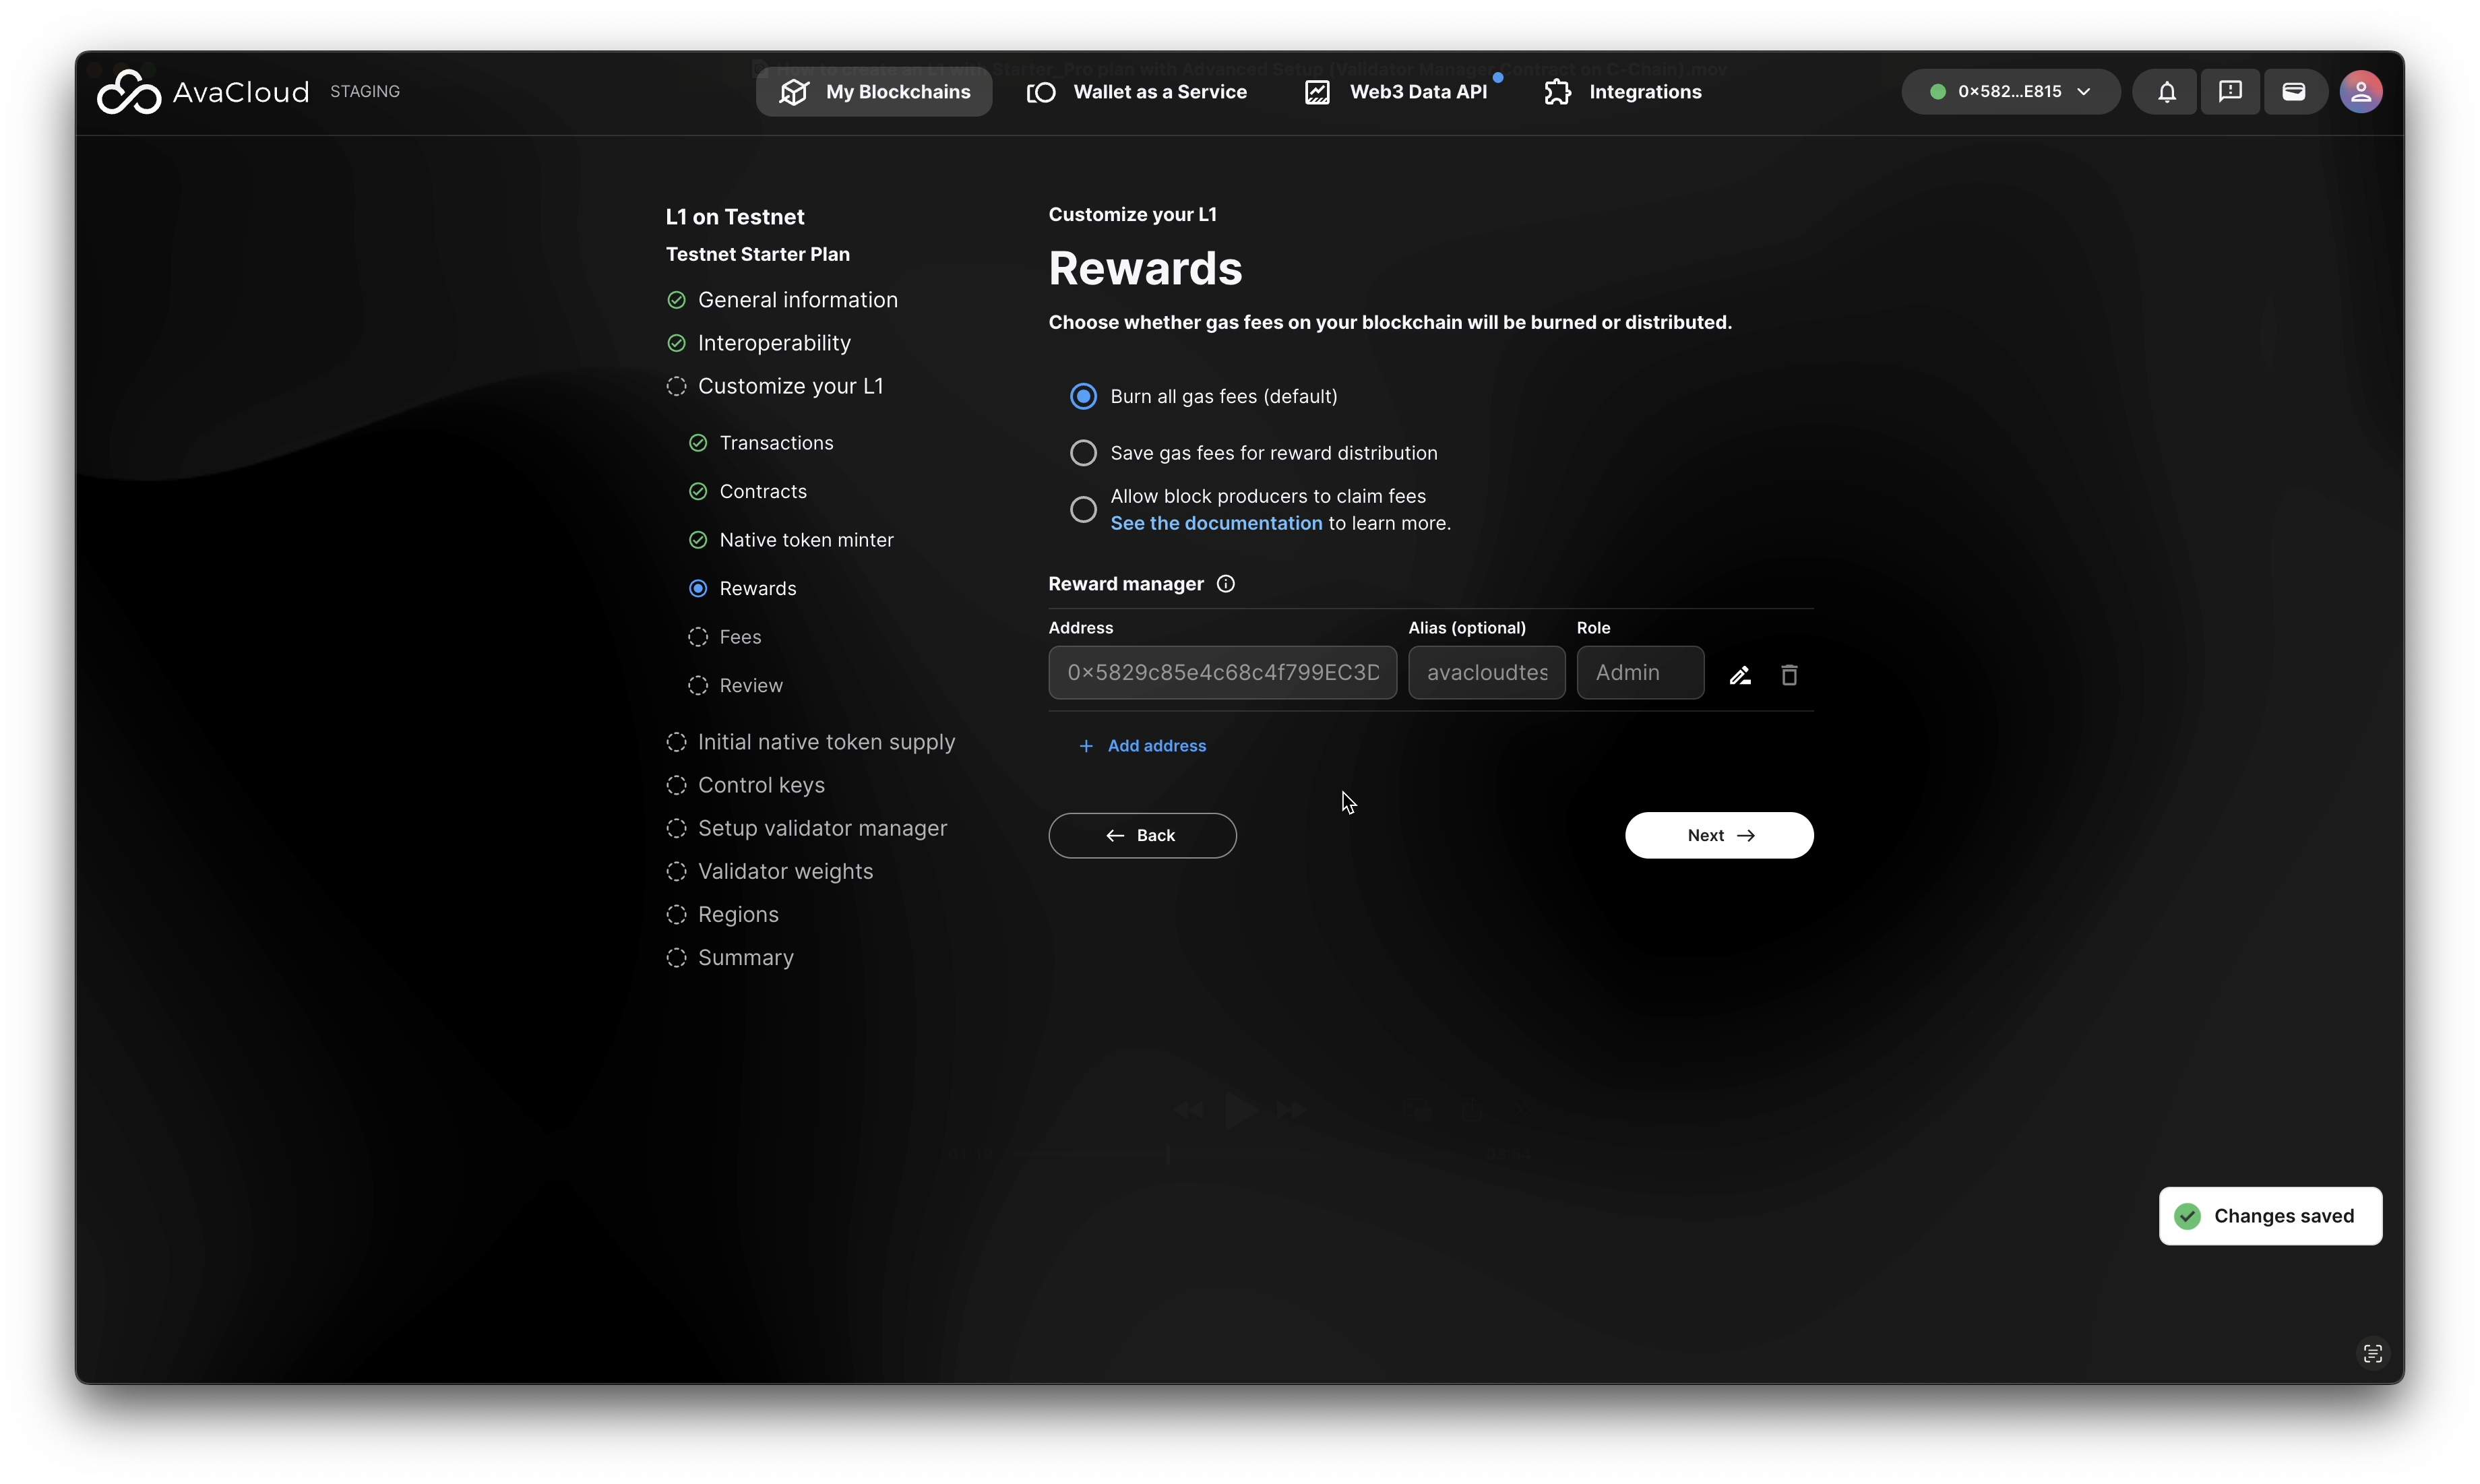
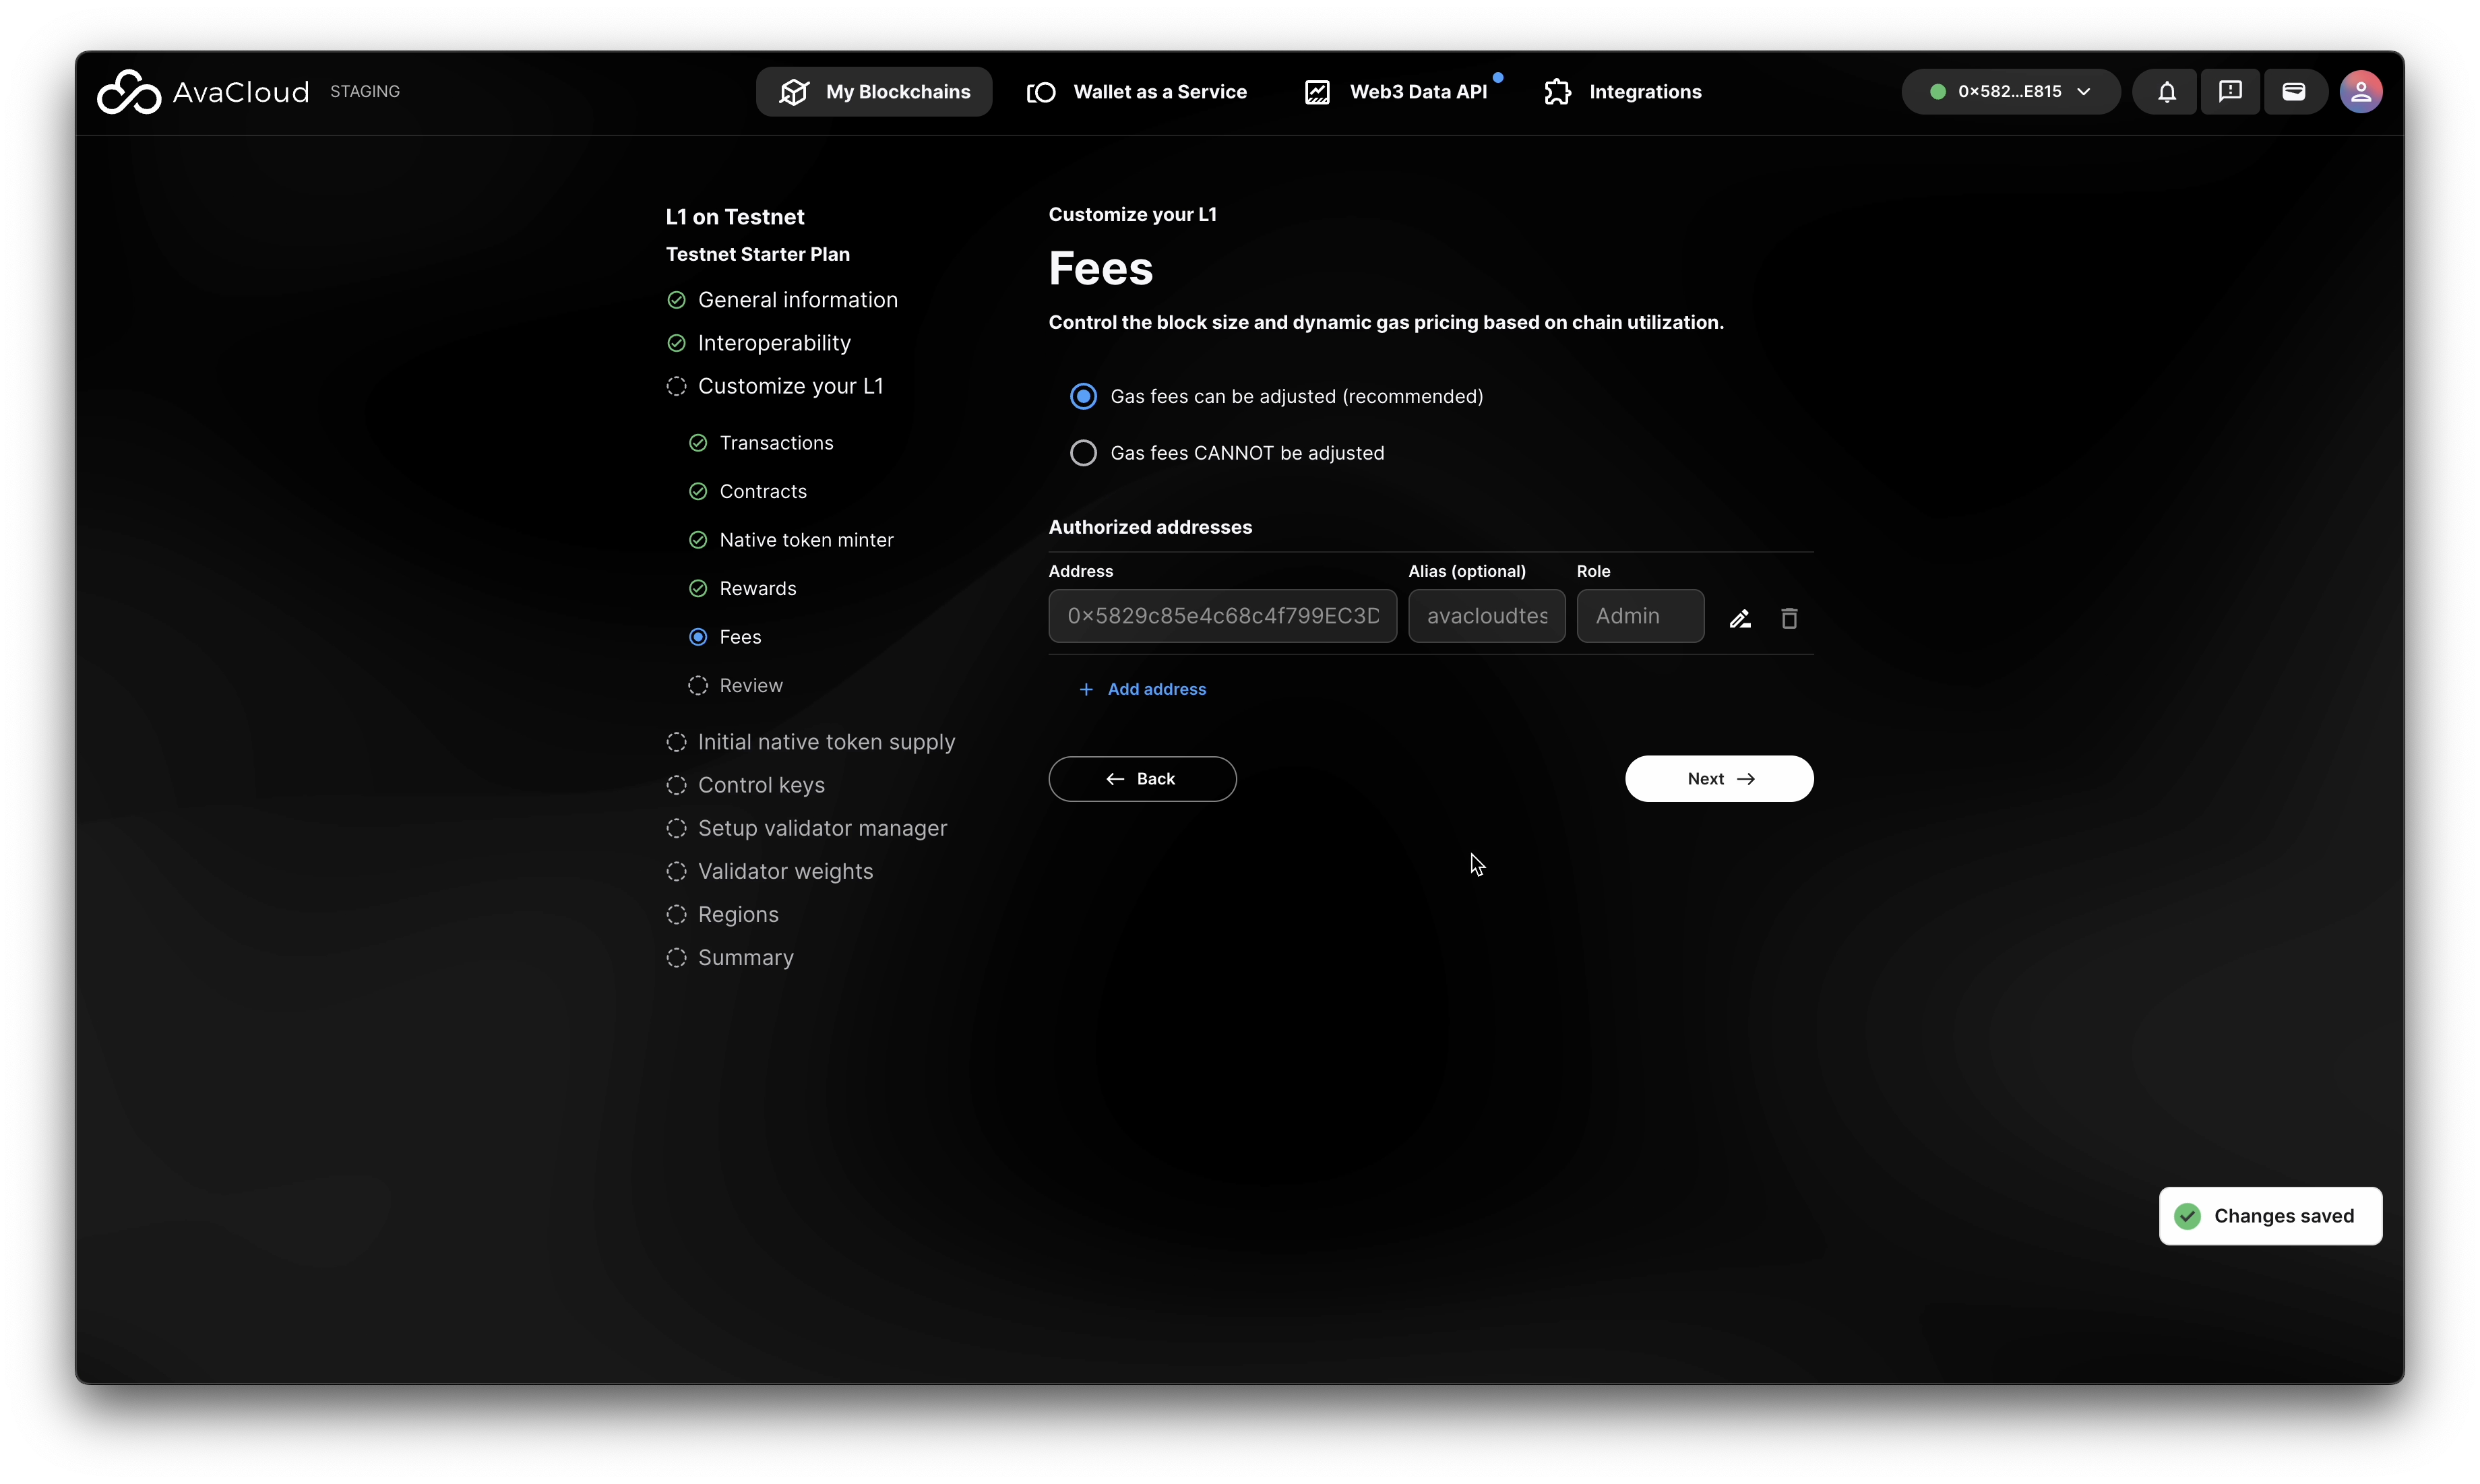
d. Precompile Configuration
- Transaction Manager
- Contract Manager
- Native Token Minter
- Rewards Configuration
- Fee Settings
e. Review Precompile Settings
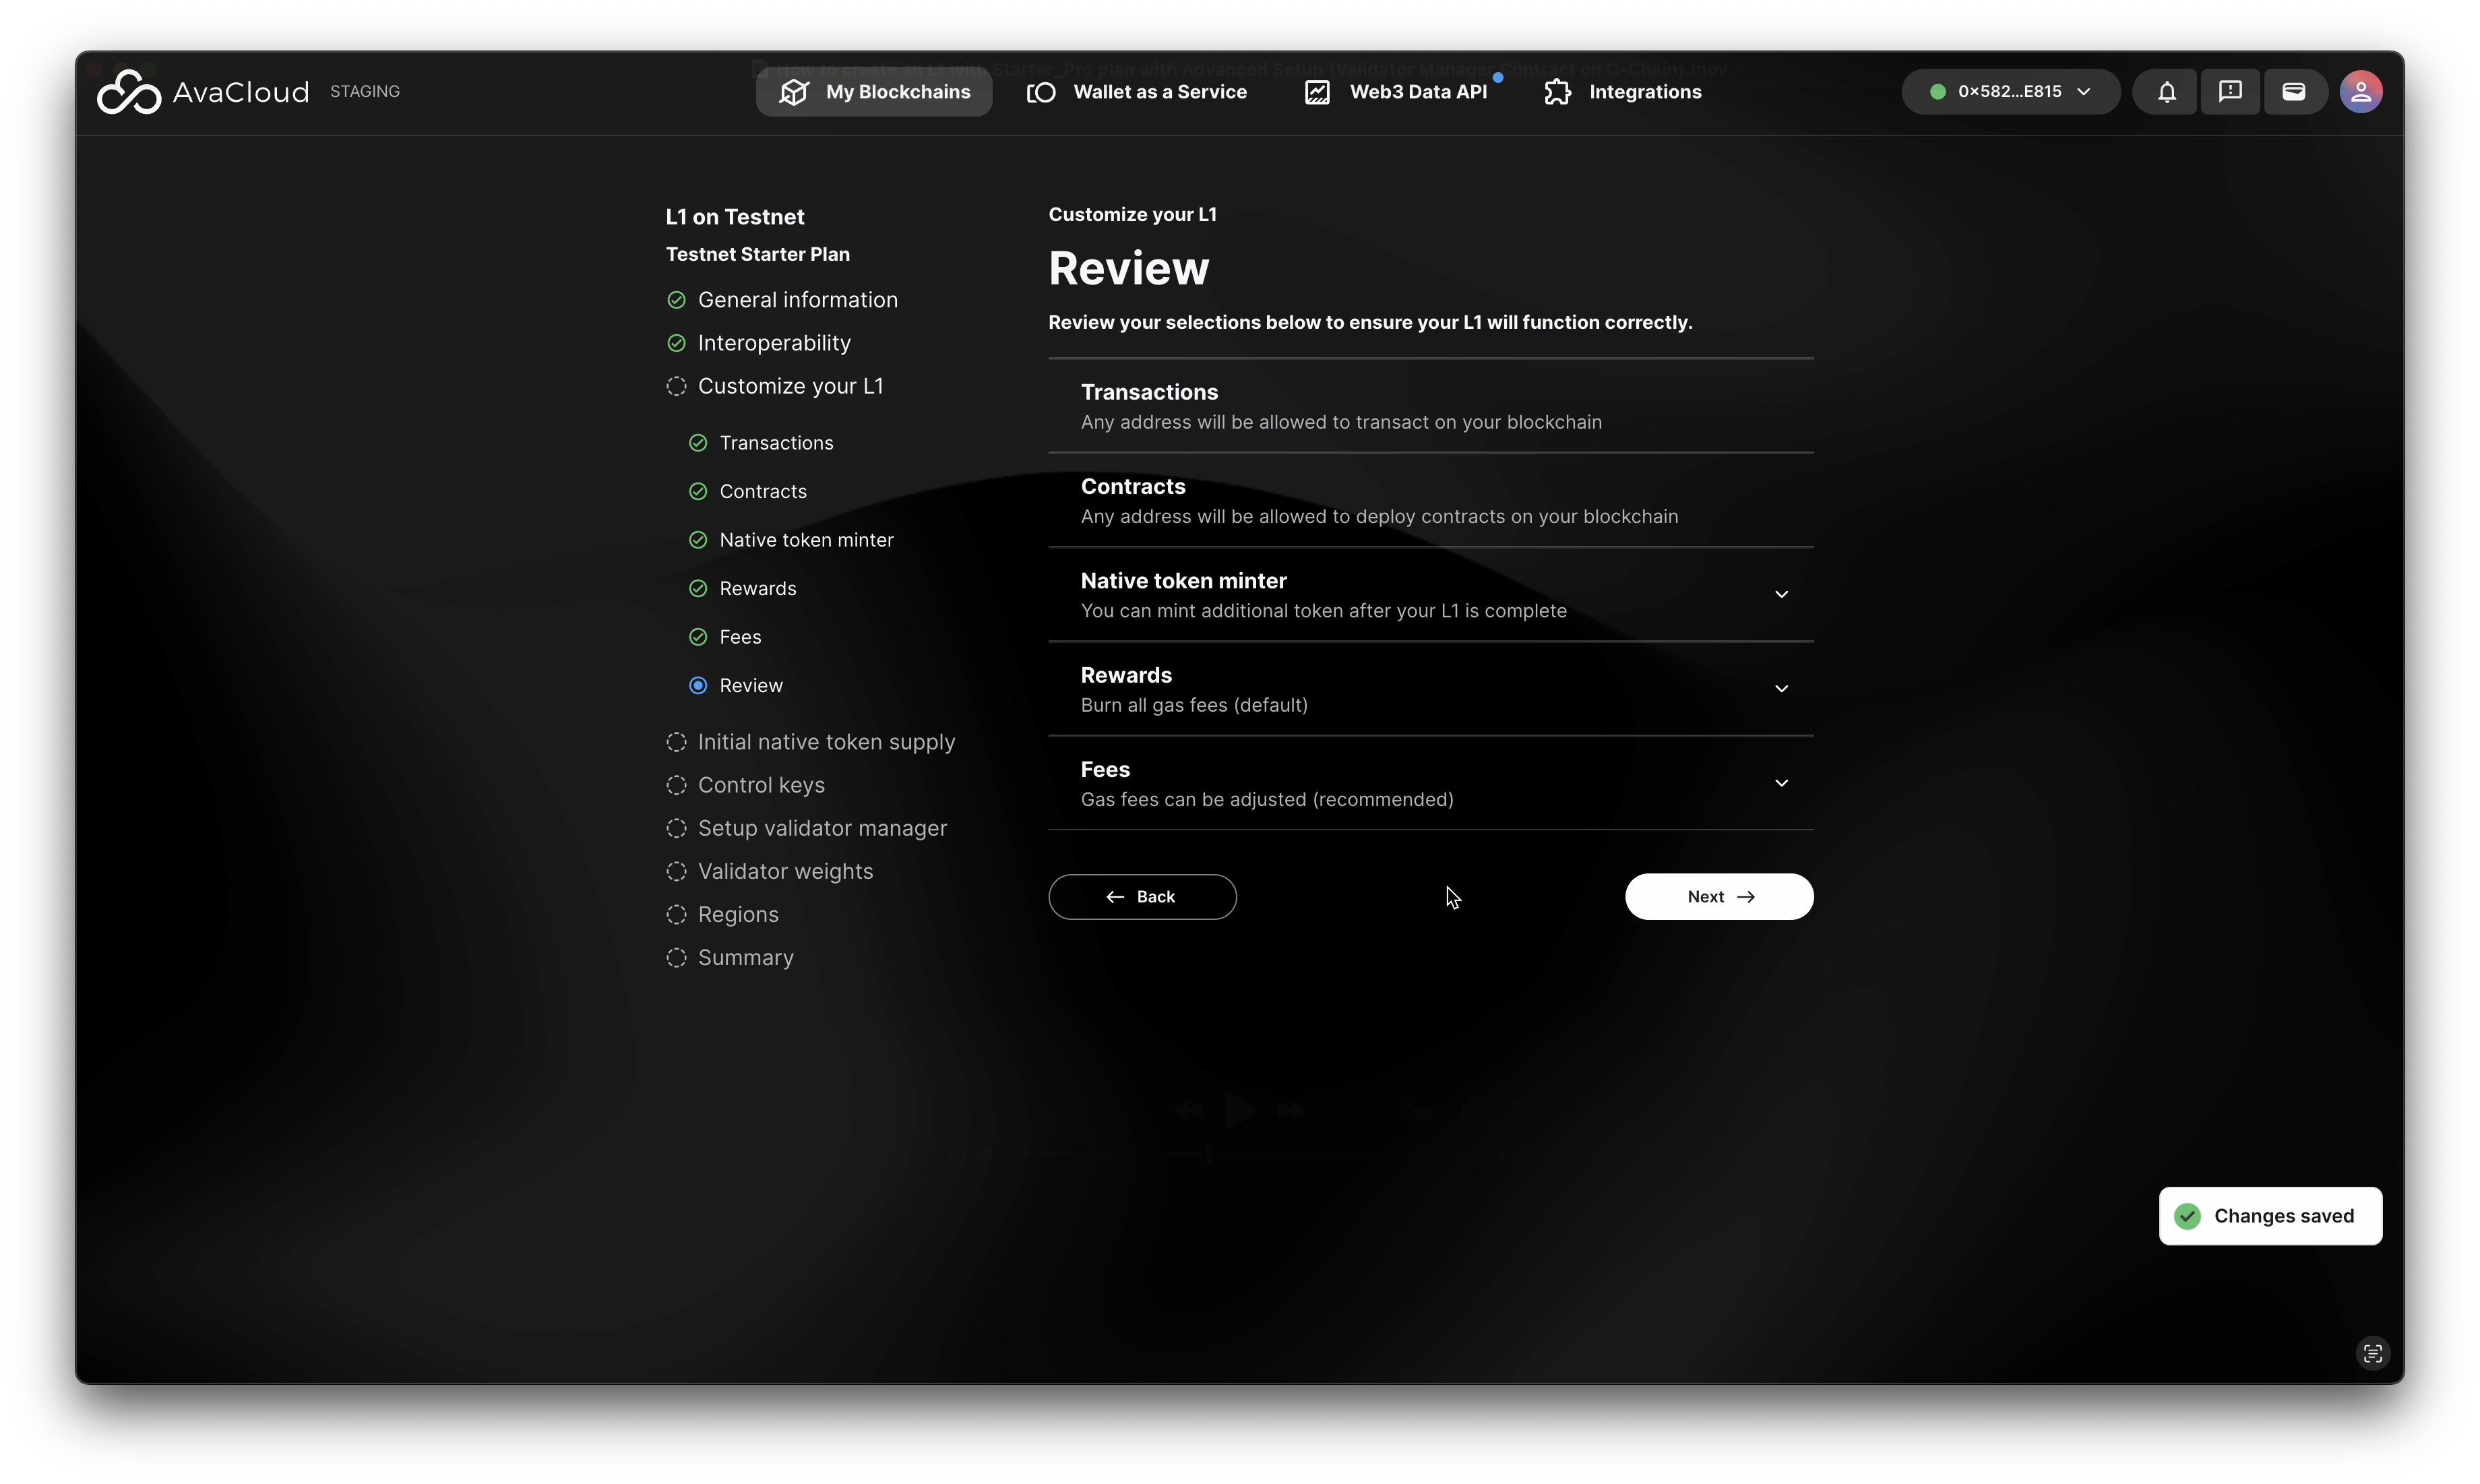
- Transaction Manager
-
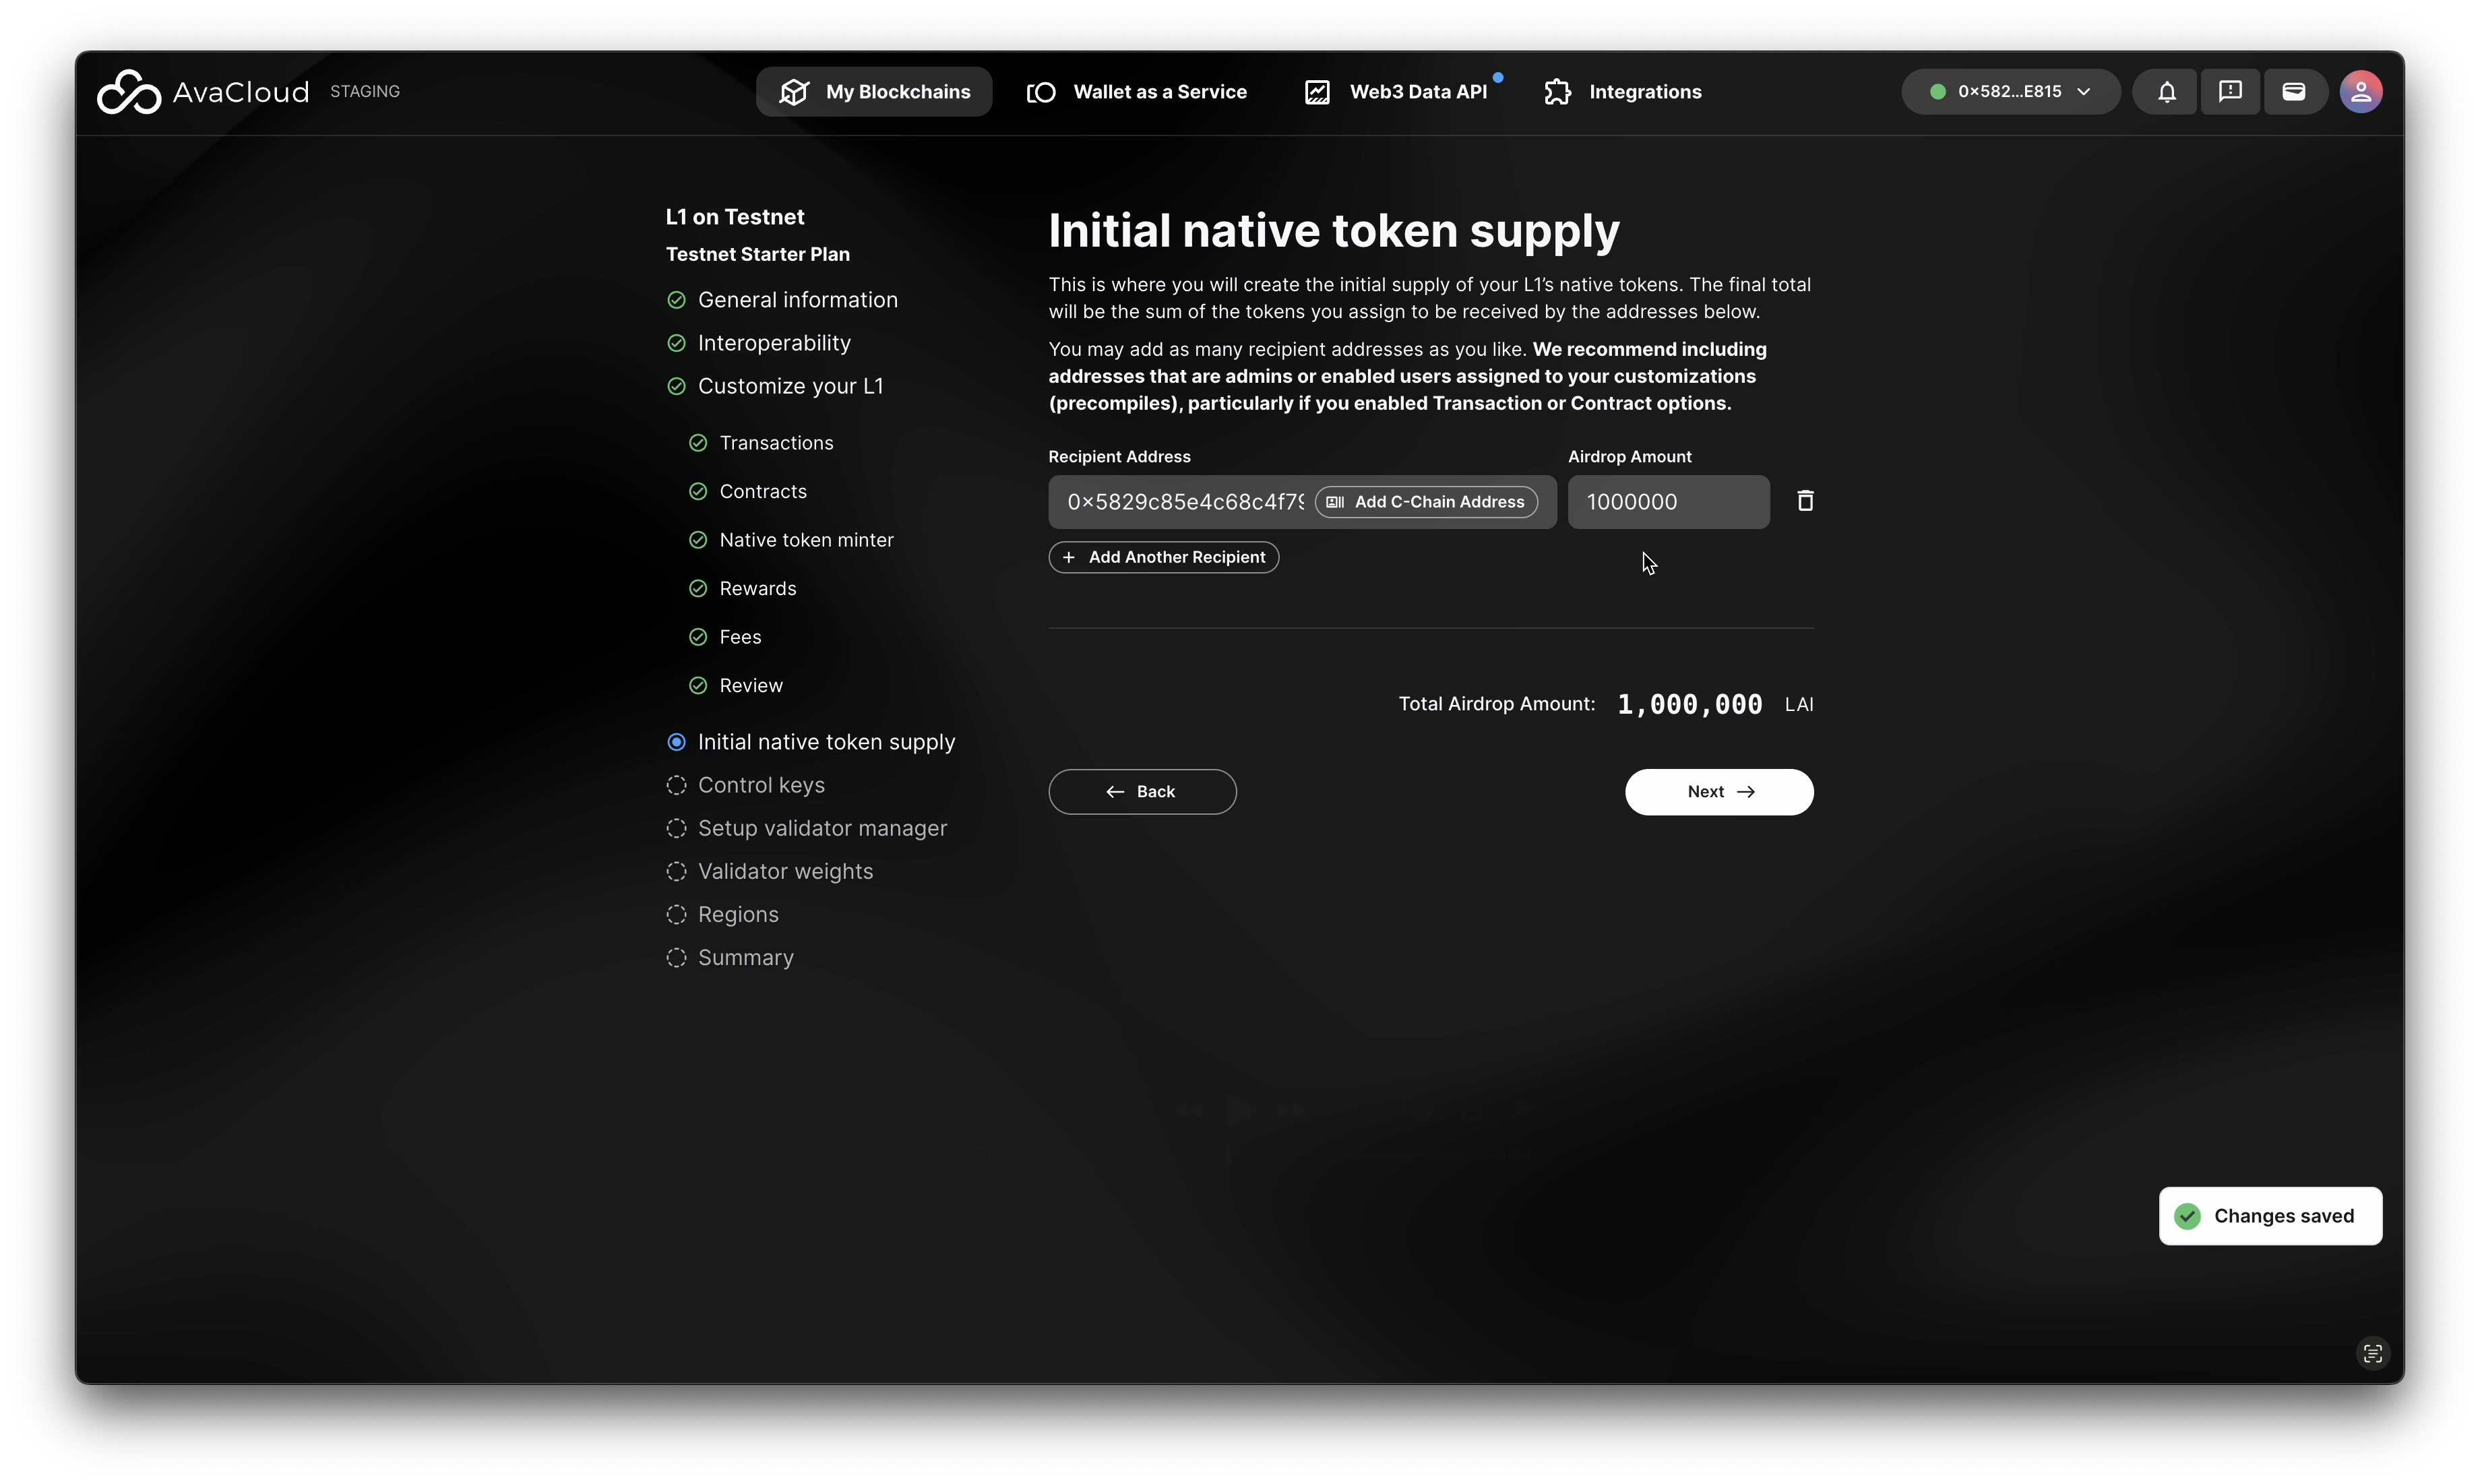
Set Initial Token Supply
-
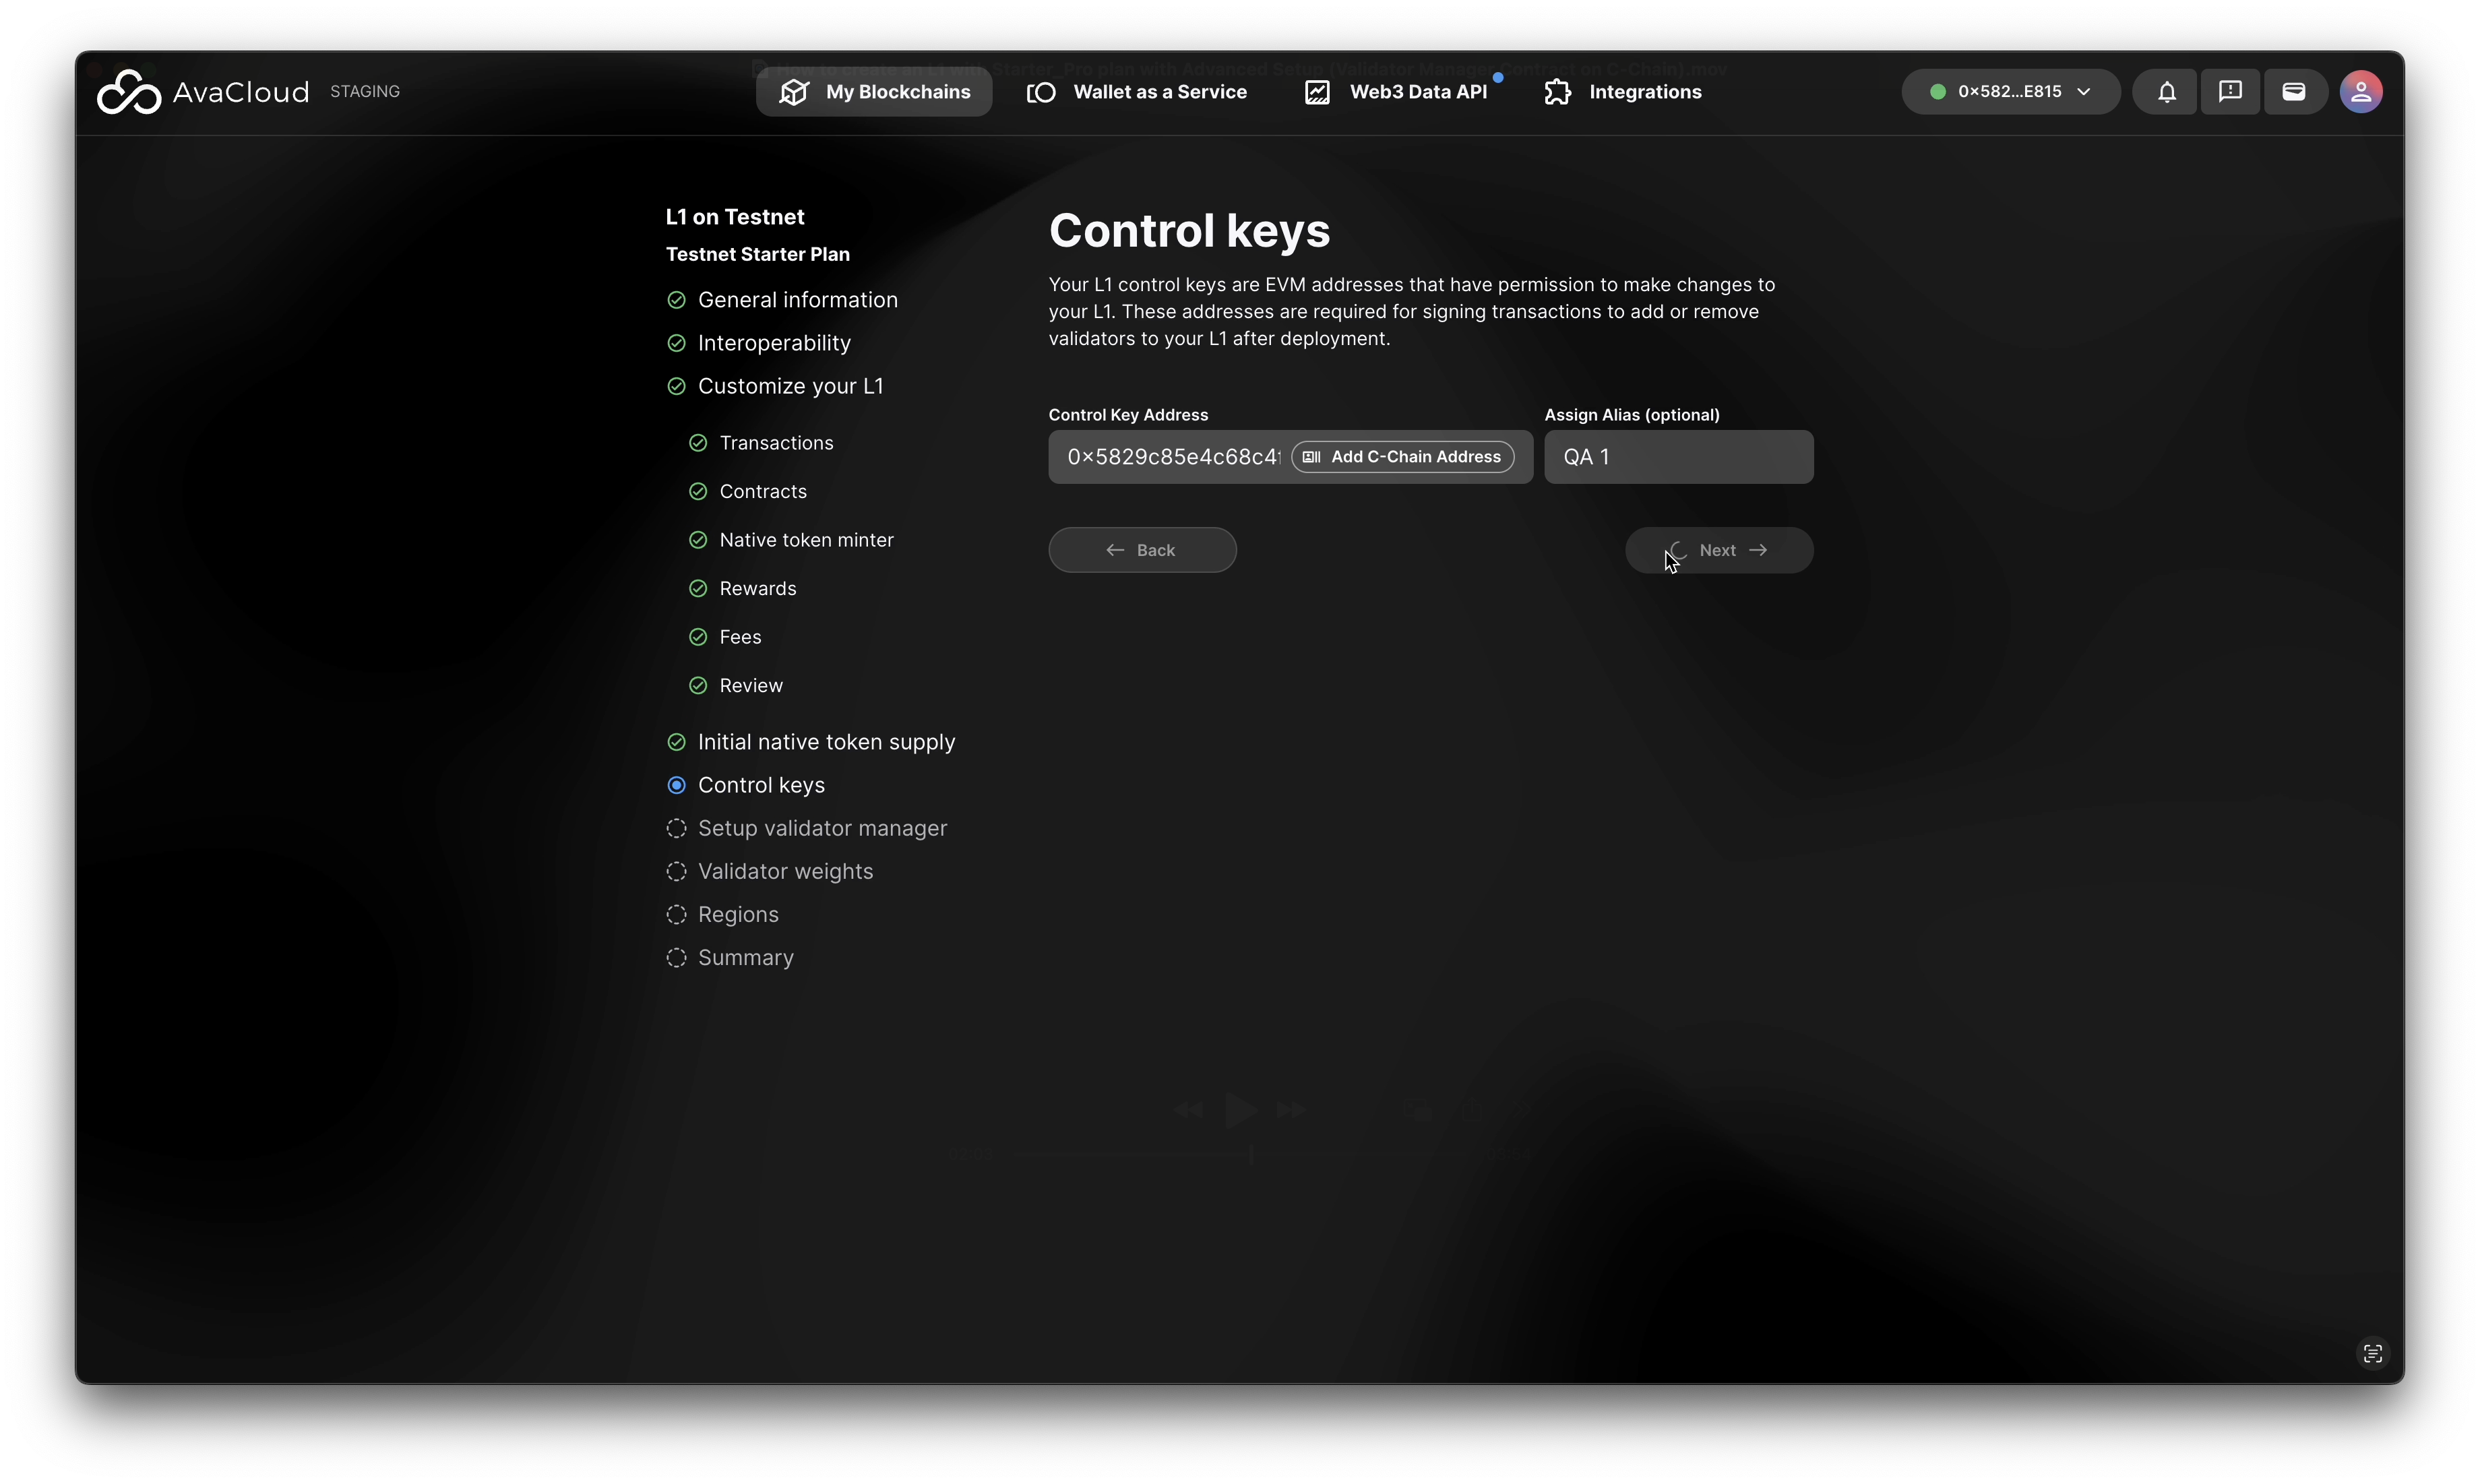
Configure Control Keys
- Enter a single address as the Control Key for managing your blockchain. This address is required to sign setup transactions and add validators. You can set up a multisig account later in the portal.
- Enter a single address as the Control Key for managing your blockchain. This address is required to sign setup transactions and add validators. You can set up a multisig account later in the portal.
-
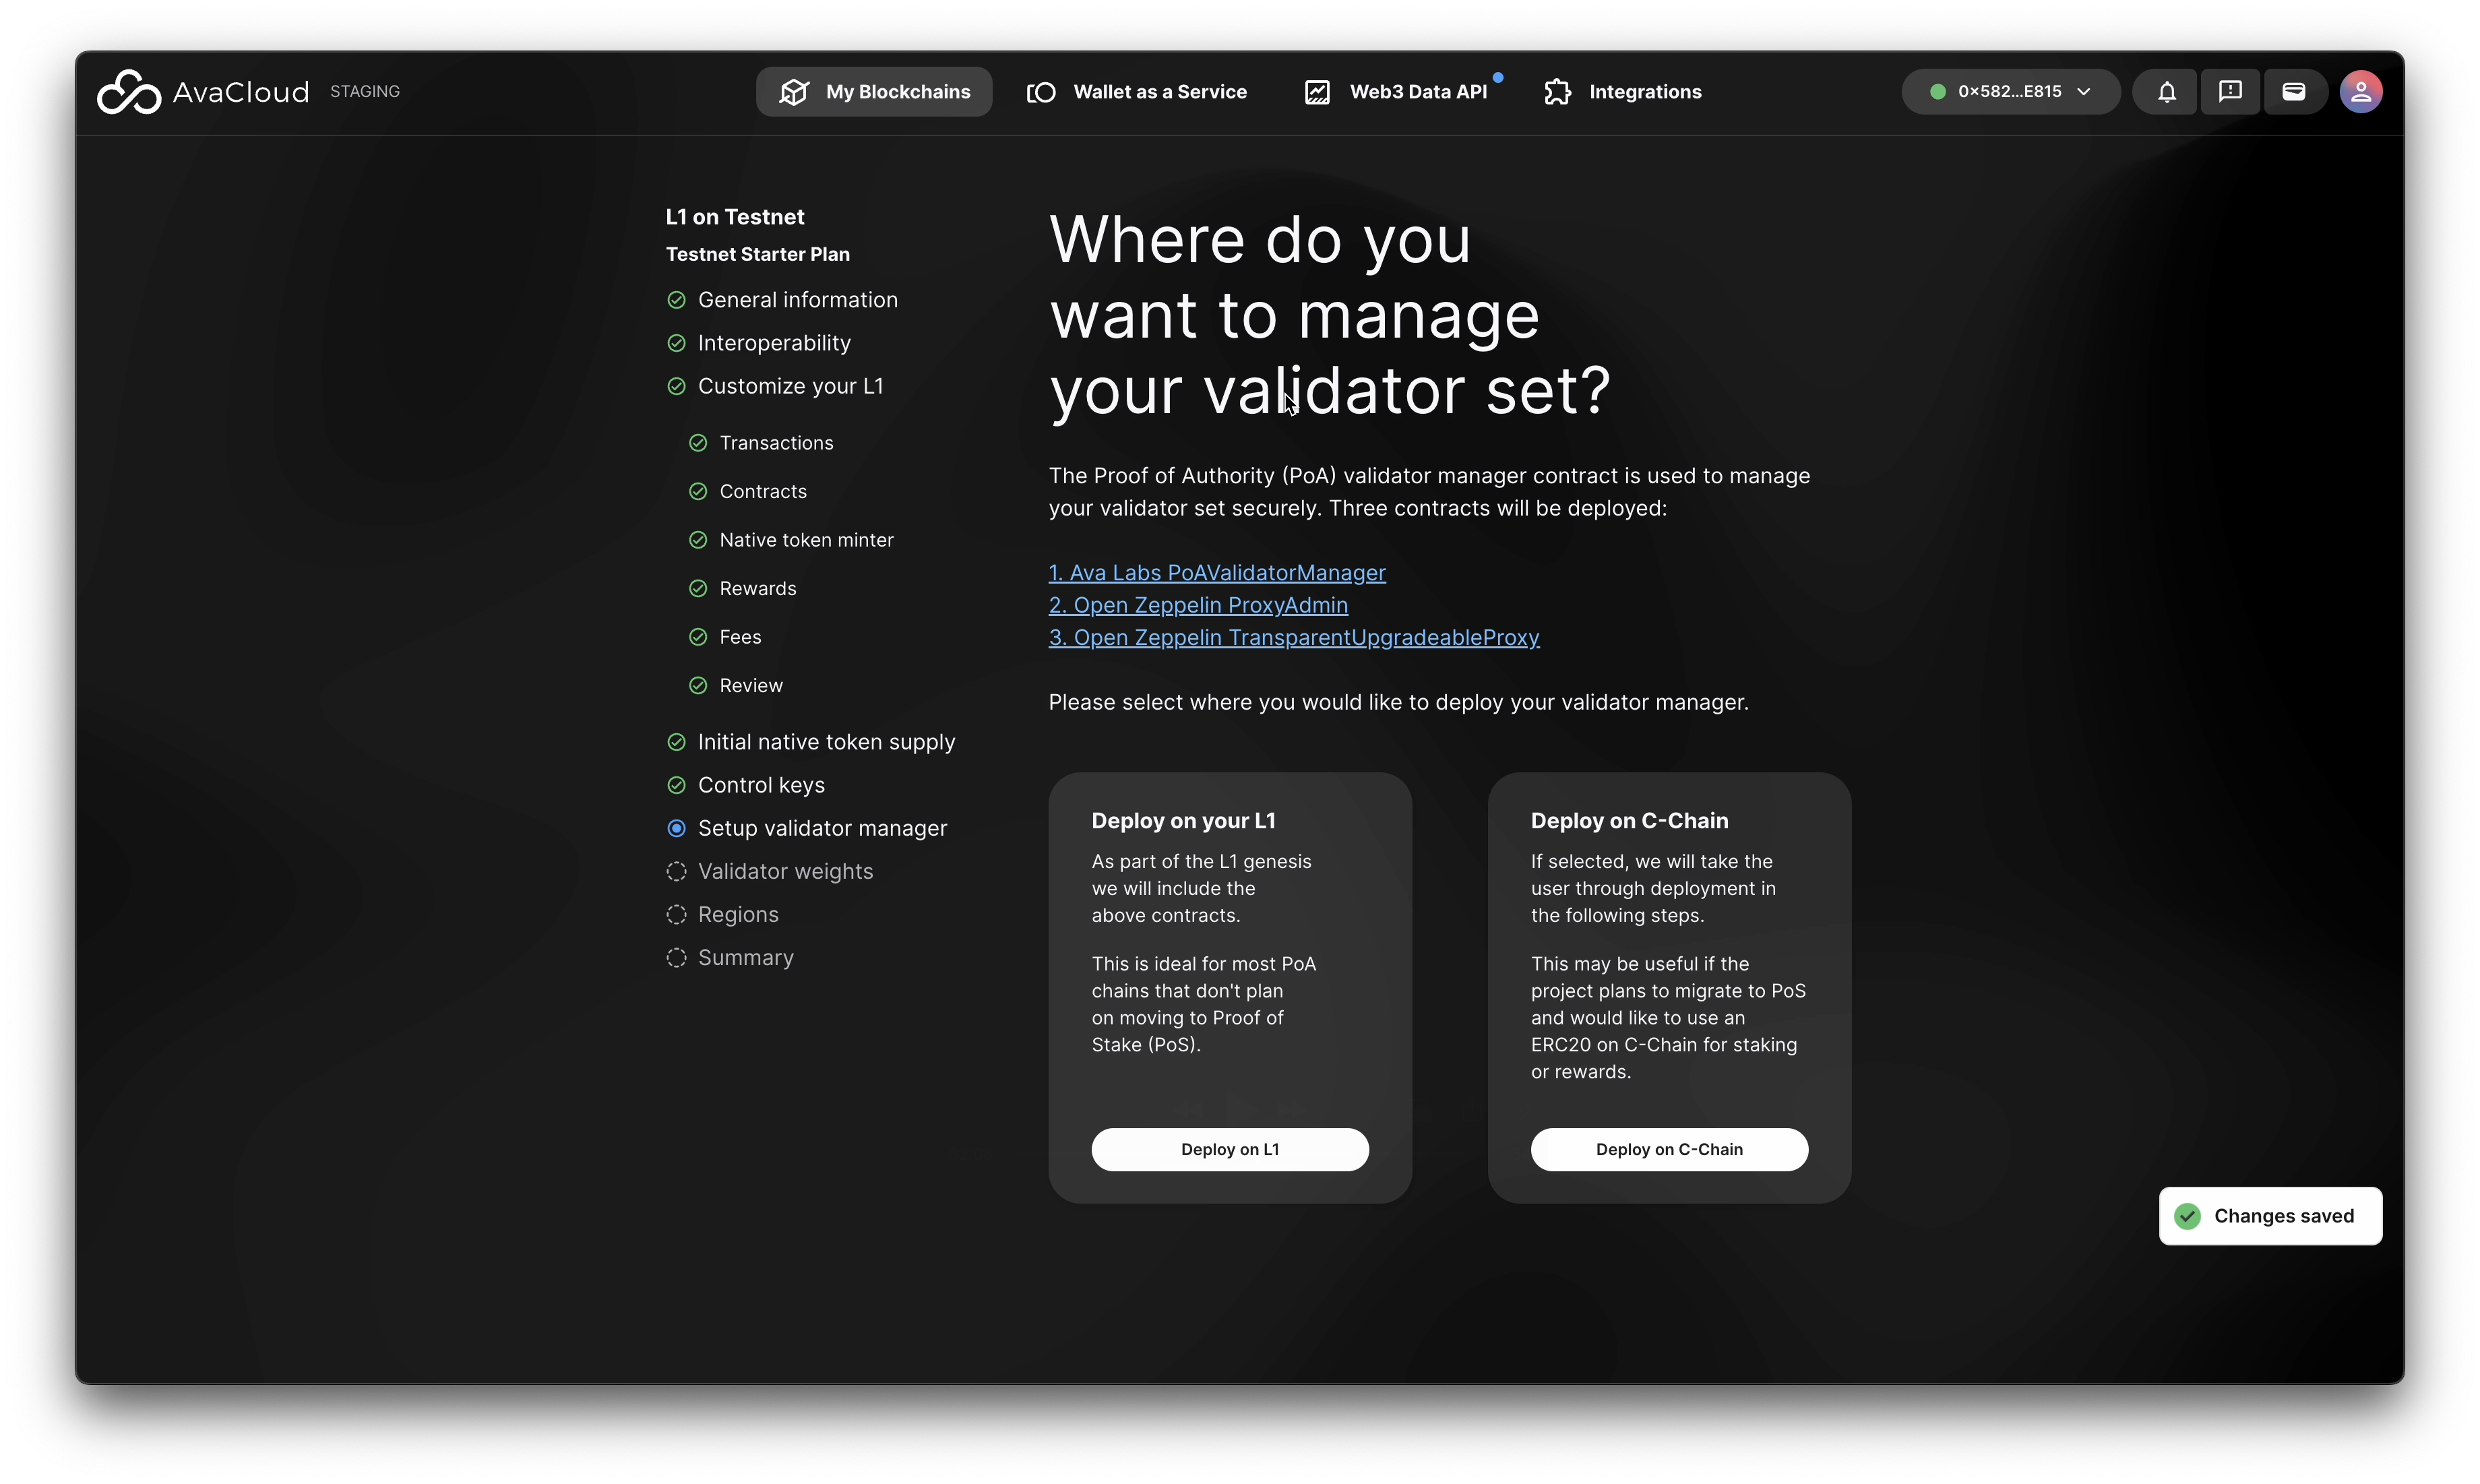
Validator Management
-
Consult this guide for a deep dive on validator management.
-
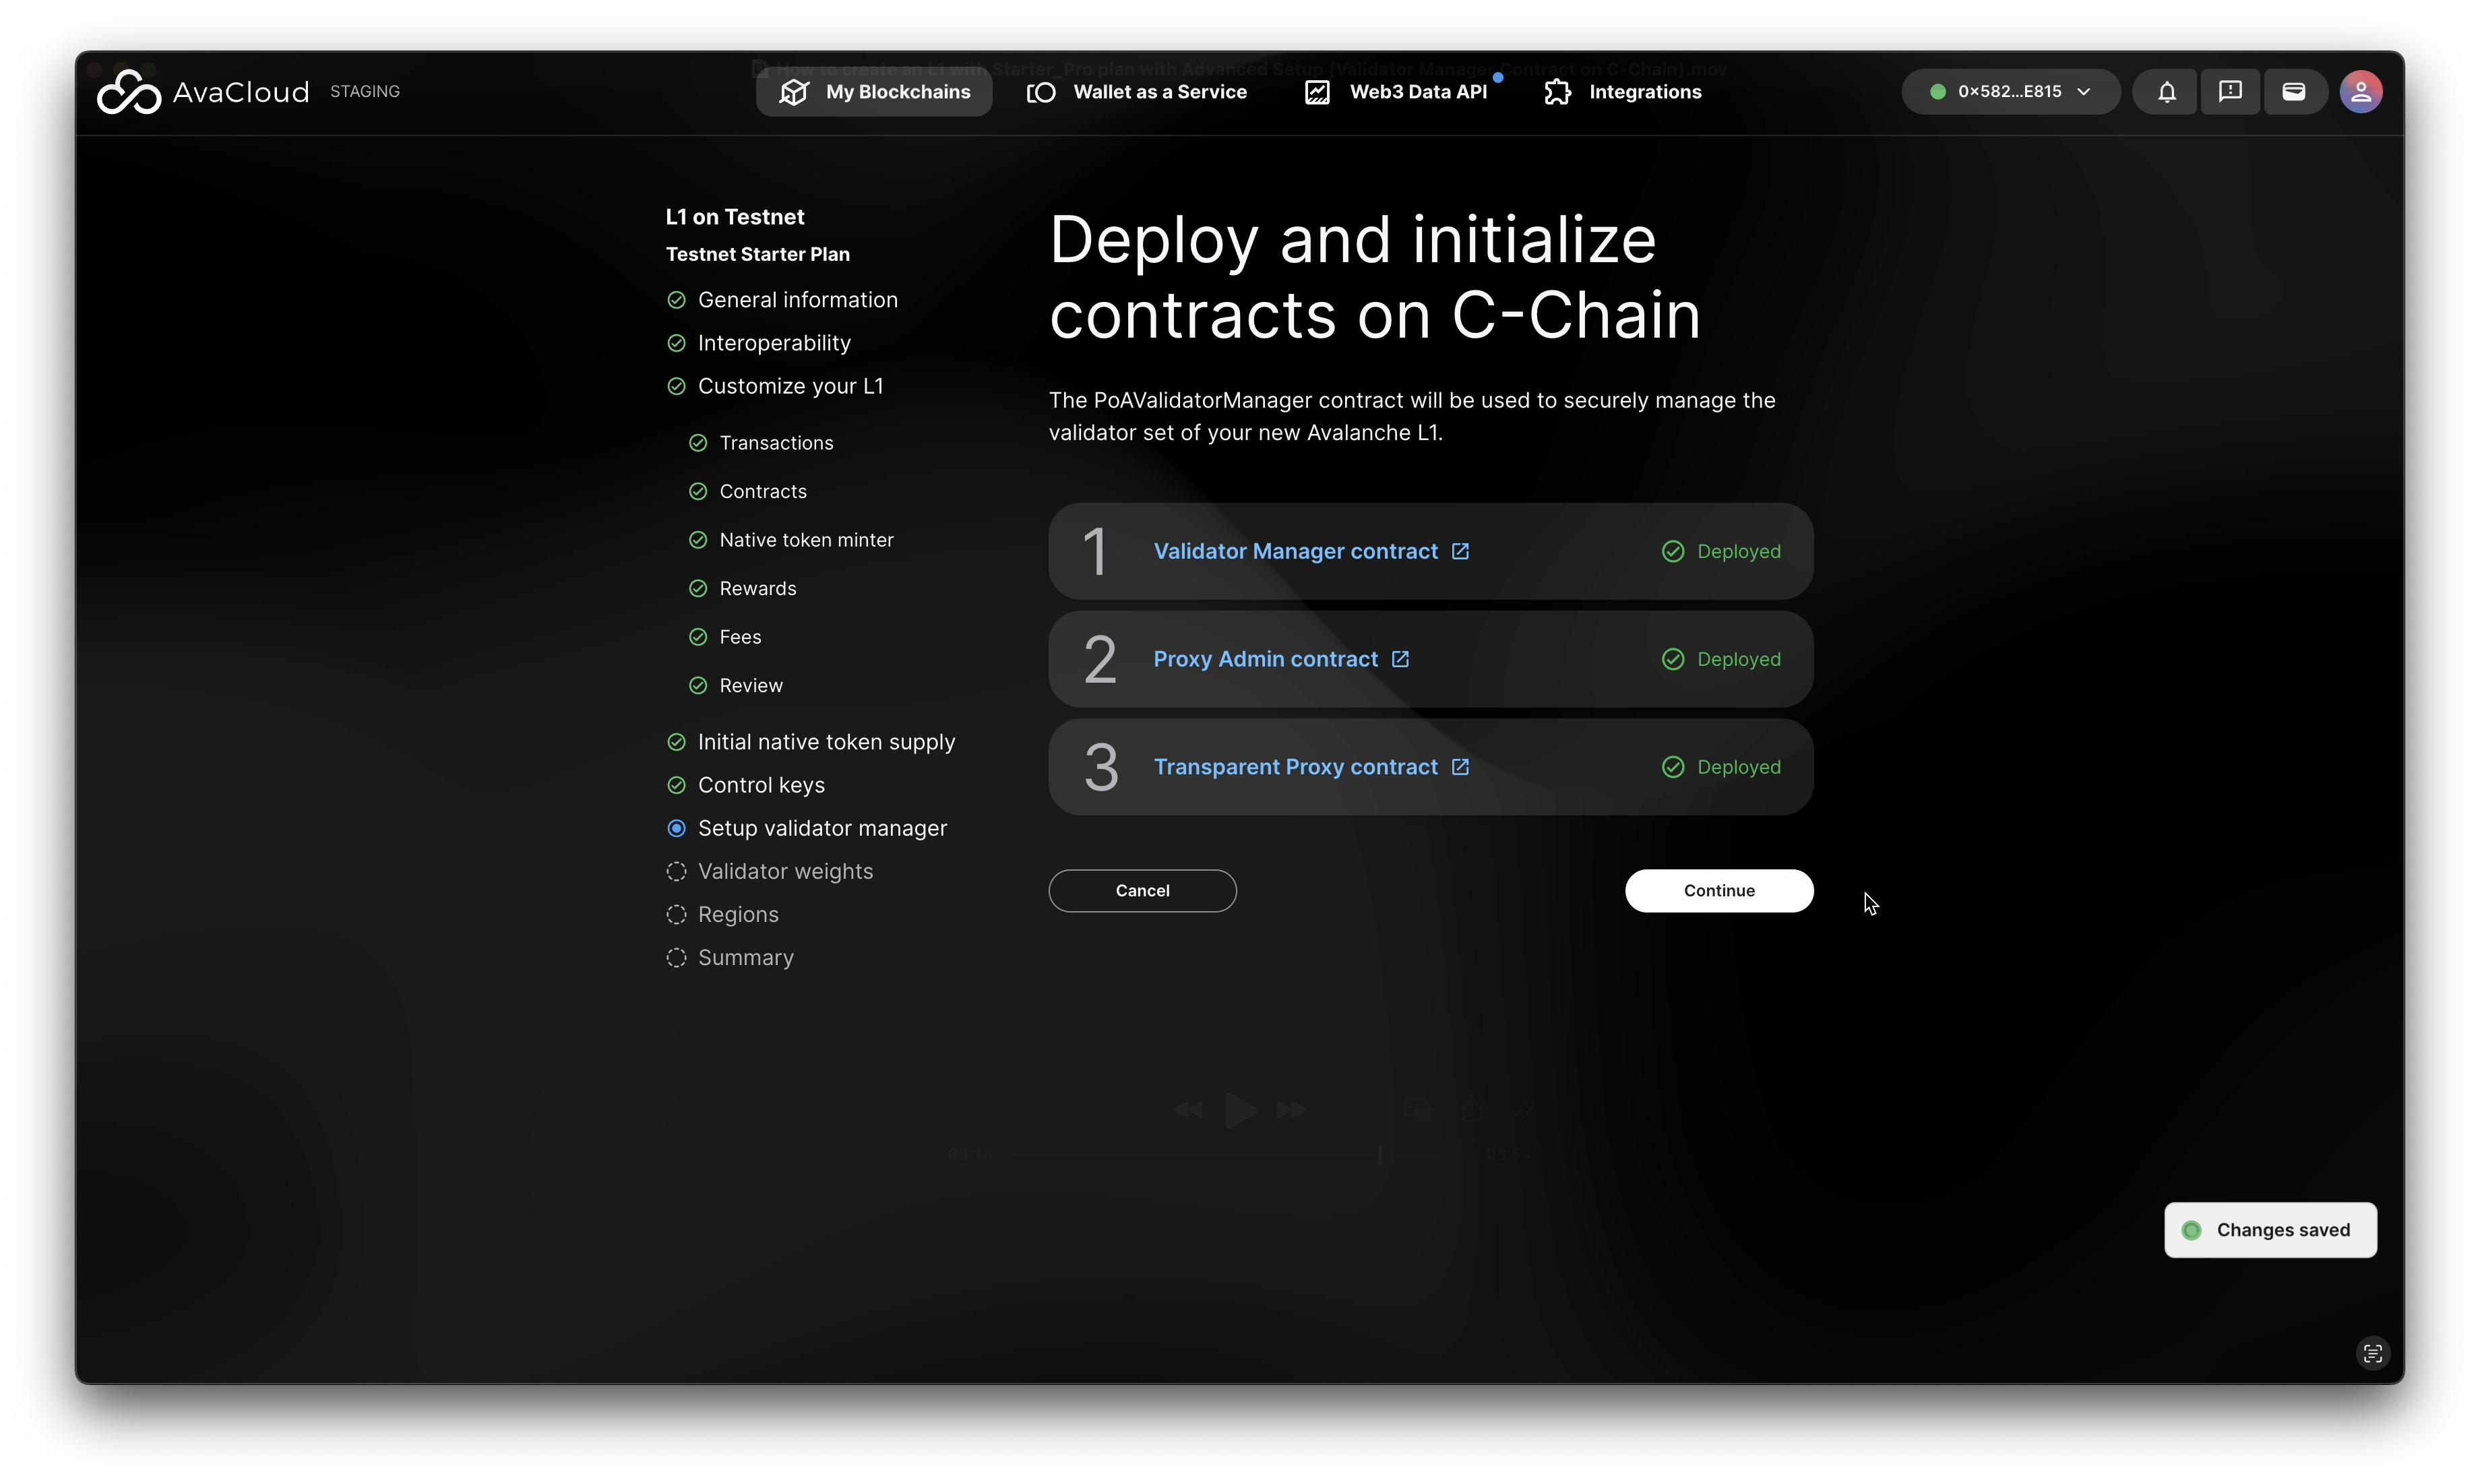
When prompted, deploy the following contracts in sequence:
- Validator Manager contract
- Proxy Admin contract
- Transparent Proxy contract
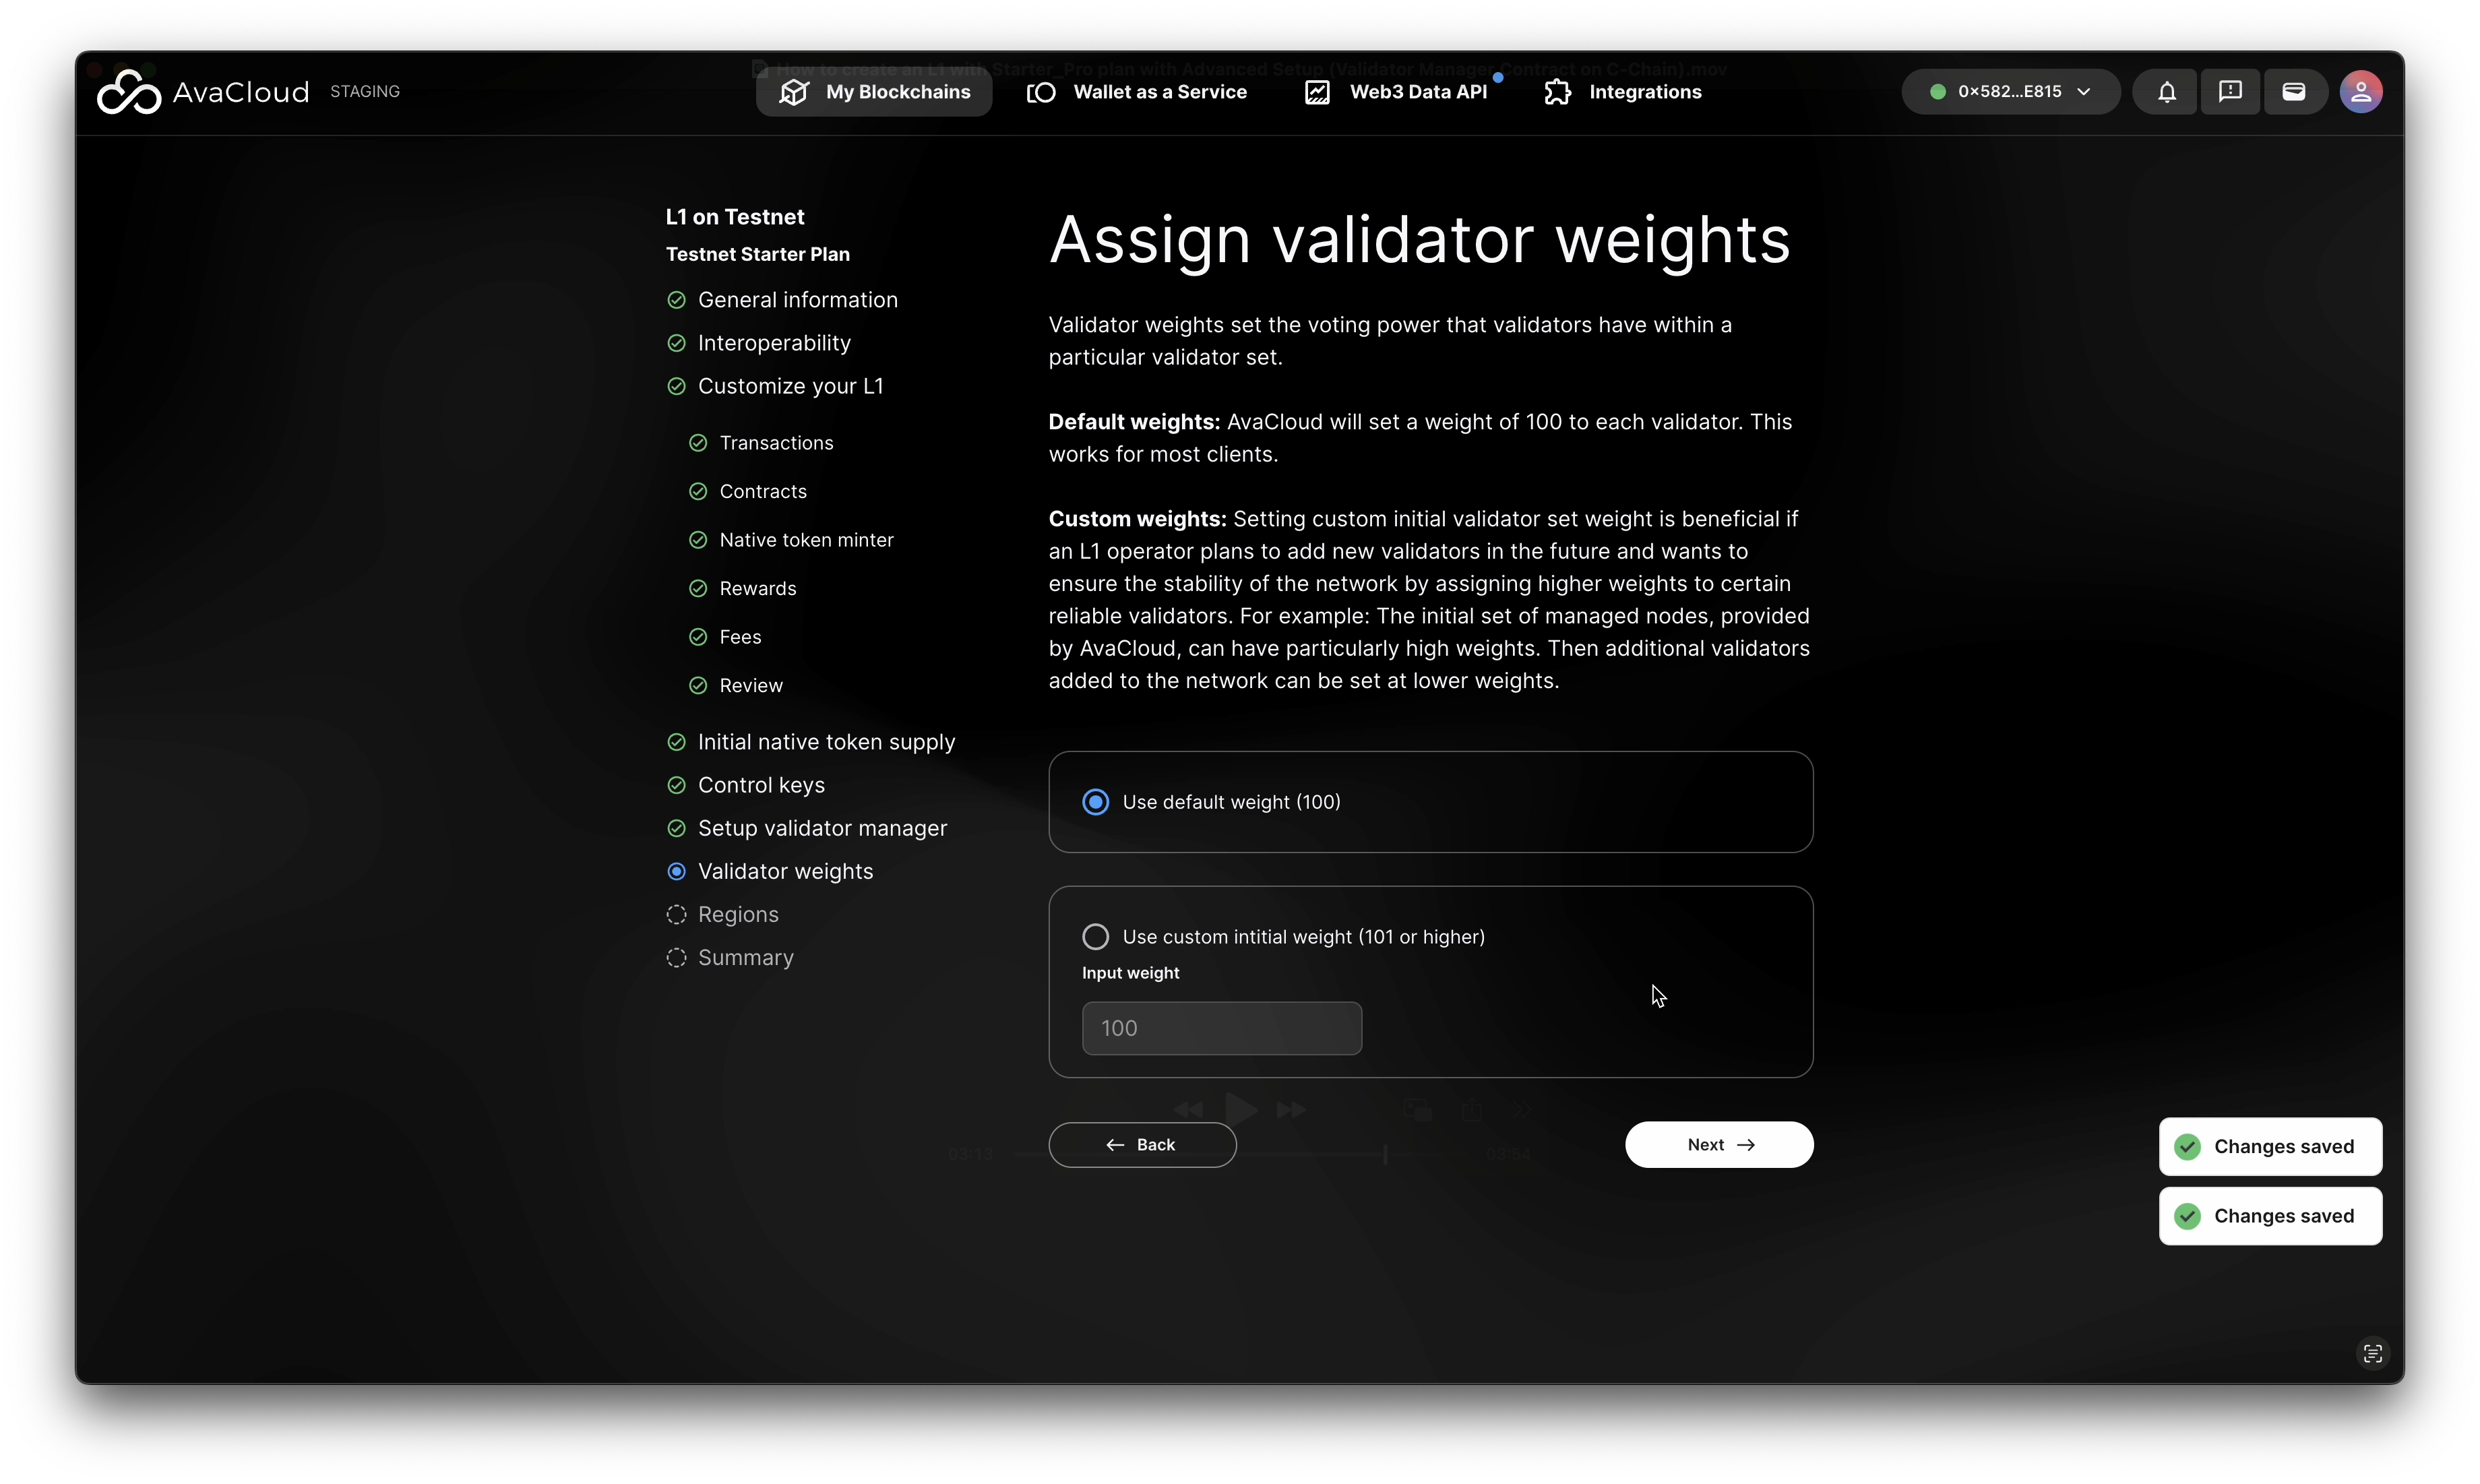
And assign validator weights properly.
-
-
Select Node Region
- Choose your preferred node region. More options (like EU) are available for Mainnet L1s.
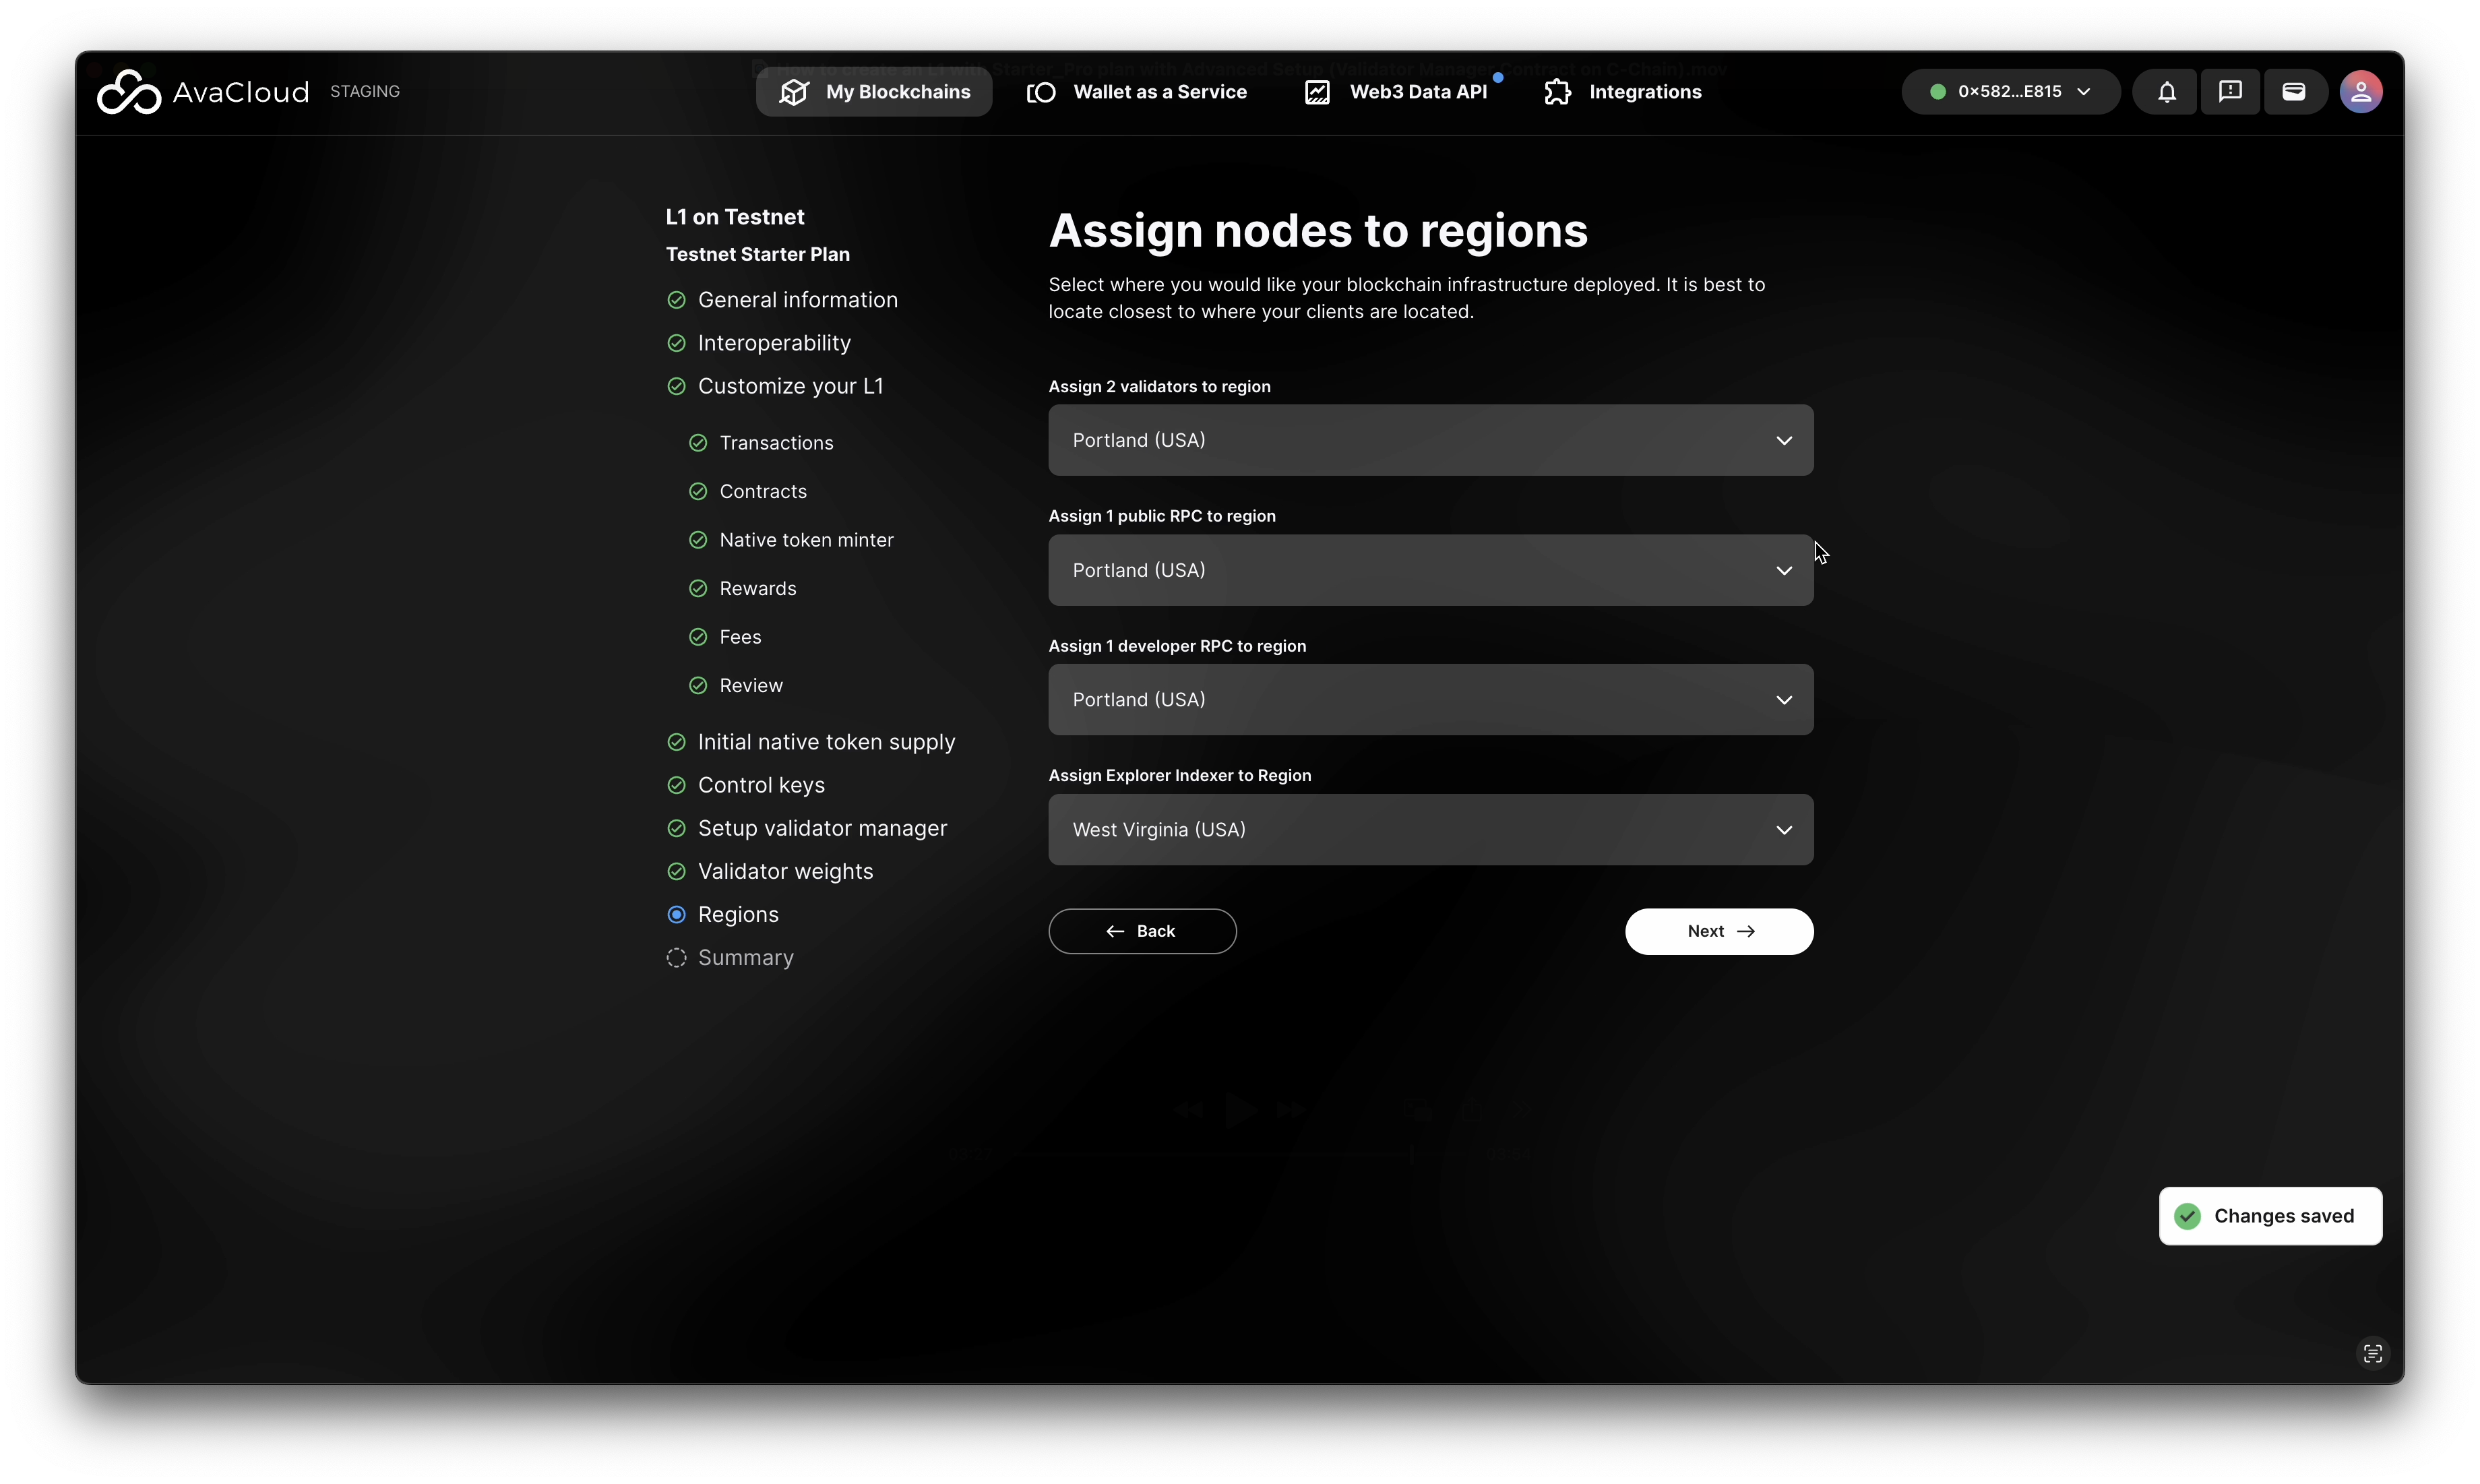
- Choose your preferred node region. More options (like EU) are available for Mainnet L1s.
-
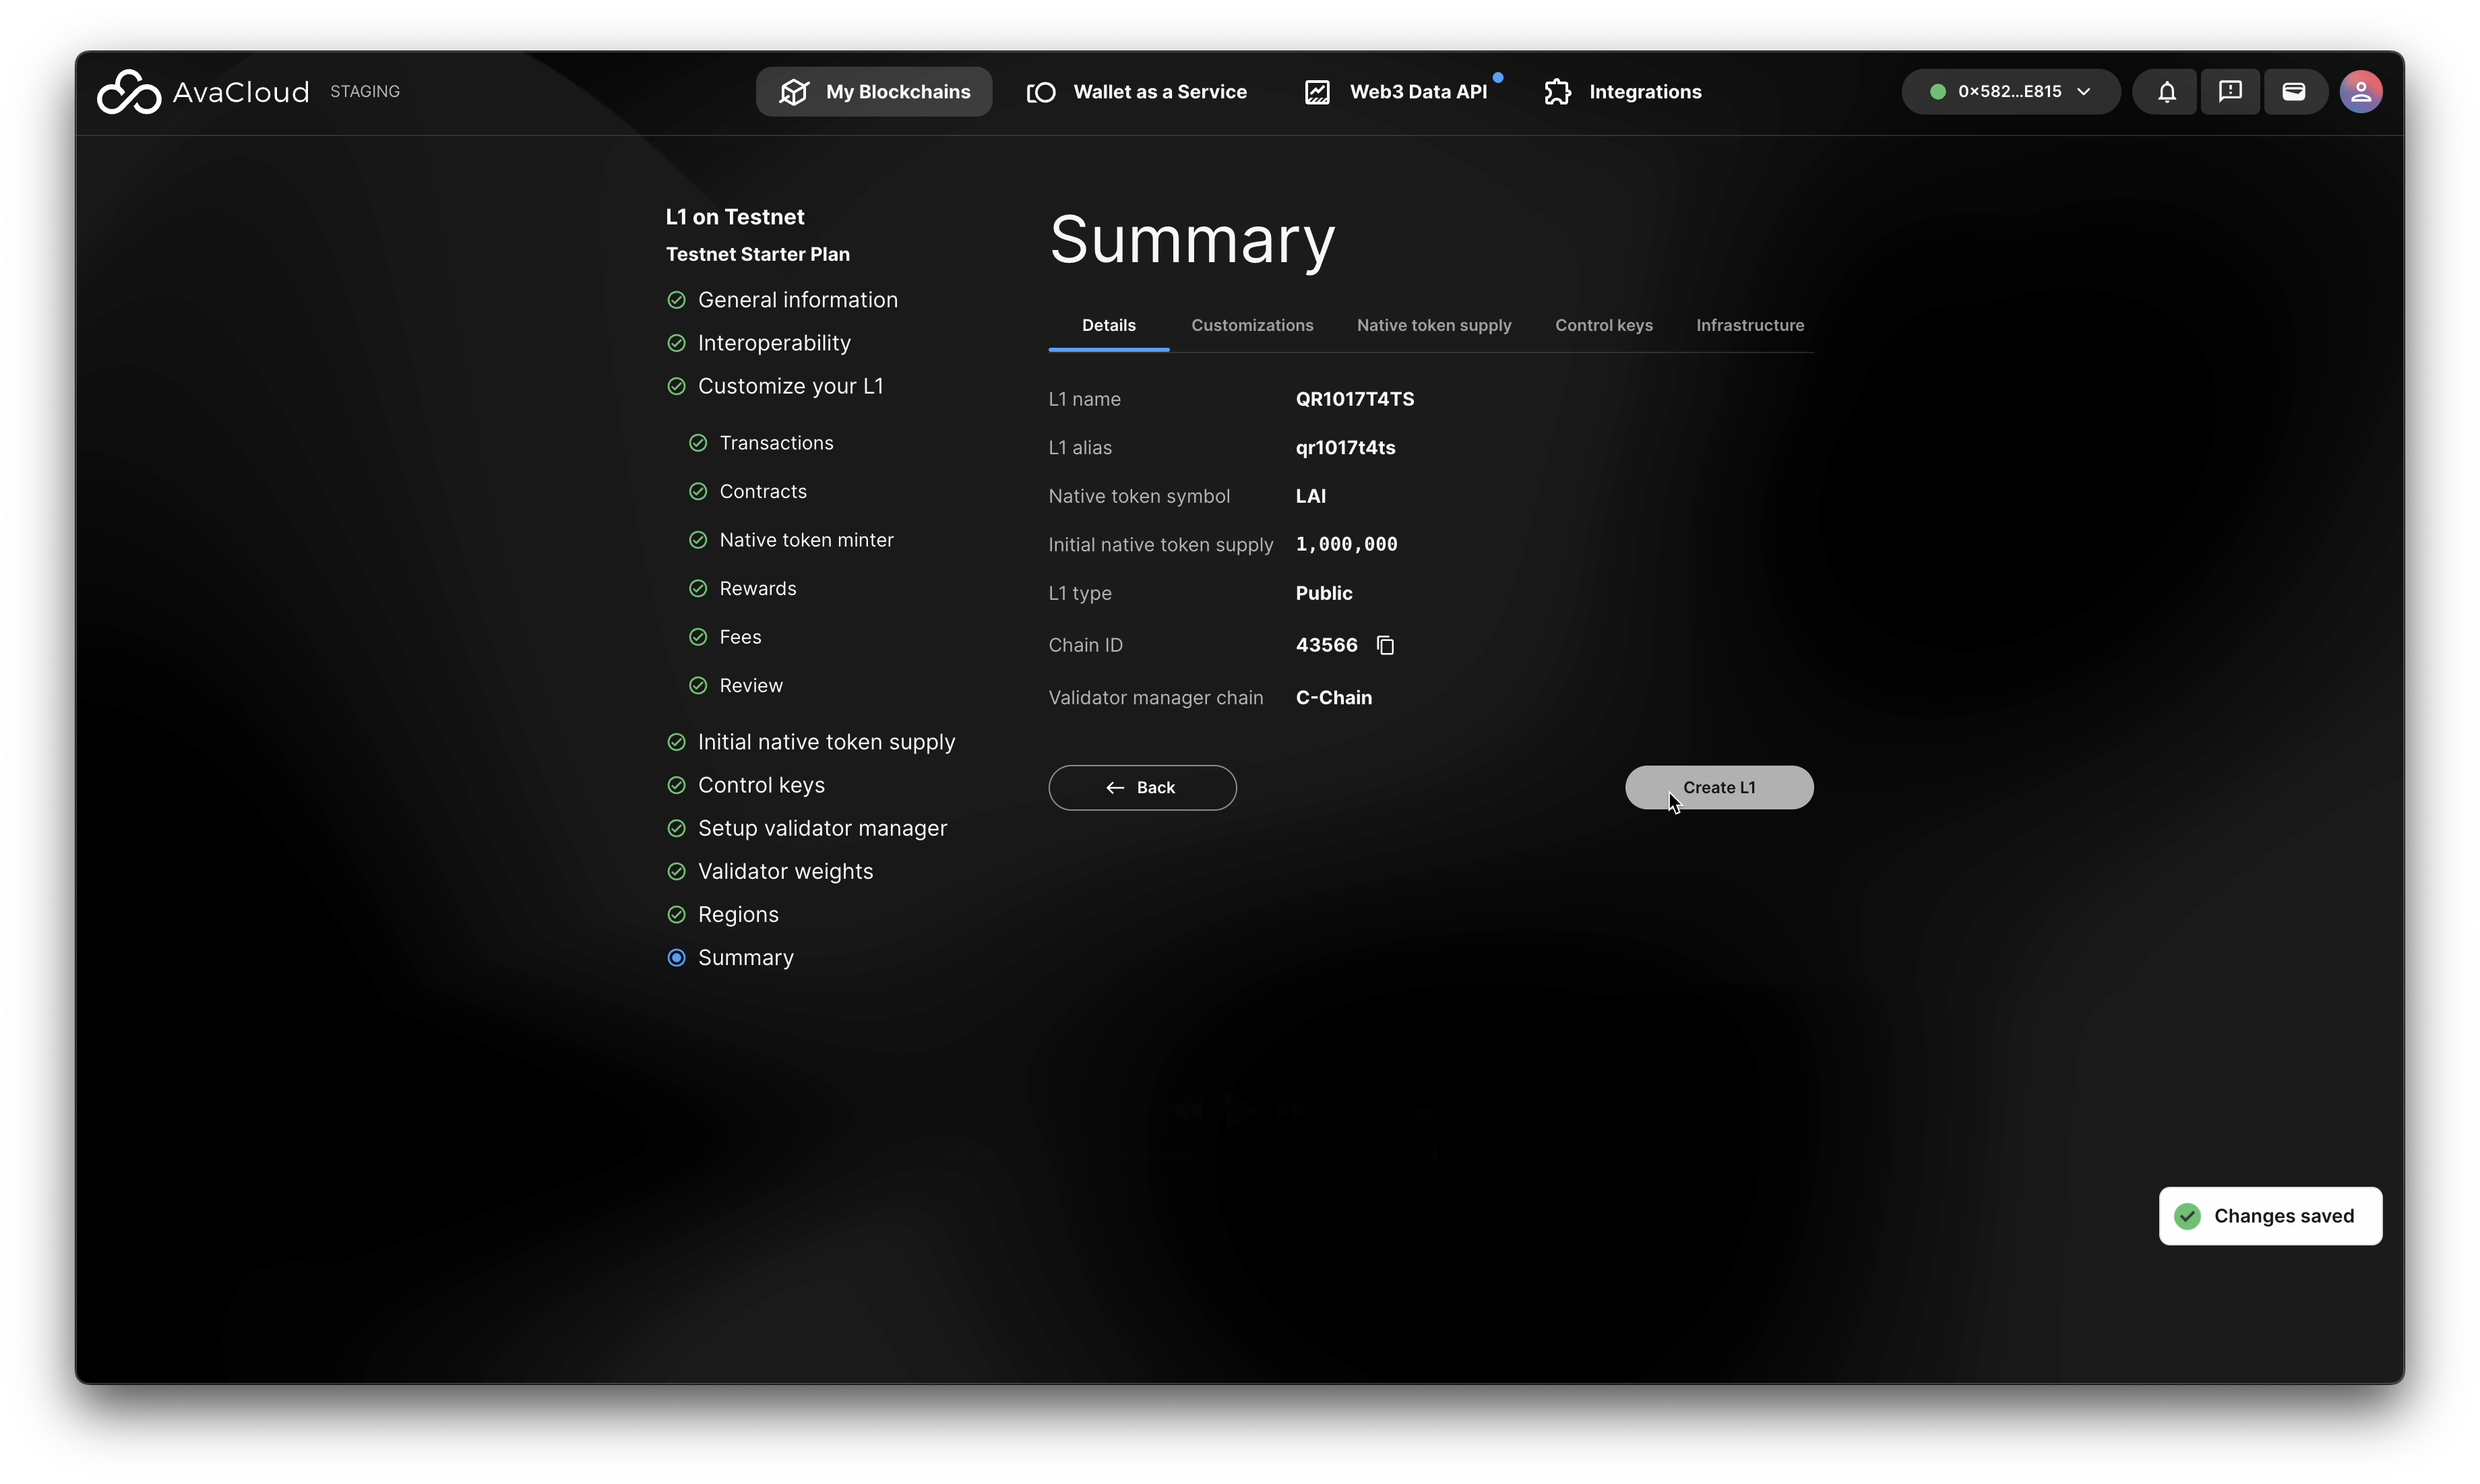
Review Configuration
-
Create Your L1
- Click “Create L1” to start deployment.
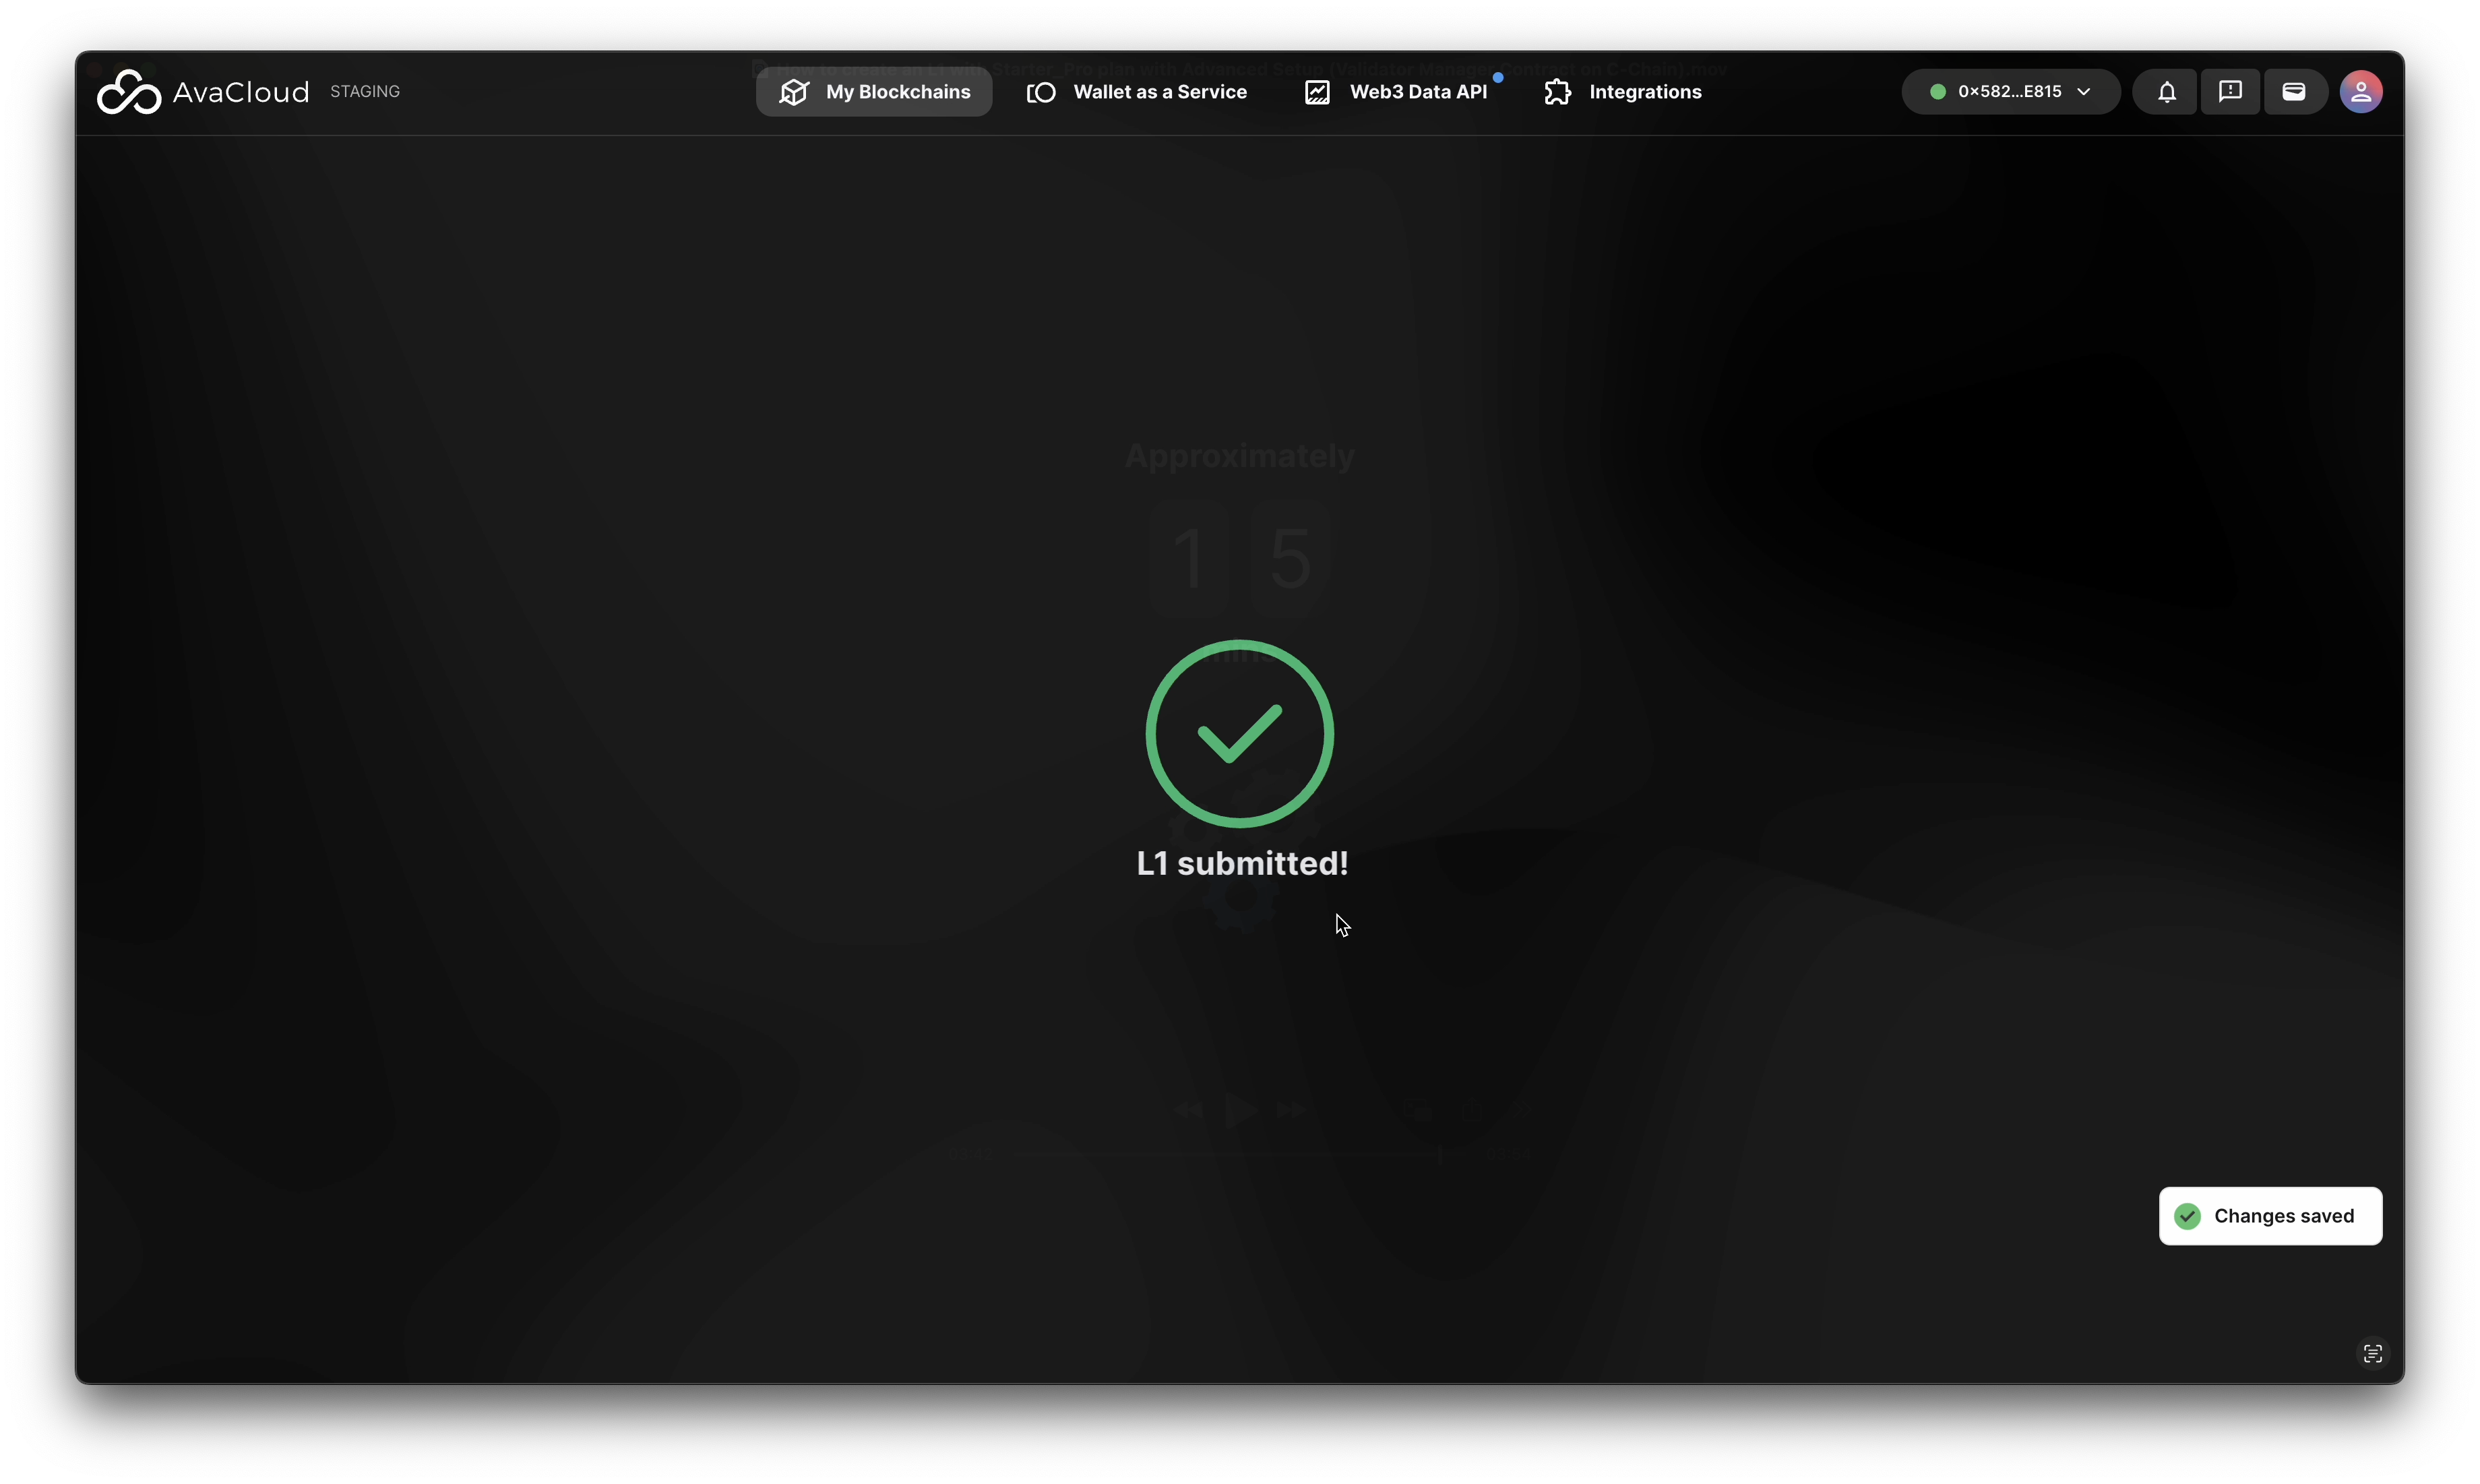
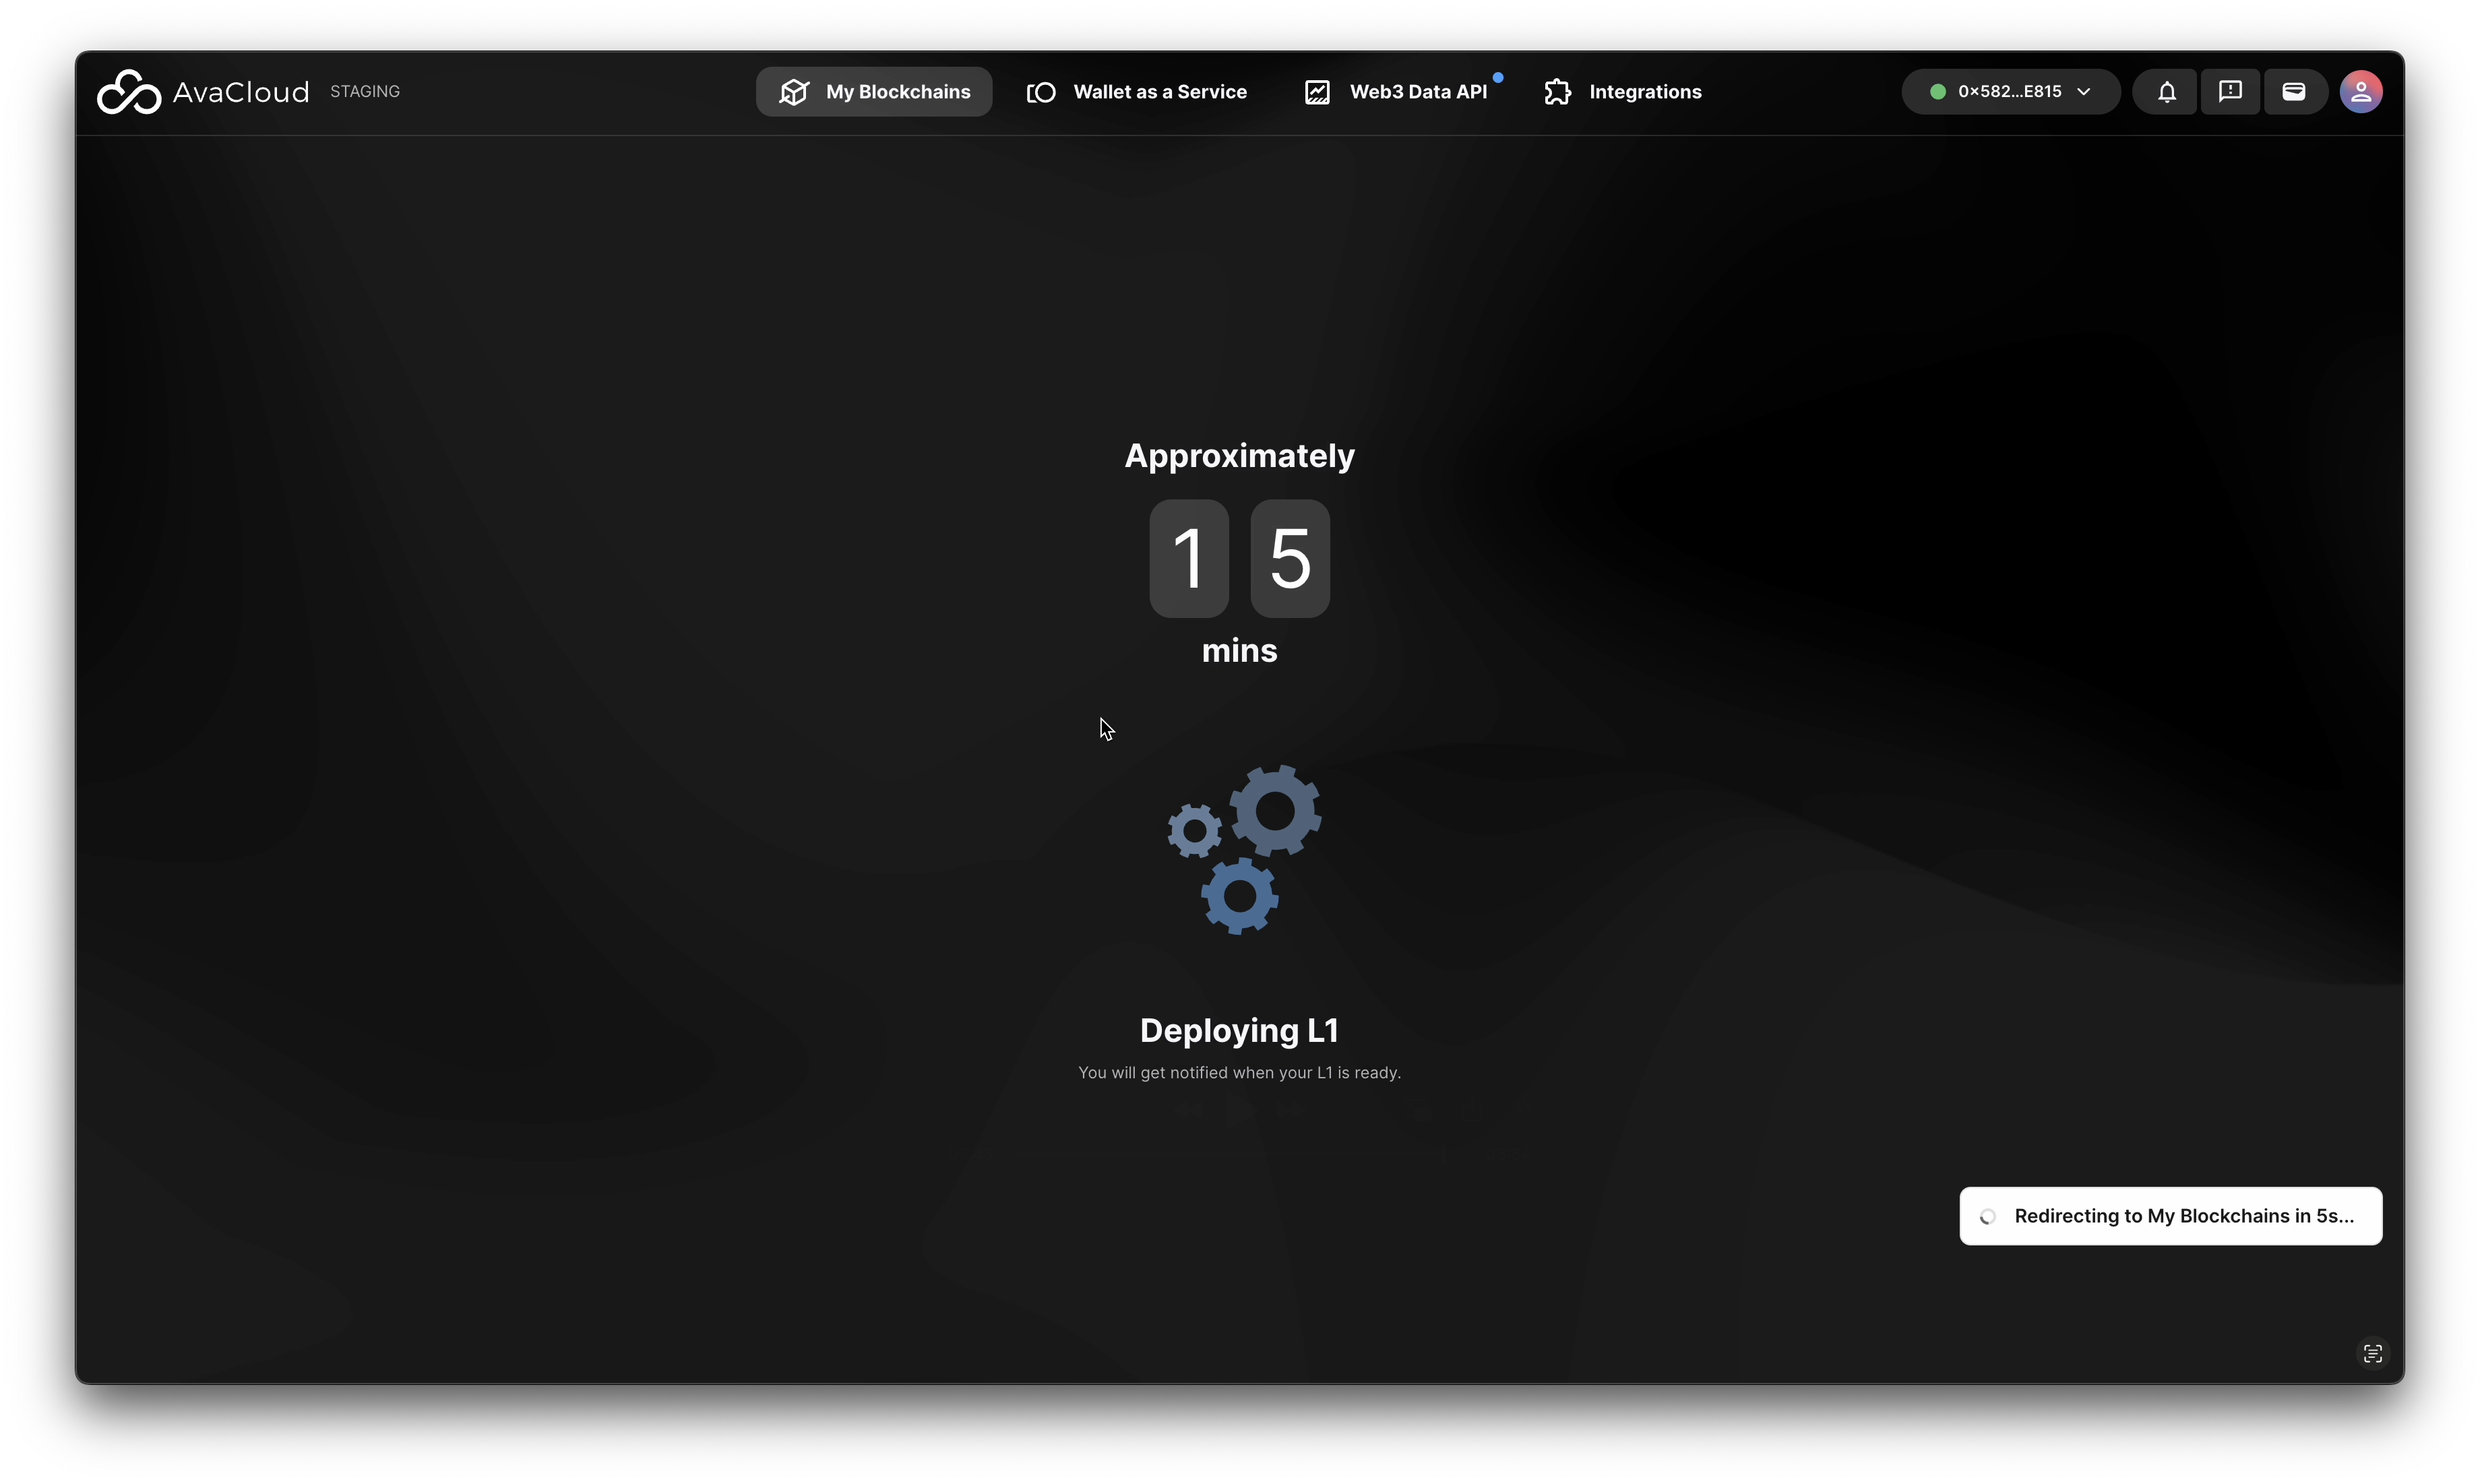
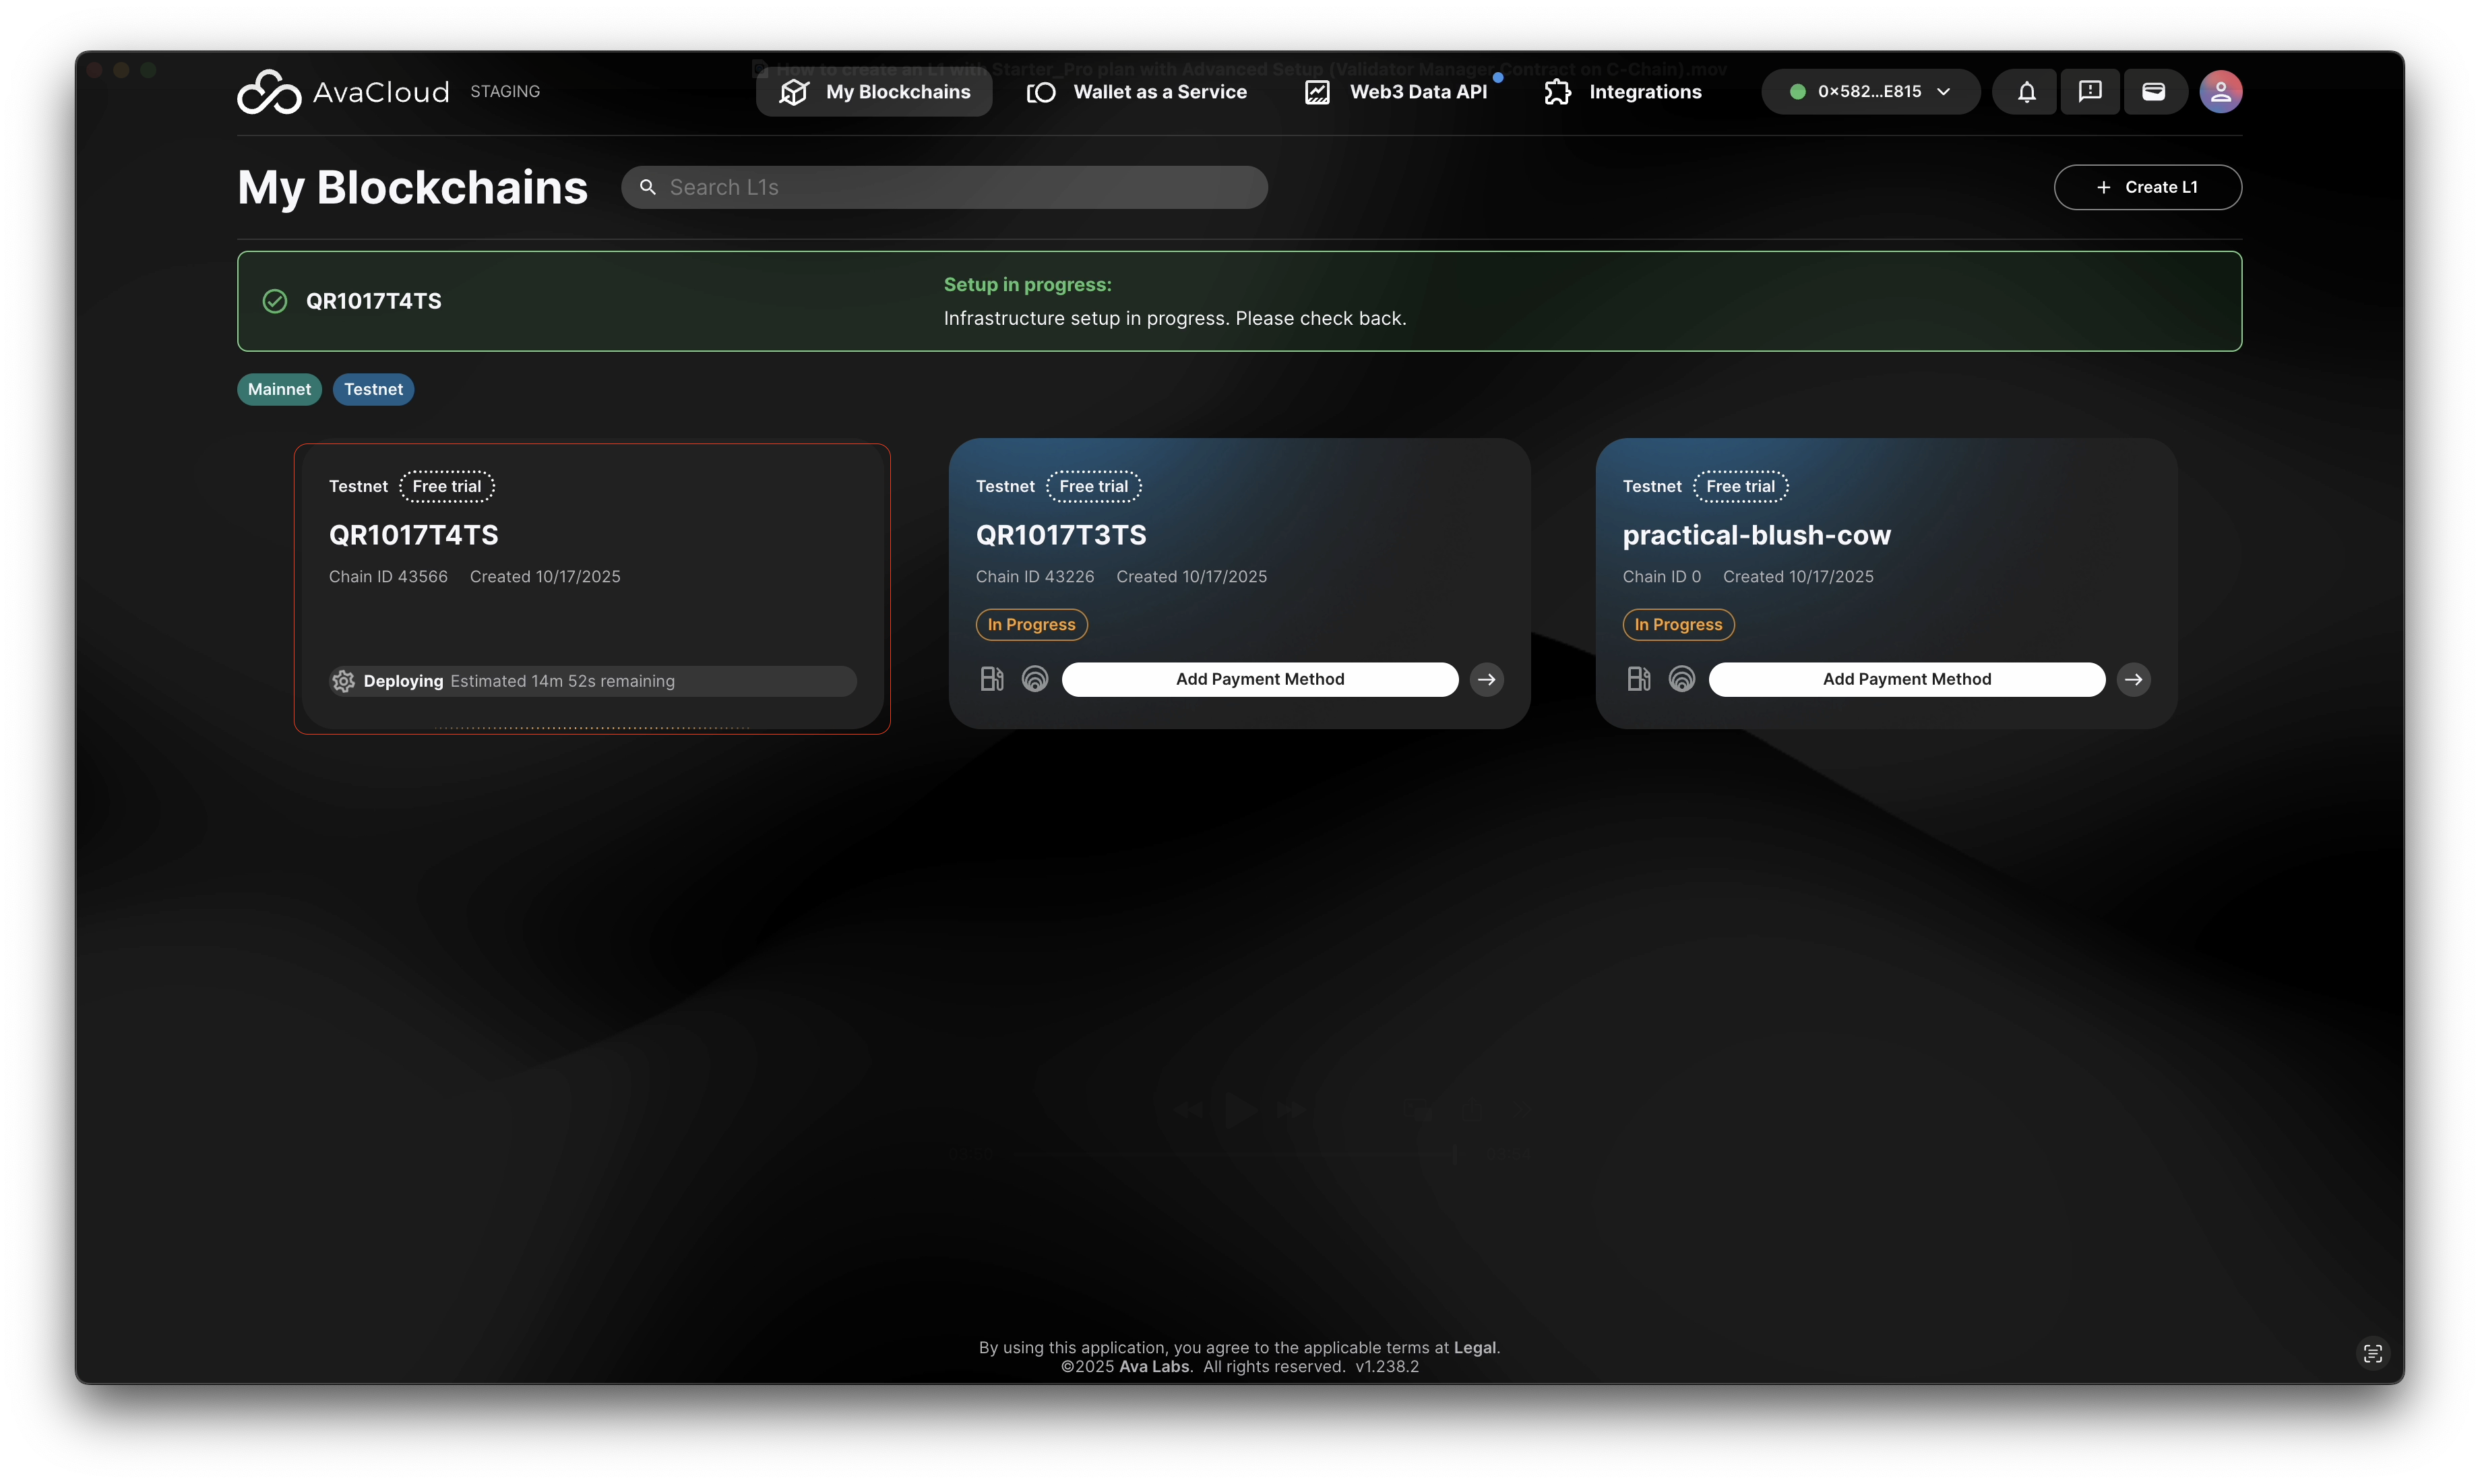
- Track progress on the status screens.
-
Completion
- You’ll get an email when your L1 is ready.
- Access your L1 details in the AvaCloud Portal.
Video Walkthrough
See the full process in this video:
If you need more help, explore our other articles or reach out to our support team via chat or email [email protected]. All examples provided are for demonstration purposes only.
Learn More About AvaCloud | Download Case Studies | Schedule an AvaCloud Demo