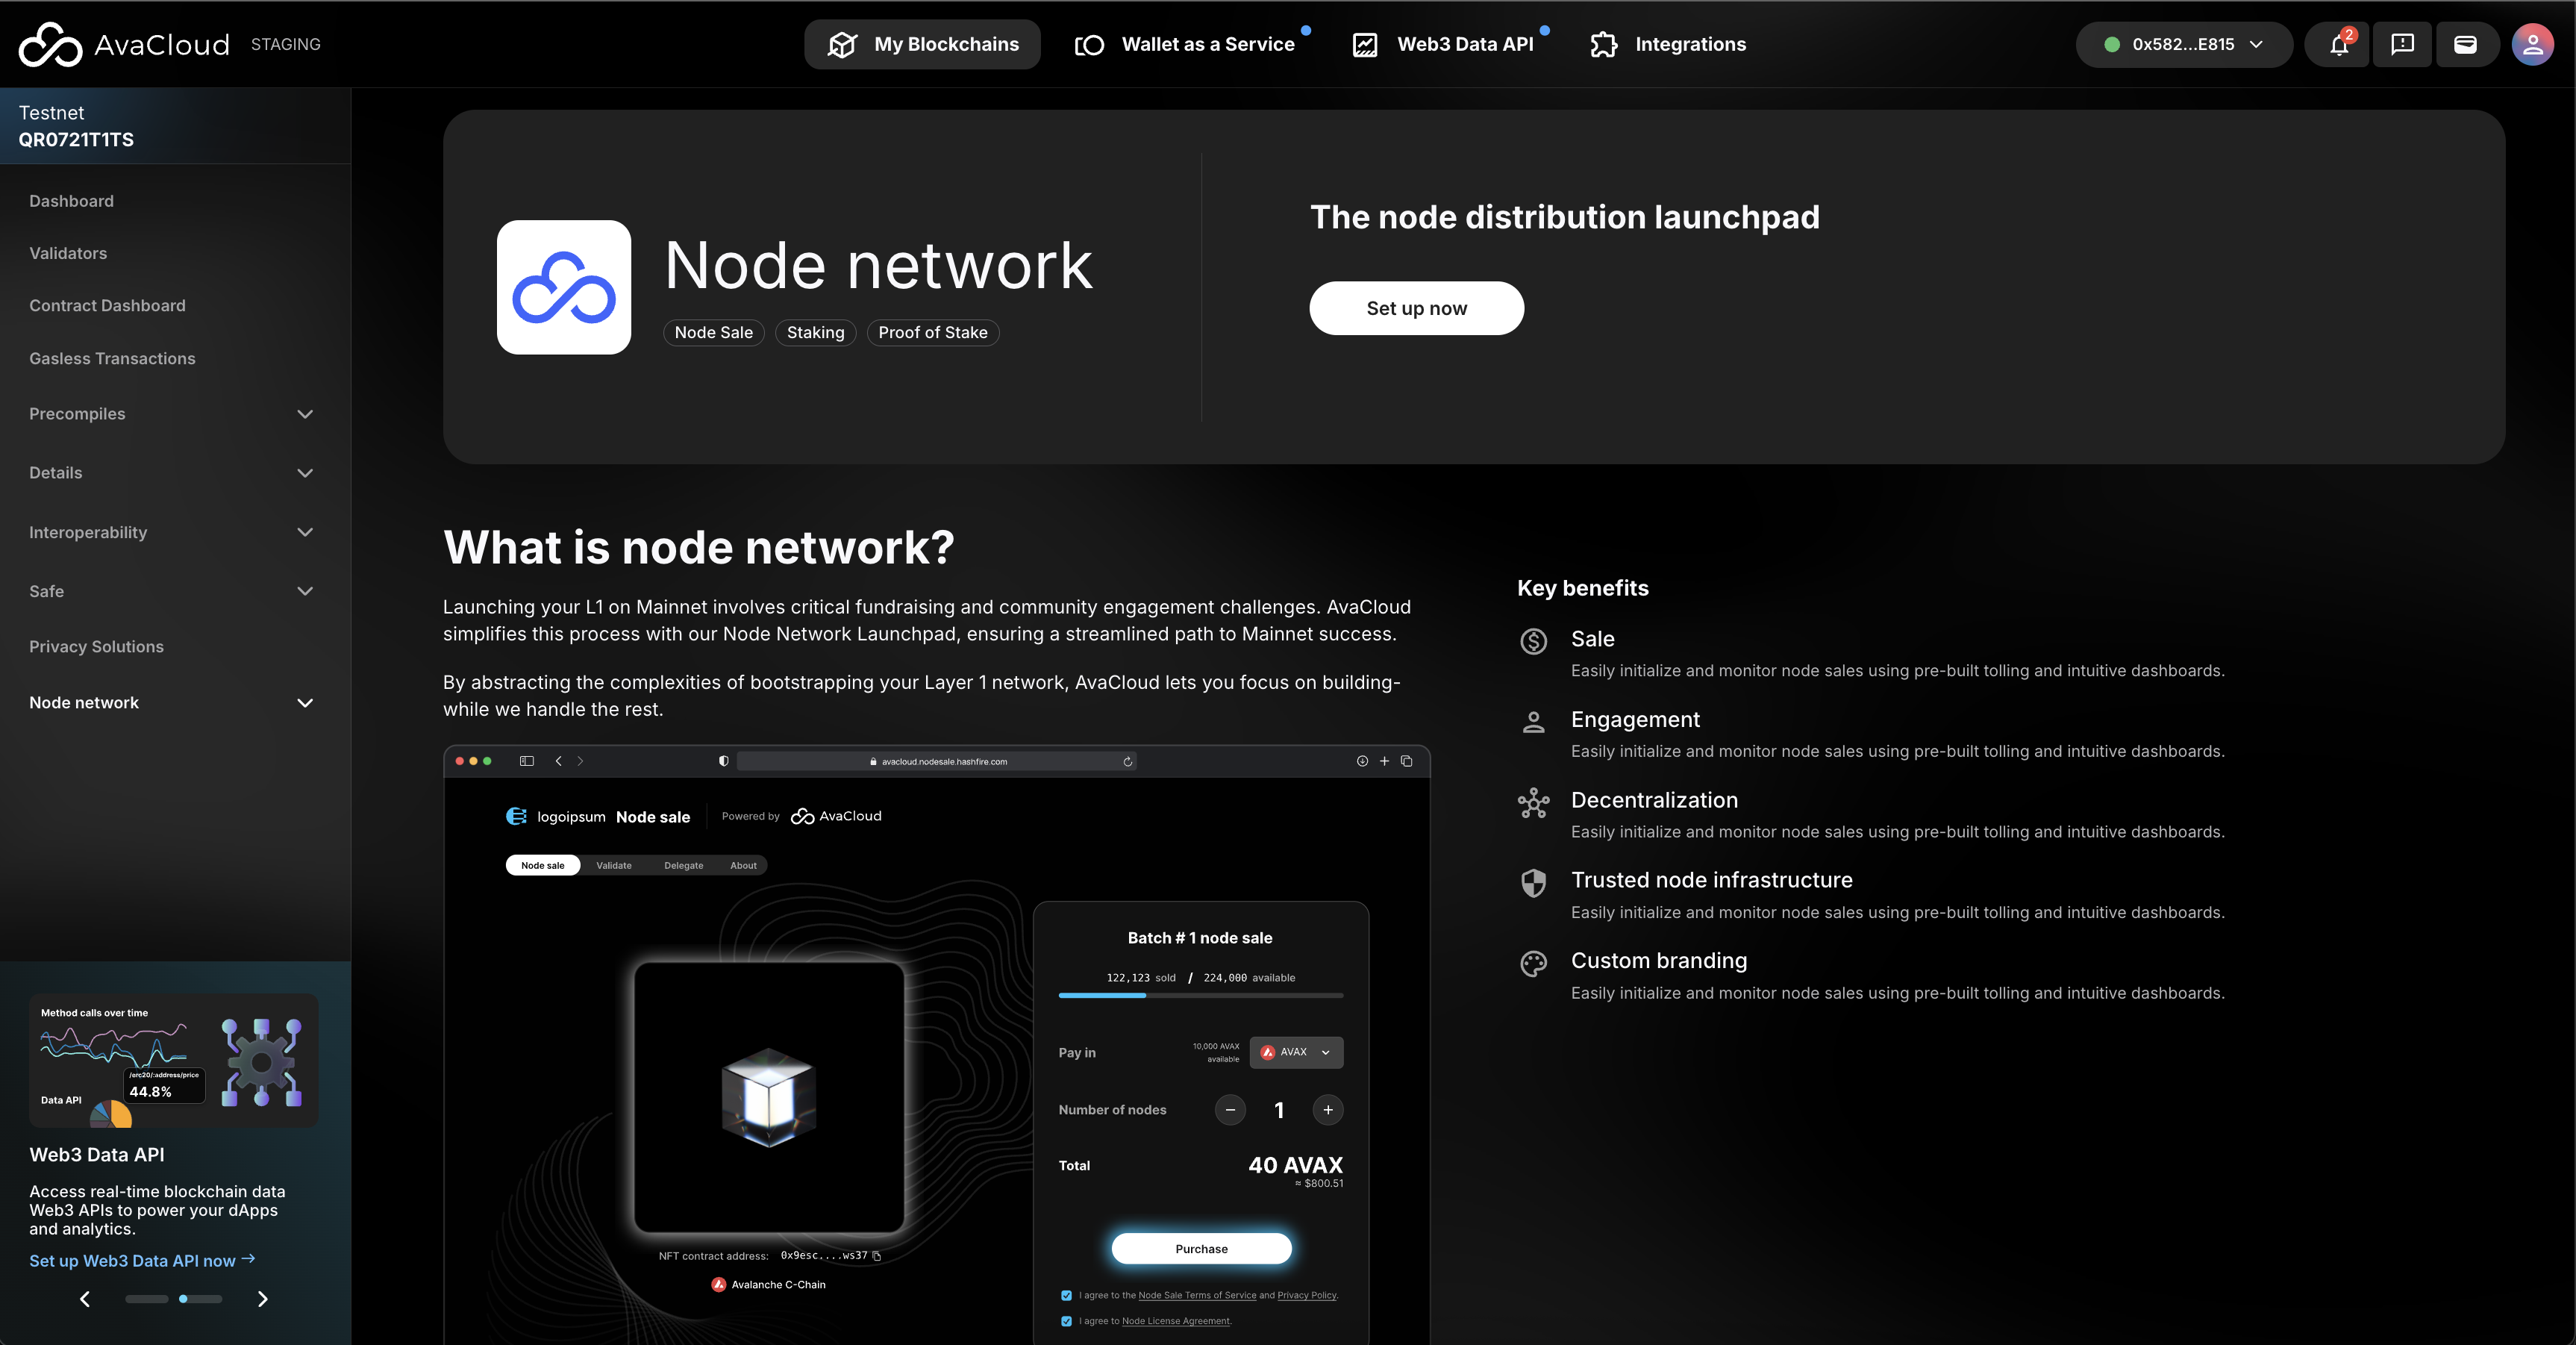
Set Up a Node Sale
After satisfying the prerequisites, Node network is now accessible from the left-hand menu.
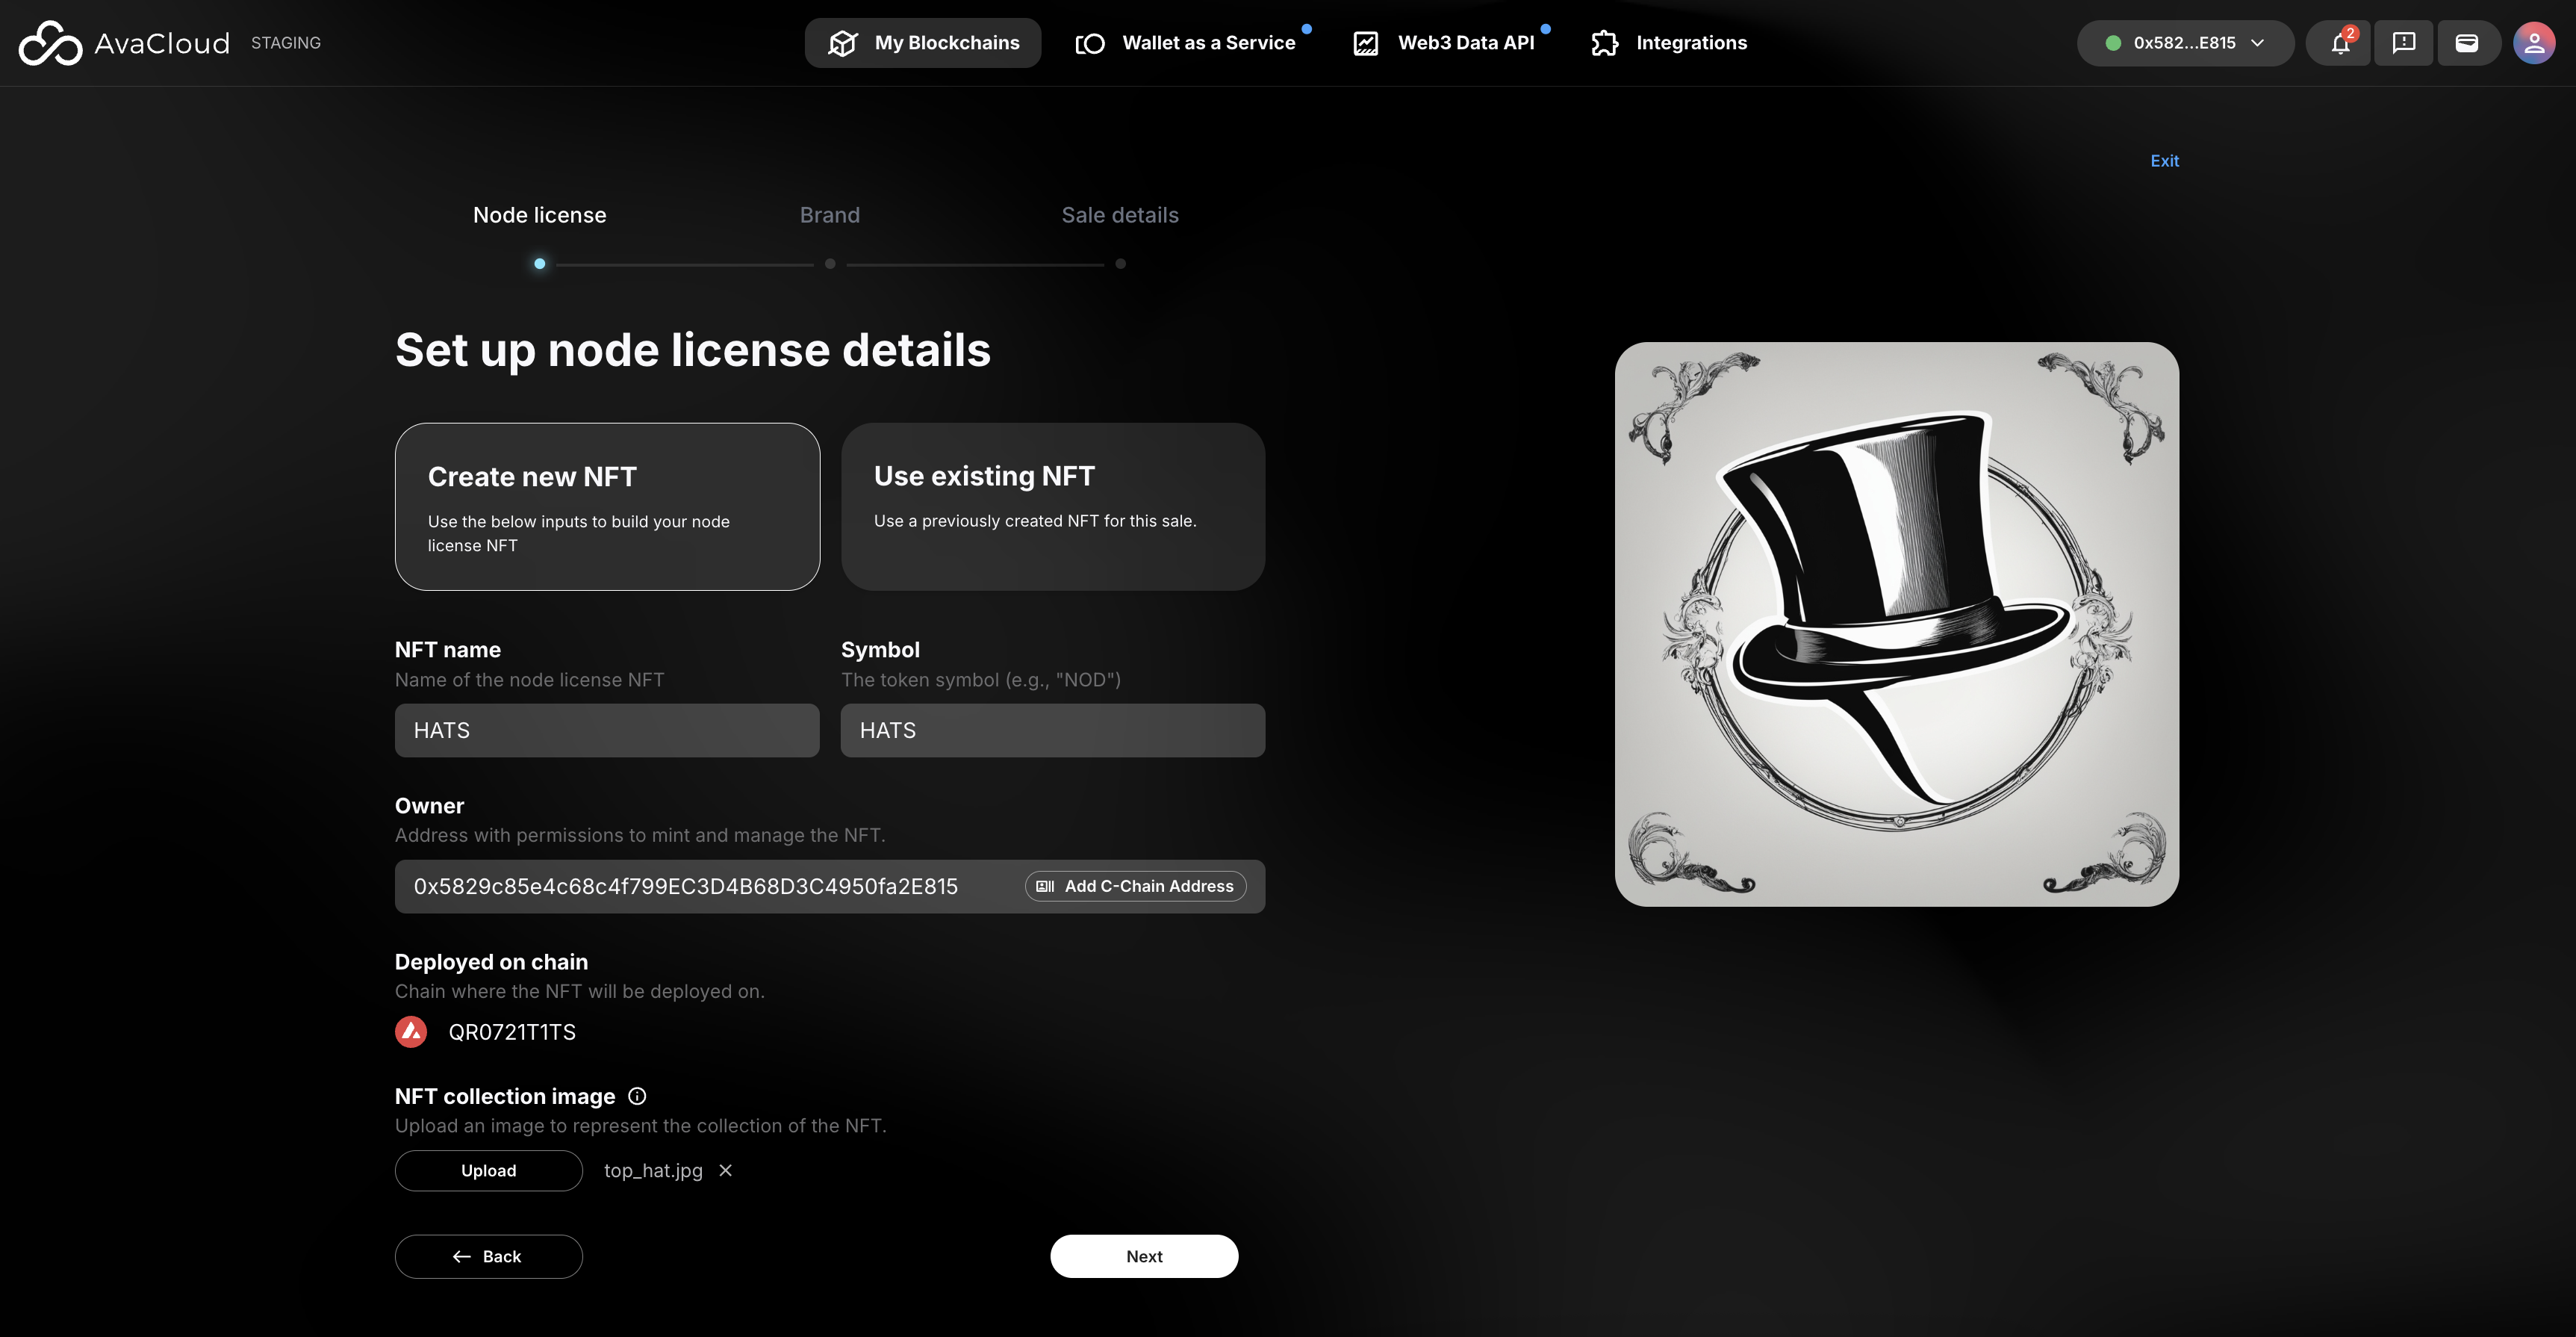
Setup Up Node License
- Create a New NFT: Utilize this flow to create a new NFT in AvaCloud for their node license.
- Use an Existing NFT: If you already possess an NFT contract that meets AvaCloud's requirements, the contract address can be provided.
Example of filled out node license:
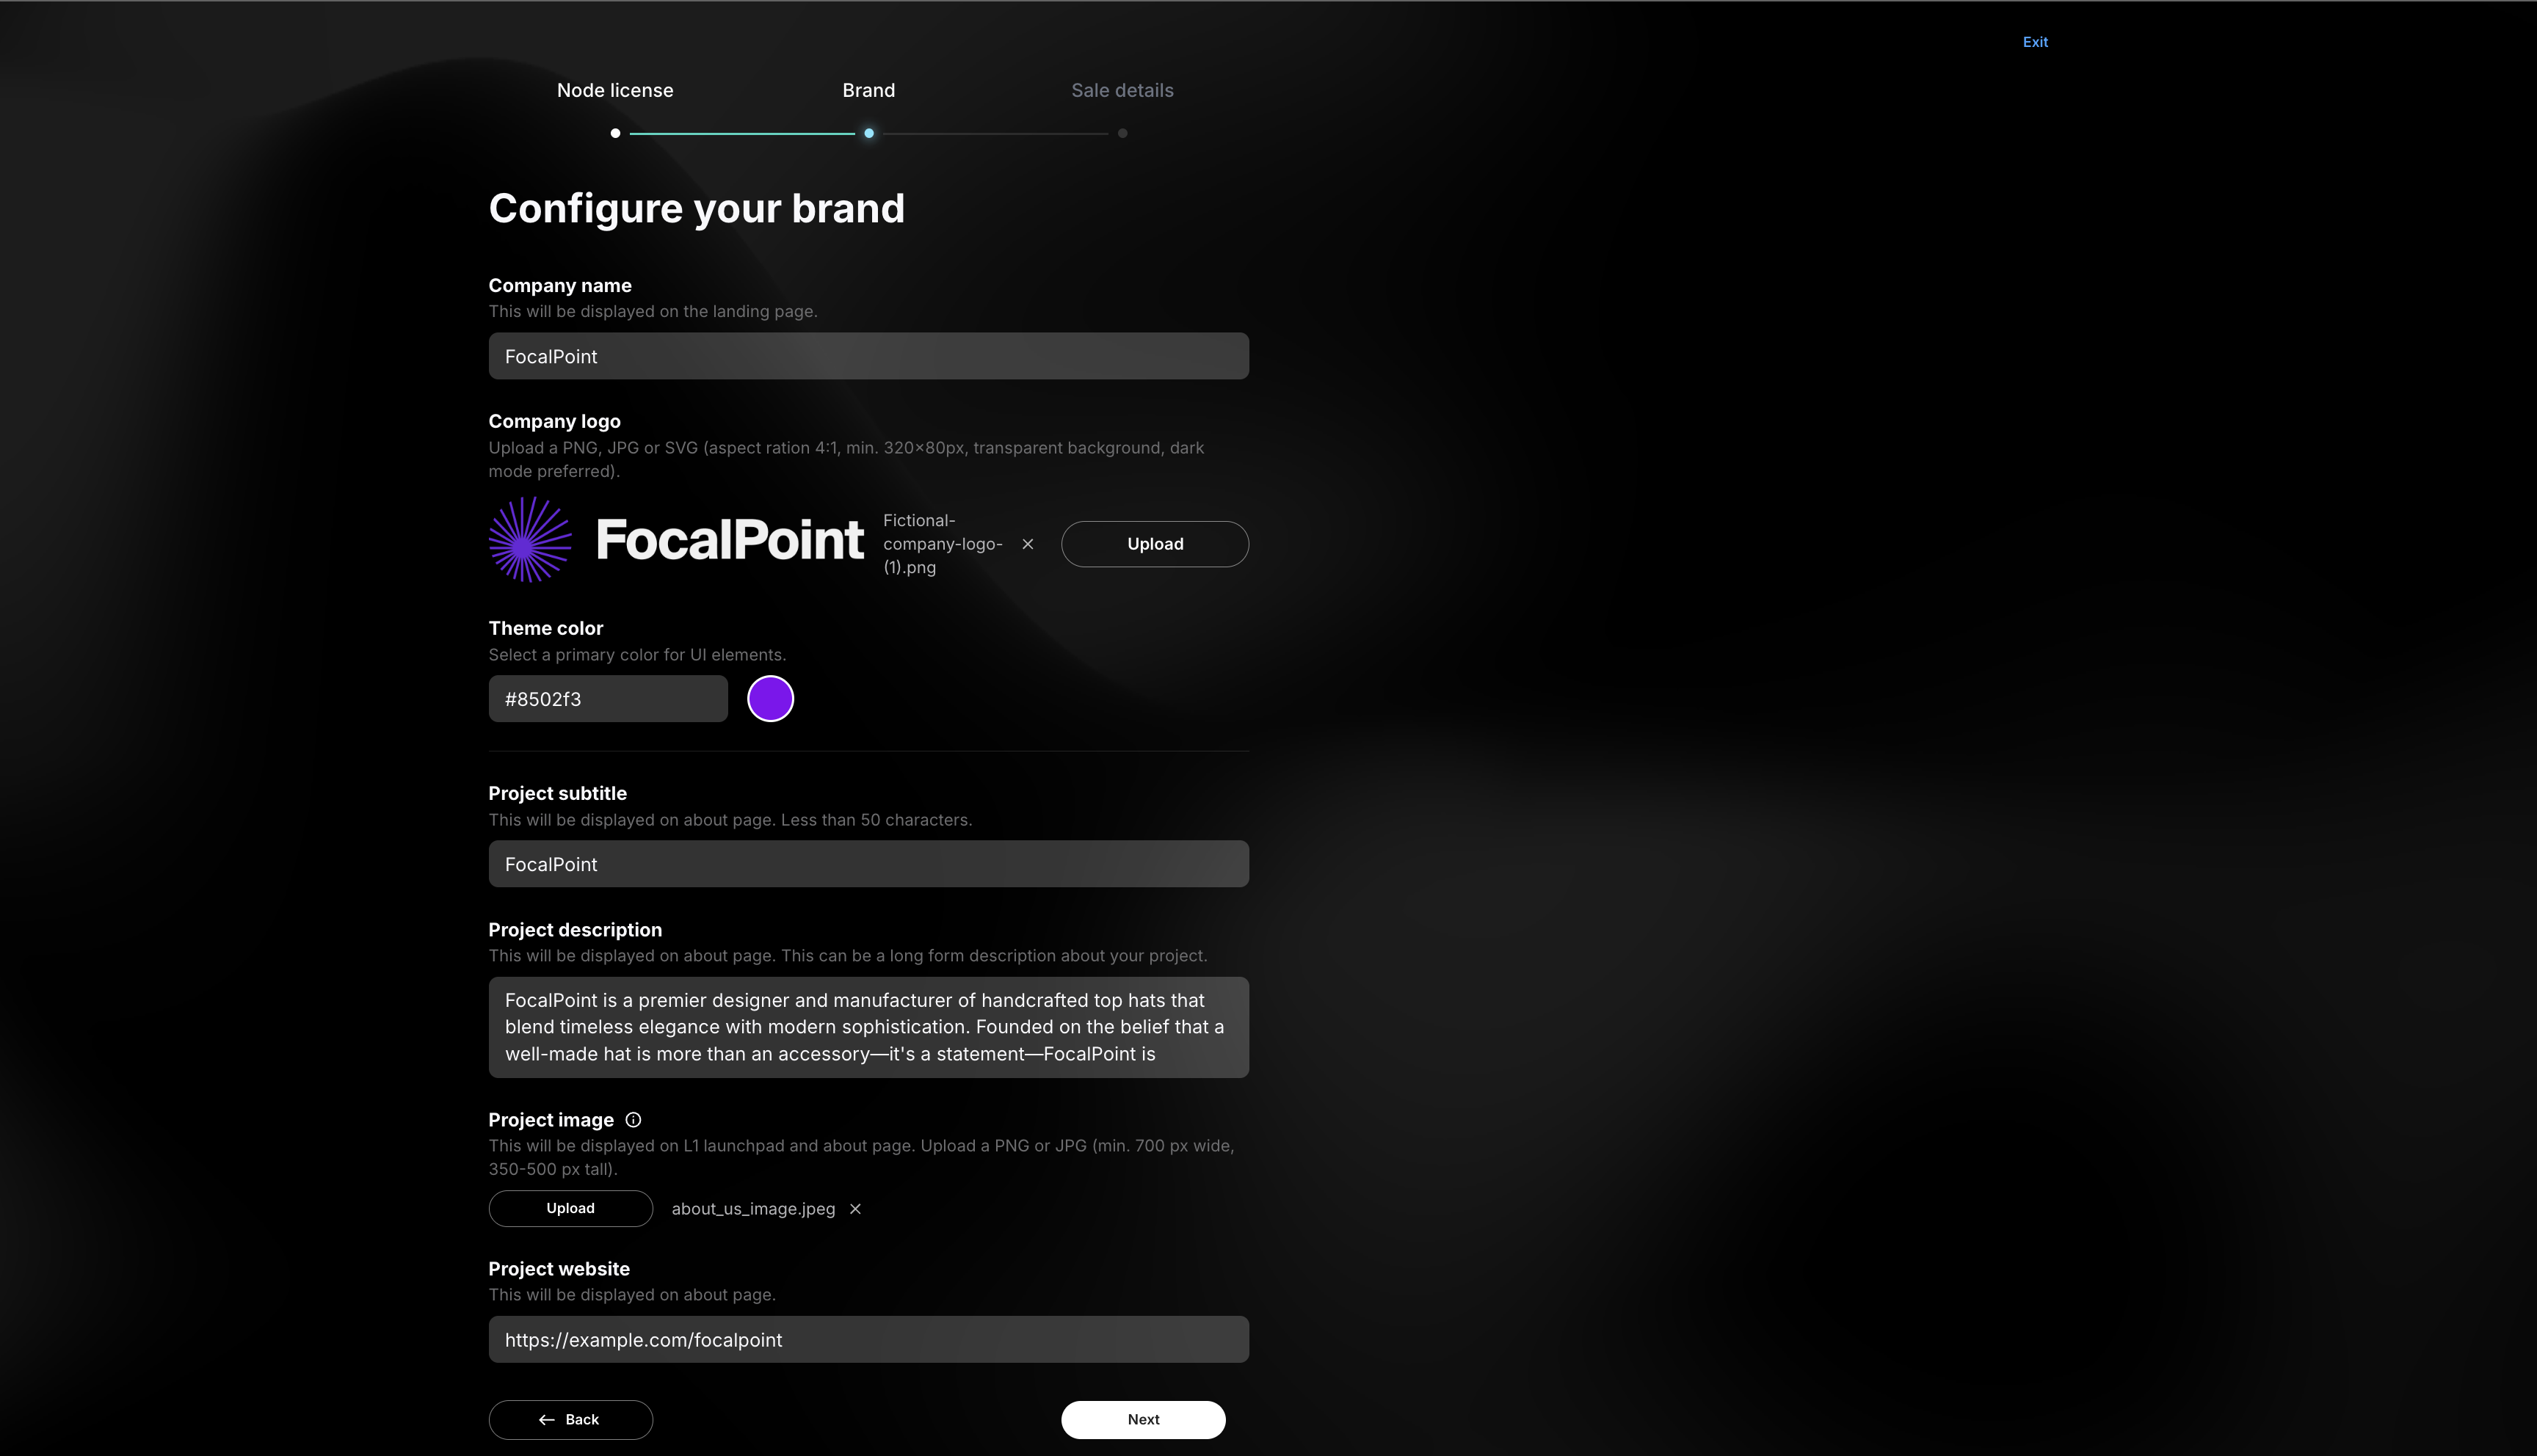
Configure Your Brand
You can personalize your node sale on this page. The information and images uploaded here are what will be showcased on LaunchPad.
Example of filled out Brand:
If you need more help, explore our other articles or reach out to our support team via chat or email support@avacloud.io. All examples provided are for demonstration purposes only.
Learn More About AvaCloud | Download Case Studies | Schedule an AvaCloud Demo
Node Sale Details
On this page clients can configure their node sale:
| Item | Description |
|---|---|
| Manager list* | Admin address that can modify a node sale once live |
| Revenue recipient | Address that will receive the proceeds from the node sale |
| Node Sale Name | The node sale name that will be displayed on Launchpad |
| Total Supply | The max number of licenses that can be purchased in this node sale |
| Accepted Tokens* | List of accepted tokens & cost to purchase a node license |
| Allowed self hosted nodes | If node purchasers are allowed to run their own infra |

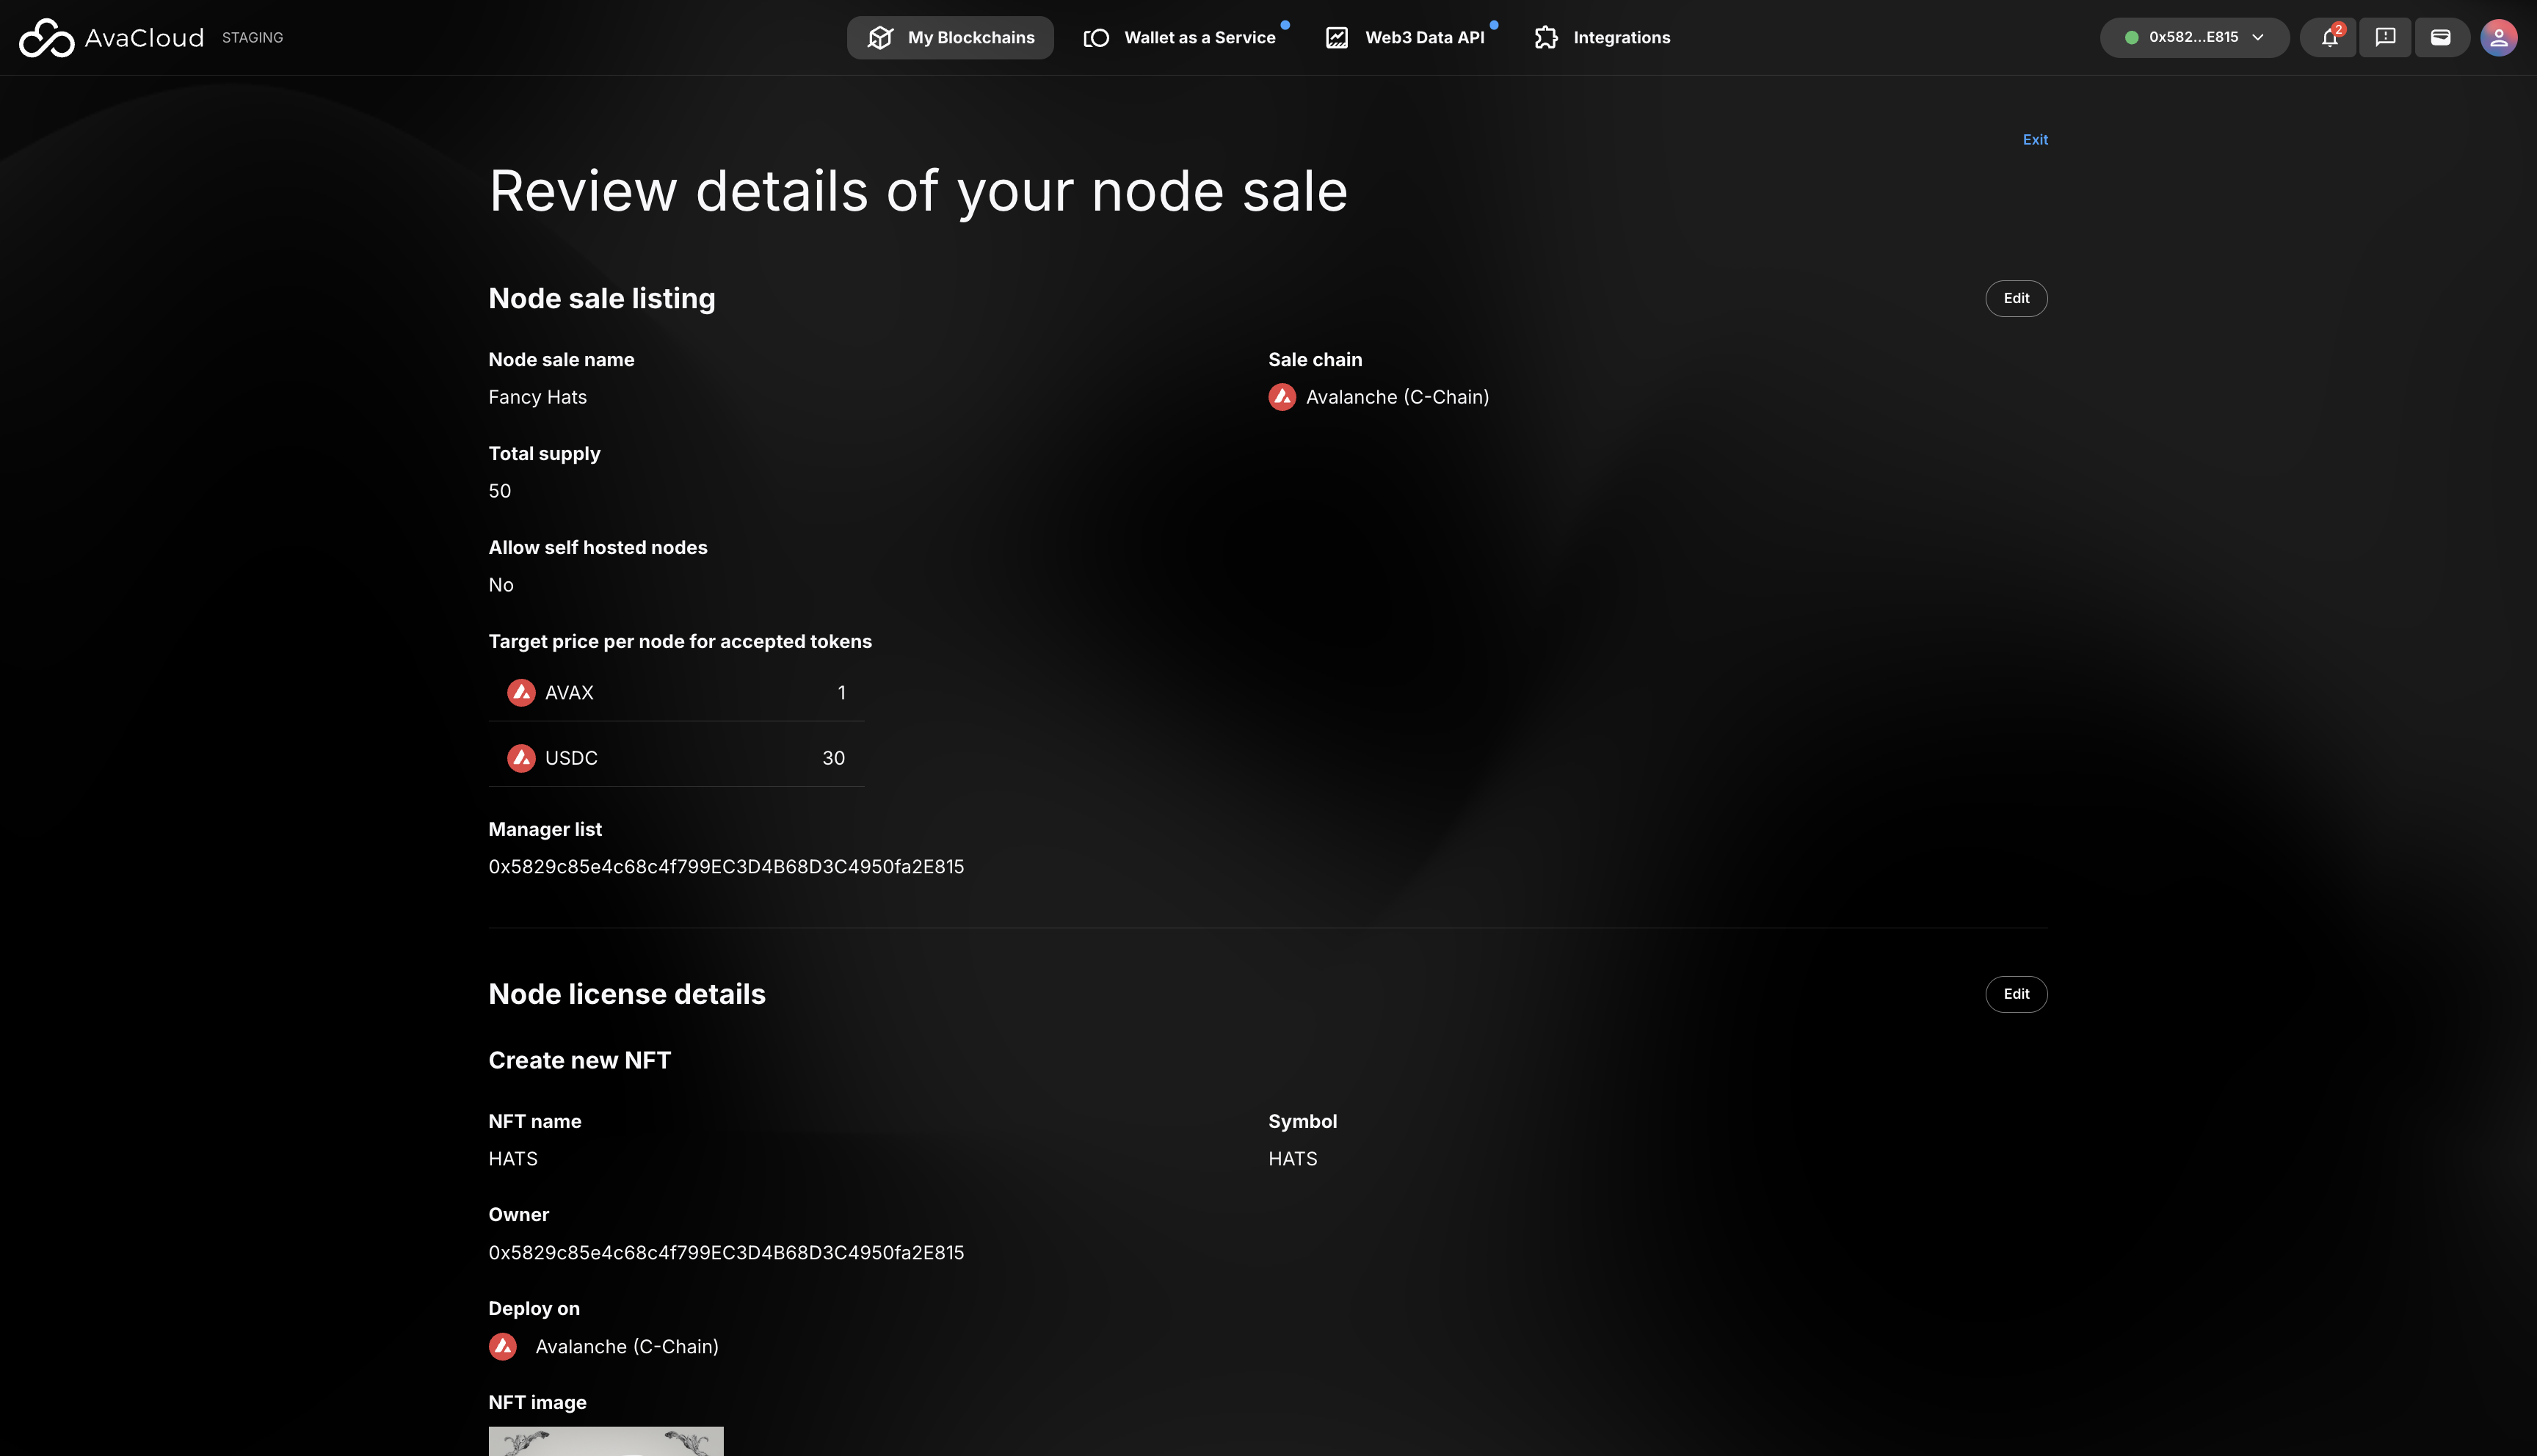
Summary Page
The Summary Page allows review of the configured node sale and verify everything is correct.
- If a mistake is found, clicking on a section's
Editbutton will redirect back to that section - If everything looks correct, click the
Nextbutton at the bottom of the page
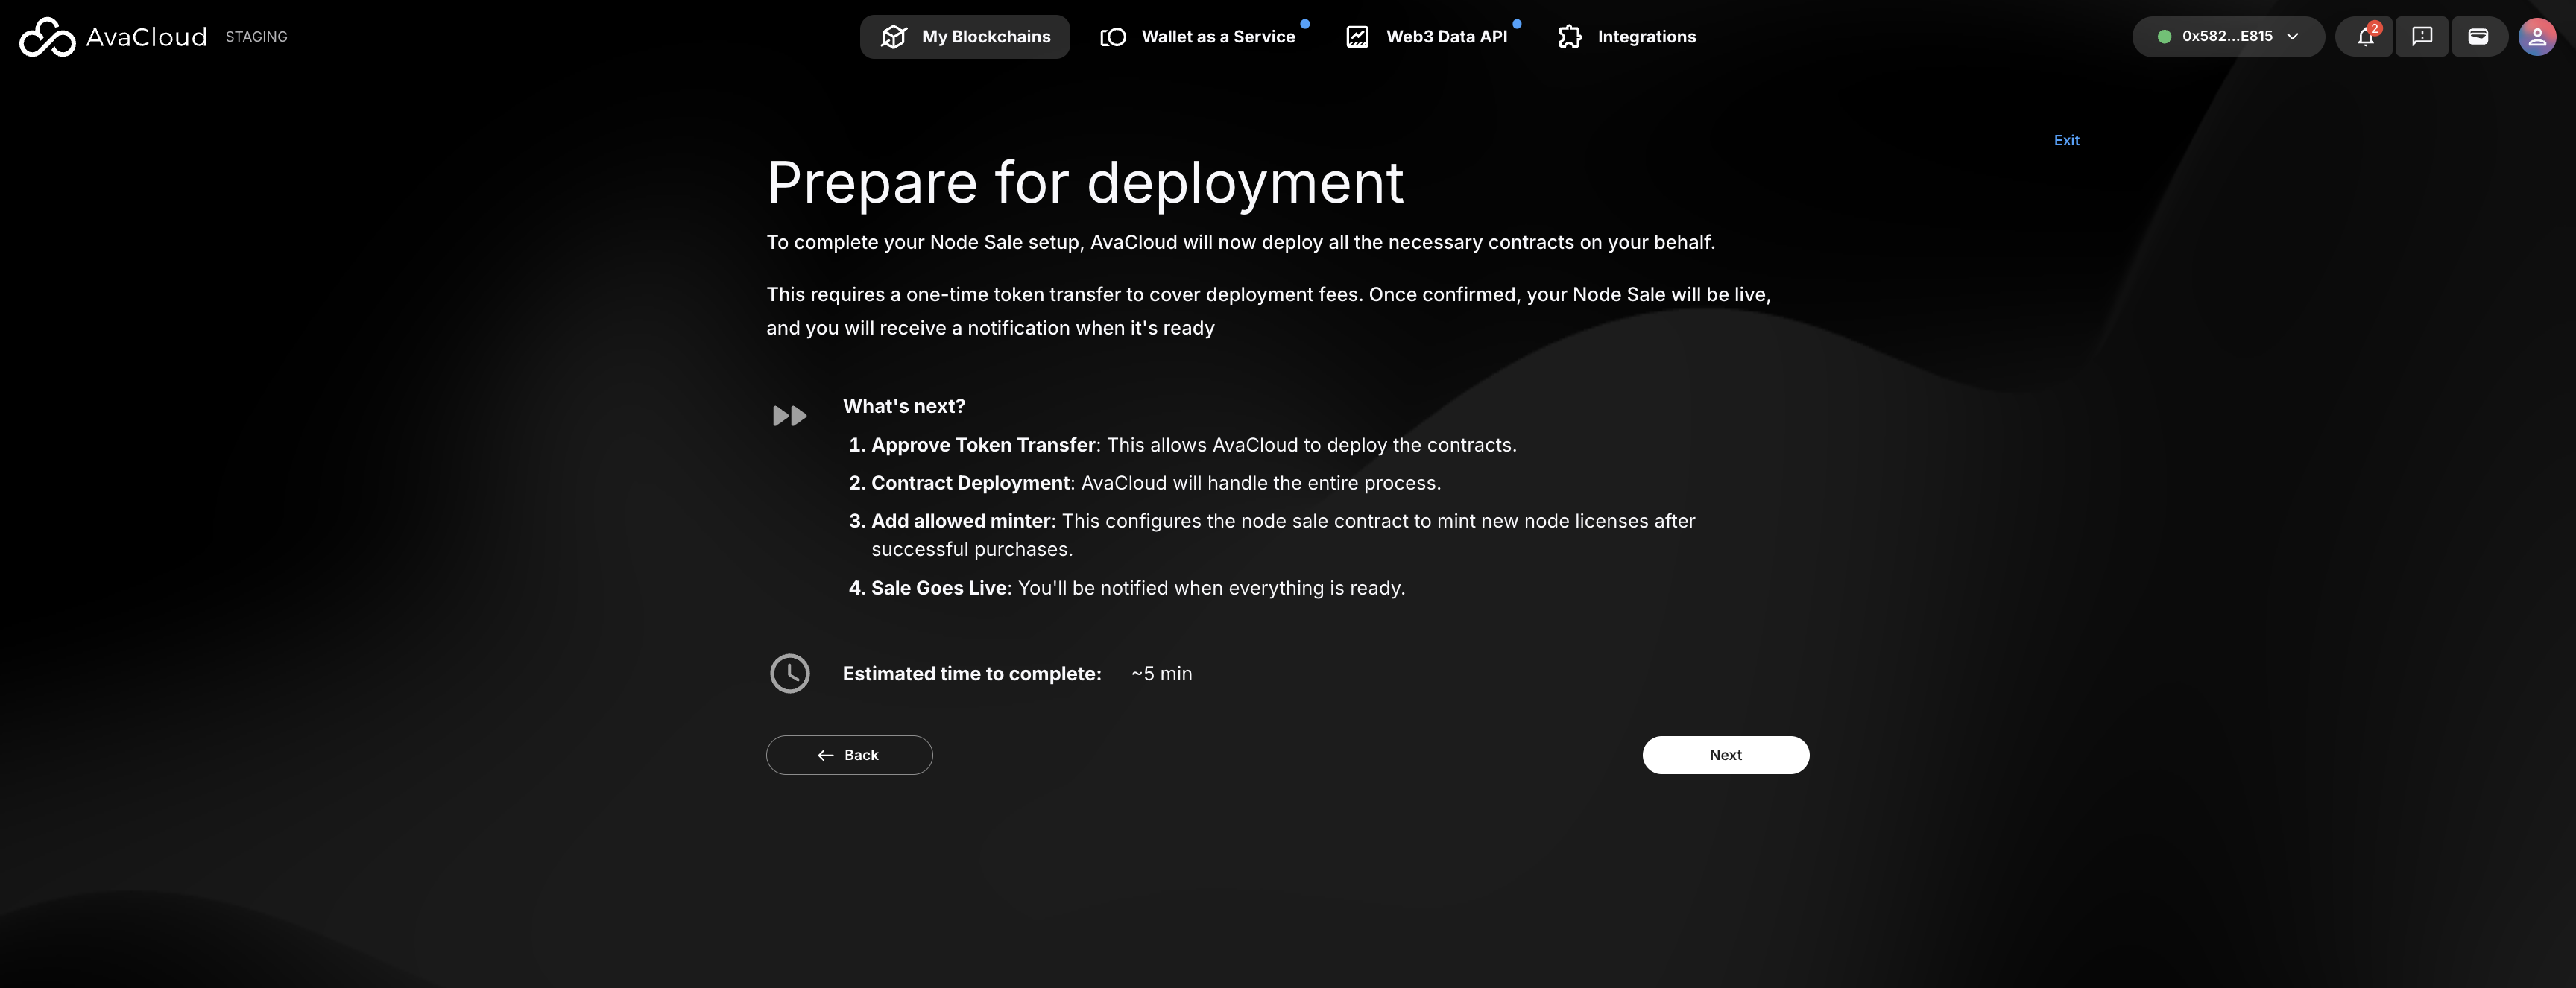
Prepare For Deployment
The next screen shows a detailed explanation of the steps required for deployment.
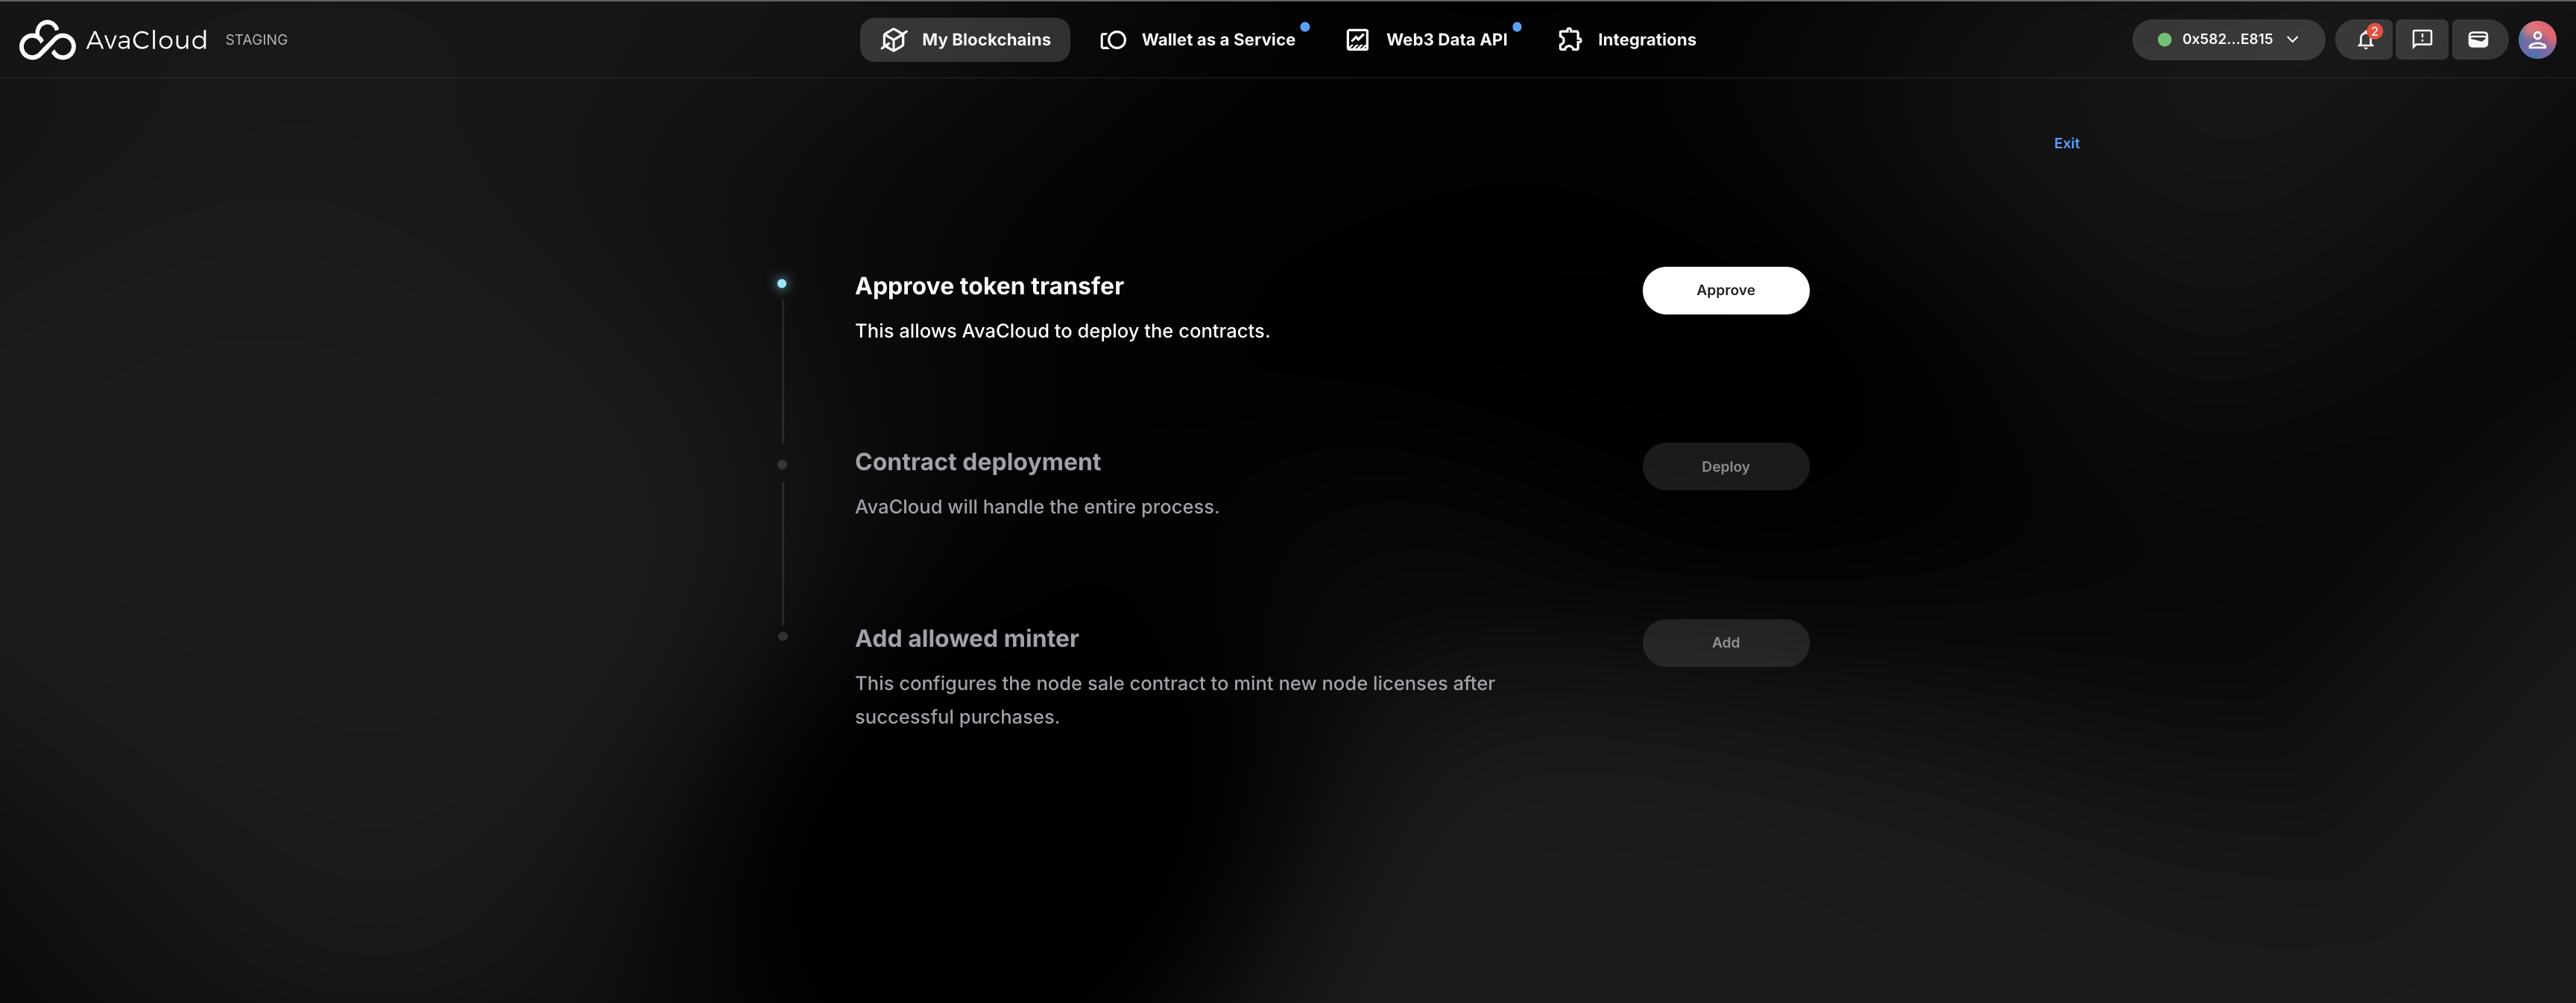
Deploy Node Sale Contracts
Step | Description Approve token transfer | Sending L1 tokens to the node sale deployer address Contract deployment | Node sale deployer address deploying the node sale contracts Add allowed minter | Configures node sale contract so it can mint new node licenses
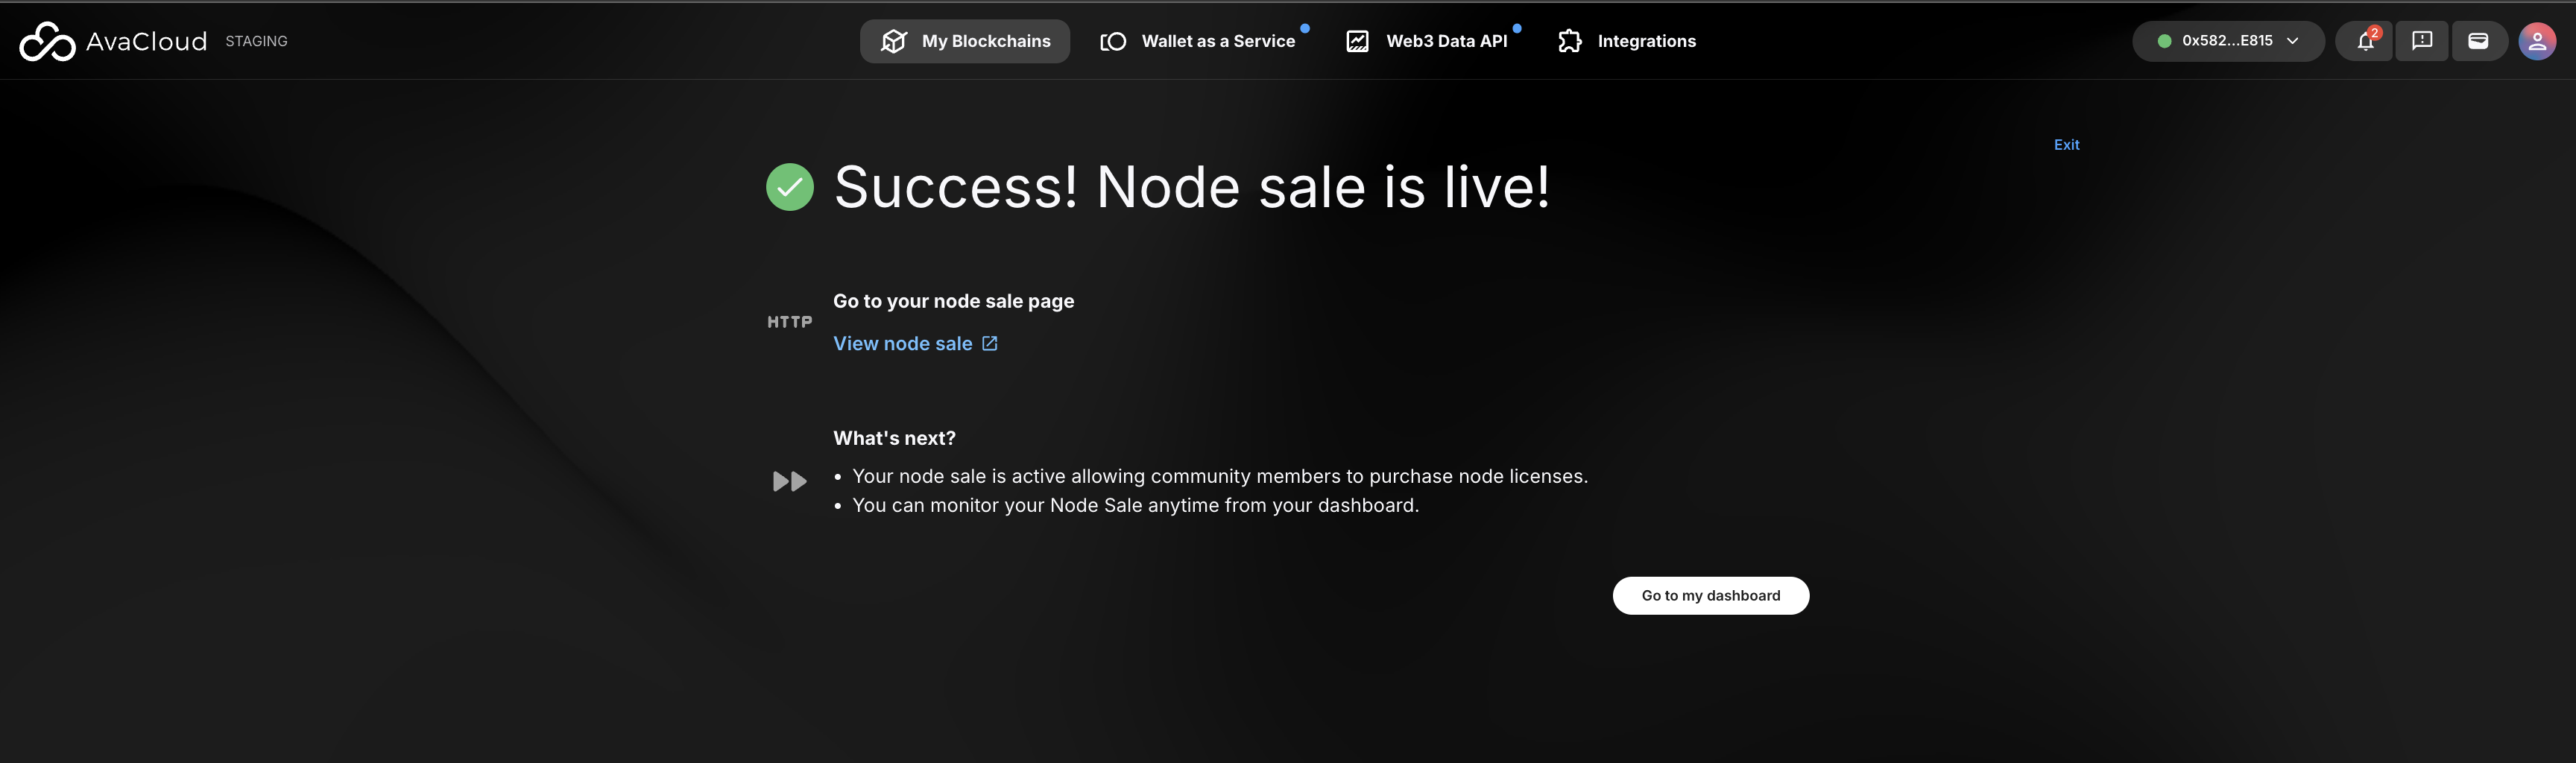
Node Sale Deployed
- View node sale: Opens the client’s node sale on Launchpad
- Go to my dashboard: Redirects to the node sale dashboard page
If you need more help, explore our other articles or reach out to our support team via chat or email support@avacloud.io. All examples provided are for demonstration purposes only.
Learn More About AvaCloud | Download Case Studies | Schedule an AvaCloud Demo