How to Create an L1 With the Free Trial Plan on Testnet With Basic Setup?
This guide walks you through deploying a new Avalanche L1 on Testnet using AvaCloud’s free trial of the Testnet Starter plan with Basic Setup.
Prerequisites
- You need an AvaCloud Portal account. (Sign up or Log in)
A step-by-step video walkthrough is included at the end of this guide.
Step-by-Step Instructions
-
Select the Network
- In the AvaCloud Portal, click the
Create L1button. - Select “Testnet” when prompted to choose a network.
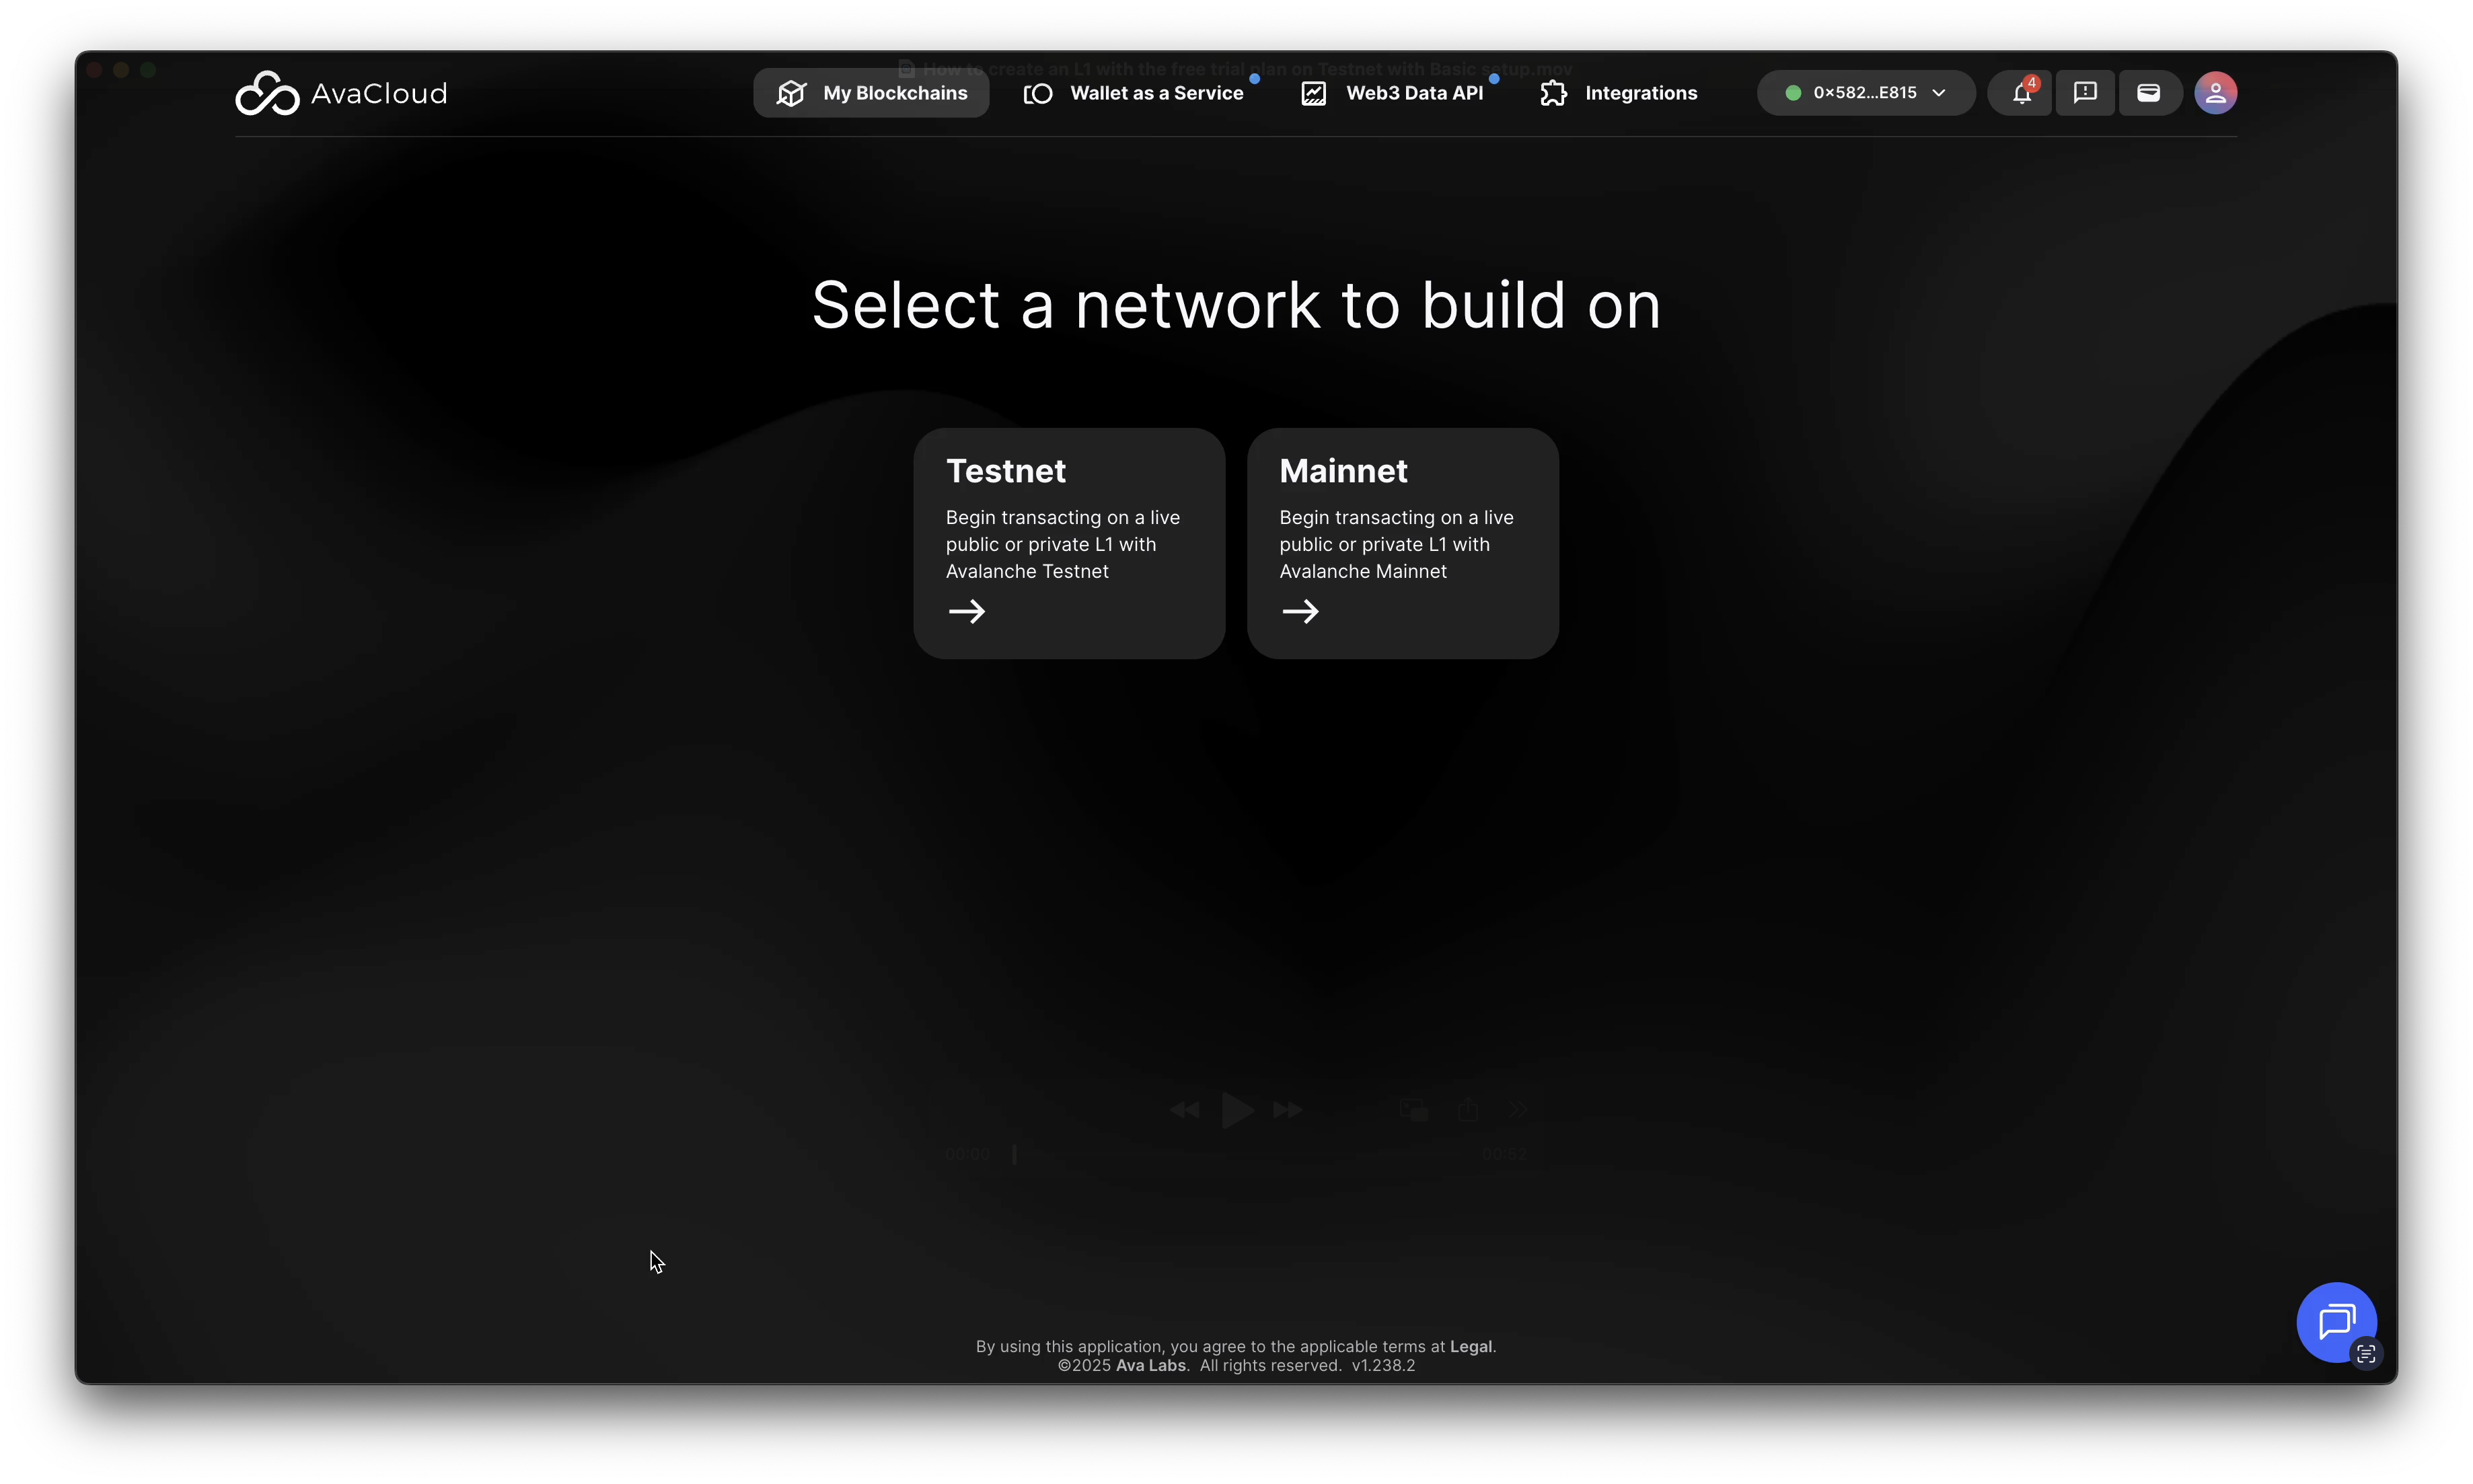
- In the AvaCloud Portal, click the
-
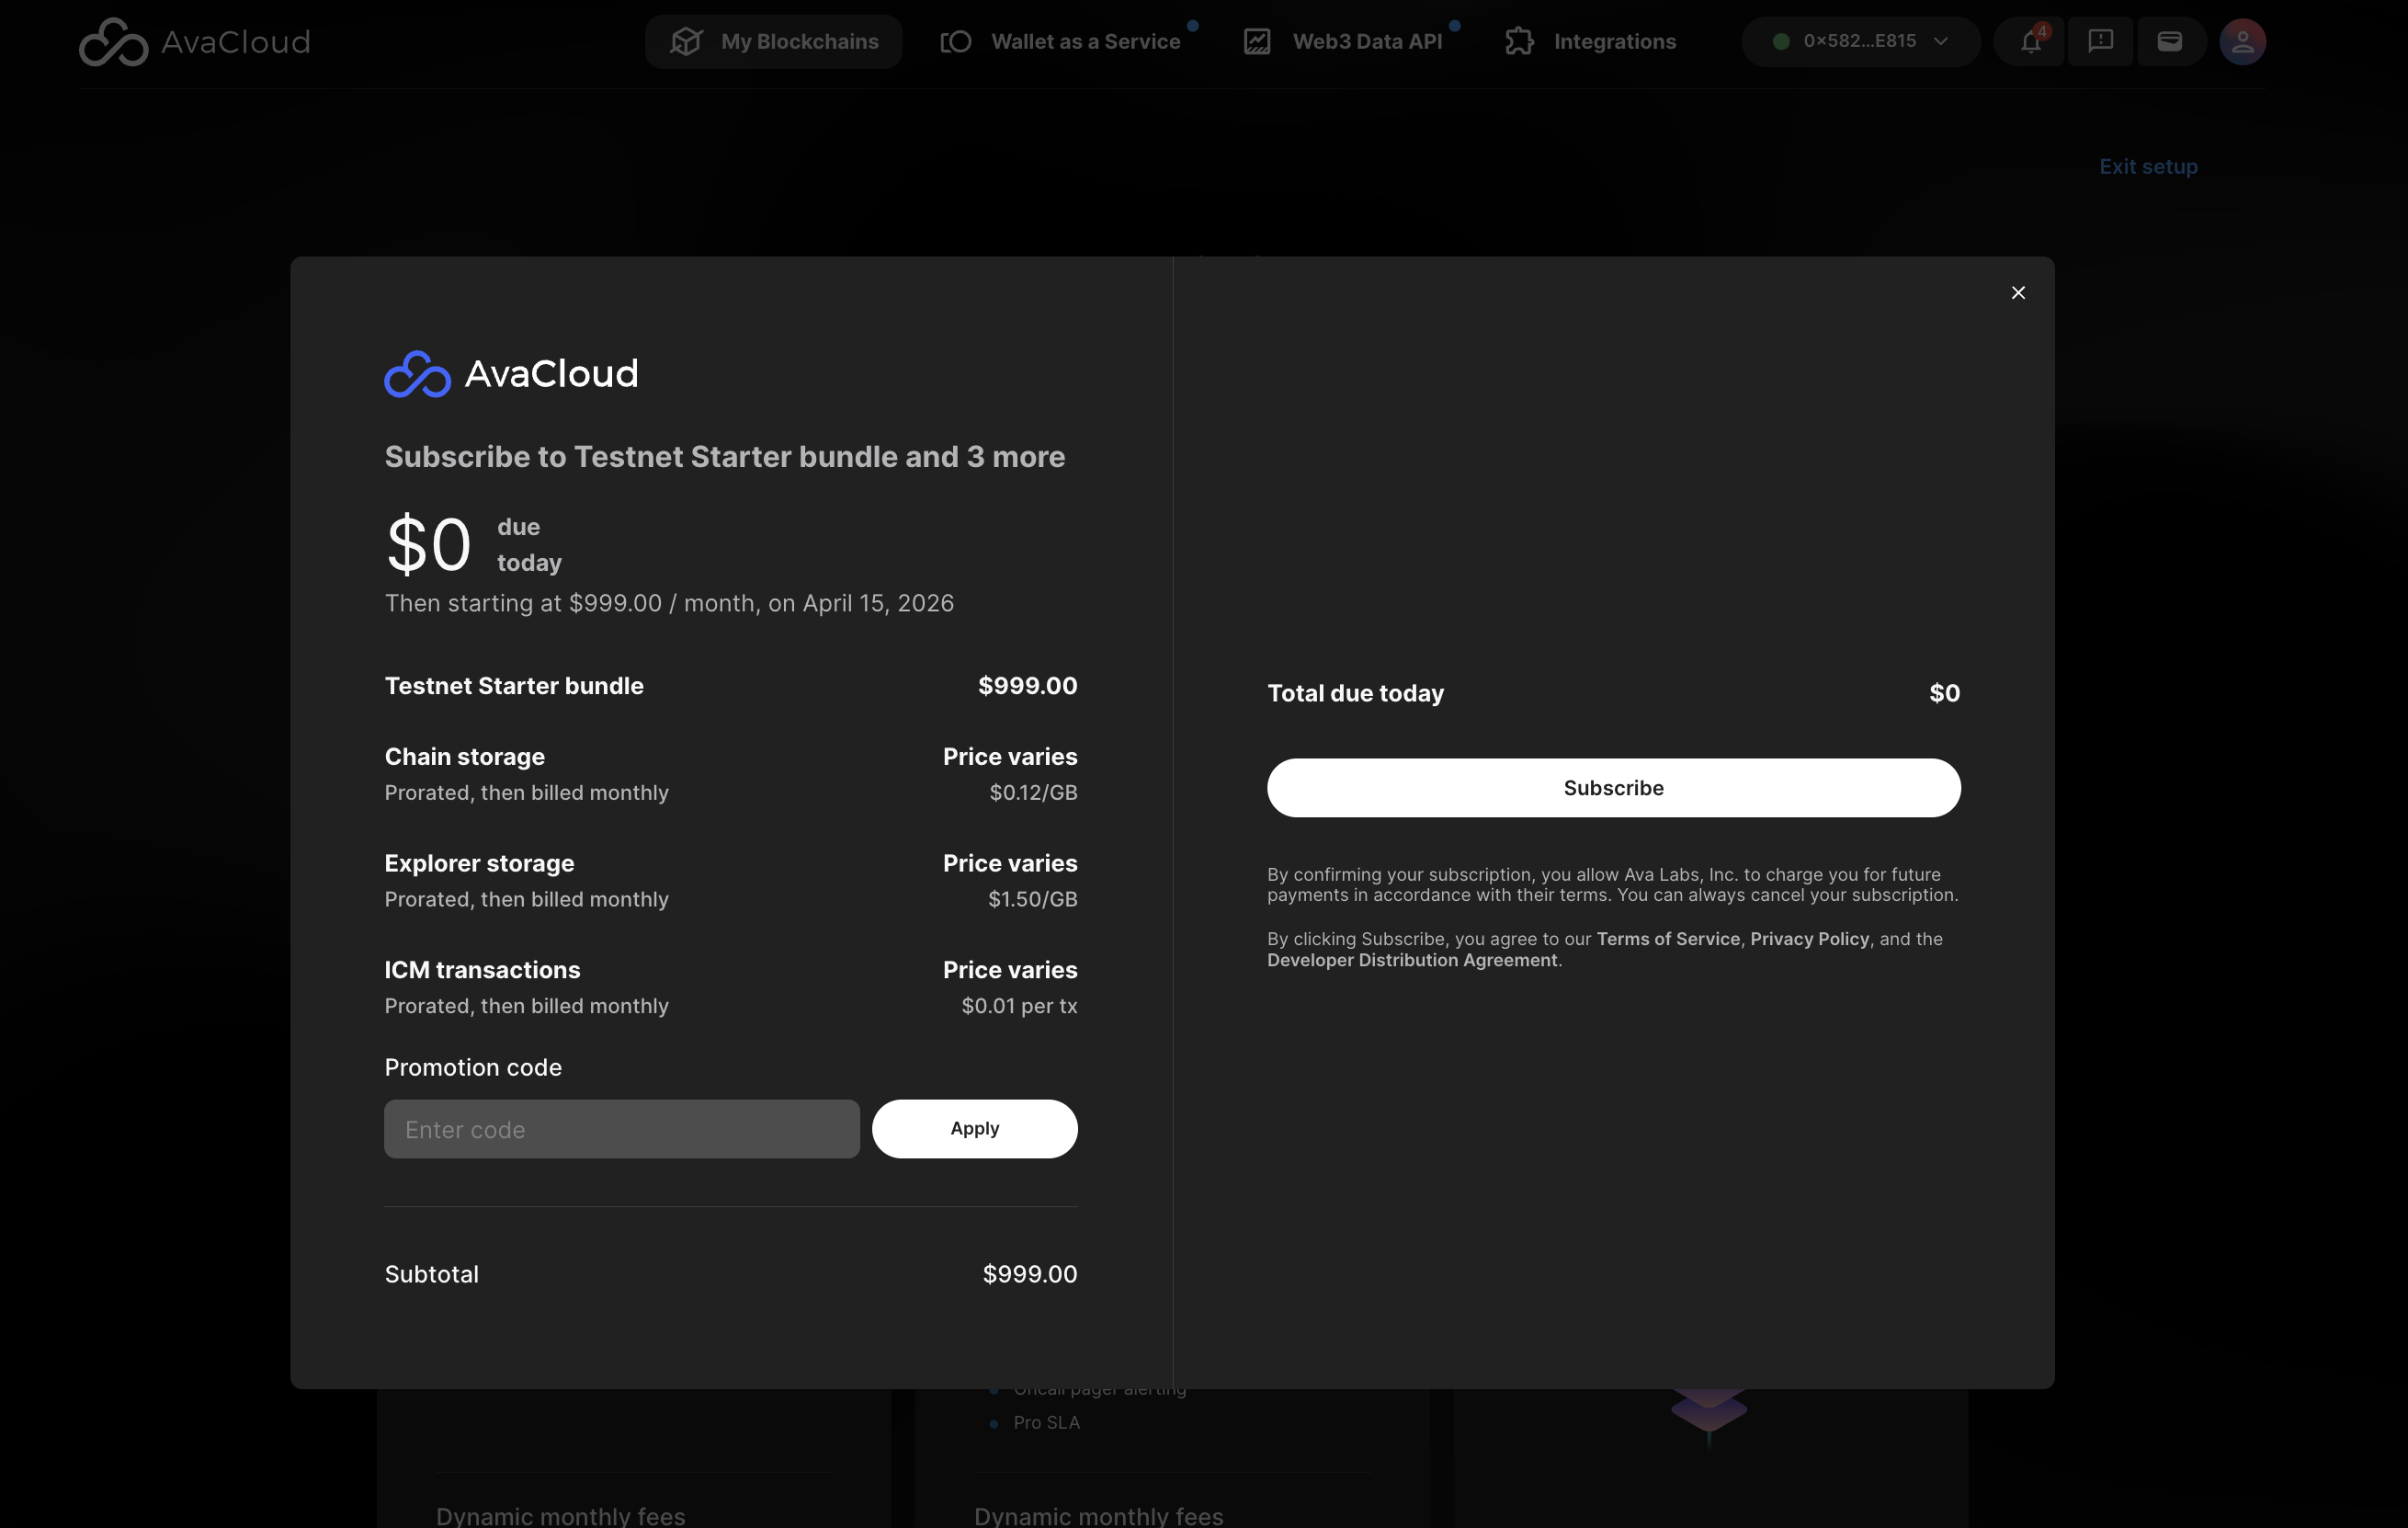
Pick Your Plan
- Three plan options will appear: Testnet Starter, Testnet Pro, and Testnet Enterprise.
- Choose Testnet Starter to take advantage of the free trial.

-
Understand the Free Trial
- The Testnet Starter plan offers a 5-day free trial.
- You do not need to add payment details to start the trial.
- To continue using your L1 after 5 days, add payment information before the trial ends.
- If you don’t add payment information, the L1 will be cancelled automatically at the end of the trial period.
-
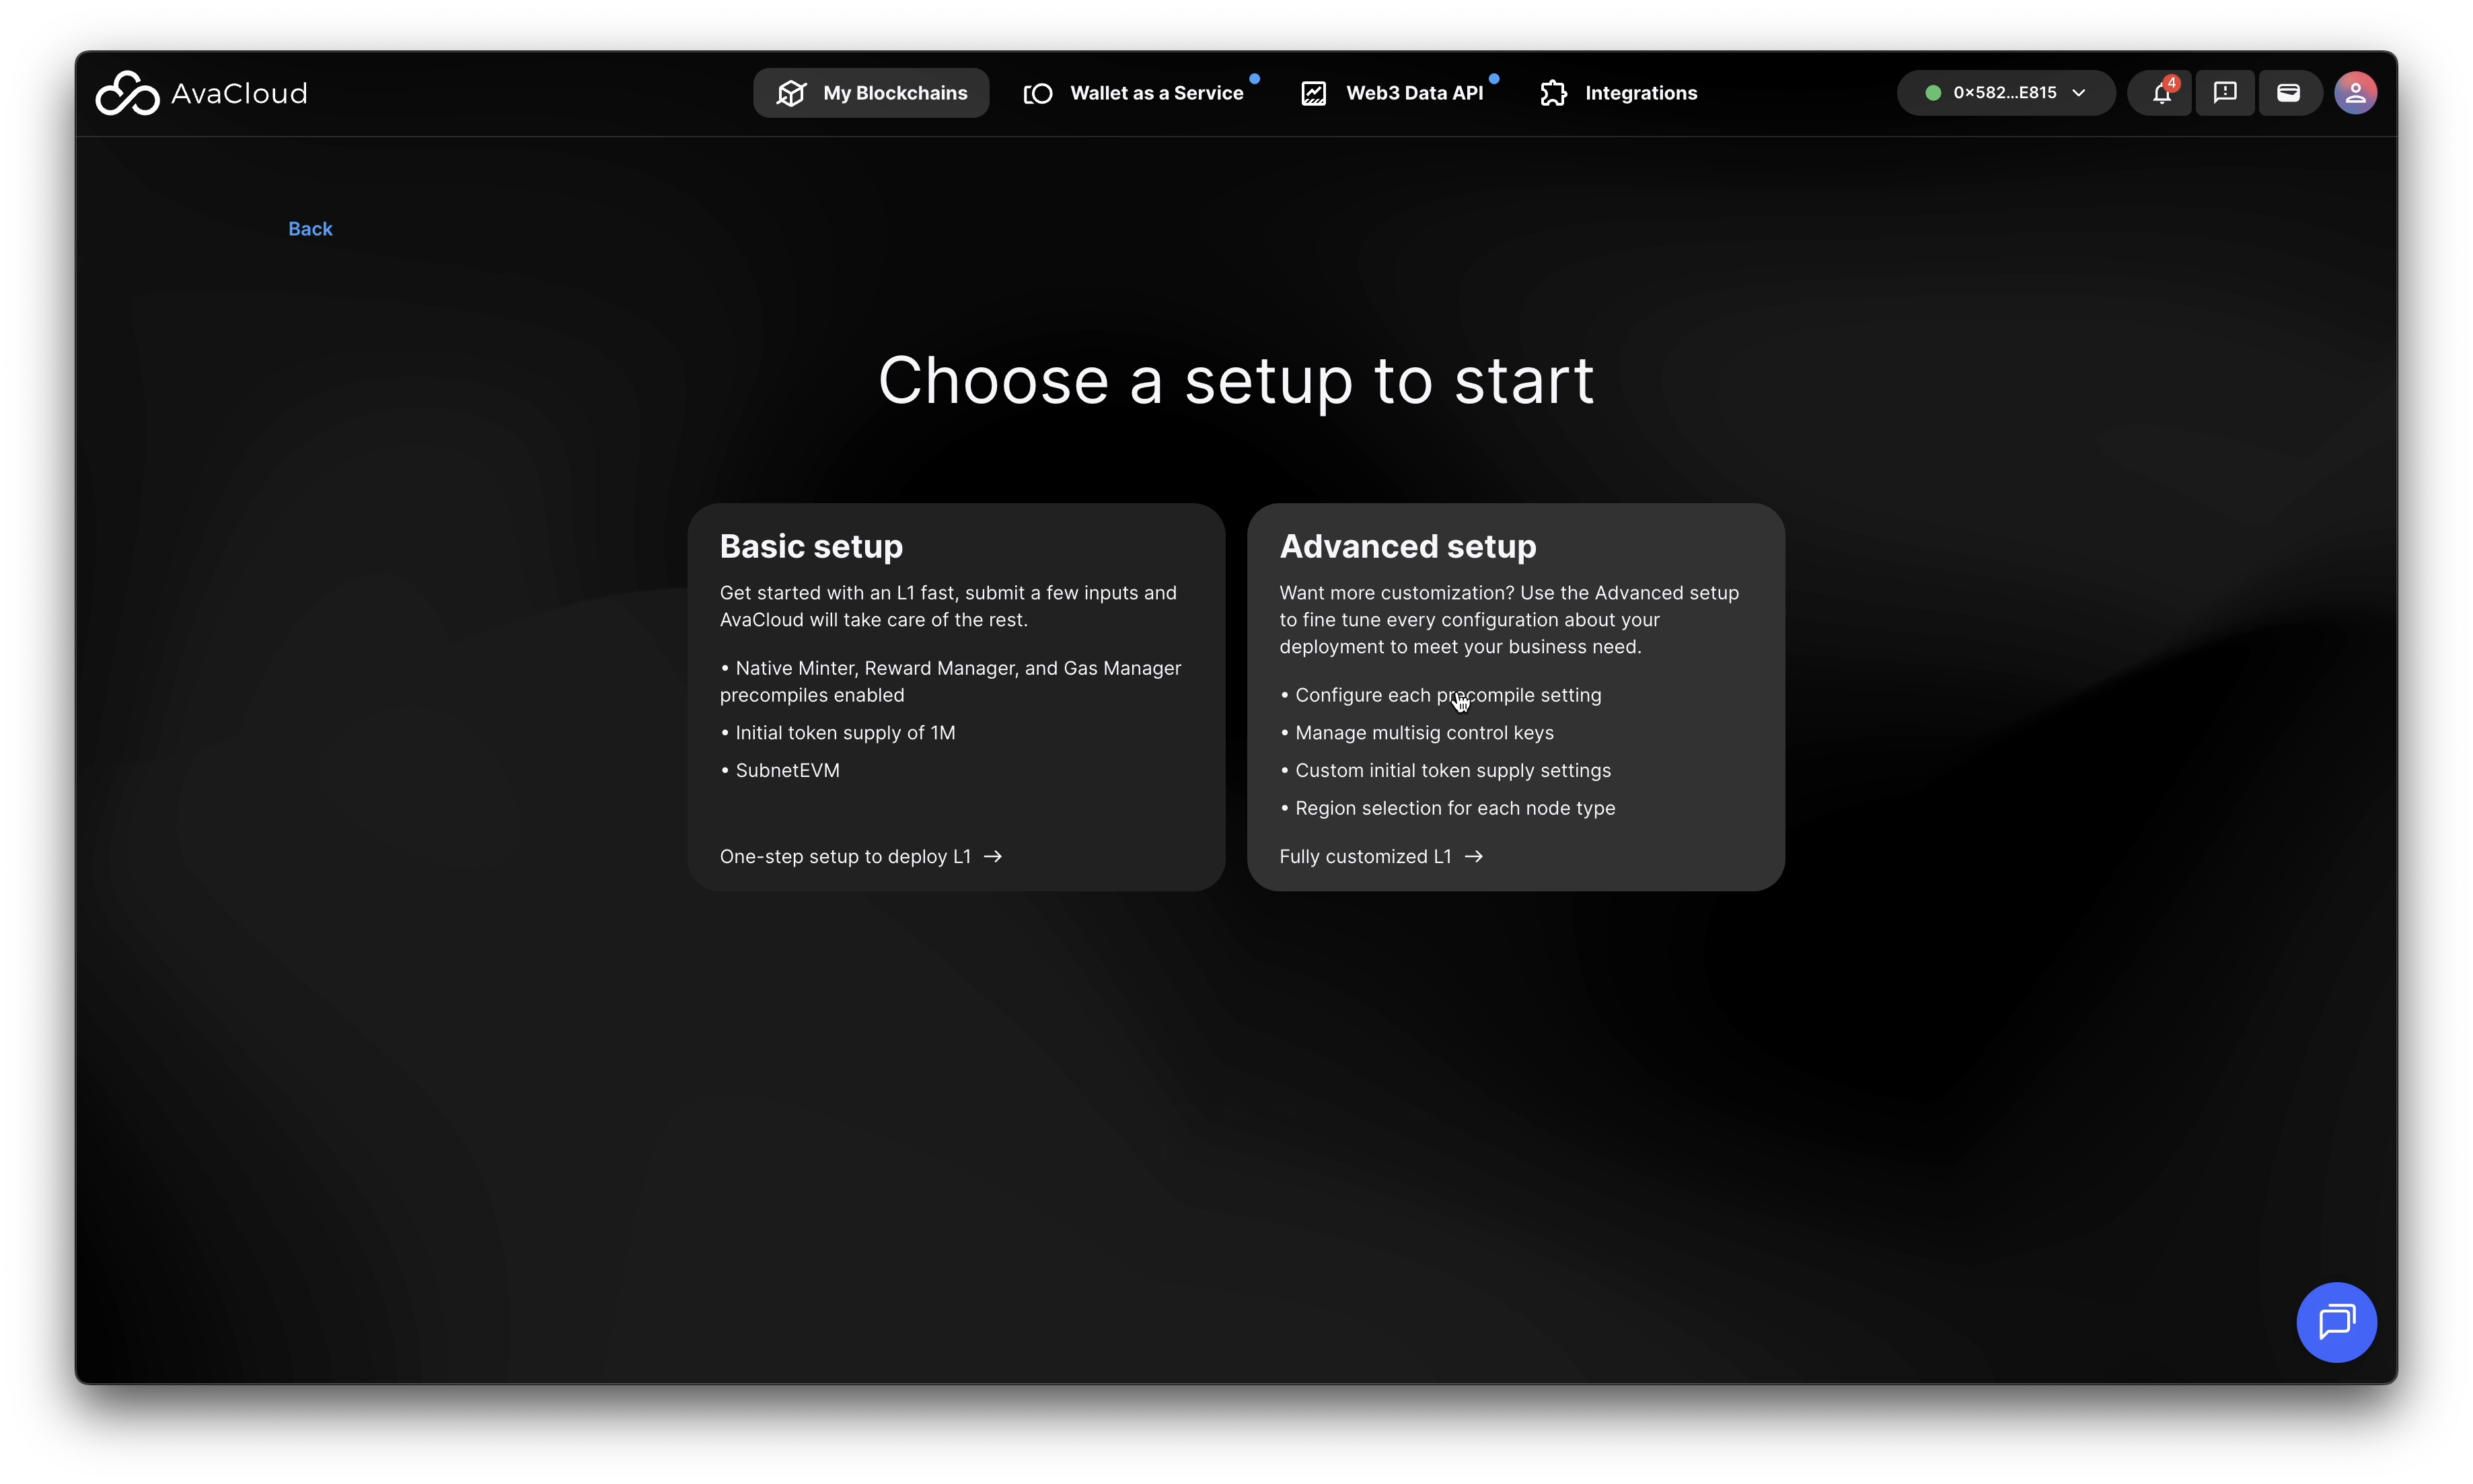
Choose Your Setup Type
- Select Basic Setup for a quick launch using standard settings.
- (You may choose Advanced Setup if you need greater customization, see this for more details).
-
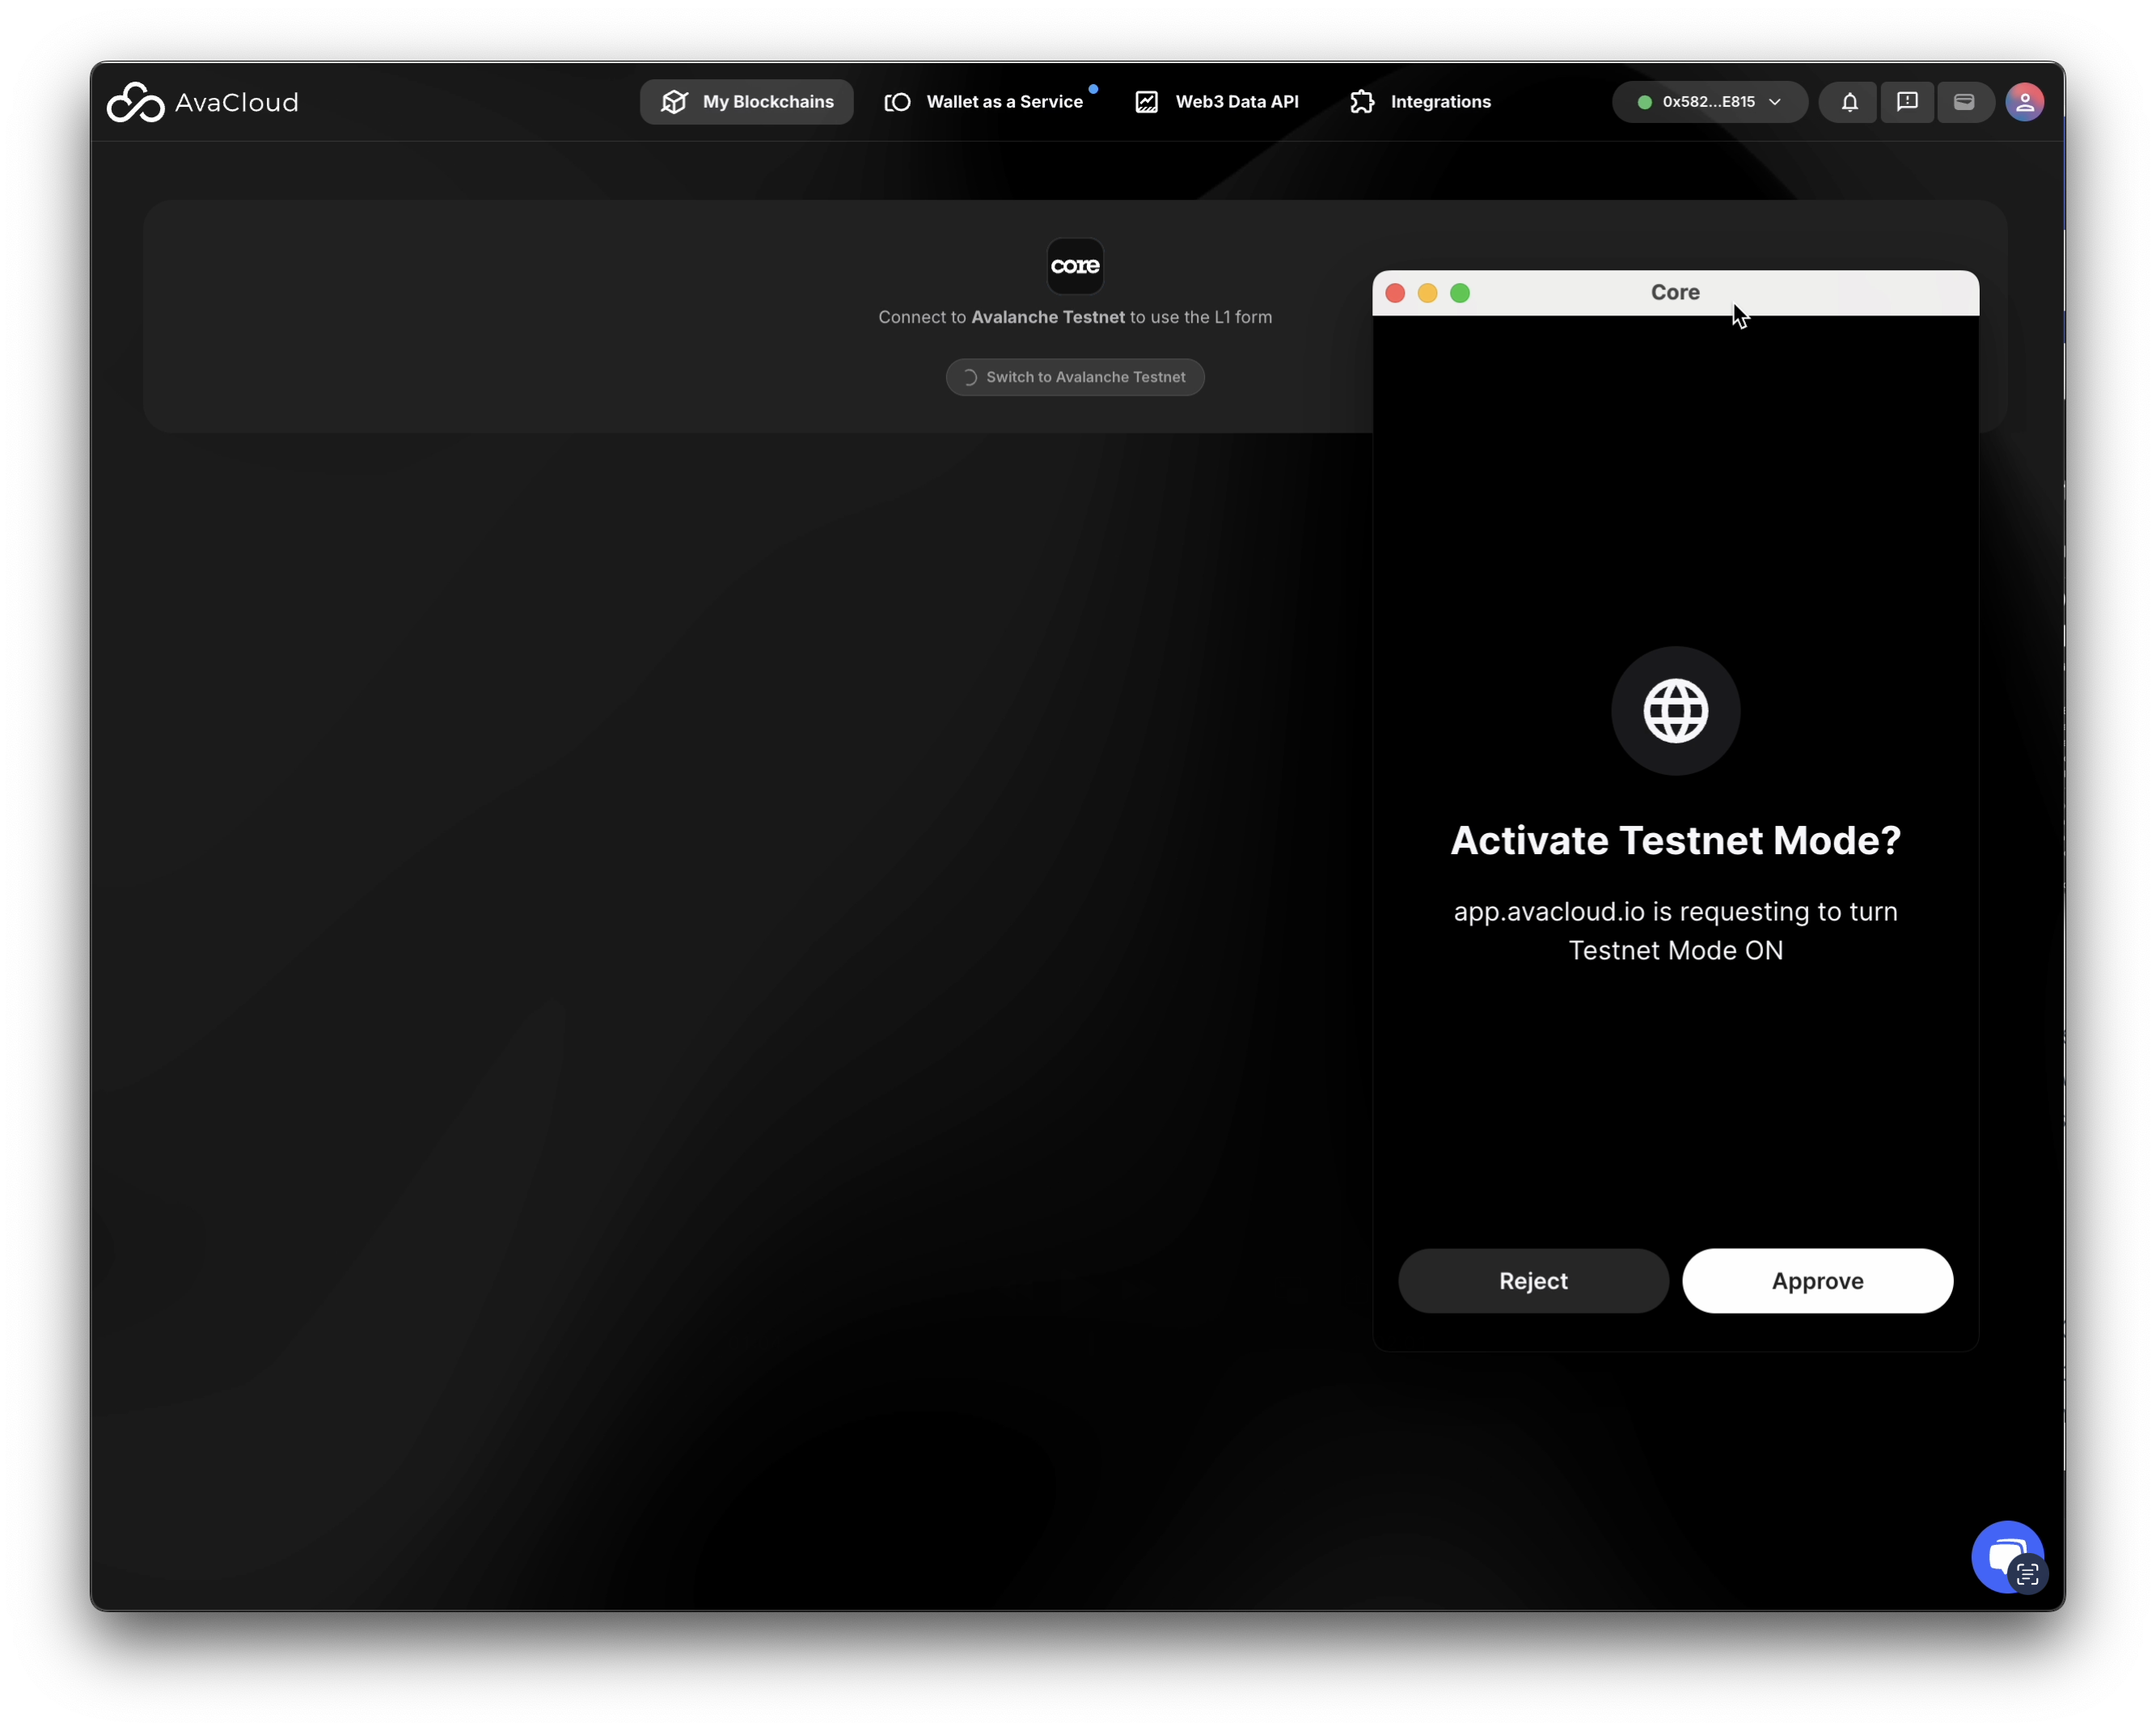
Connect to Avalanche Testnet
- Ensure your wallet or connection is set to the Avalanche Testnet before continuing.
-
Enter L1 Details
- Confirm or update the following information:
- L1 name
- Native token symbol
- L1 alias
- Precompile manager address
- Control key address and optional alias name
- User location (more options such as EU are available for Mainnet deployments)
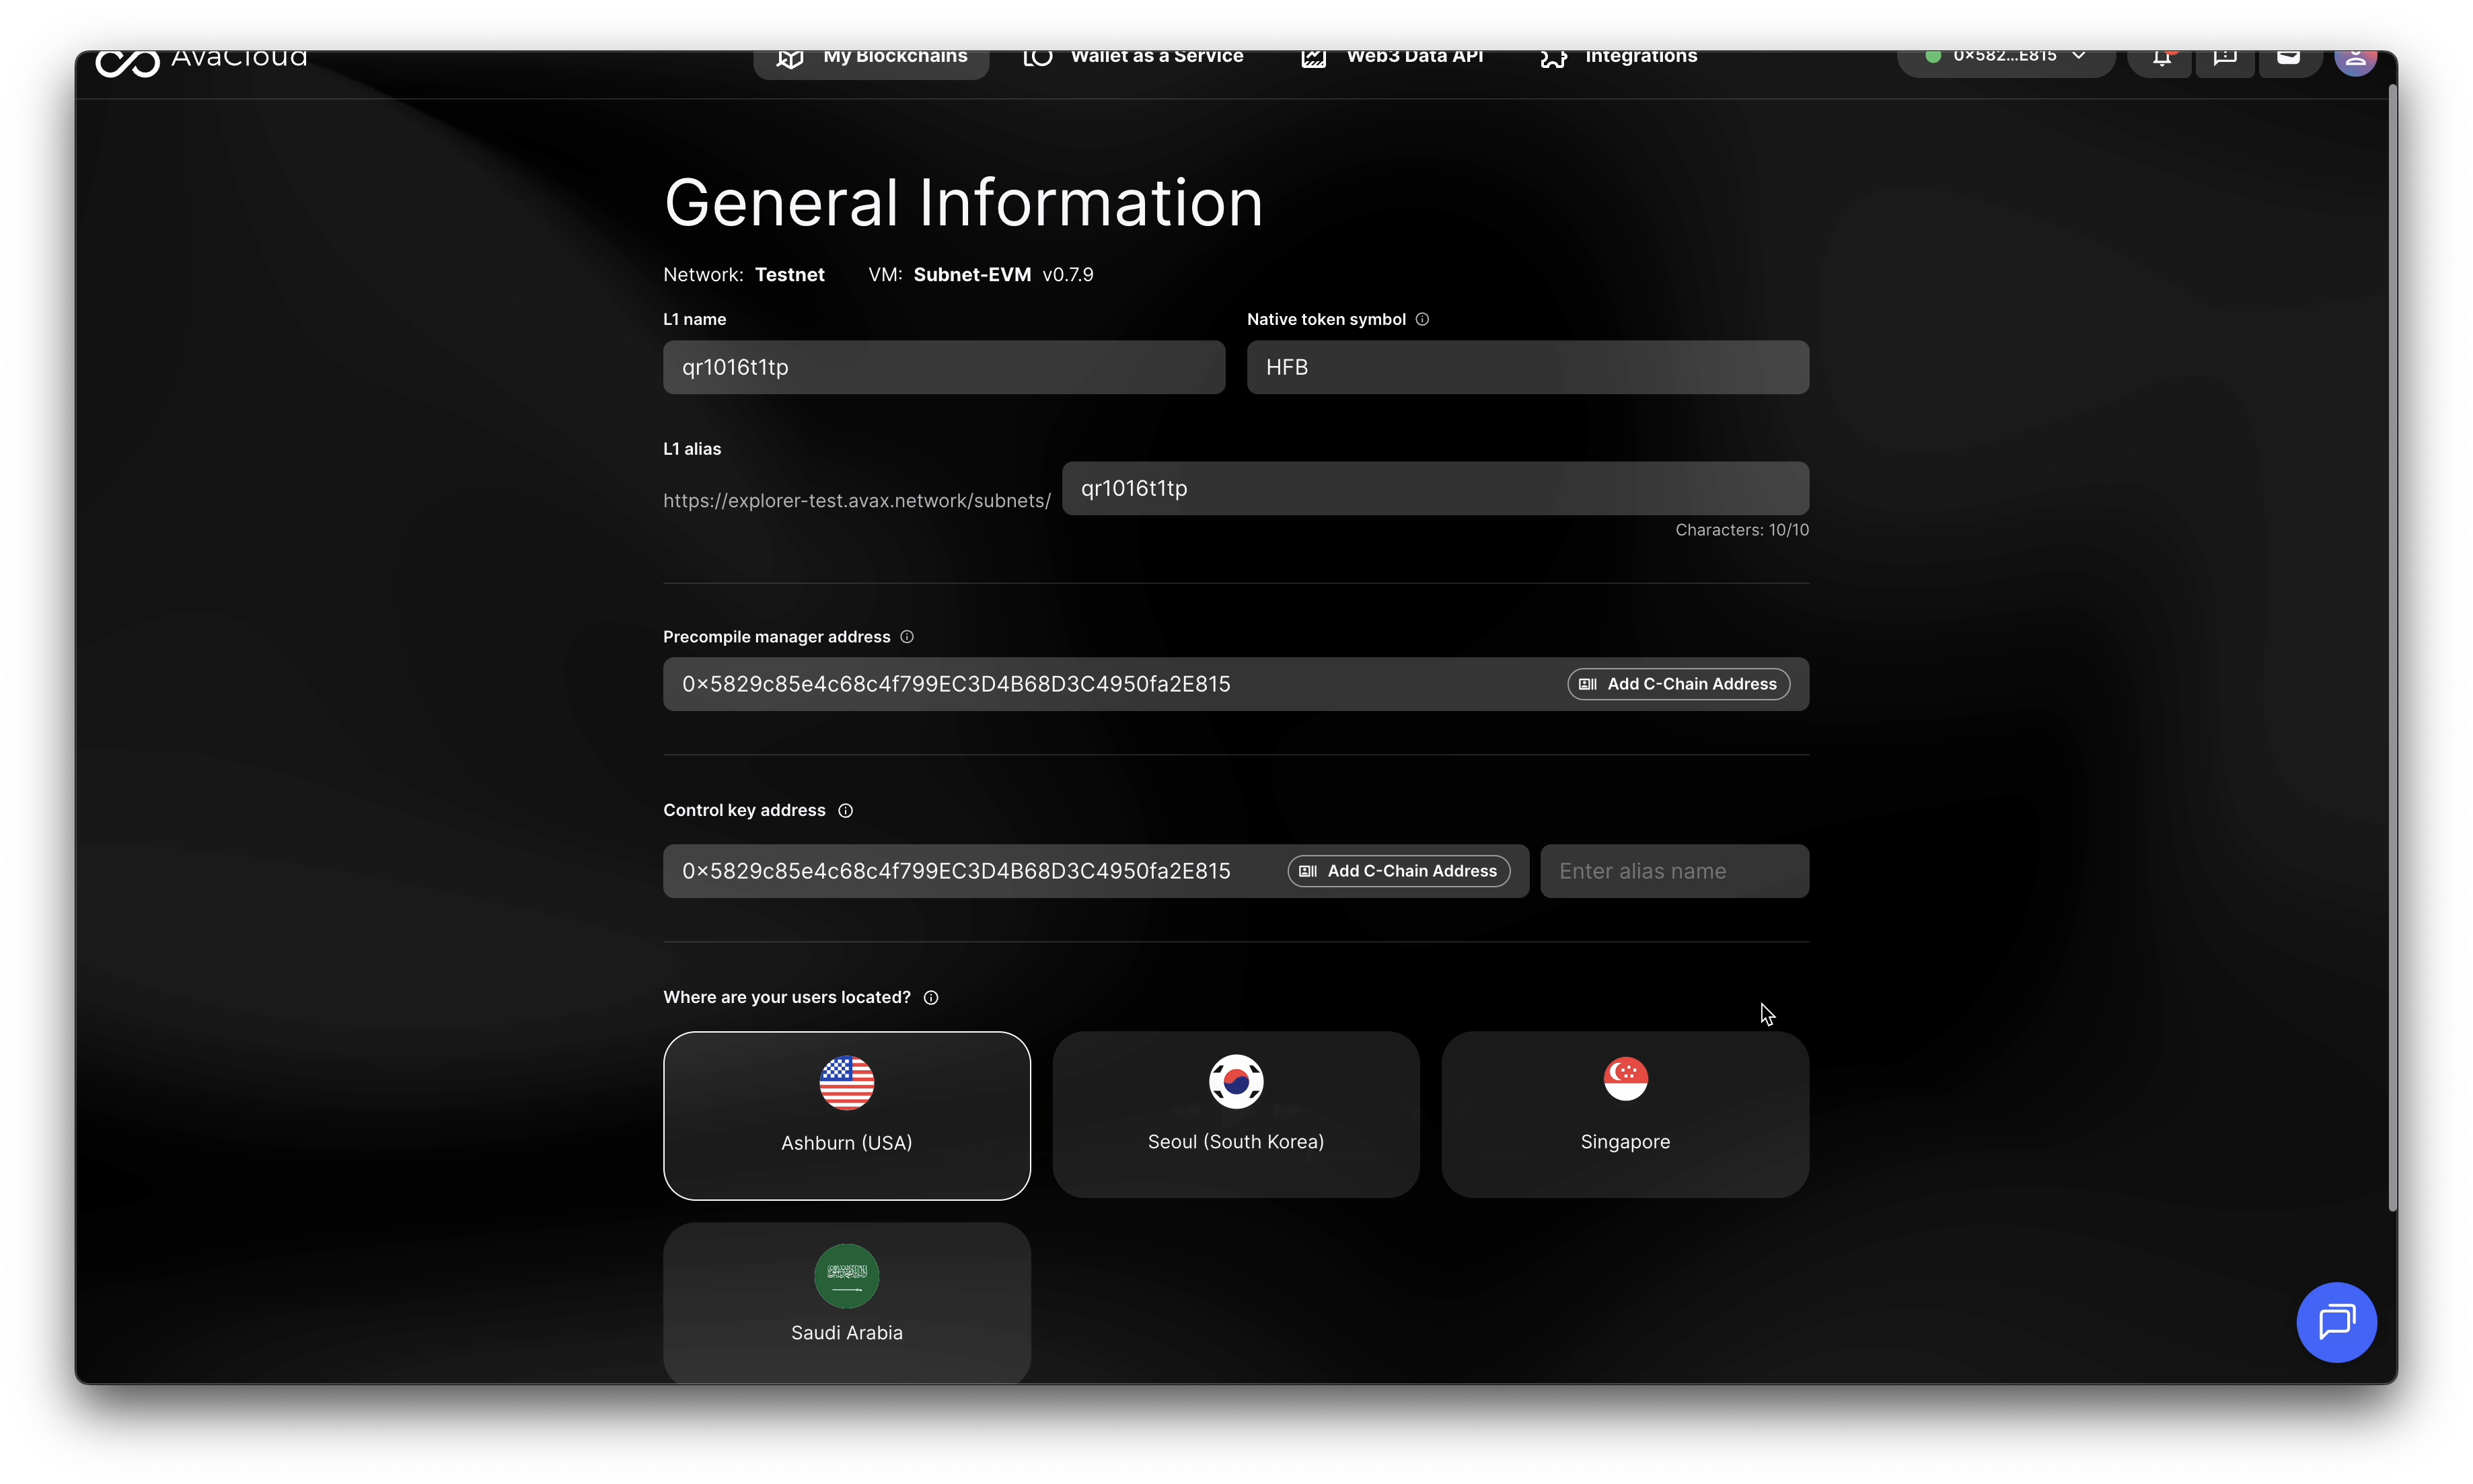
- Confirm or update the following information:
-
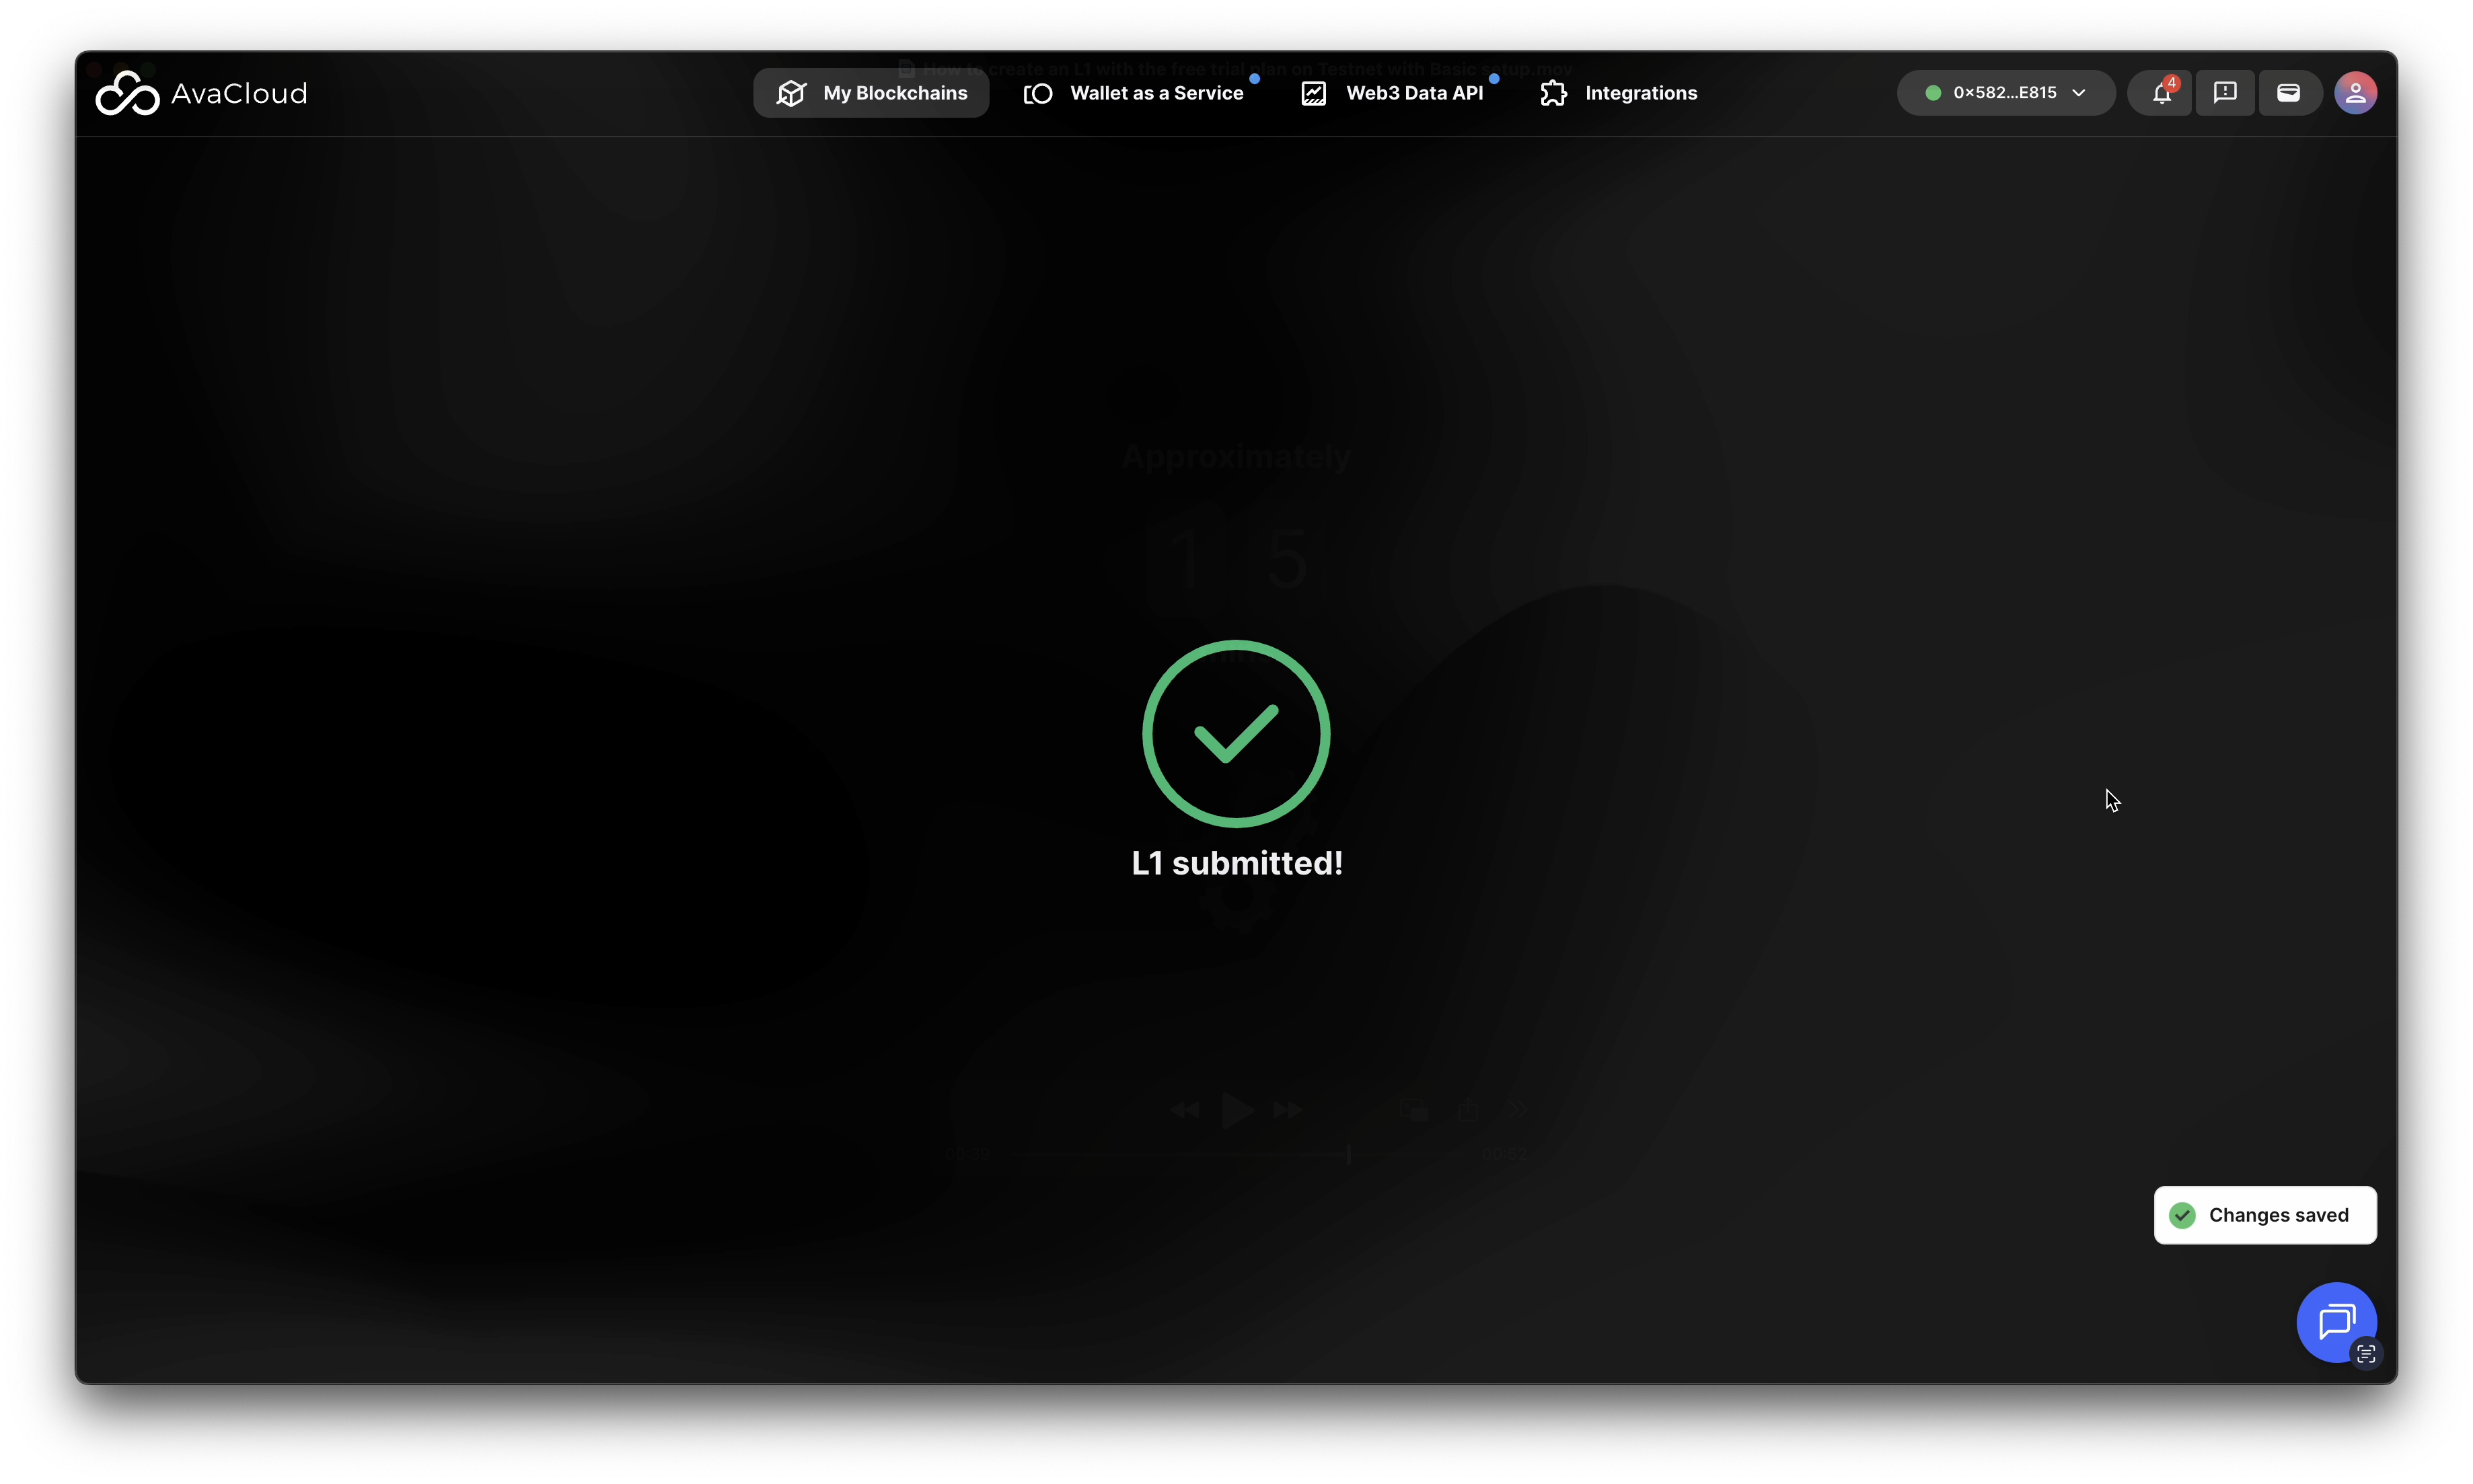
Create Your L1
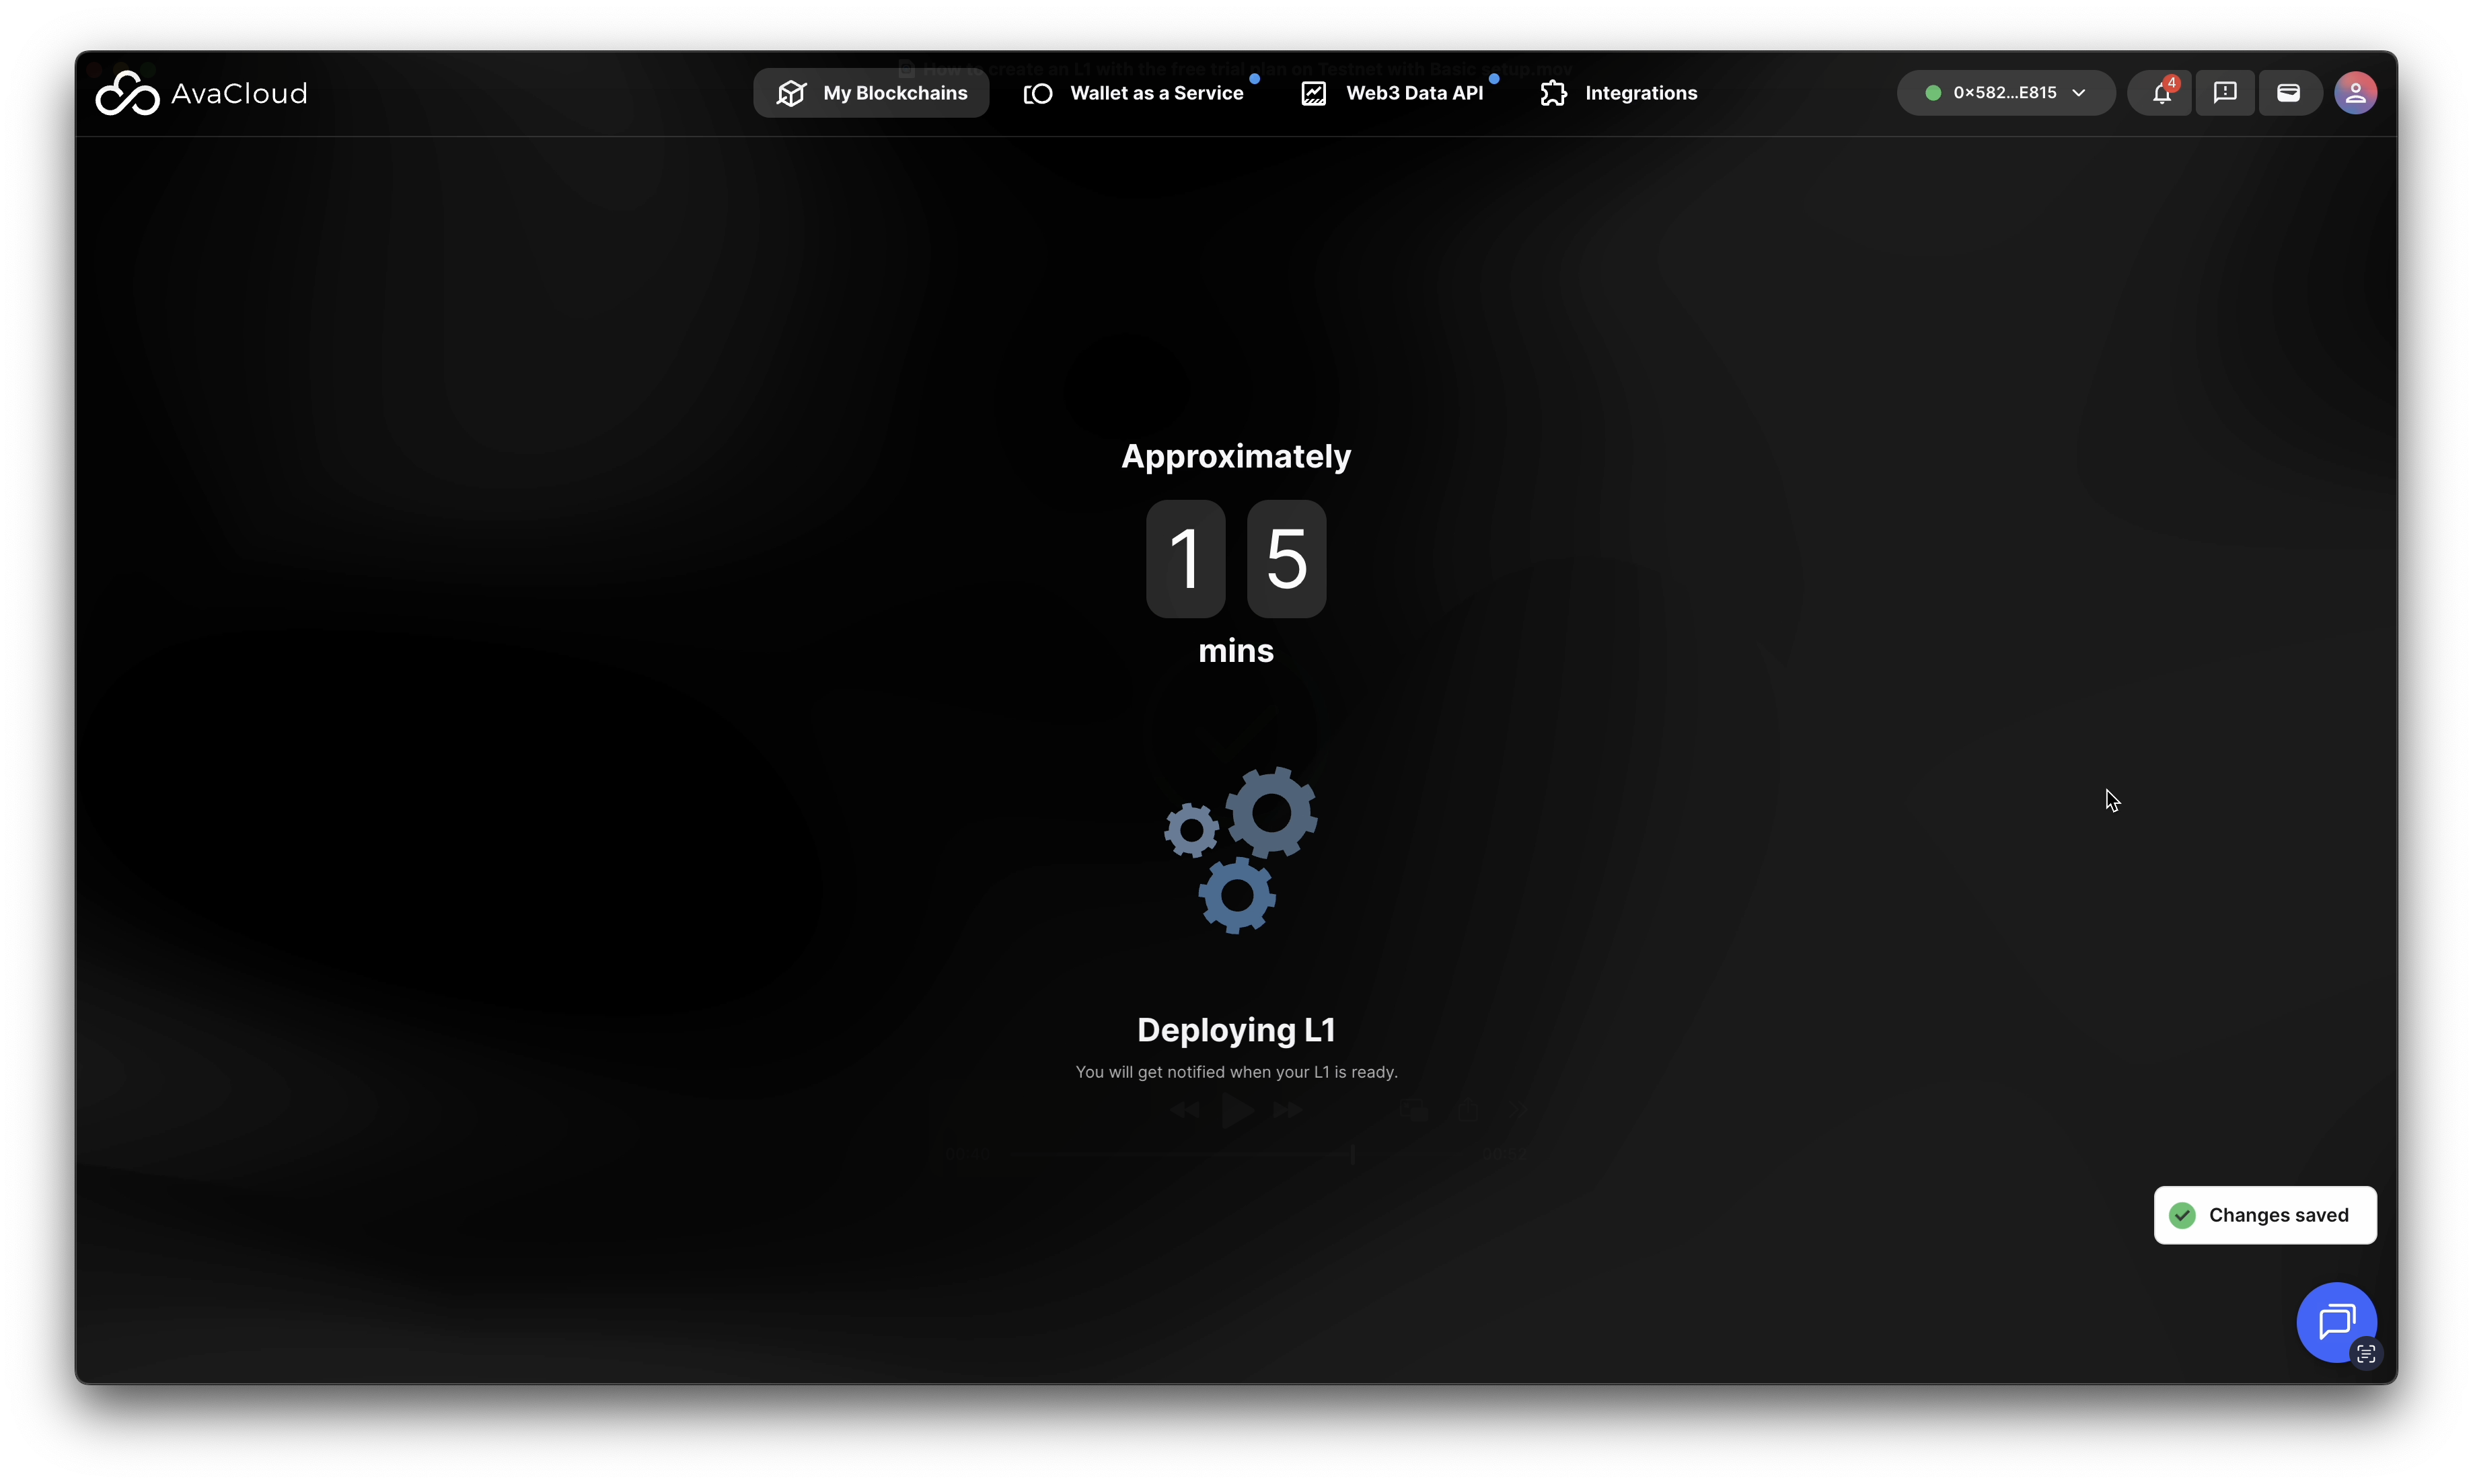
- Click the “Create L1” button to start the deployment process.
- The Portal will display progress updates as your L1 is being set up.
-
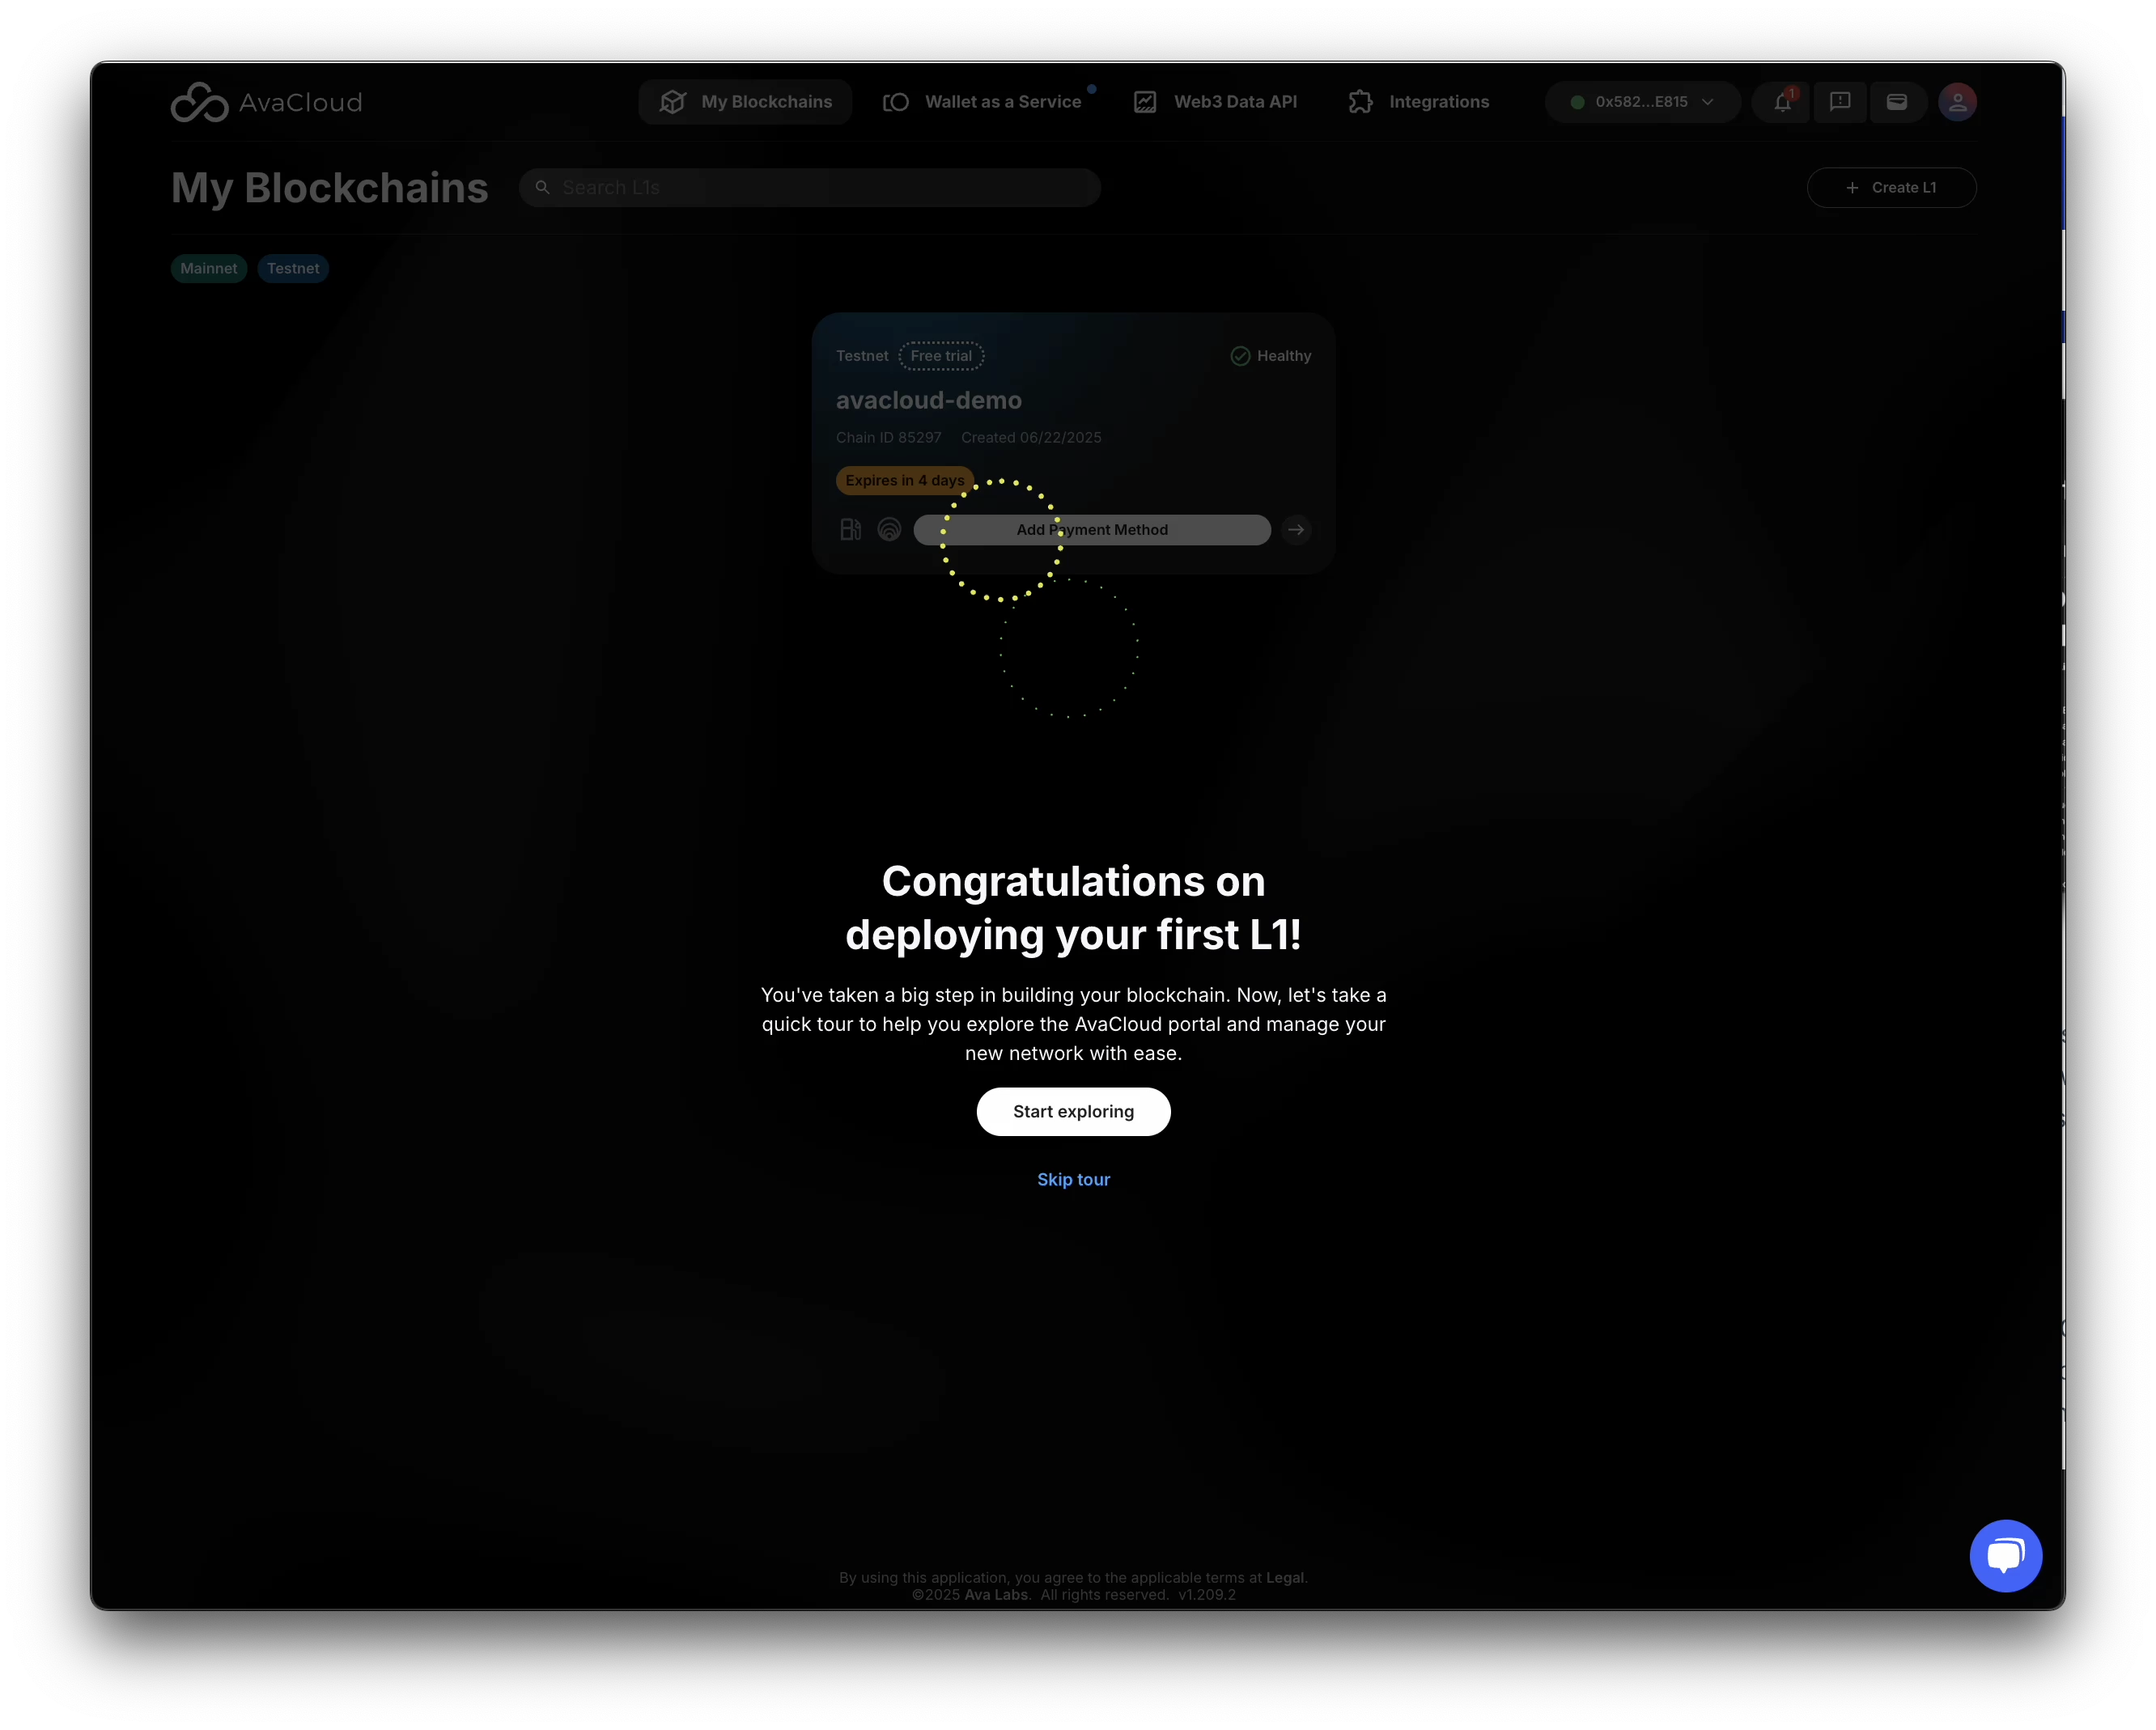
Finish and Access Your L1
- You’ll receive an email notification when your L1 is ready.
- Return to the AvaCloud Portal to view your new L1 and manage its settings.
Video Walkthrough
See the full L1 creation process in this video:
Below is a recording showing the L1 once it is ready for use:
If you need more help, explore our other articles or reach out to our support team via chat or email [email protected]. All examples provided are for demonstration purposes only.
Learn More About AvaCloud | Download Case Studies | Schedule an AvaCloud Demo