***
## title: How to manage my API keys?
Navigate to [AvaCloud's](https://app.avacloud.io/) application and log in.
### Creating a new API key
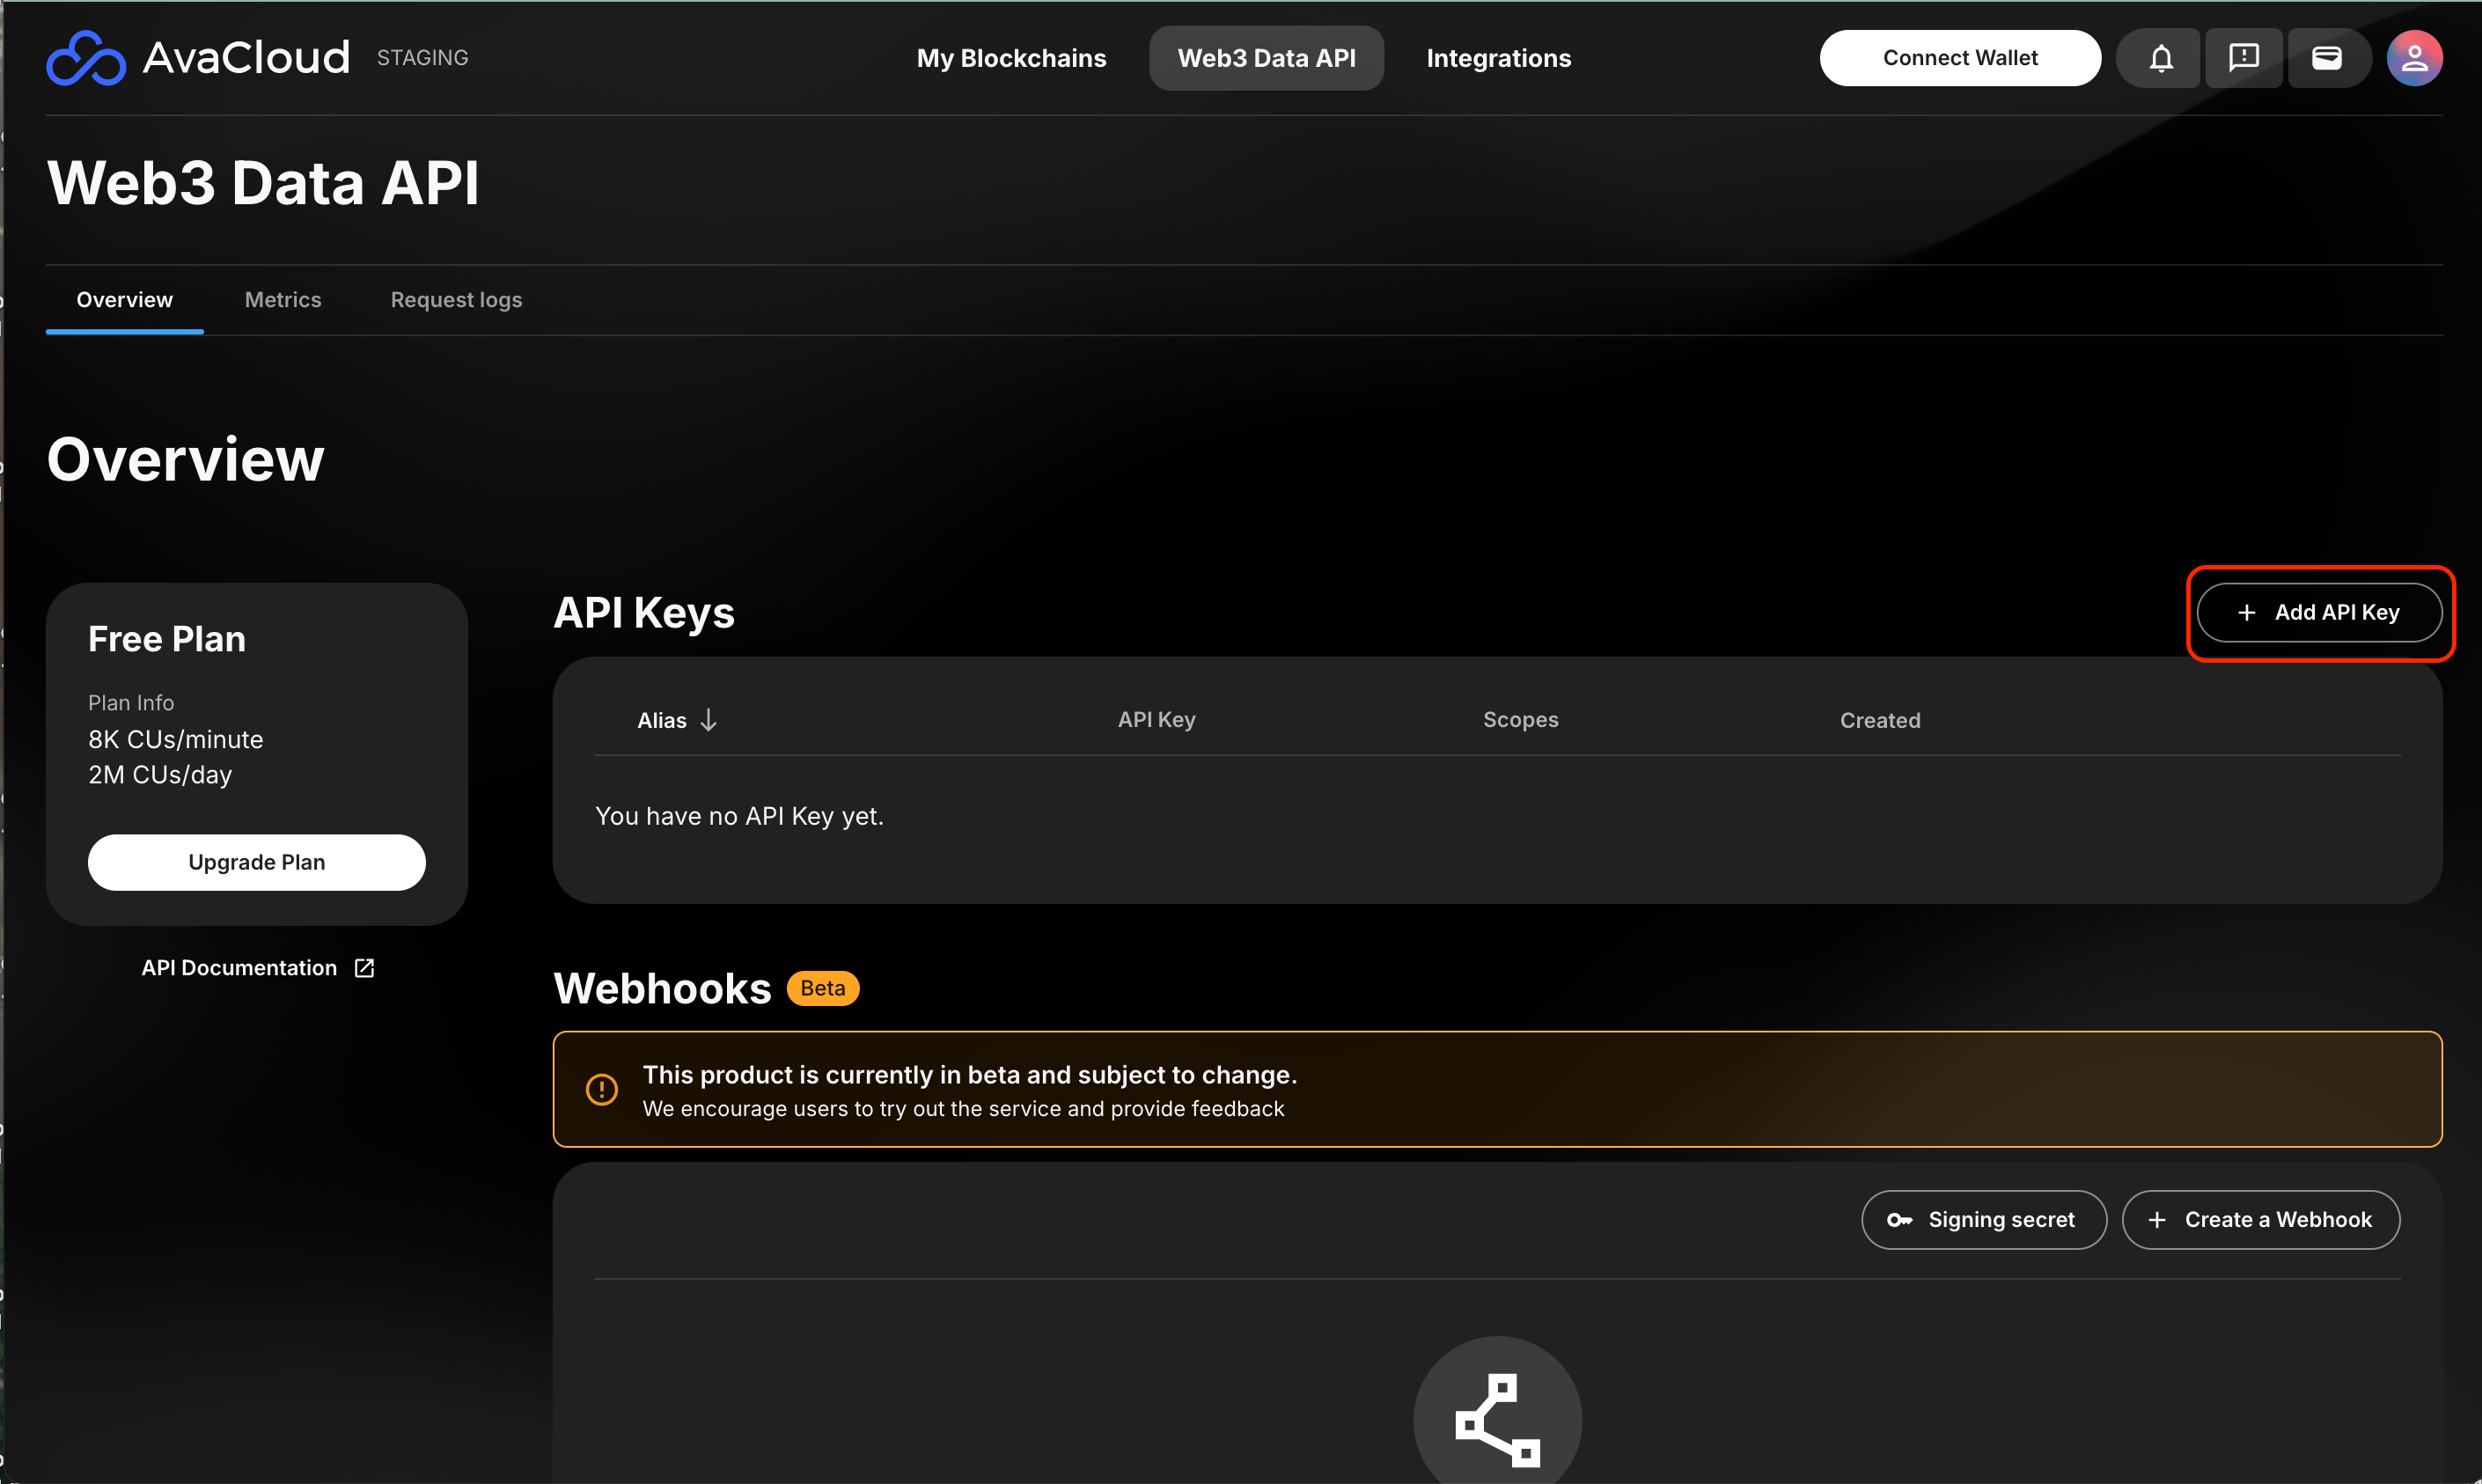
To create a new API key, users can go to the “Web3 Data API” tab and click “Add API Key”. If users do not have any active keys, the Create API Key panel will pop up automatically.
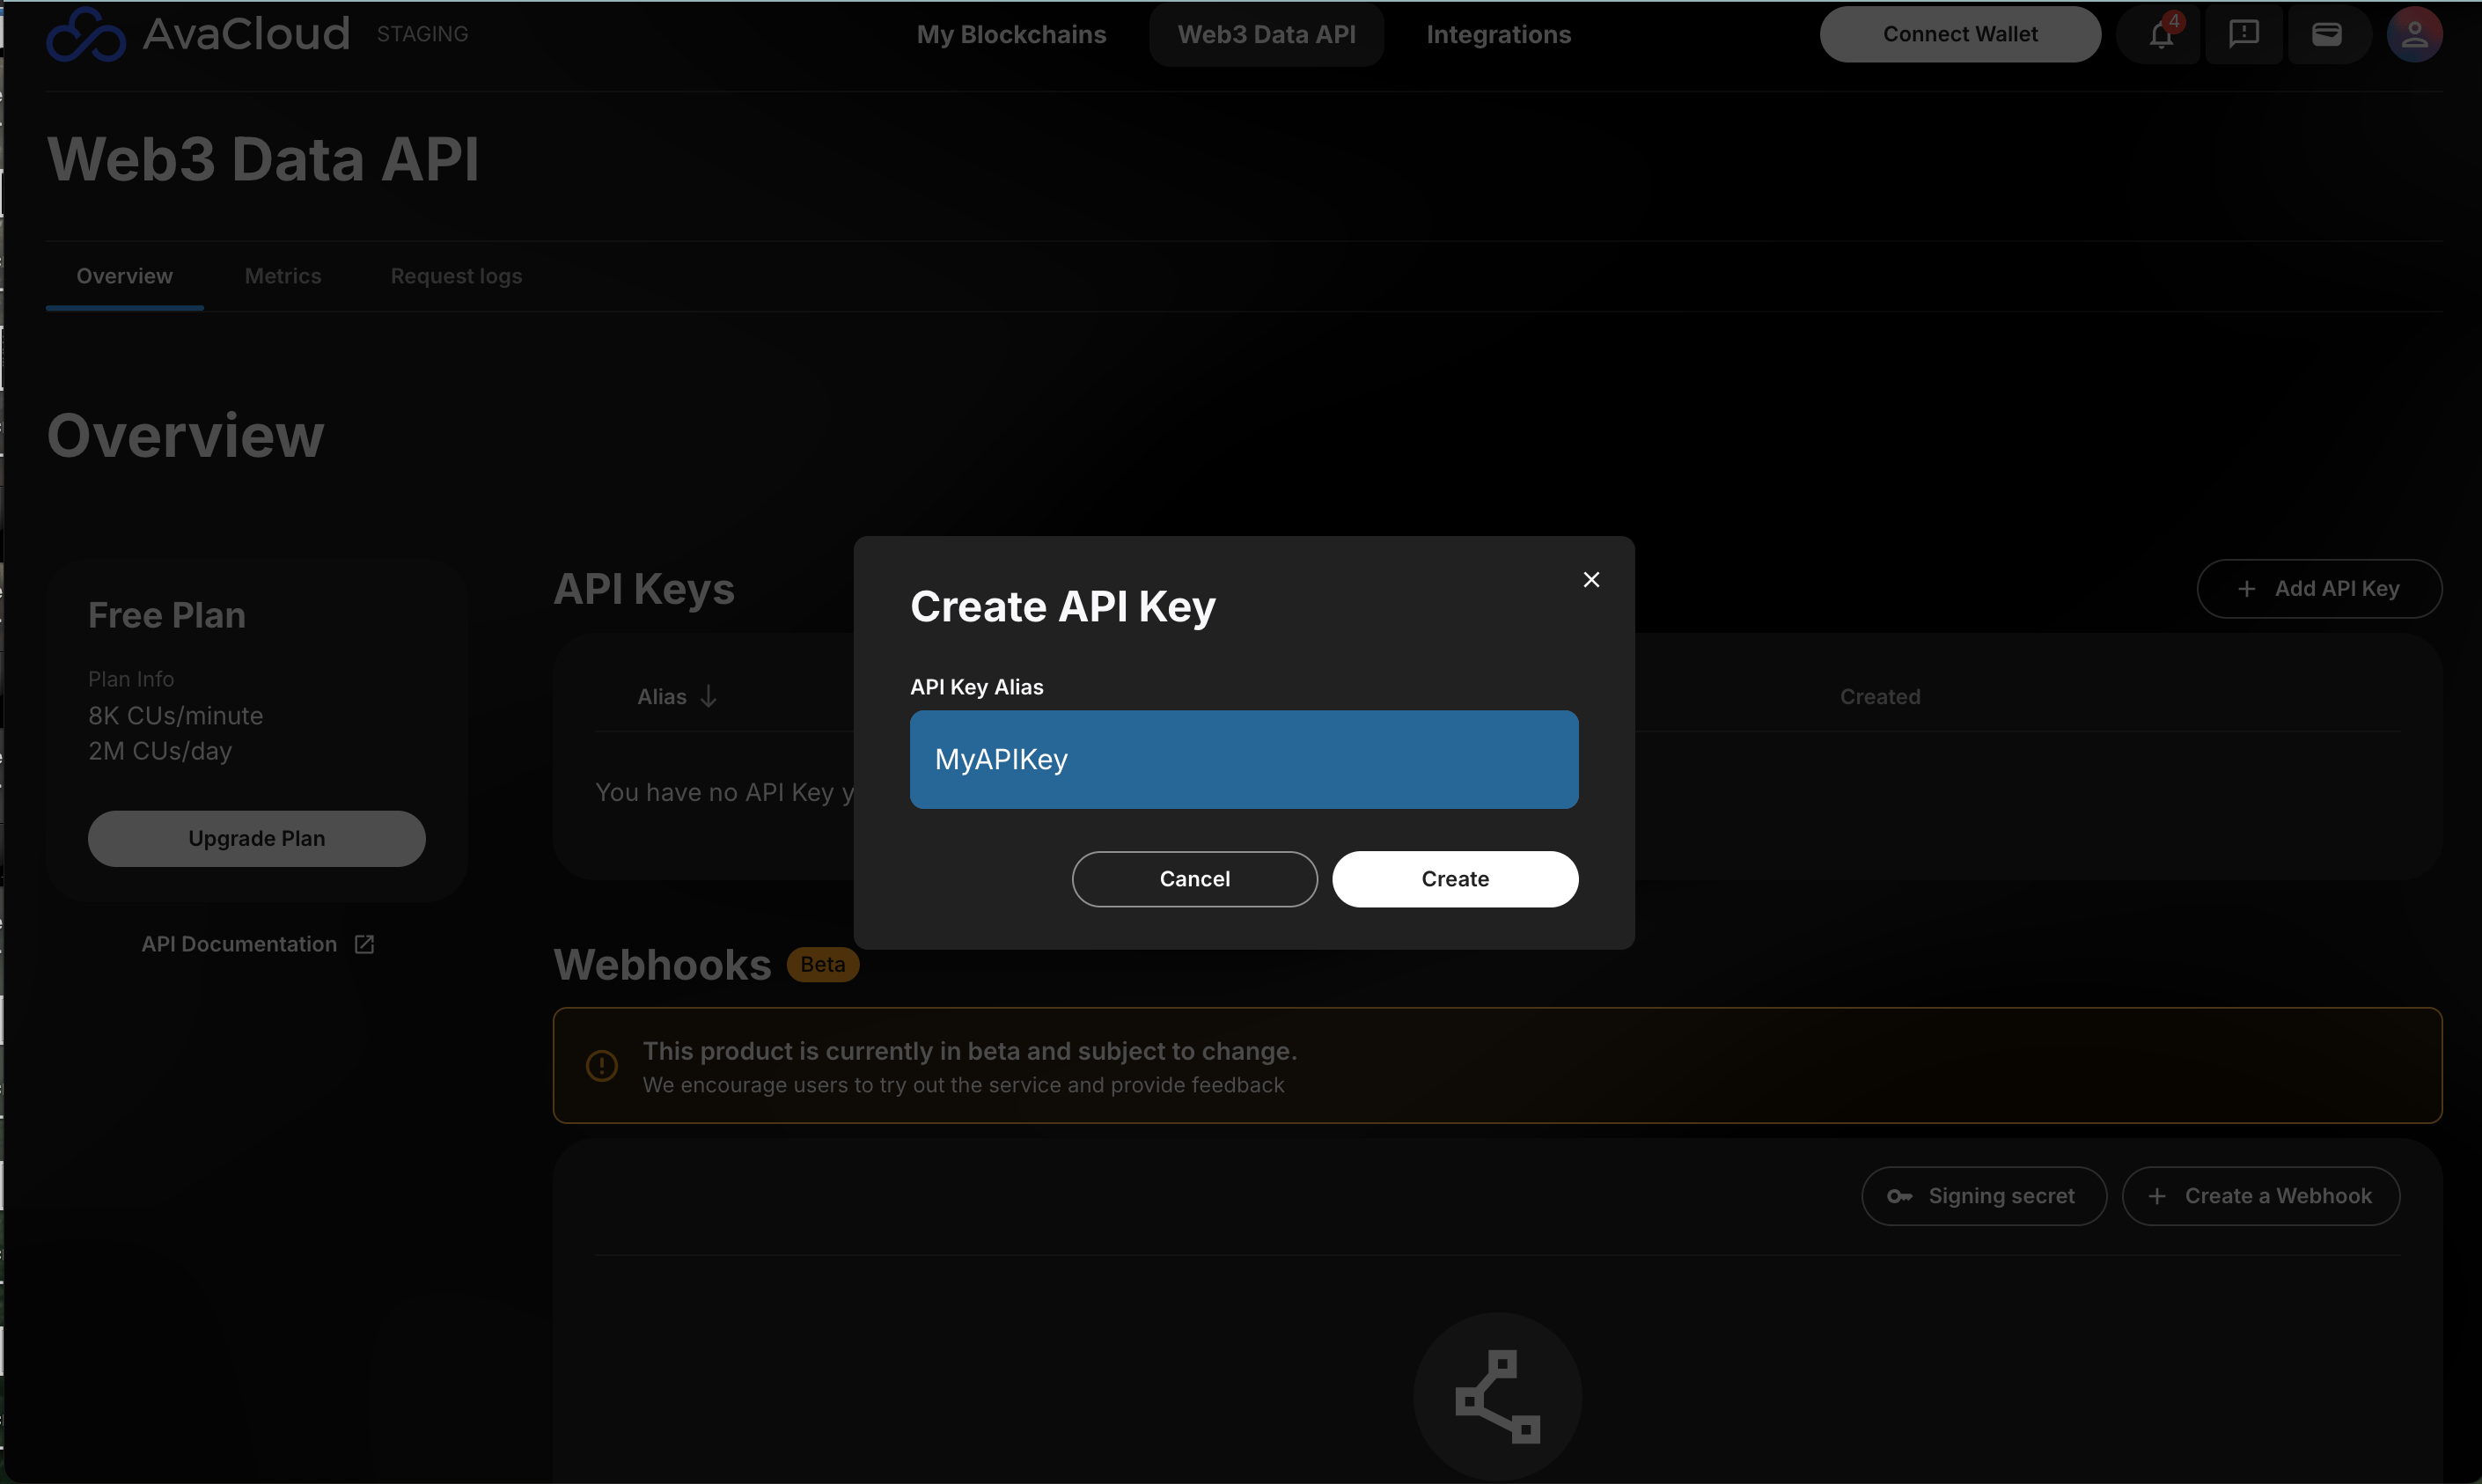
 Assign the API key a name, optional private L1 and "Read-Only" scope, and click **Create.**
**NOTE:**
The name of the API key must be at least 3 characters long. Also, users are able to have a maximum of 3 API keys at a time in their account.
Assign the API key a name, optional private L1 and "Read-Only" scope, and click **Create.**
**NOTE:**
The name of the API key must be at least 3 characters long. Also, users are able to have a maximum of 3 API keys at a time in their account.
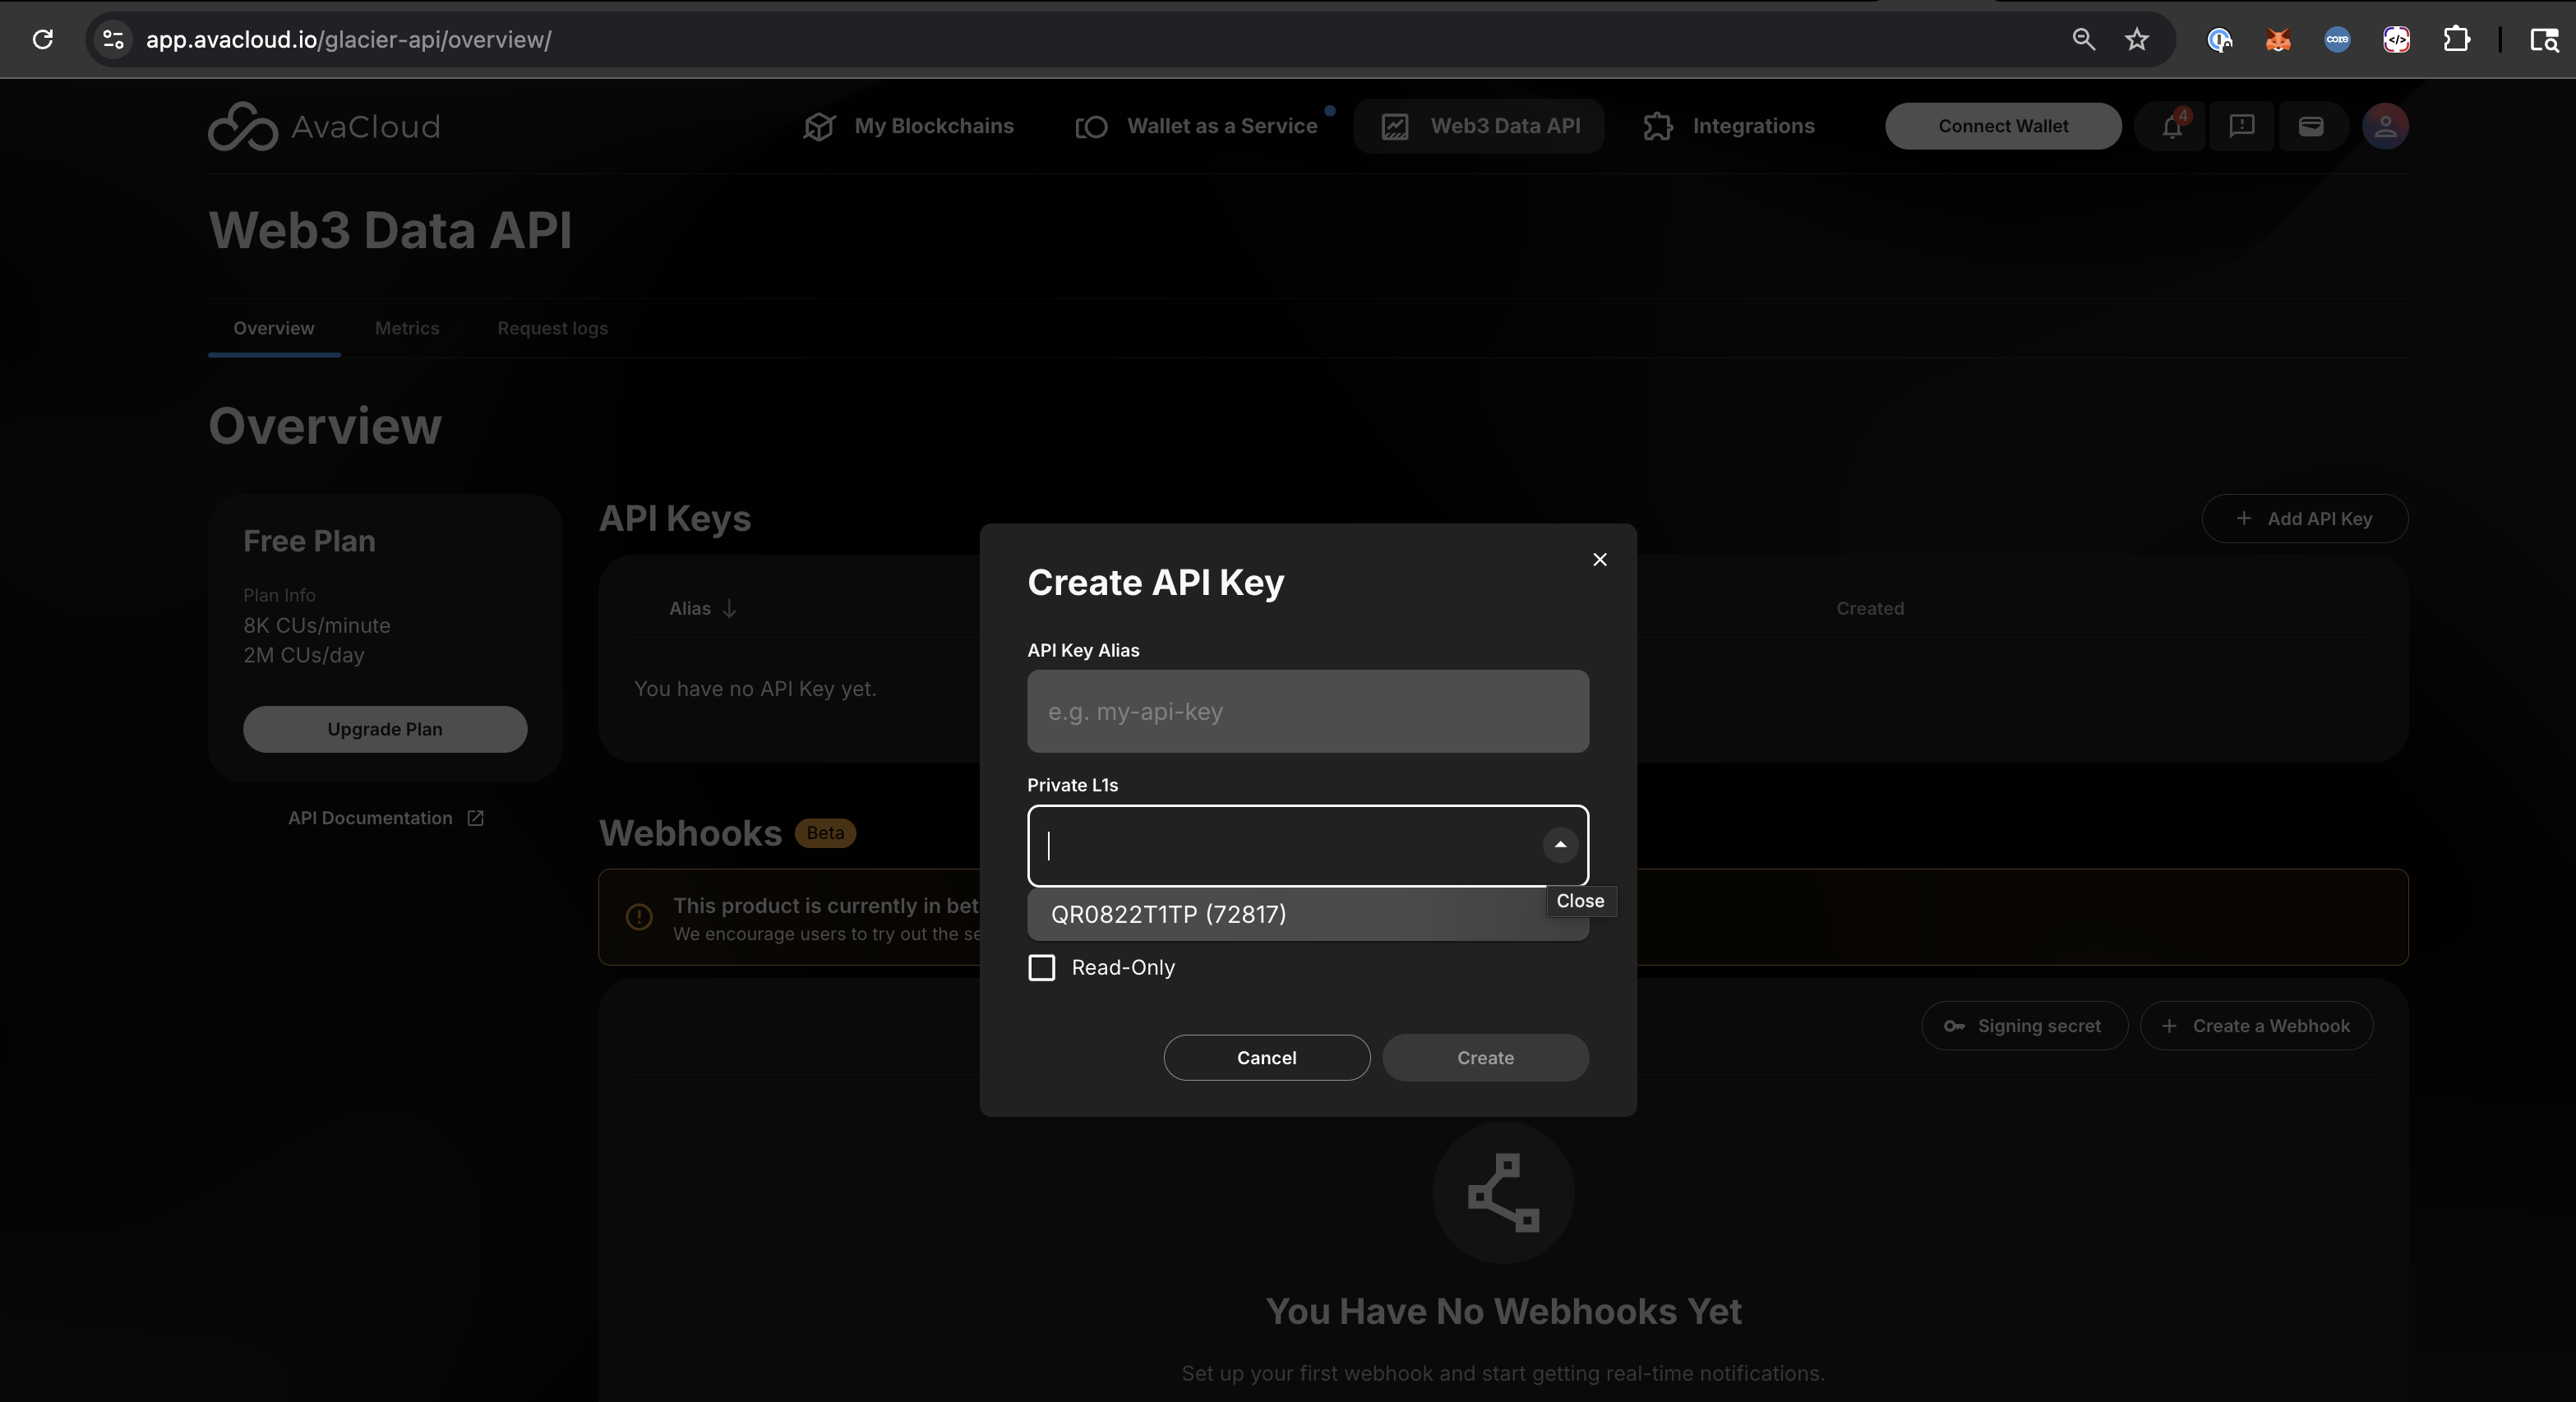
 If the org has private L1s, a "Private L1" dropbox will show to let the user to pick a private L1.
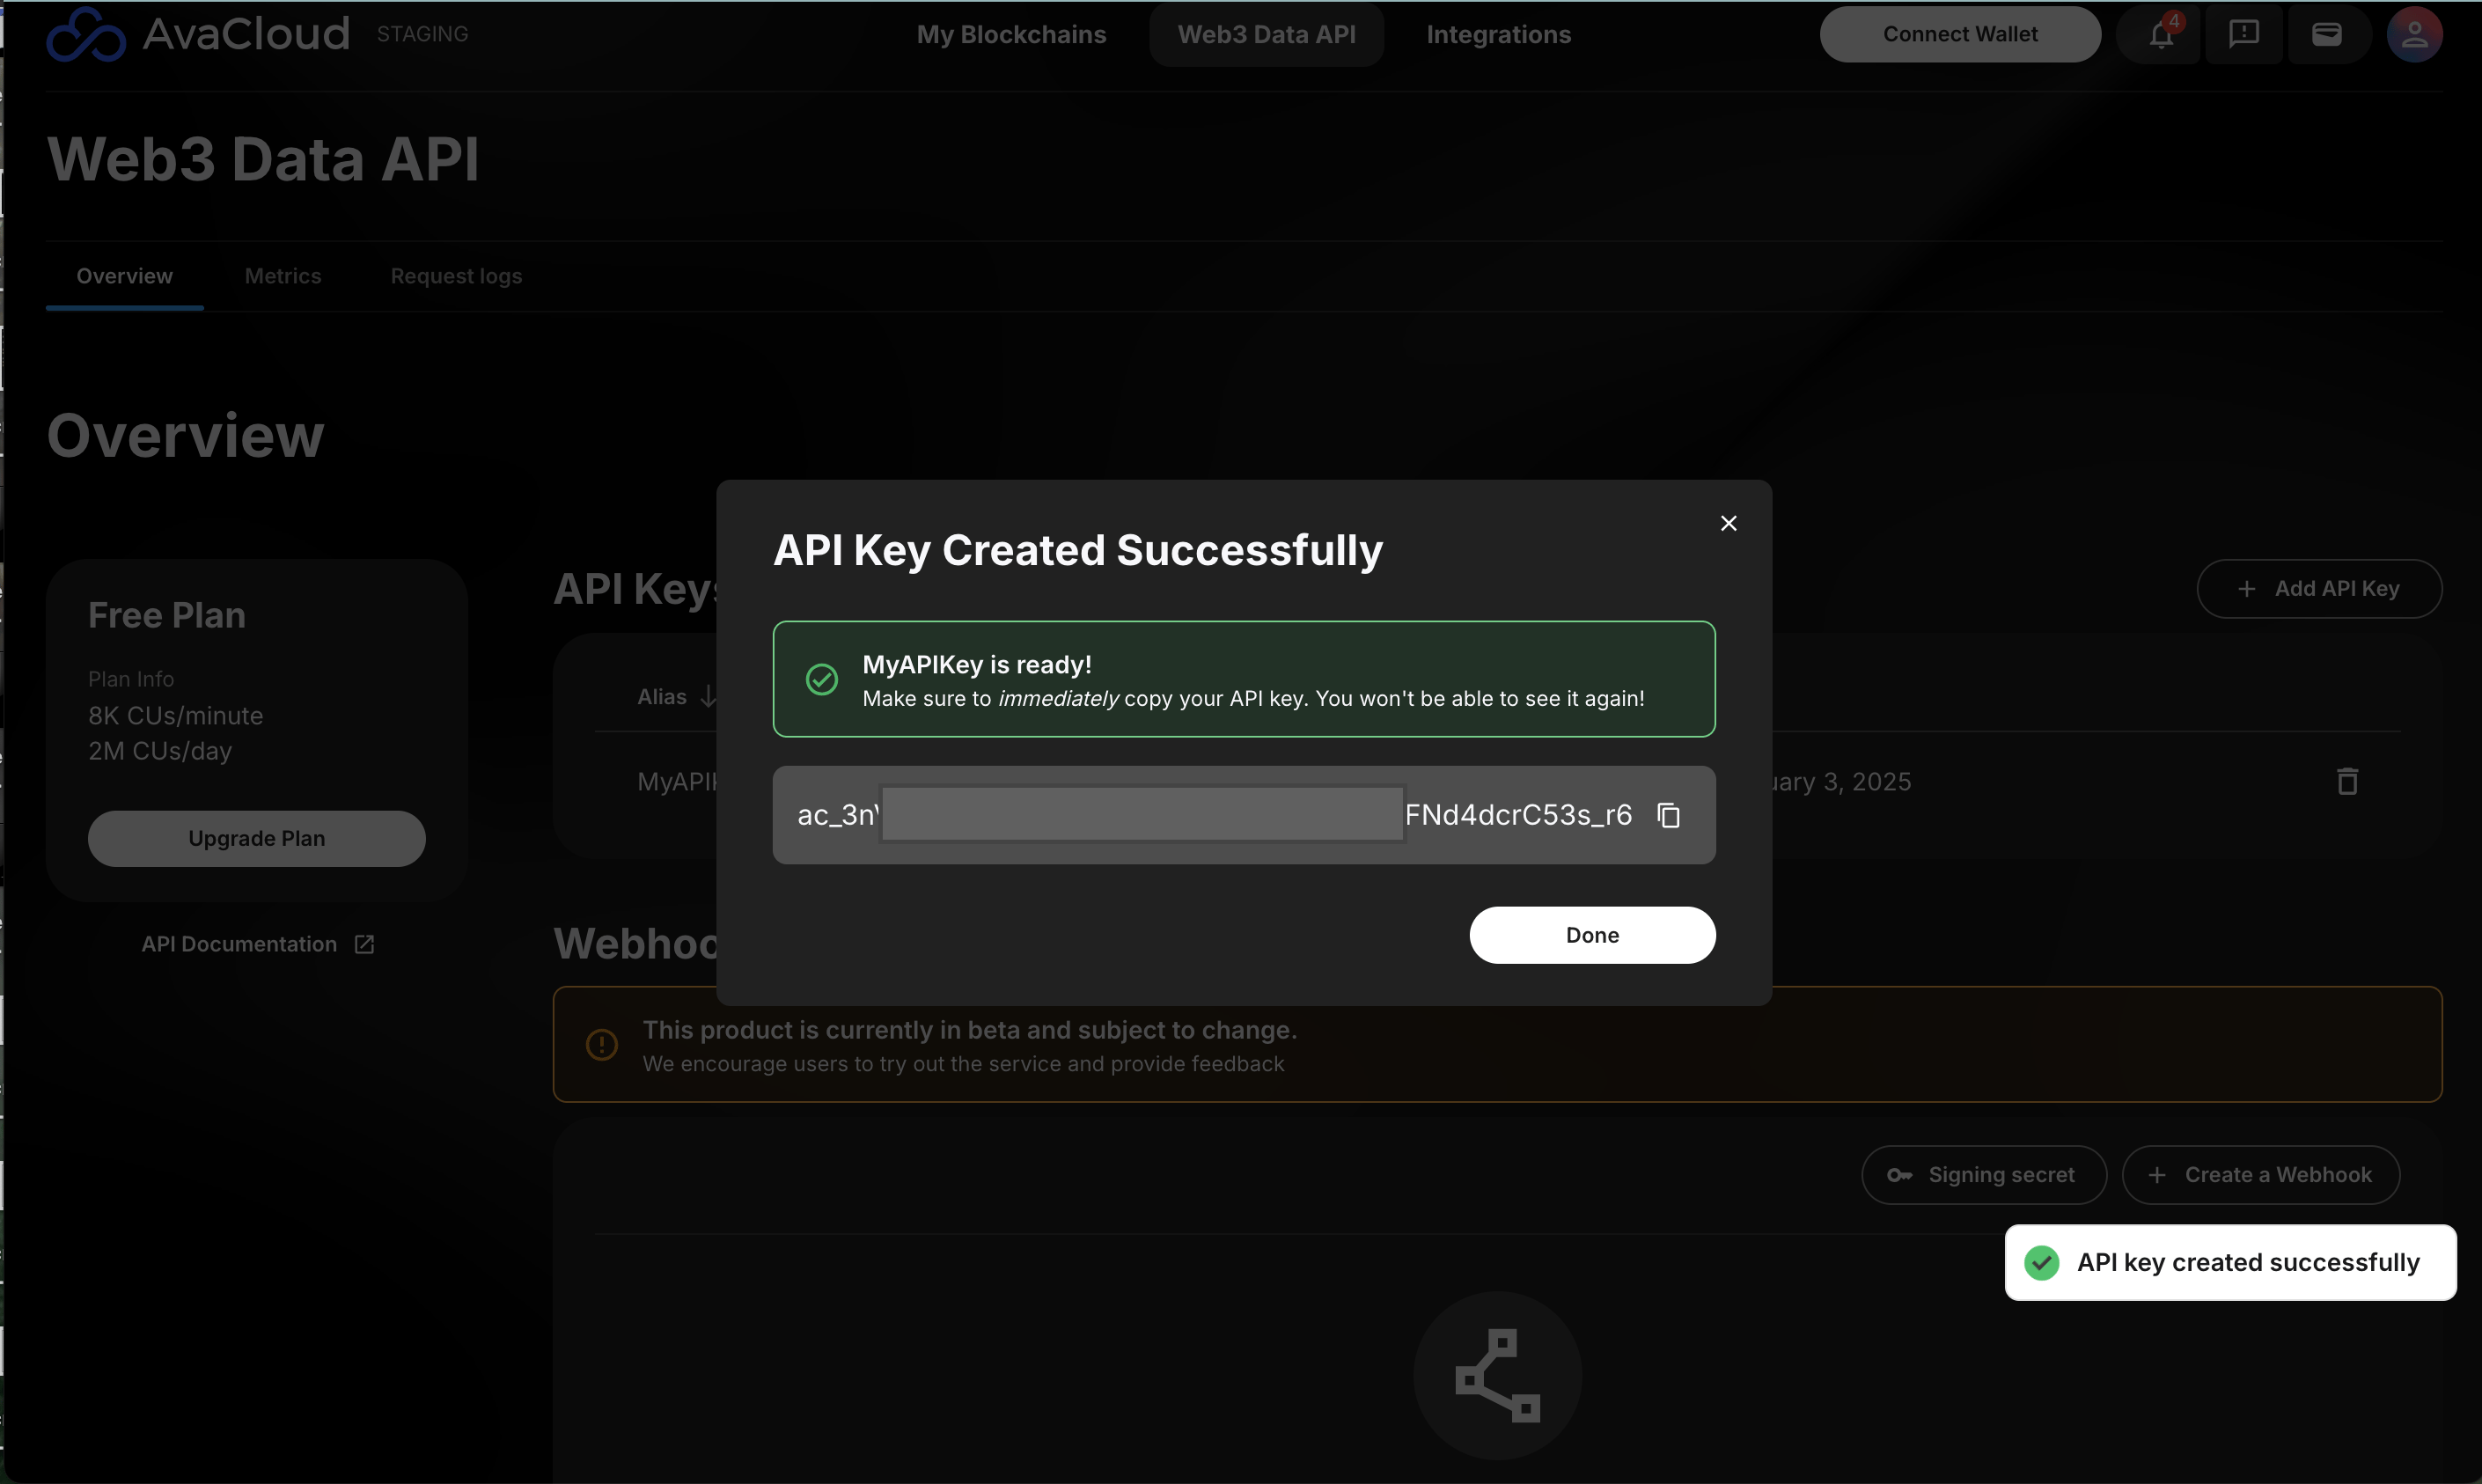
 There will be a pop up that the API key was created successfully. Once the API key is stored somewhere safe, click **Done.**
**NOTE:**
The API key will only be shown once. Please copy the key and store it somewhere safe immediately. It will not be shown again.
There will be a pop up that the API key was created successfully. Once the API key is stored somewhere safe, click **Done.**
**NOTE:**
The API key will only be shown once. Please copy the key and store it somewhere safe immediately. It will not be shown again.
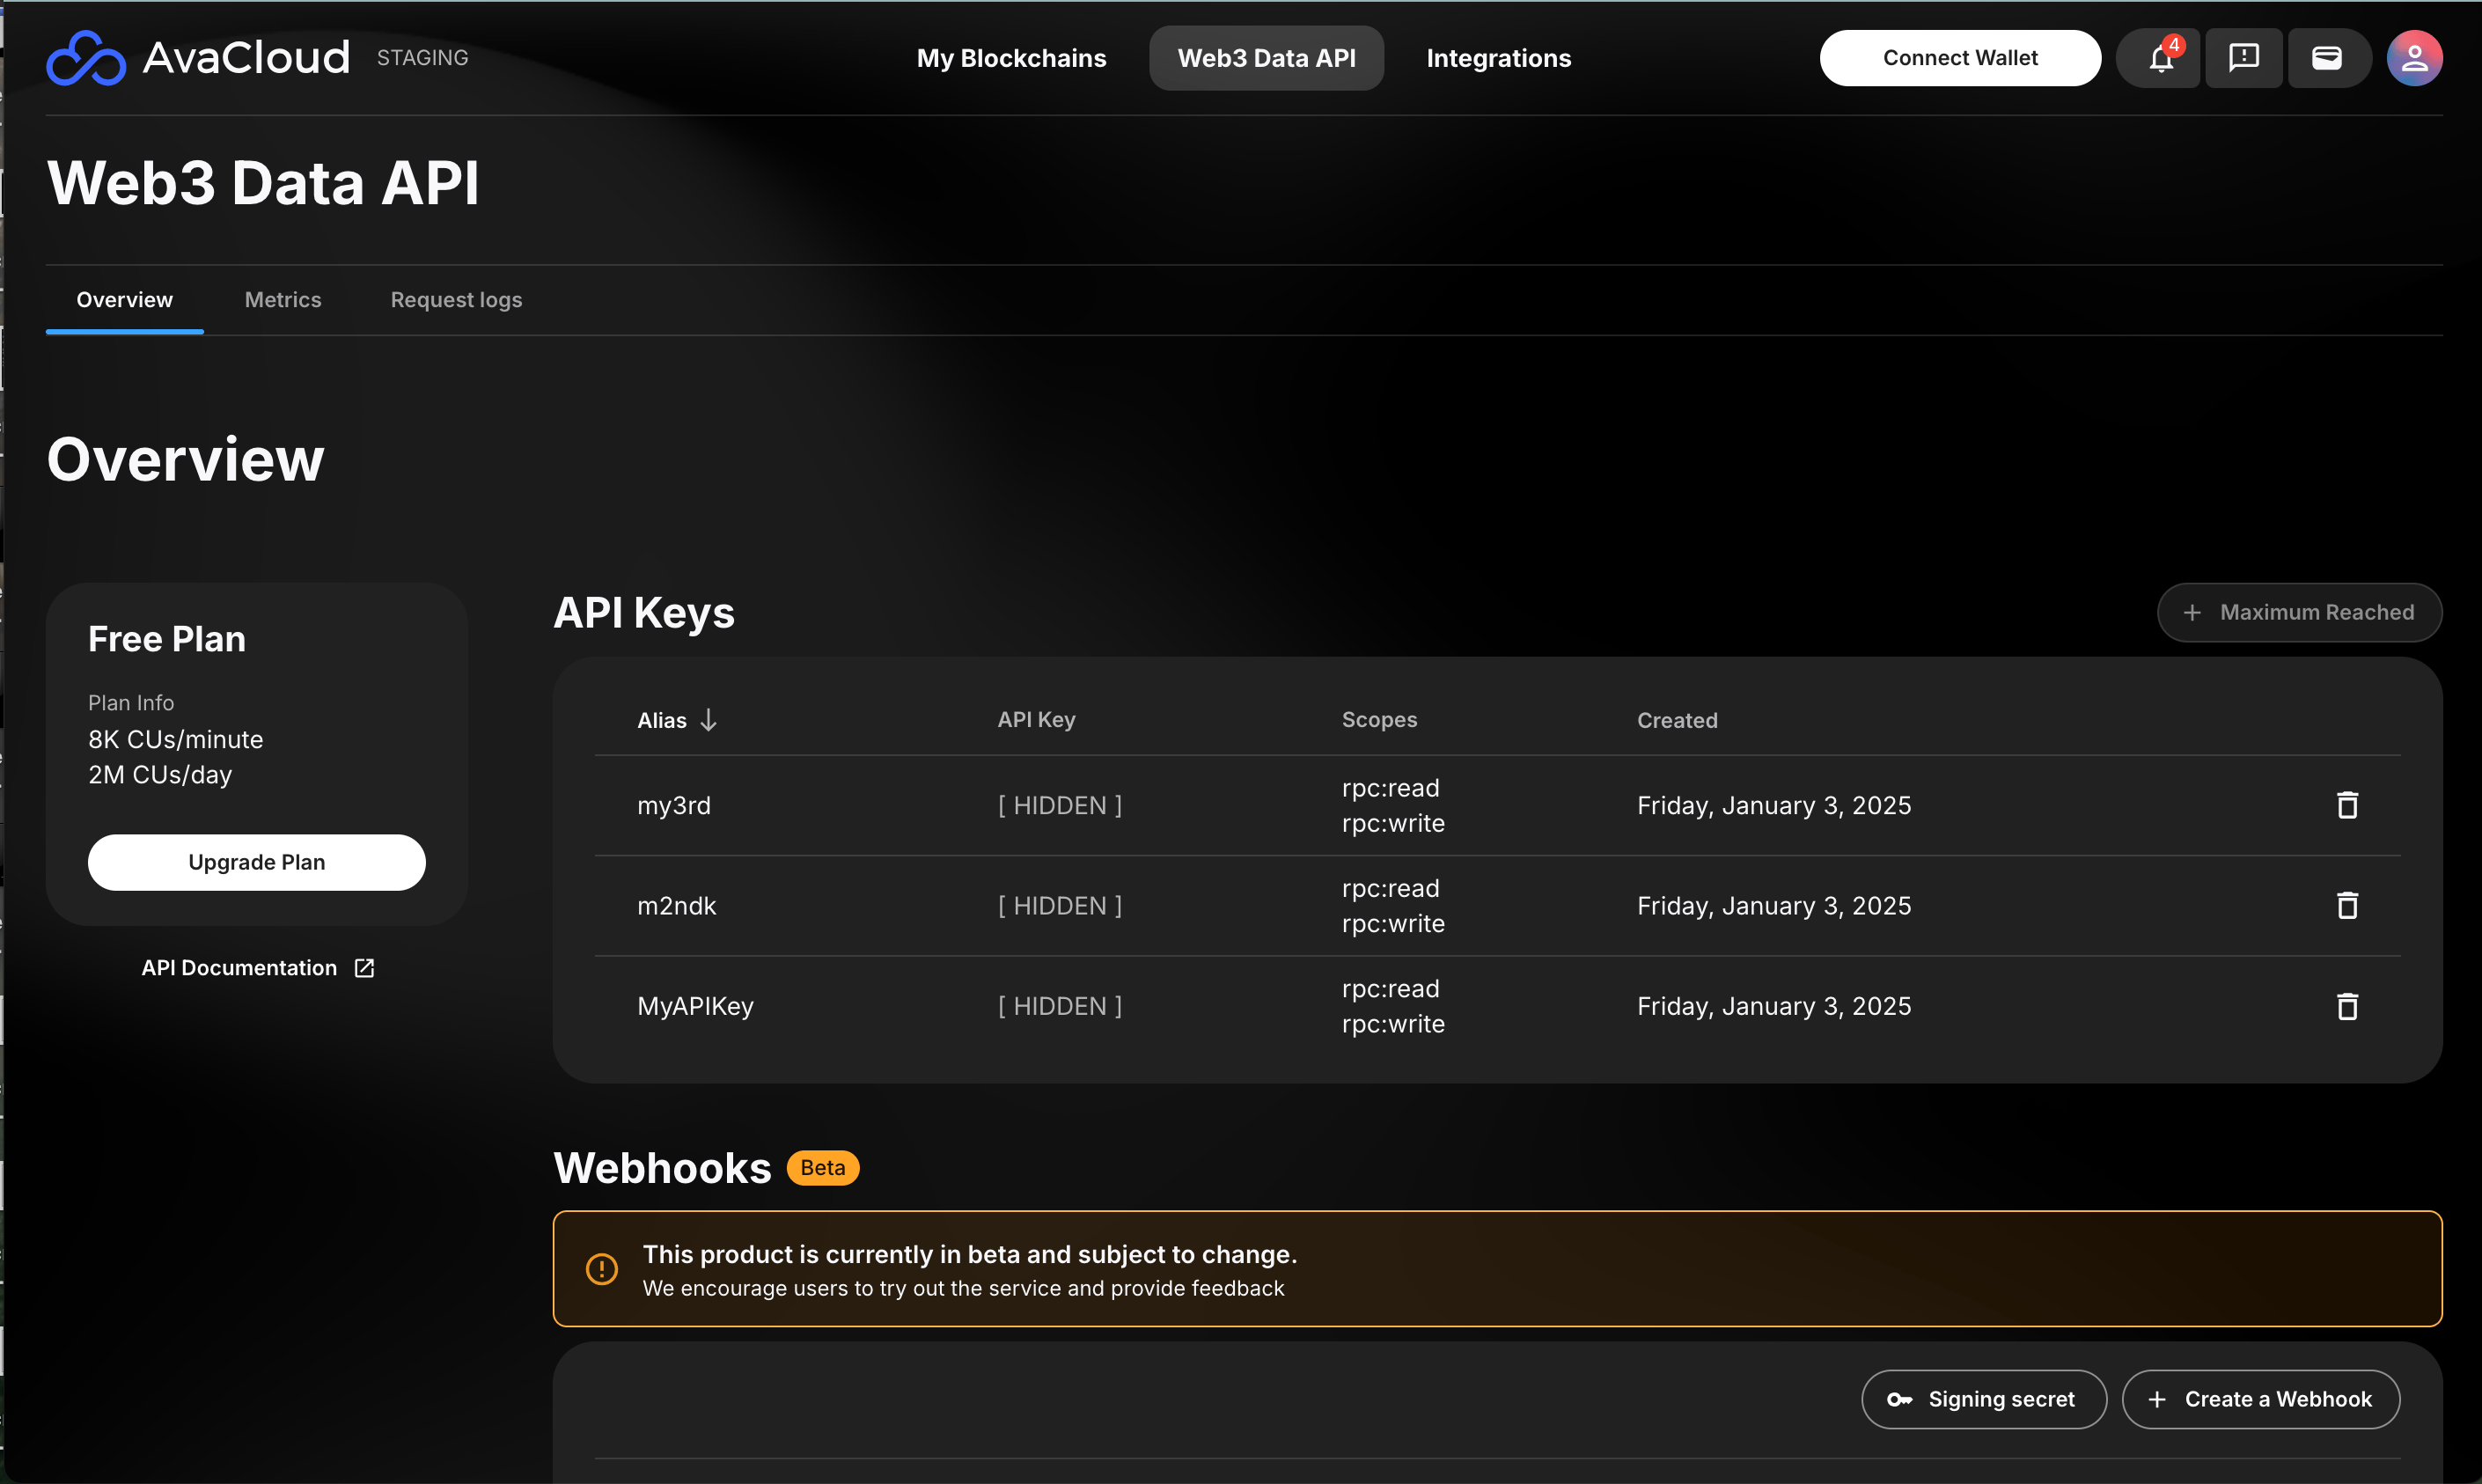
 Once saved, users can view all the created API keys in the Dashboard.
 ***
## Deleting an API Key
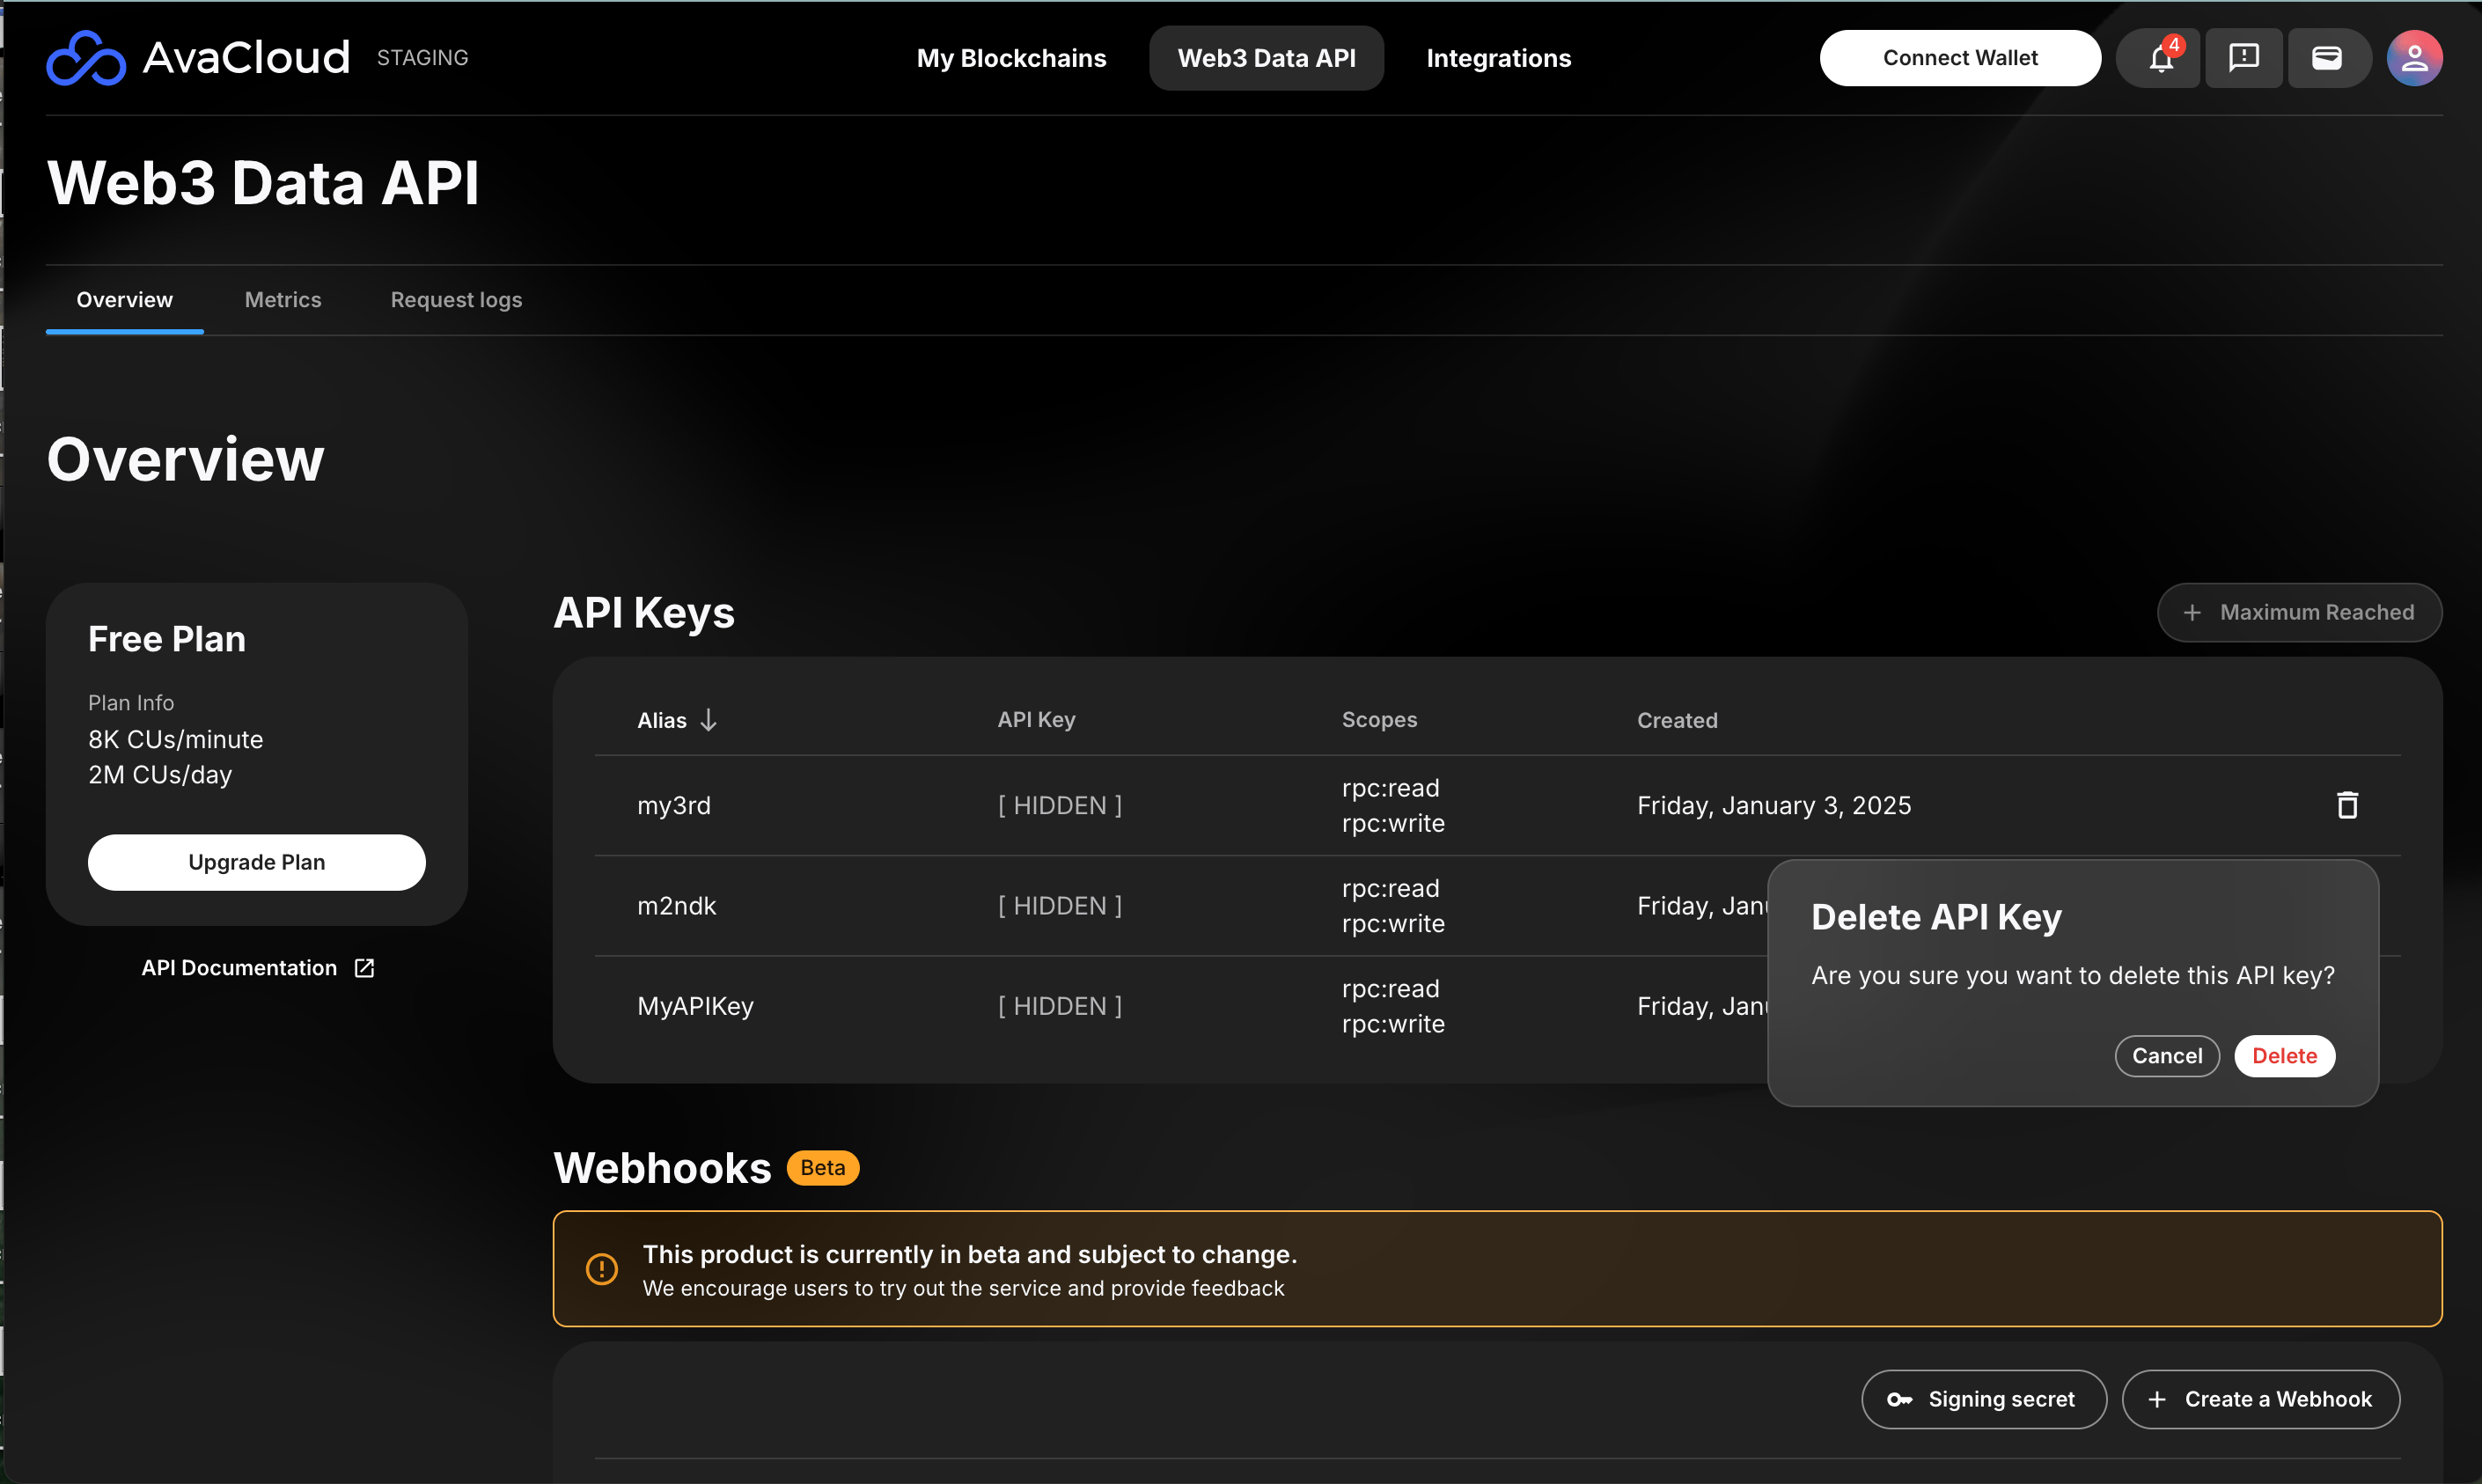
To delete an API key, click on the trash can icon on the far right of the key, and then click **Delete.**
***
## Deleting an API Key
To delete an API key, click on the trash can icon on the far right of the key, and then click **Delete.**
 ***
If you need more help, explore our other articles or reach out to our support team via chat or email [support@avacloud.io](mailto:support@avacloud.io). All examples provided are for demonstration purposes only.
[Learn More About AvaCloud](https://avacloud.io/) | [Download Case Studies](https://avacloud.io/case-studies) | [Schedule an AvaCloud Demo](https://avacloud.io/demo)
***
If you need more help, explore our other articles or reach out to our support team via chat or email [support@avacloud.io](mailto:support@avacloud.io). All examples provided are for demonstration purposes only.
[Learn More About AvaCloud](https://avacloud.io/) | [Download Case Studies](https://avacloud.io/case-studies) | [Schedule an AvaCloud Demo](https://avacloud.io/demo)